Making A Sequin Dress: A Marigold & Shea Mash-up
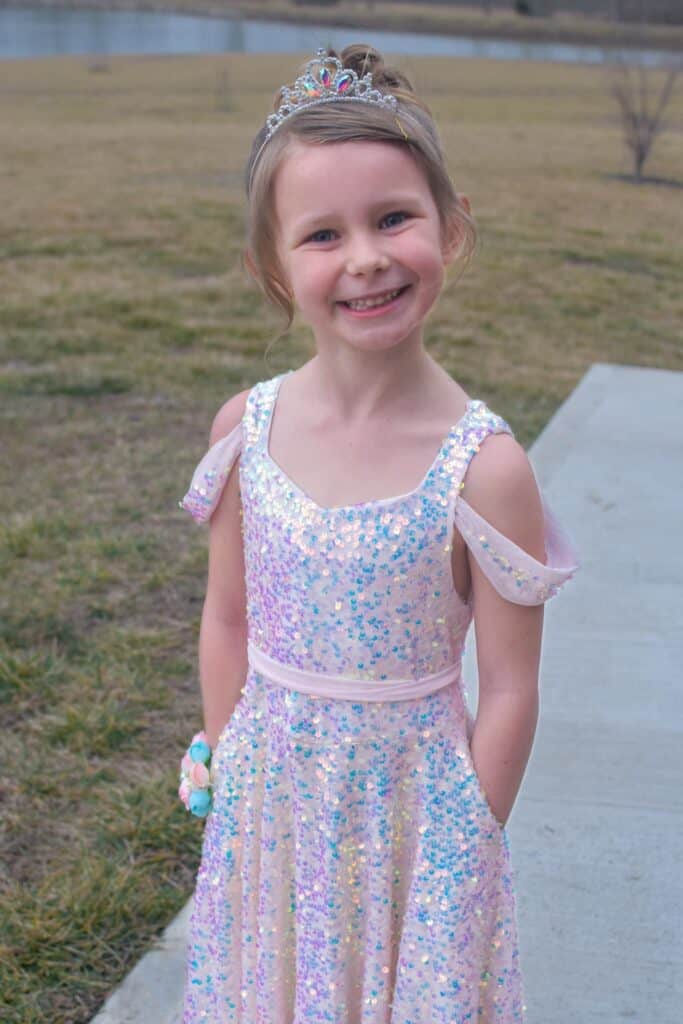
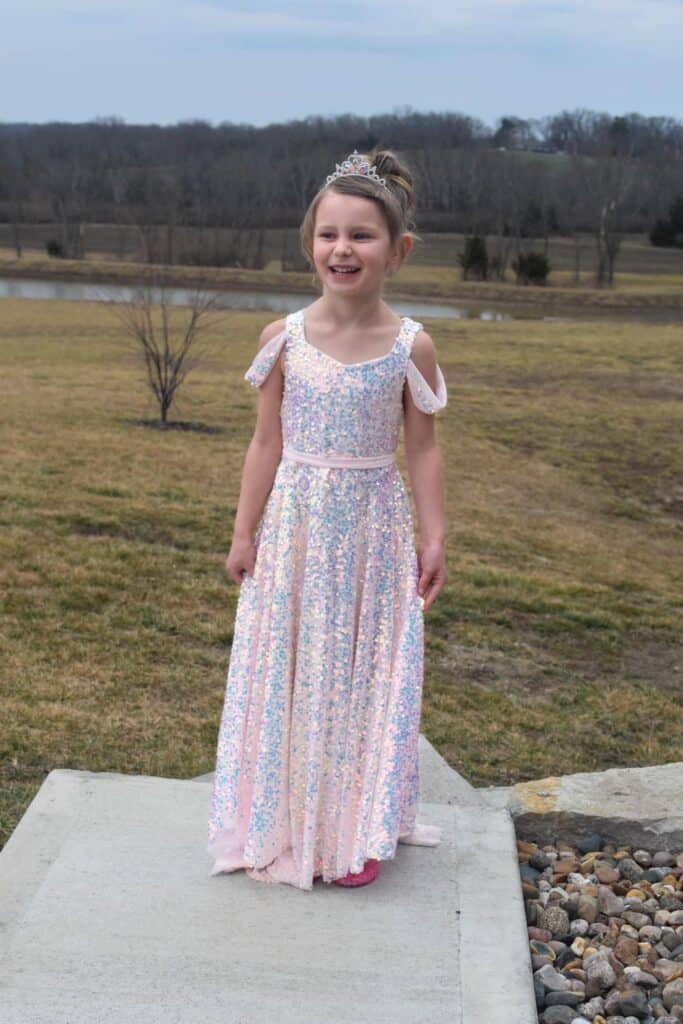
My little lady has been begging for me to make her a dress with this sequin fabric forever, but sequins make me nervous so I dragged my feet! When I saw Shea though, I finally caved and used it for her Daddy Daughter Date Night dress. I made a Marigold/Shea mix with a few design additions per her request.
Creating the Bodice
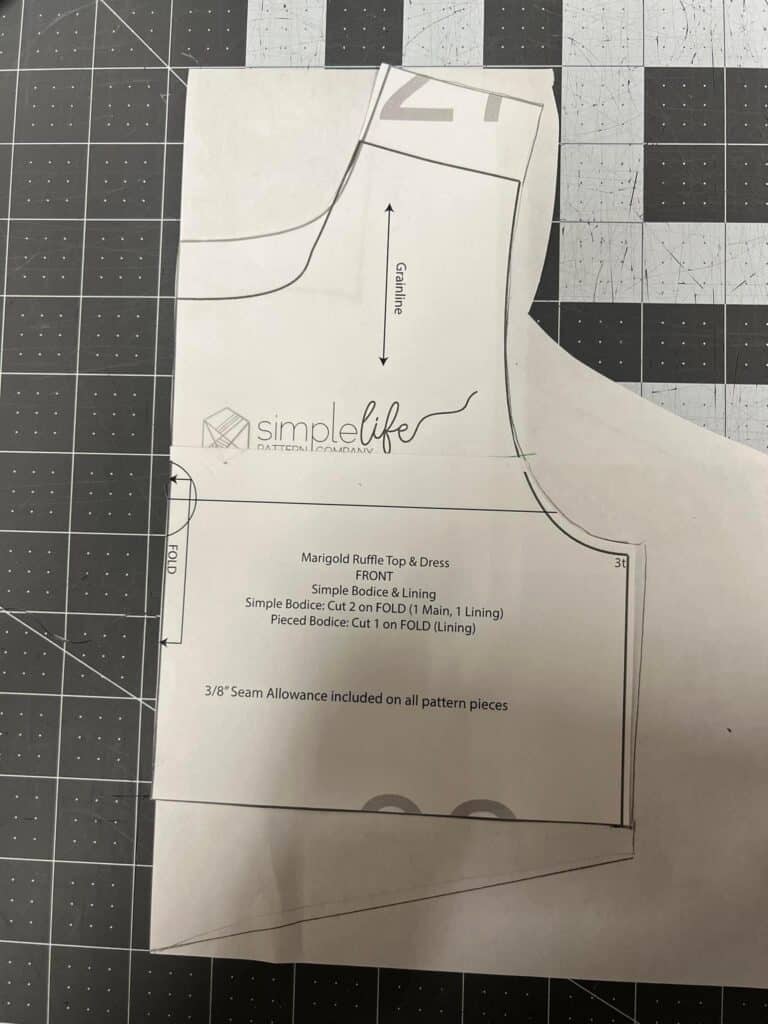
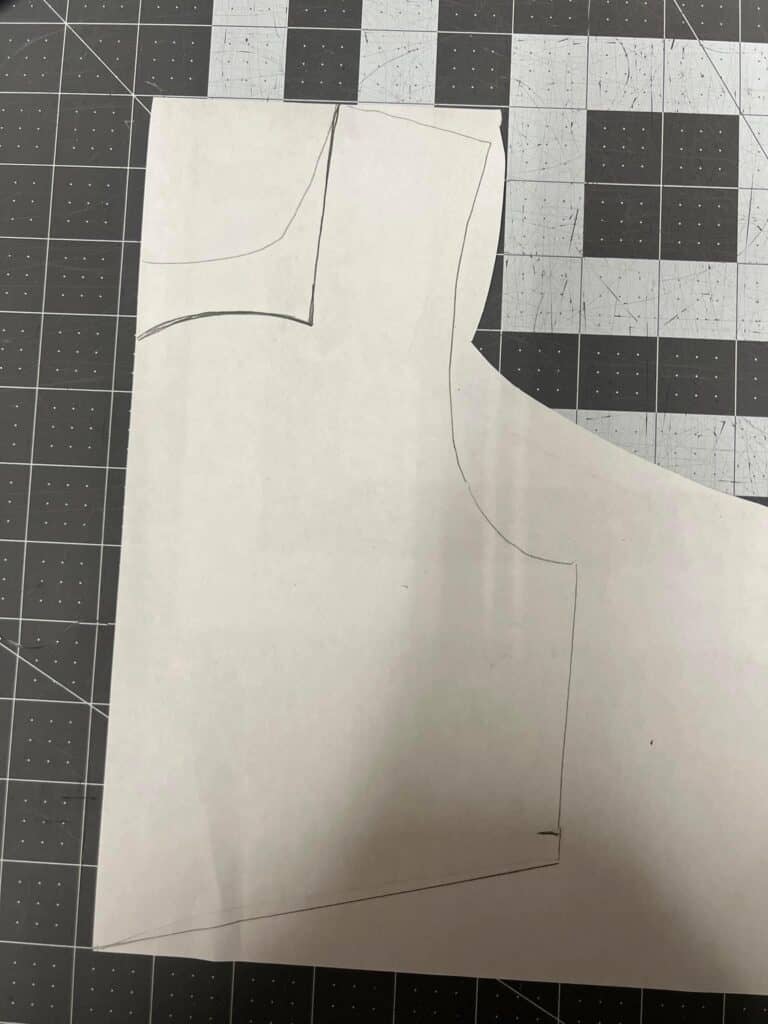
I used the Marigold bodice lining pieces for the bodice with 2 slight adjustments. First, I lengthened it a little to make it hit at the natural waist and second, I added a little curve to give it a sweetheart neckline. You can see here how my piece looks compared to the lining pattern piece. Otherwise, I followed the normal pattern instructions to complete the bodice.
Another tip is to size down if your fabric has a little stretch! I didn’t realize how heavy the sequins would be so I ended up having to shorten the straps an 1” when she tried on the bodice before I added the skirt. It’s always a good idea if you’re modifying to test the fit along the way!
Preparing the Skirt
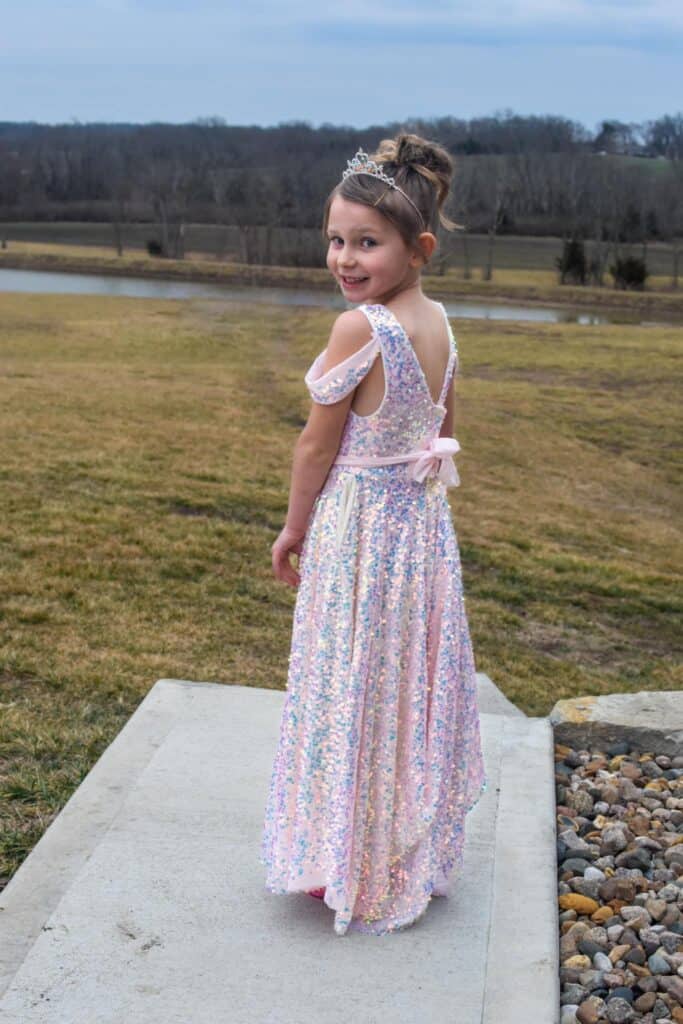
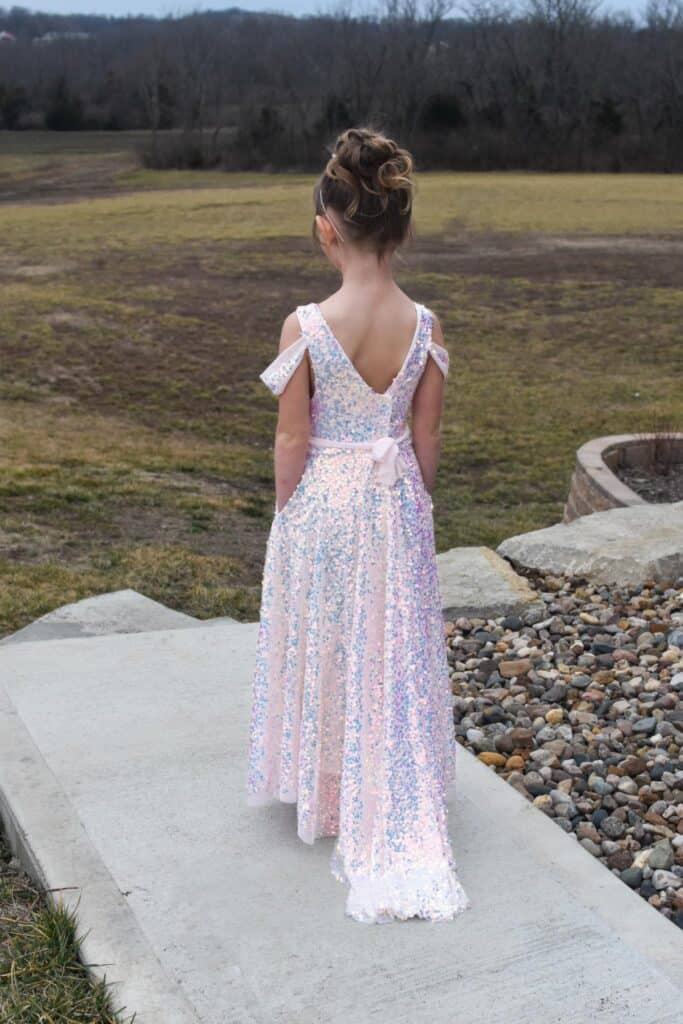
For the skirt, I used the Shea hi-low skirt piece but lengthened it to where the front would be maxi length (I did 1” above the floor, but make sure you account for the hem and the seam allowance to attach the skirt to the bodice). For reference, for this size 5/6 my measurement was about 28”. This gave the dress a nice little train!
I also cut a lining piece since the sequins were a little scratchy, but for that piece I just made it the same length front and back. Next, mark the center front, back and sides. Add a placket using the Marigold placket pattern piece and instructions. I also added pockets and you can use any Simple Life dress pattern pocket piece as a guide. Then you’re ready to attach the bodice to the skirt!
Adding Some Design Elements
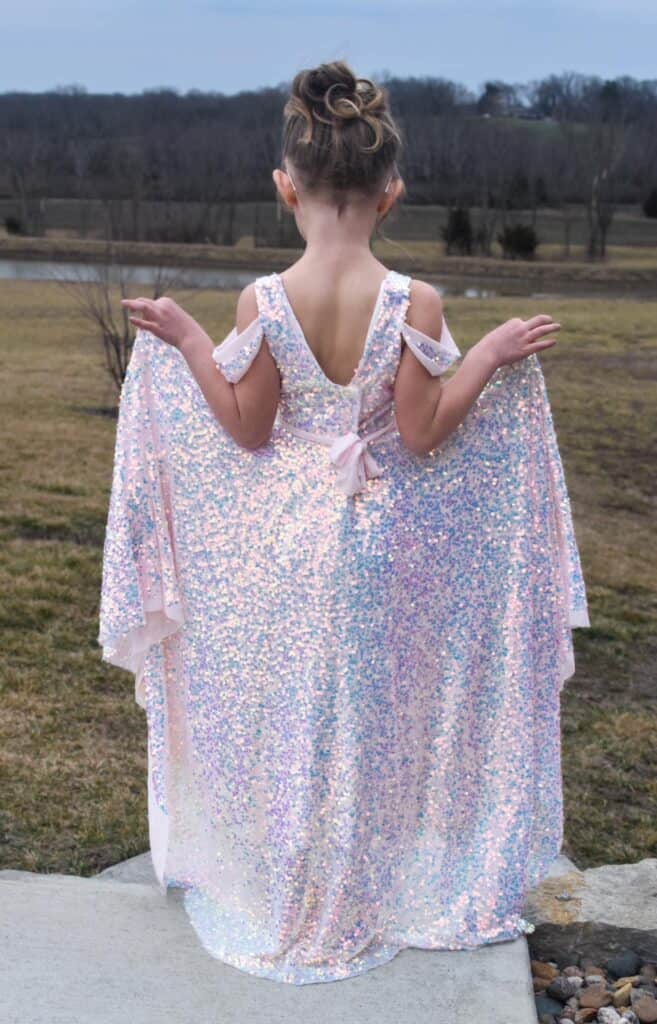
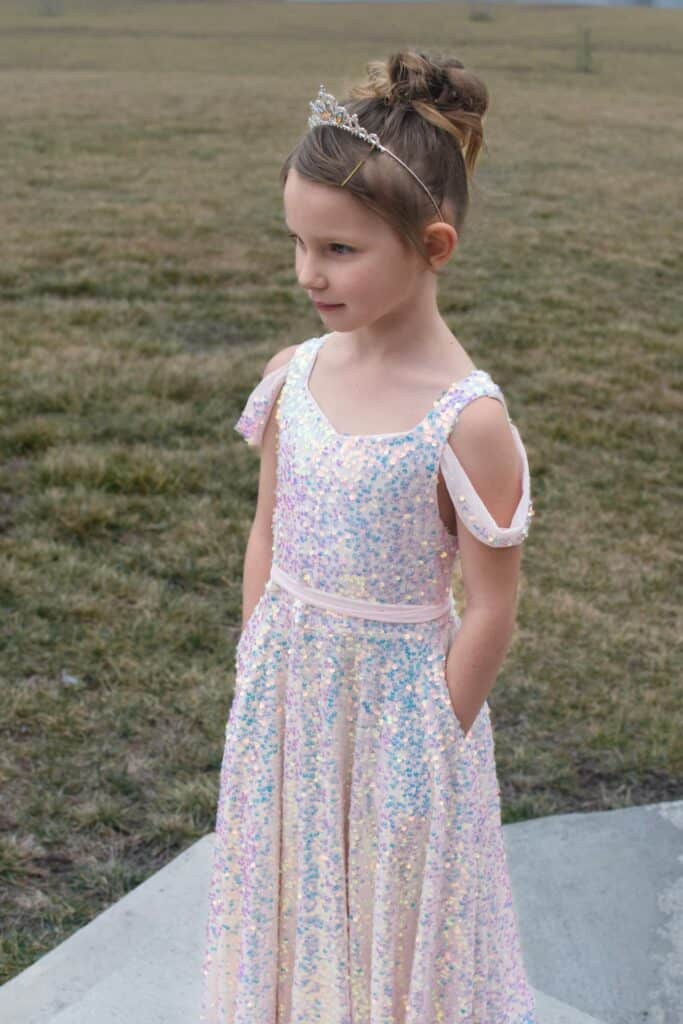
Finally, I made a few more slight changes to complete the look… I added some off-the-shoulder sleeve pieces to give it a more whimsical look. I measured how I wanted it to hang using a measuring tape and came up with about 10”. I cut the sleeve in the shape shown here with the flat side on the fold (which you can see looks like the pattern piece for a ruffle!), sewed the curved side with right sides together, and flipped it right side out. I pinned it in place and just stitched about 1/8” from the edge of the armscye.
The last 2 changes were to add a little sash to break up the sequins and a little snap bustle to keep it off the floor when she danced! To do this I just added one snap at the center back of the train and the other side to the skirt placket. She felt like a princess and the dress was a hit!