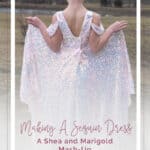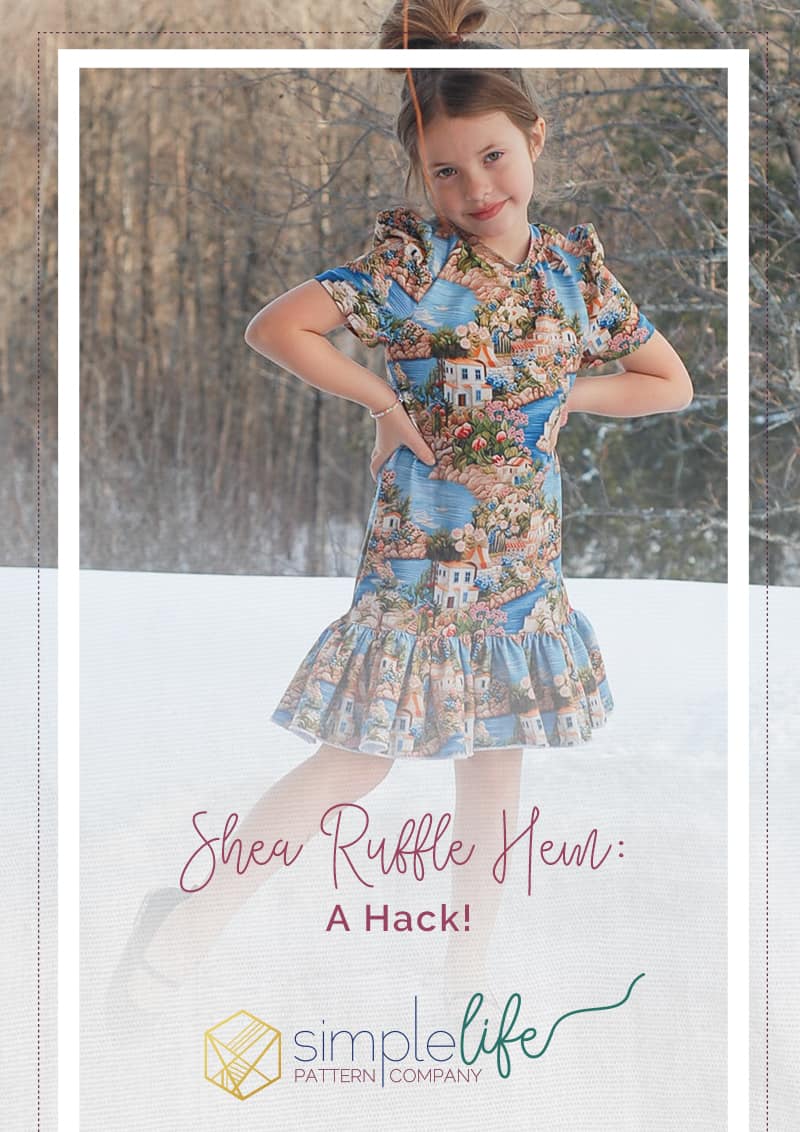
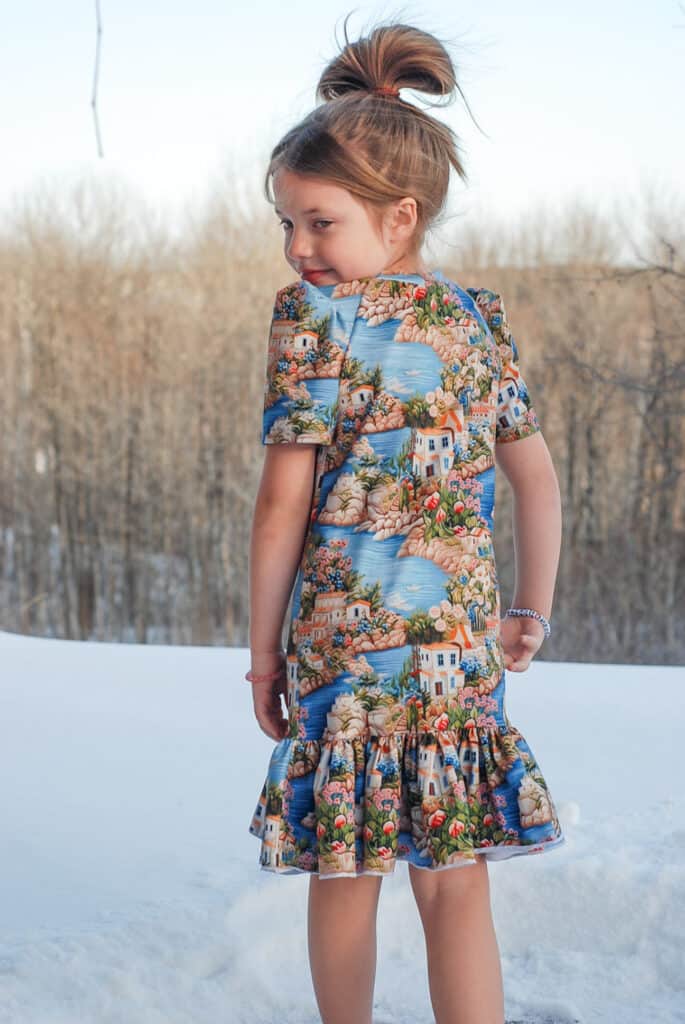
Shea Ruffle Hem: A Hack!
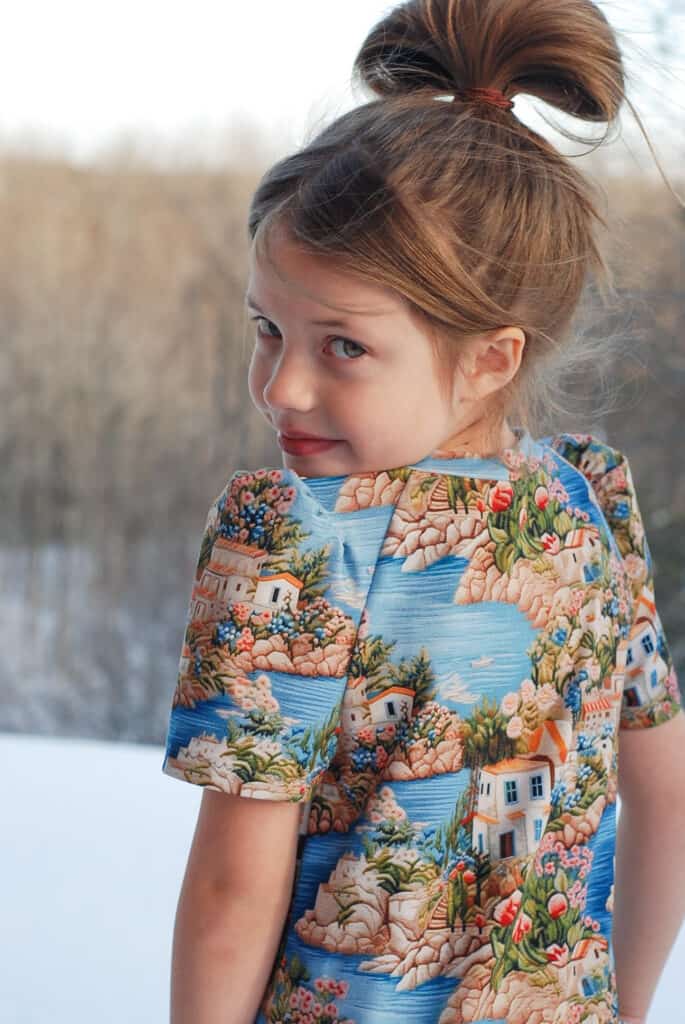
Good afternoon! Today I’m going to walk you through how I achieved the ruffle-hem dress look using the Shea pattern. Shea is such an incredibly unique pattern, and I have wanted to sew one up since the day it released. However, the fabric I had in mind for the project needed a little something extra to give it the detail I craved. So here’s what I did!
Step 1: Take measurements!
Just as with any pattern, the first step is ALWAYS to take measurements and compare them to the size chart. The sizes are not always comparable to store-bought sizes, and this ensures that the fit will be just right. In my case, our measurements fit perfectly into a size 6.
Step 2: Size up!
For this dress, I wanted a little extra of both width and height. I didn’t want it to be fitted to the body, and I wanted the tunic length to hit a little bit lower than normal. So I cut a size 7 a-line tunic length out of this stunning fabric from Luna D’Avalon.
Step 3: Sew up your Shea
Next, follow the instructions in the Shea tutorial exactly, stopping at the hem. Instead of hemming we will be adding a ruffle! Once it is sewn up, try it on the wearer. This is important in knowing how long you need your ruffle to be.
Step 4: Take a ruffle measurement
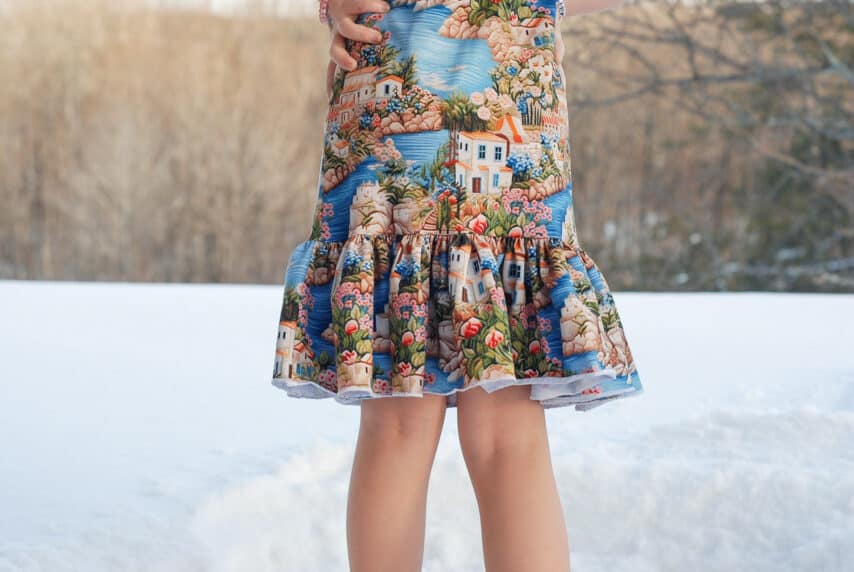
Once on the wearer, measure from the raw edge of the tunic down to where you want the dress to hit. In my case, I wanted it just above the knee, which measured about 5”. Don’t forget to add seam allowance and hem allowance into your measurement. After you have taken your ruffle measurement, you can take the tunic off of the wearer. It is also necessary to measure the width of the bottom of the tunic front. Once you have this measurement, double it. That is now the measurement for your ruffle width.
Step 5: Cut, sew and gather ruffle
Now that we have our ruffle measurements, we can cut our ruffle. Take the length measurement (5” in my case) and your ruffle width measurement and cut out a triangle. Repeat. You should now have two rectangles with the measurements you found above. Place these ruffle piece right sides together, and sew up the short sides. Next, hem your ruffle loop (I did a rolled hem). Then, sew two gathering stitches across the top of your ruffle loop and gather to fit the bottom of the tunic.
Step 6: Attach the ruffle
Finally, place your gathered ruffle right sides together with the bottom of the tunic, pin, and sew/serge. Remove gathering stitches, and you’re done!
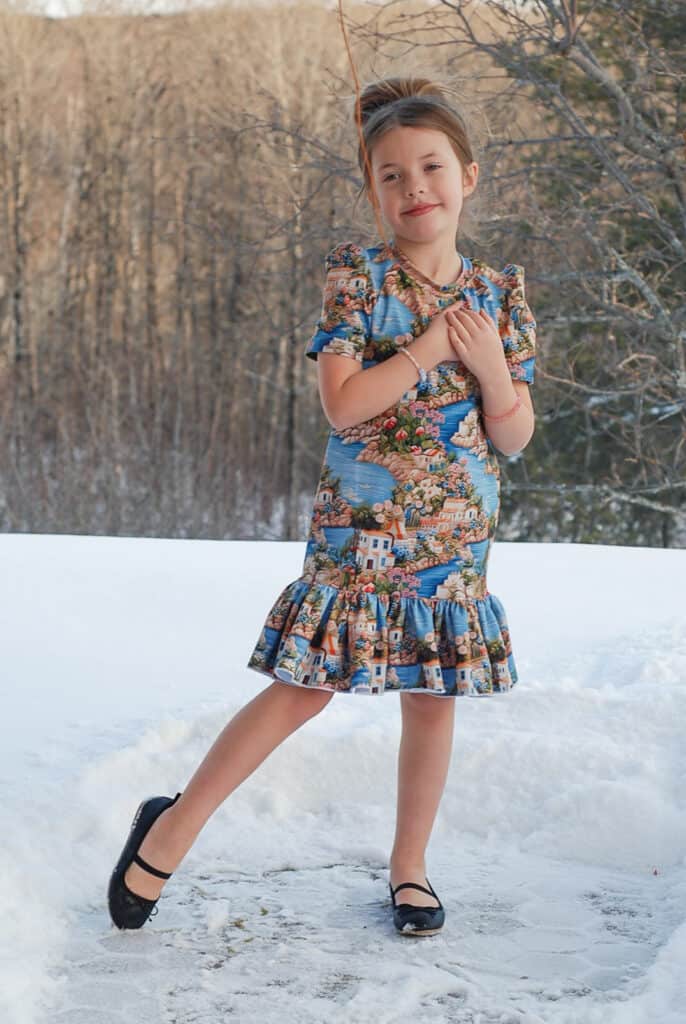
Thanks for trying my hack! I hope you love your new Shea as much as we do.
If you like this fabric, check out Luna D’Avalon Tissus/Fabric by clicking HERE. You can find this specific fabric on preorder HERE.
~Victoria Strong