How To: Using a Projector For Appliques
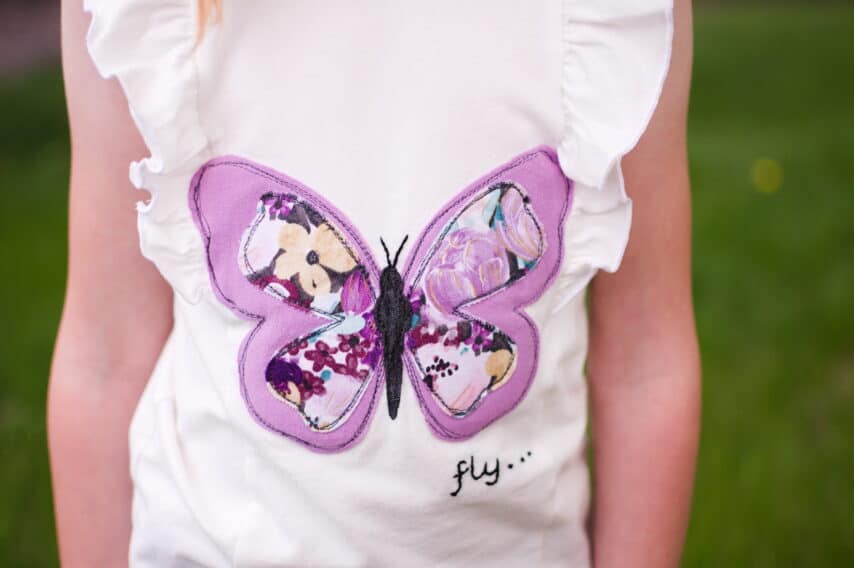
Hi sewing friends! It’s Tamar from Tamar Hope Designs back on the blog to share some really cool projector tips! I think it’s pretty common knowledge that projectors are awesome tools for sewing. They make cutting out your project so quick and easy! But have you ever thought of using your projector for applique designs? It’s such a cool tool for applique. If you’re interested in learning how I made this butterfly design with my projector, read on!
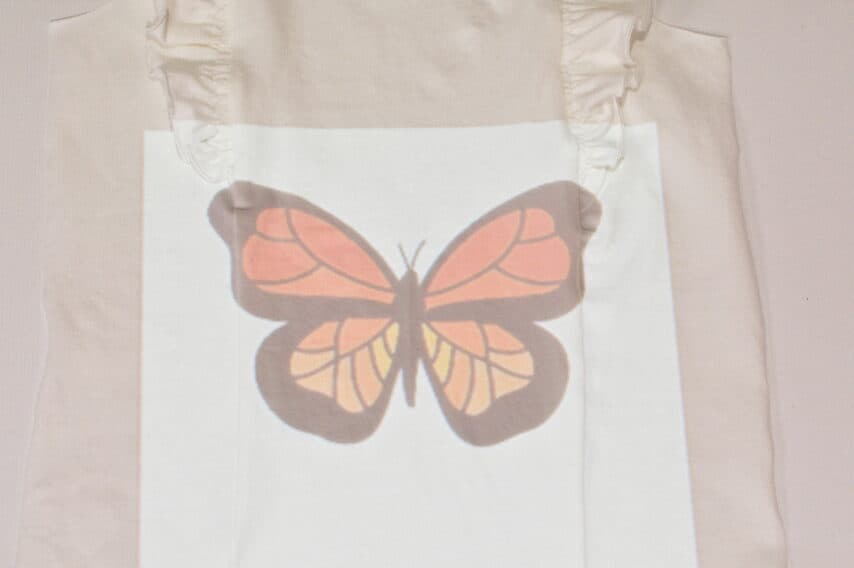
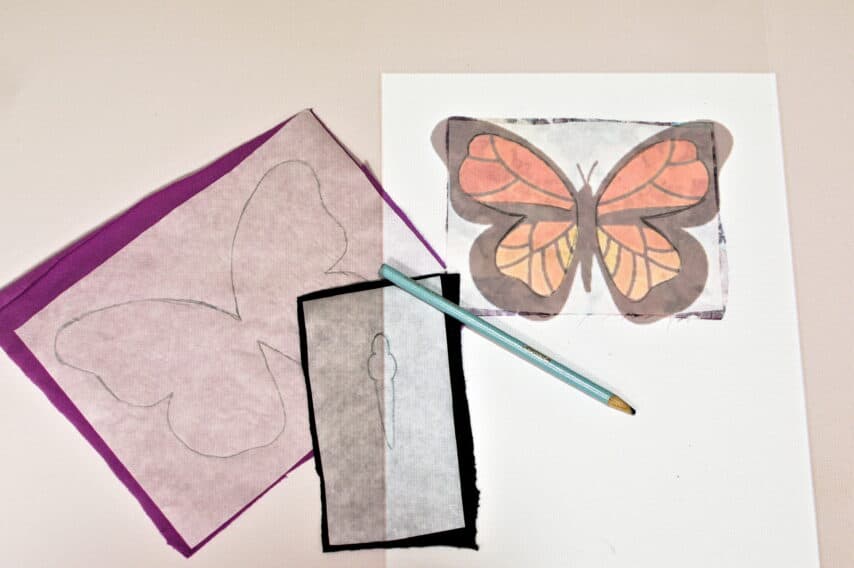
Once you decide what you want your design to be, simply do a search in your favorite browser for public domain clipart. I searched for “public domain butterfly clipart.” When you find one you like, download it, and insert it into your favorite word processor or graphic design application. Now simply export your document as a pdf. Once your photo is saved as a pdf, you can open it in adobe illustrator, project it onto your garment, and resize it to fit. Resize your image in the same way that you calibrate your projector.
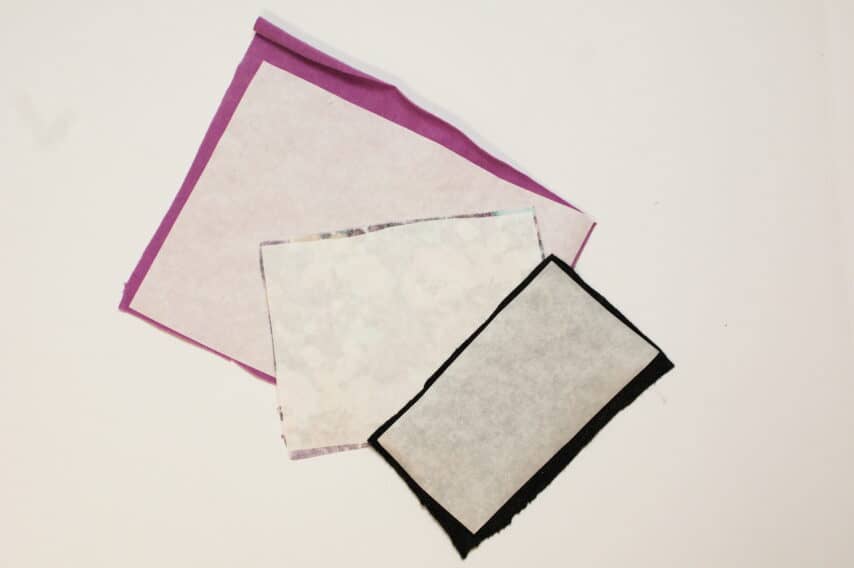
Next, iron double sided fusible web to the wrong sides of the fabric you plan to use for your applique.
When you have your image resized properly, simply trace each layer of your image on the paper side of the fusible web.
Next, cut out your shapes and iron the base layer to your garment.
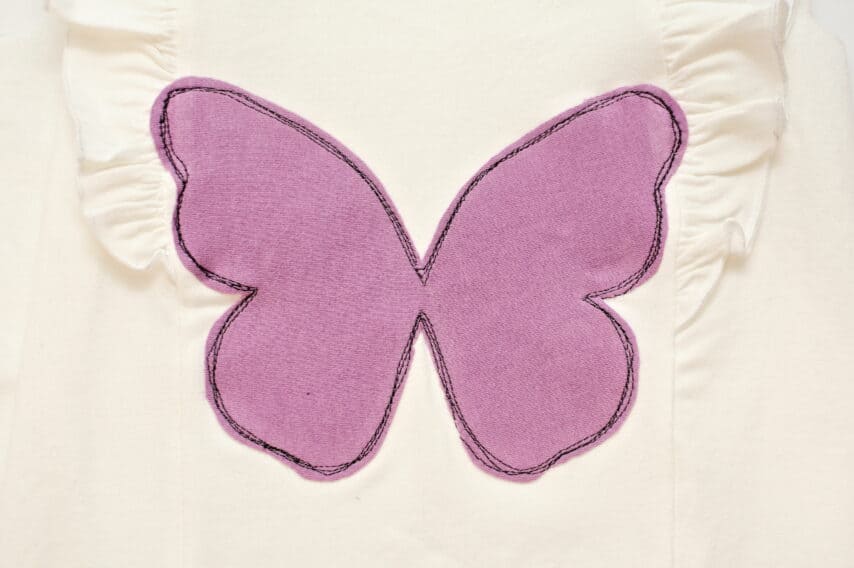
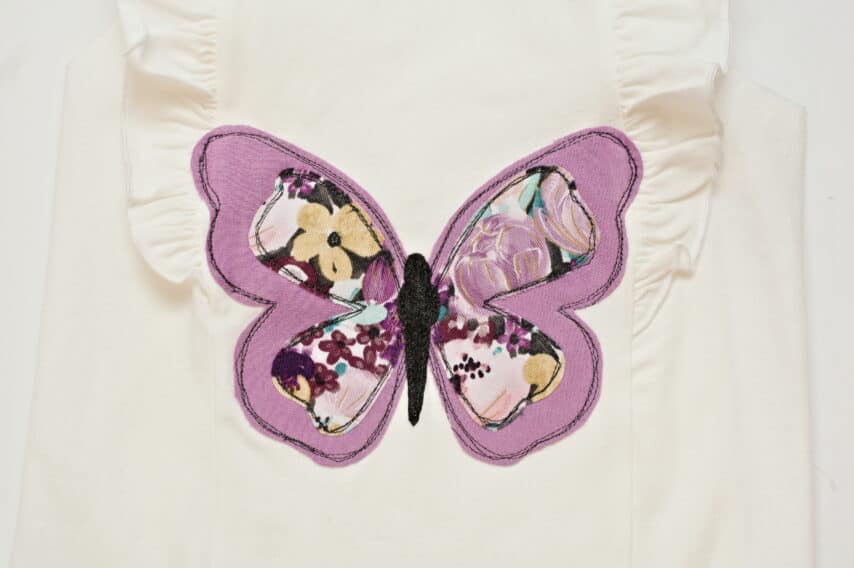
Sew around the edges of your shape. I wanted a little extra definition on my butterfly, so I chose to sew around the edges of my shape with a straight stitch. I sewed around the edges three times and made sure that I never exactly retraced my stitches. This gave a “sketchy” look. If you want a more traditional applique look, use a zigzag with a very narrow stitch length (less than 1).
Repeat this process with each layer.
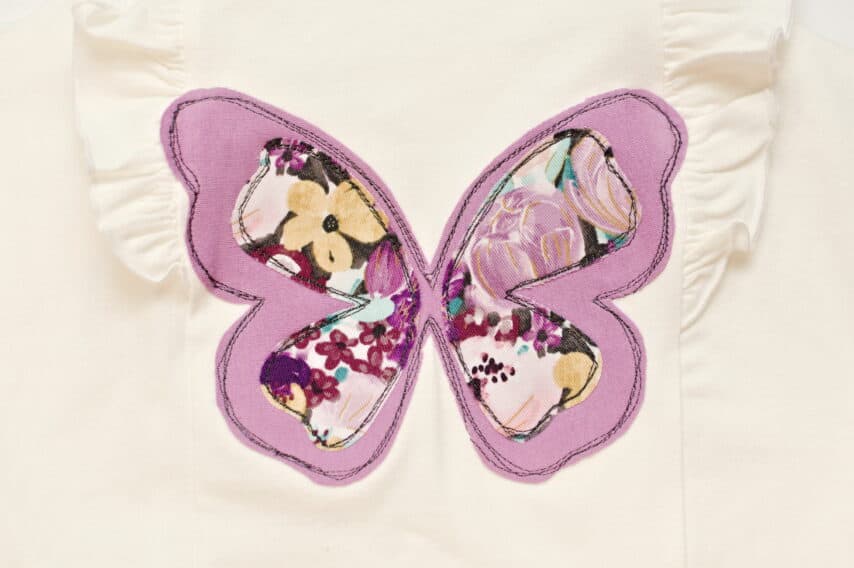
Iron each layer and sew around the edges before adding the next layer of the design.
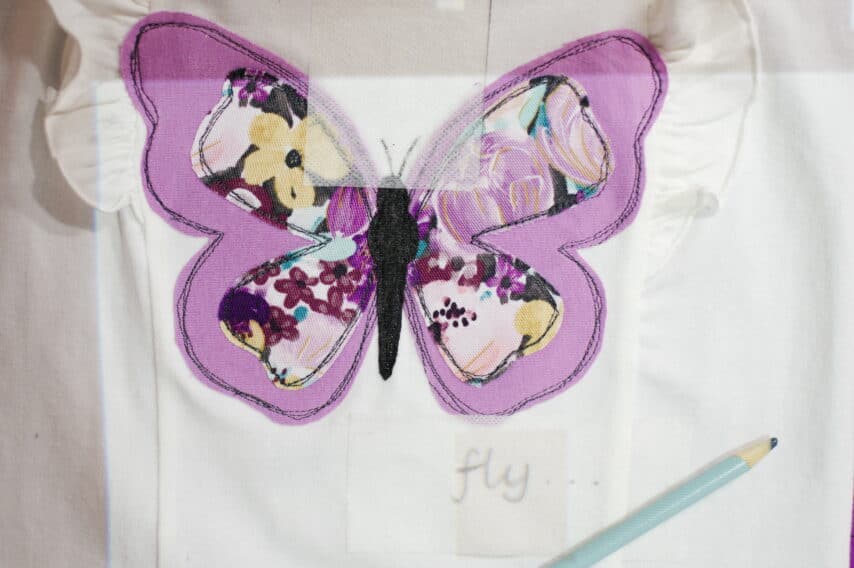
If you have small details that you want to hand embroider, stick a piece of solvy to your fabric, and project your details on your garment. If you want to use a font, simply type your text in a word processor, project your computer screen, and adjust the font size until it projects the size that you want. Now just trace the projected image on the solvy. (If you don’t know what solvy is, it’s my absolute favorite tool for embroidery. You can draw or print your pattern to the paper, stick it to your fabric and stitch. When you’re done, it can be rinsed right off. It’s amazing!)
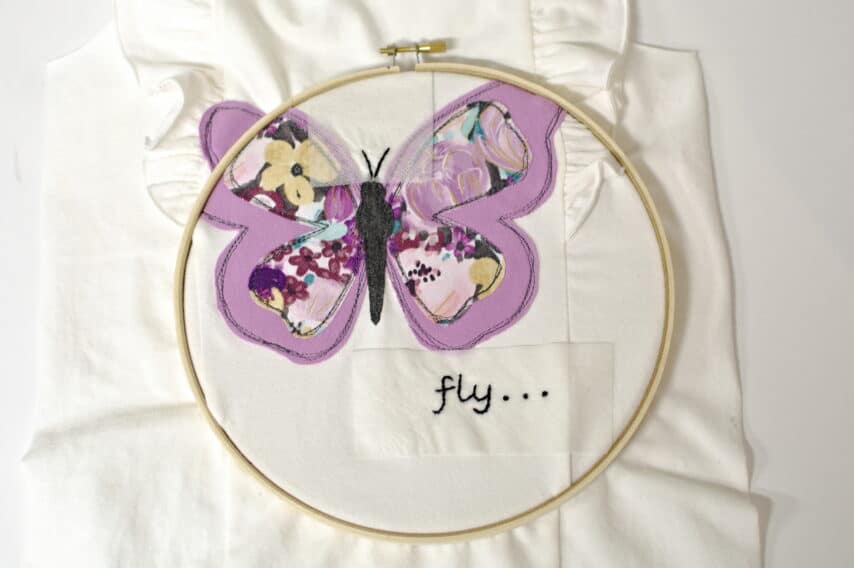
Put your design in an embroidery hoop and hand embroider your details. I used three strands with the split stitch for mine.
Now go and make appliques for all the things! I love the special touch that it adds to handmade outfits.
The patterns that I used for this outfit are Emilya and Autumn. I love this set. It’s so cute and functional.
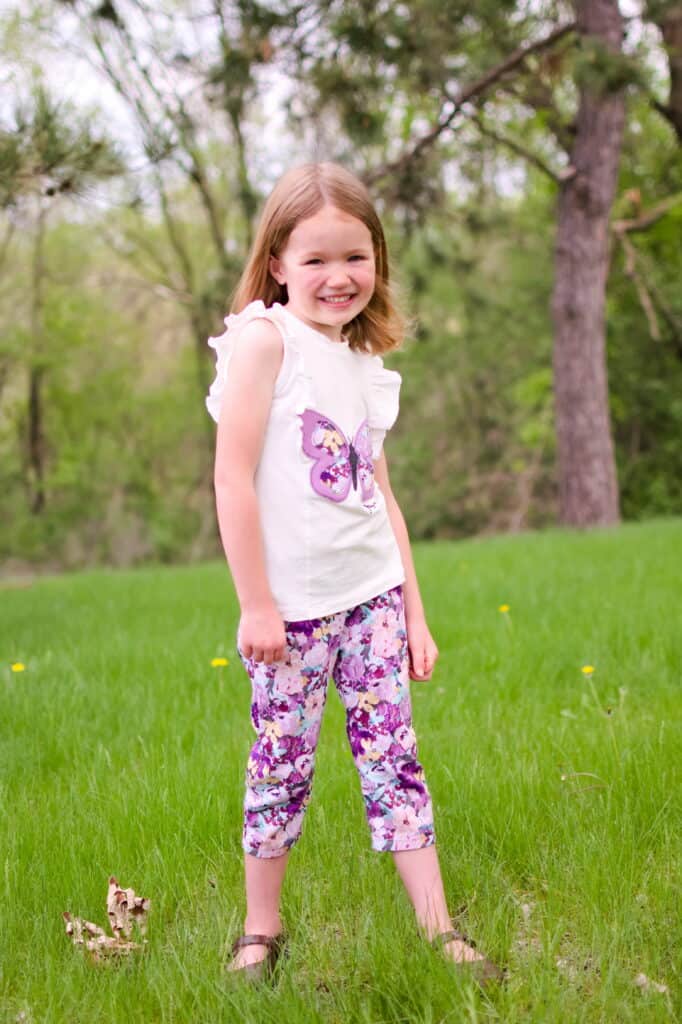
And in case you’re wondering, it’s totally play proof.

~Tamar