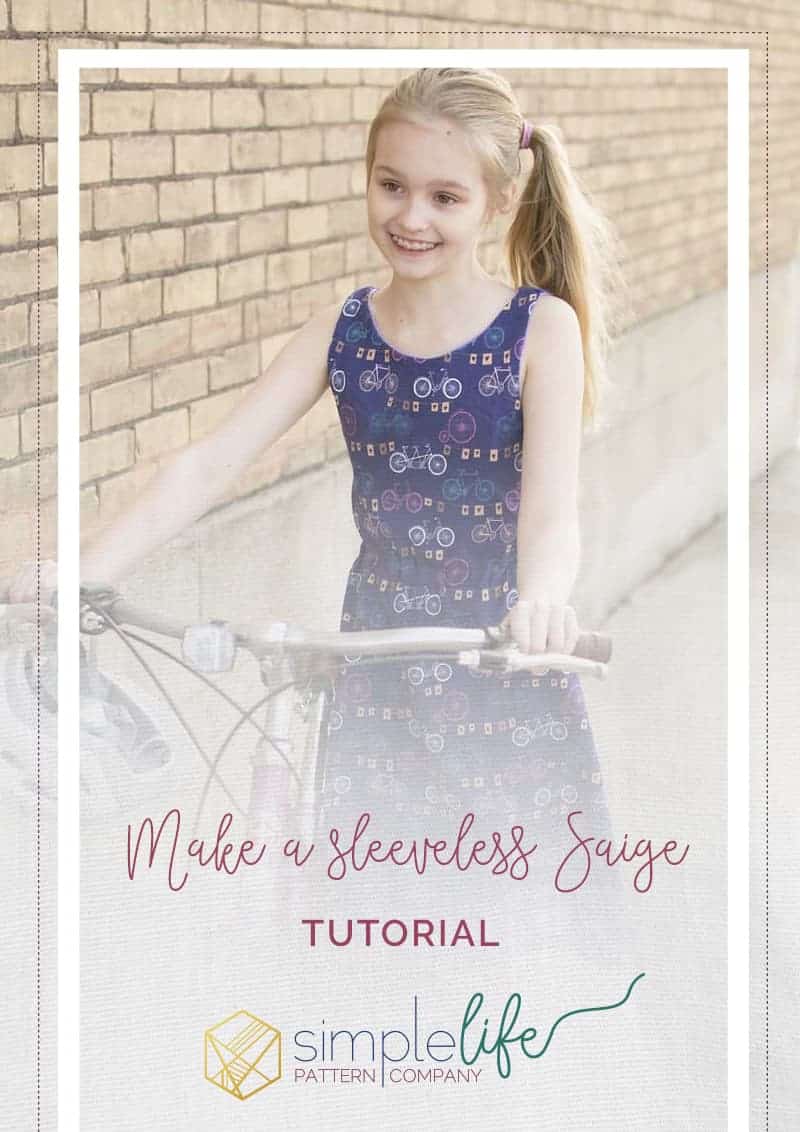
Tutorial: Make a Sleeveless Saige
If you follow me on Instagram, you’ll know that knit dresses for my three daughters are my absolute favorite! We are finally packing up our snowboots and getting out our sandals here in North Dakota.

Simple Life Pattern Company has several knit dresses to choose from: Isla, Adelyn, Phoebe, knit Ayda, and Saige. Both Isla and Adelyn have sleeveless tank options, as does the knit Lucy and knit Bella add-on. I wanted to see if it was possible to make the Saige also sleeveless even though the front and back is all one piece for the simple version. It works beautifully and I have made several sleeveless Saige’s for spring and summer over the last month. 
I’m sharing a few steps below for you to make your own sleeveless Saige! Follow Steps 1-6 of the Saige tutorial in the pattern. I do not do the understitching recommended in step 8, but you can if you wish. Your dress will look like this. 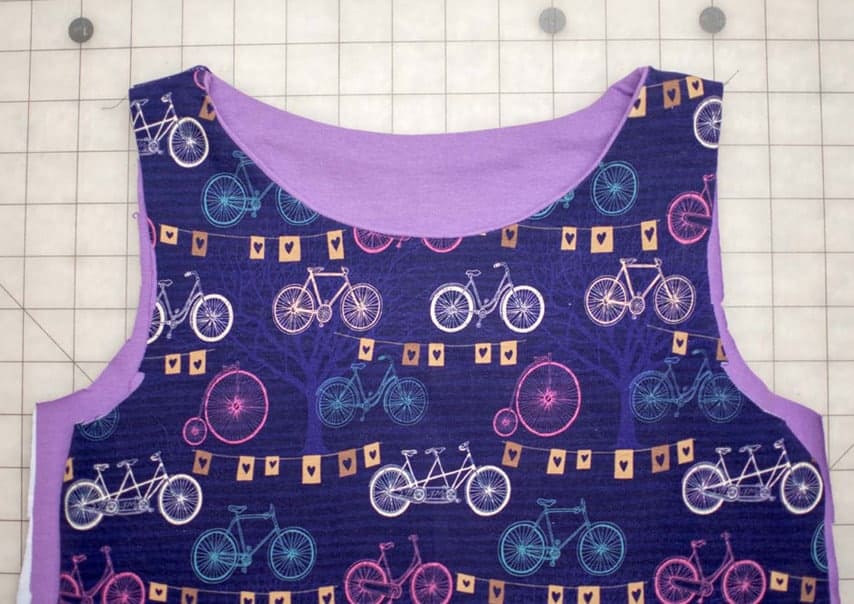
We will now do what most people consider to be a tricky step when making a lined bodice. We are going to “burrito roll” the straps of your Saige dress. 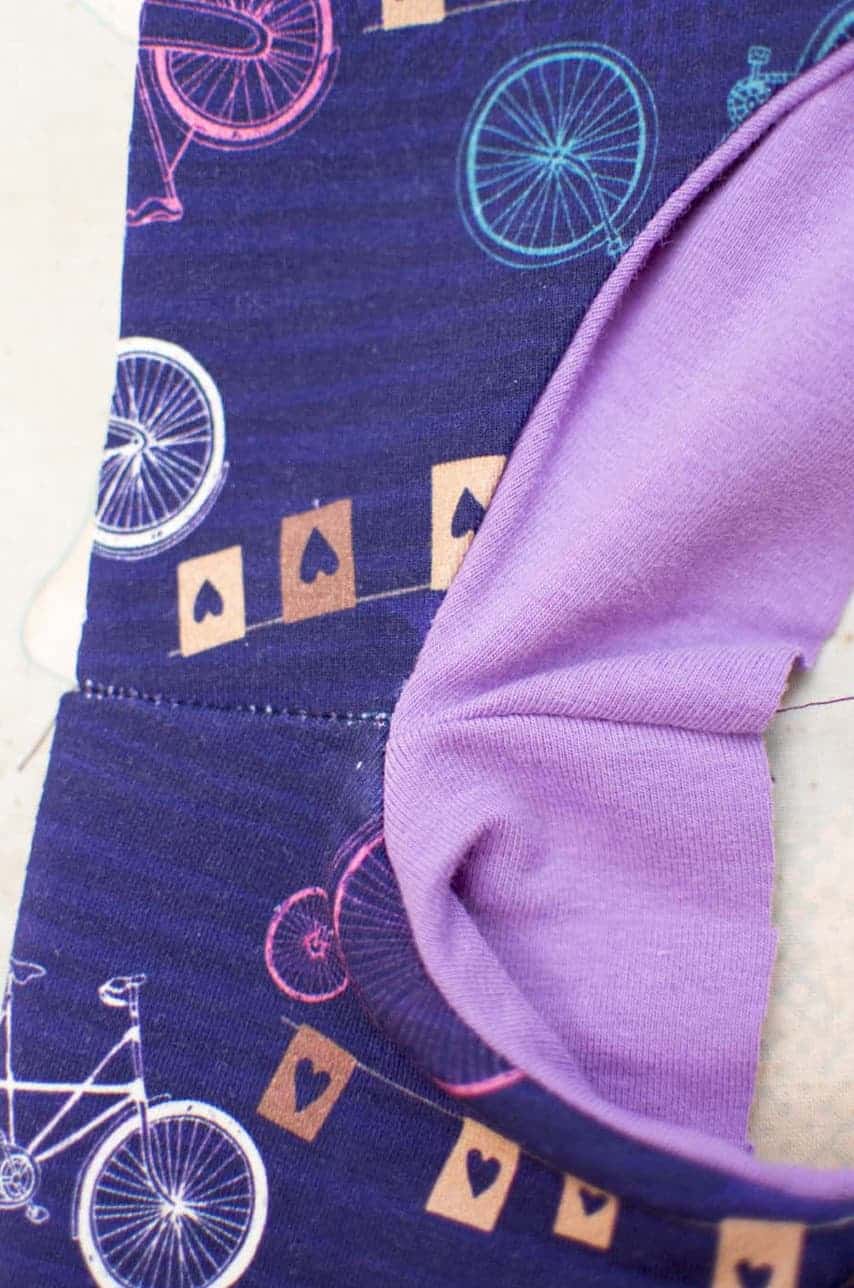
You will now open one strap at the neckline by separating the lining and the main. Leave it as pictured. Take the strap from the other side (no need to separate) and place it on top of the seam pictured above.
You will then pull the sides of the strap that is spread open up and over the strap that is sandwiched and pin to sew the seam. I like to use a strong stretch stitch since this seam will take a bit of stress pulling the garment through. 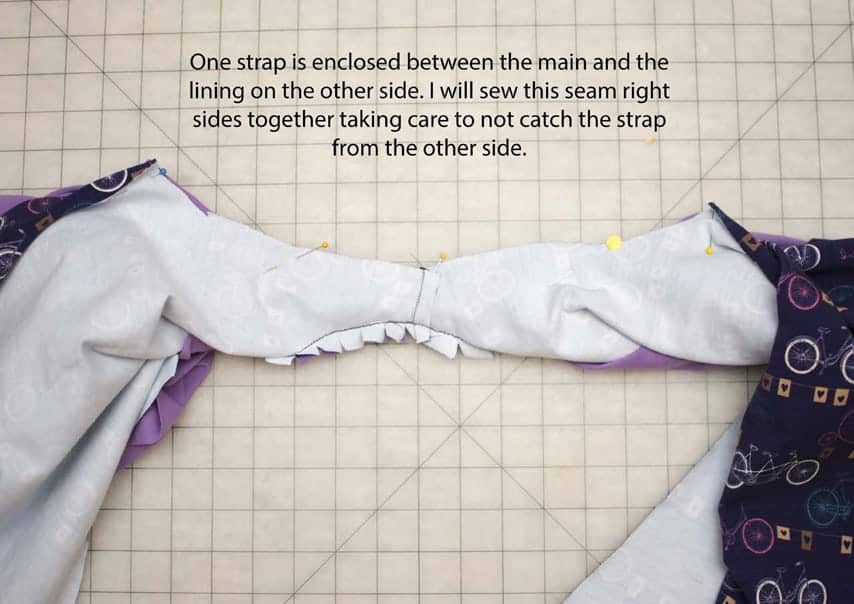
When you are finished stitching, be sure to use sharp scissors to clip your curves. I like to use these Fiskars Razor Edge 5″ scissors for clipping my curves at the armscye and neckline. 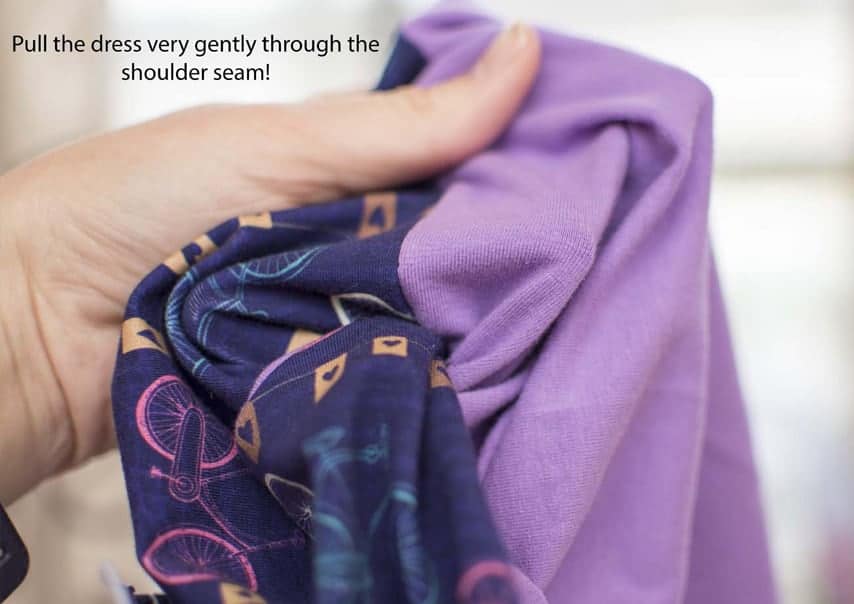
After you have clipped the curves at the armscye/shoulder, start to gently pull the dress back through the shoulder seam. With the Saige, you are pulling an entire dress through this hole so please go slowly so you don’t pop any stitches. 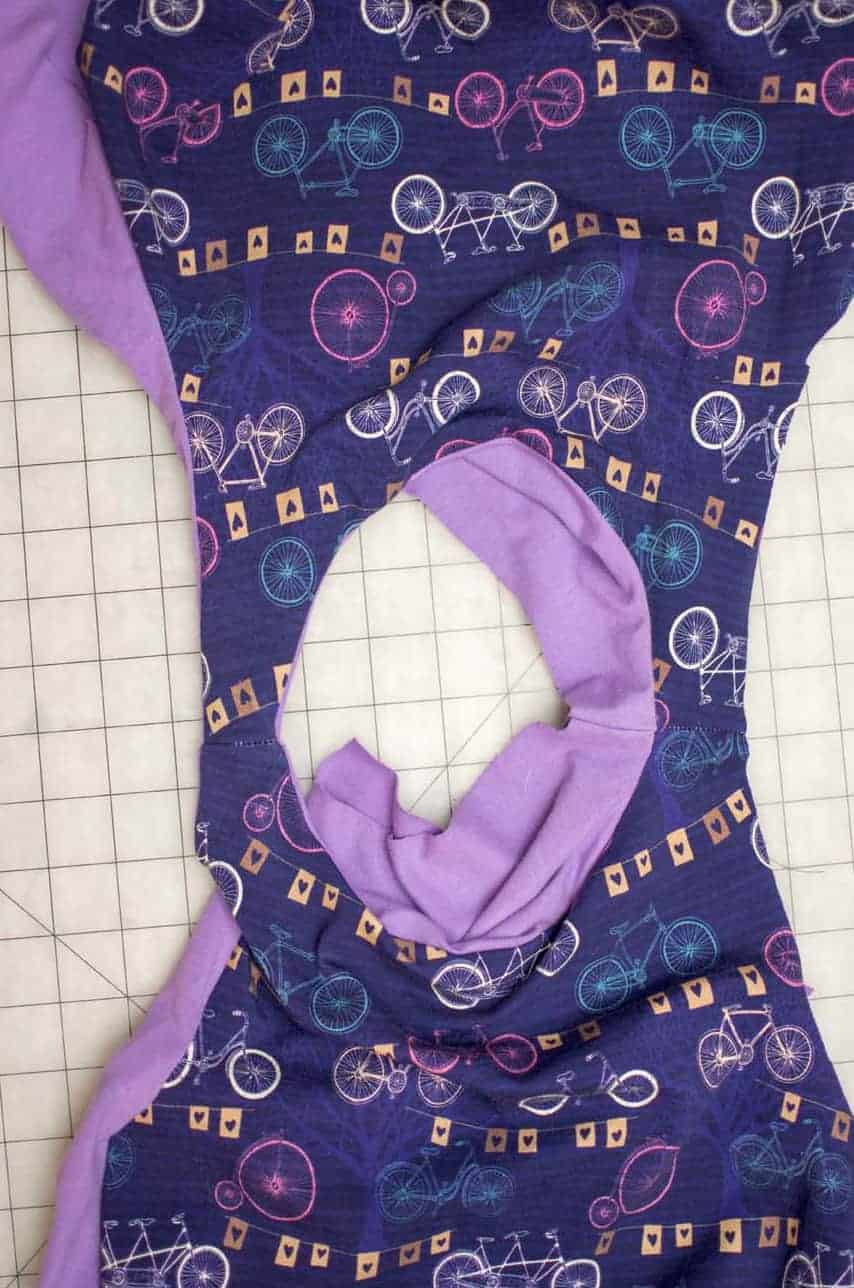
Now you will separate the main and the lining on the other side. Sandwich your strap in between as you did previously and stitch along the armscye curve. Clip your curves. Gently pull your dress through. 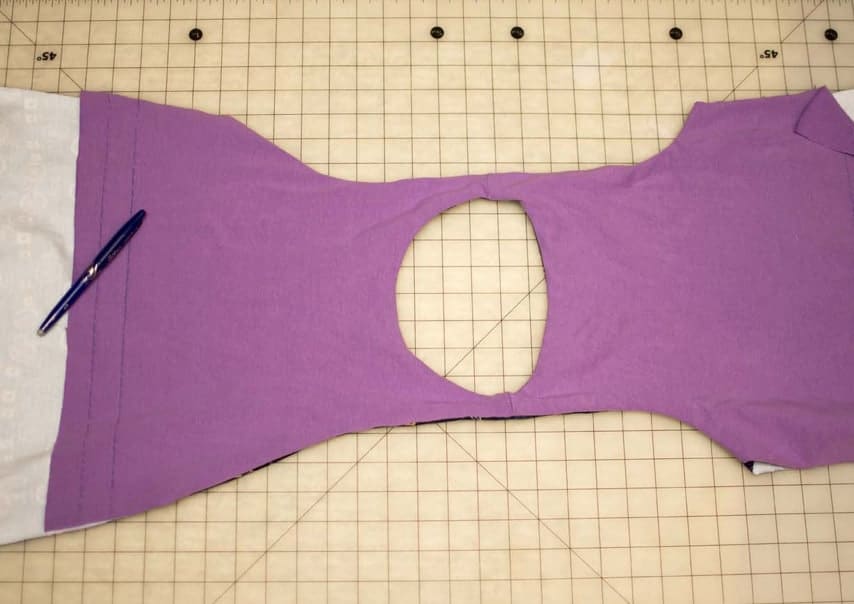
Your neck and armscyes are all enclosed now. At this point, I like to use my Frixion pen and a ruler to mark my 1″ casing for my Saige elastic. You will see that I’m moving my Saige casing slightly higher than the original pattern indicates. My daughter carries most of her length in her legs so I moved the casing up 1″. 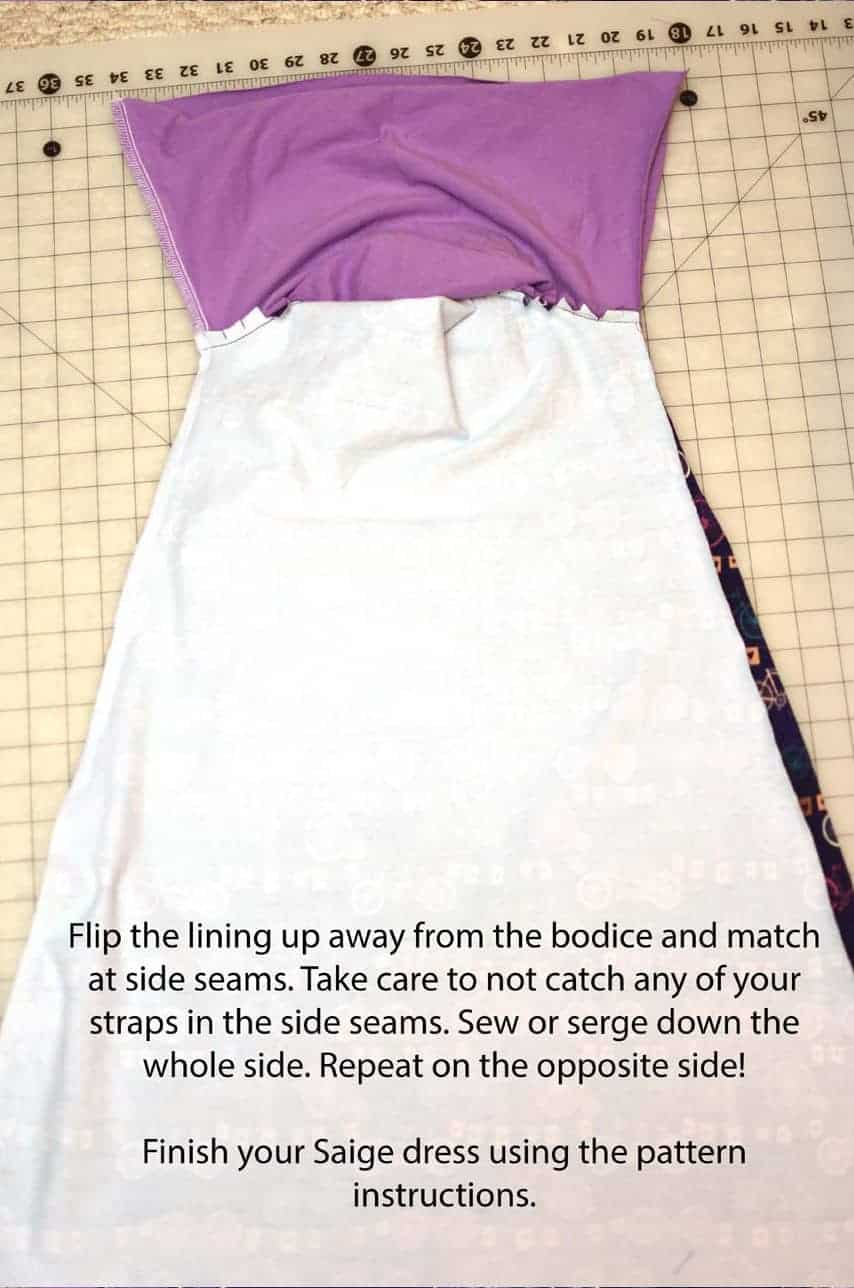
Finally, flip your lining up and away from the bodice and match at side seams. Sew or serge from the bottom of the lining edge to the hem of the skirt. Repeat on the other side. Take care not to catch any of your strap in the side seam.
Finish the rest of your Saige dress following the pattern tutorial!
Make sure you share your modified Saige’s with me in the Simple Life Patterns Fan Group!