How to Add an Apple Pocket to your Favorite Dress
Hey everyone! I am Kristen and I am on the blog today to show you all how to add an apple pocket to any gathered dress skirt! This month’s SLPco. Monthly Challenge is Back to School themed, so I thought this tutorial would be a perfect, but easy, way to give our creations a B2S feel!
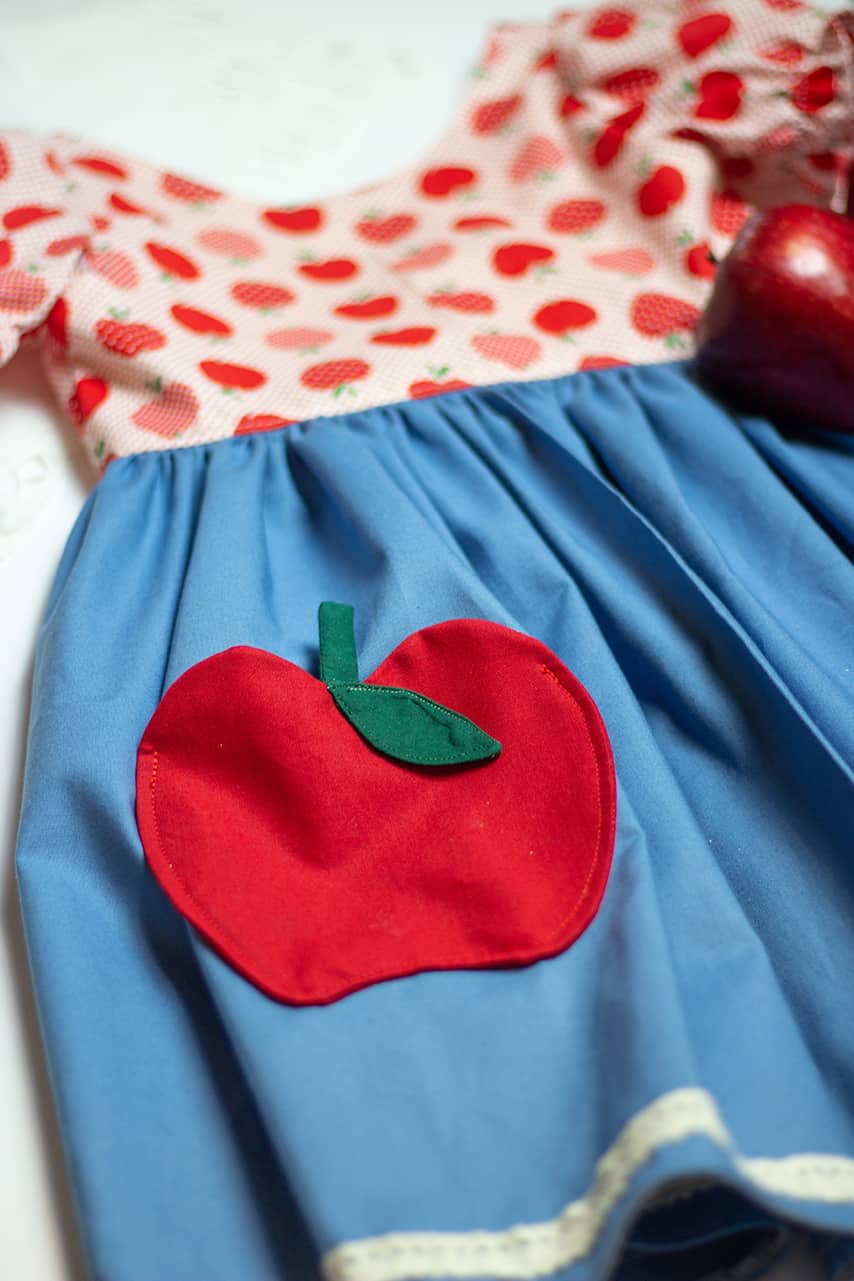
For my version, I used a Molly bodice with Pearl puff sleeves and skirt (links for Baby Molly and Baby Pearl). A Molly/ Pearl mashup is one of my favorite combos and I just think it is perfect for back to school!
Are you ready to make an Apple Pocket of your own?!
 What You Will Need:
- A SLPco. dress pattern that has a gathered skirt
- The Apple Pocket Pattern pieces (comes in three different sizes: 3-24m, 2-7, and 8-12)
- Fabric and matching thread
- Pins
- Measuring Tape
- Scissors
Download Apple Pocket Here
Go cut your apple pocket pieces out AND your front skirt and let’s get started!!

Take the stem fabric piece and fold it in half lengthwise RTS. Press.
Sew around one short raw edge, turn, and down the long raw edge.
Cut a notch or ‘v’ in the corner that is sewn.
Turn the stem inside out and press. Set it to the side.

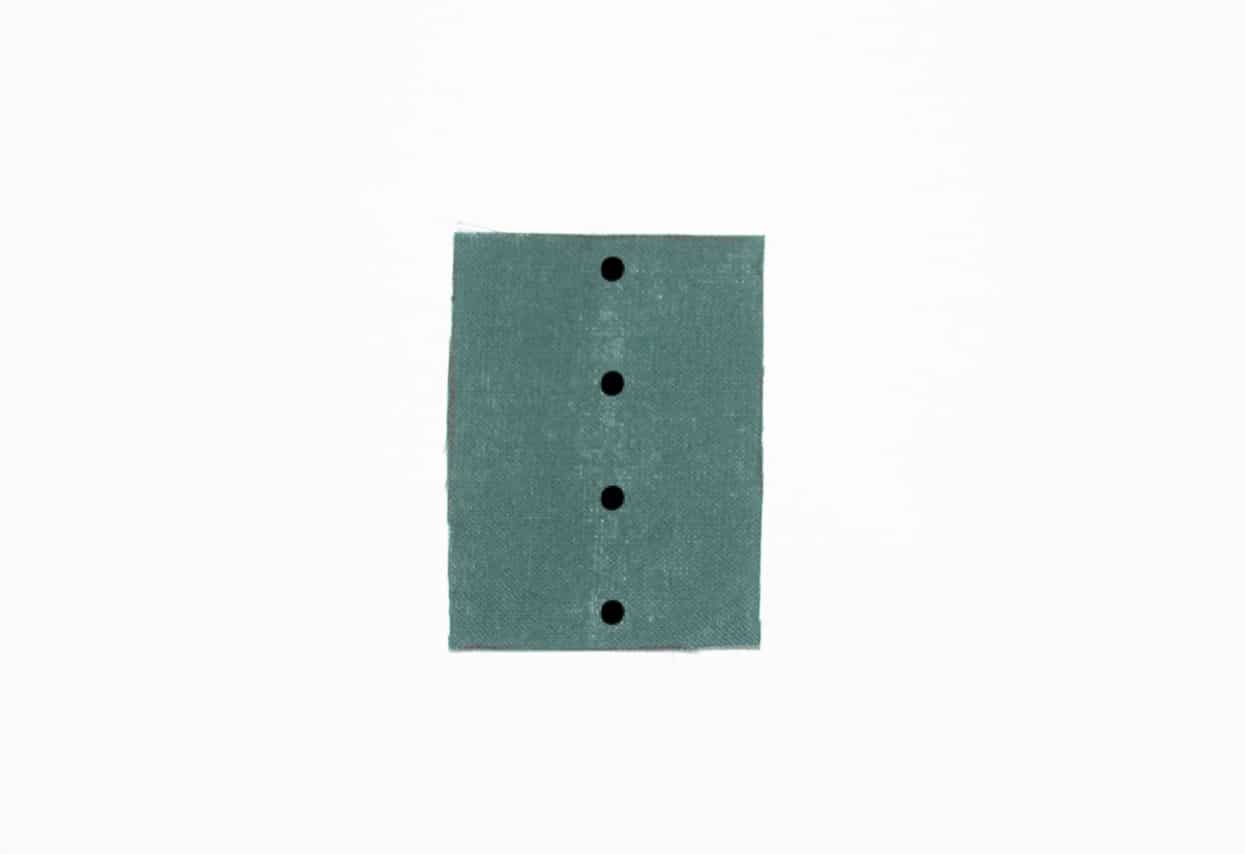
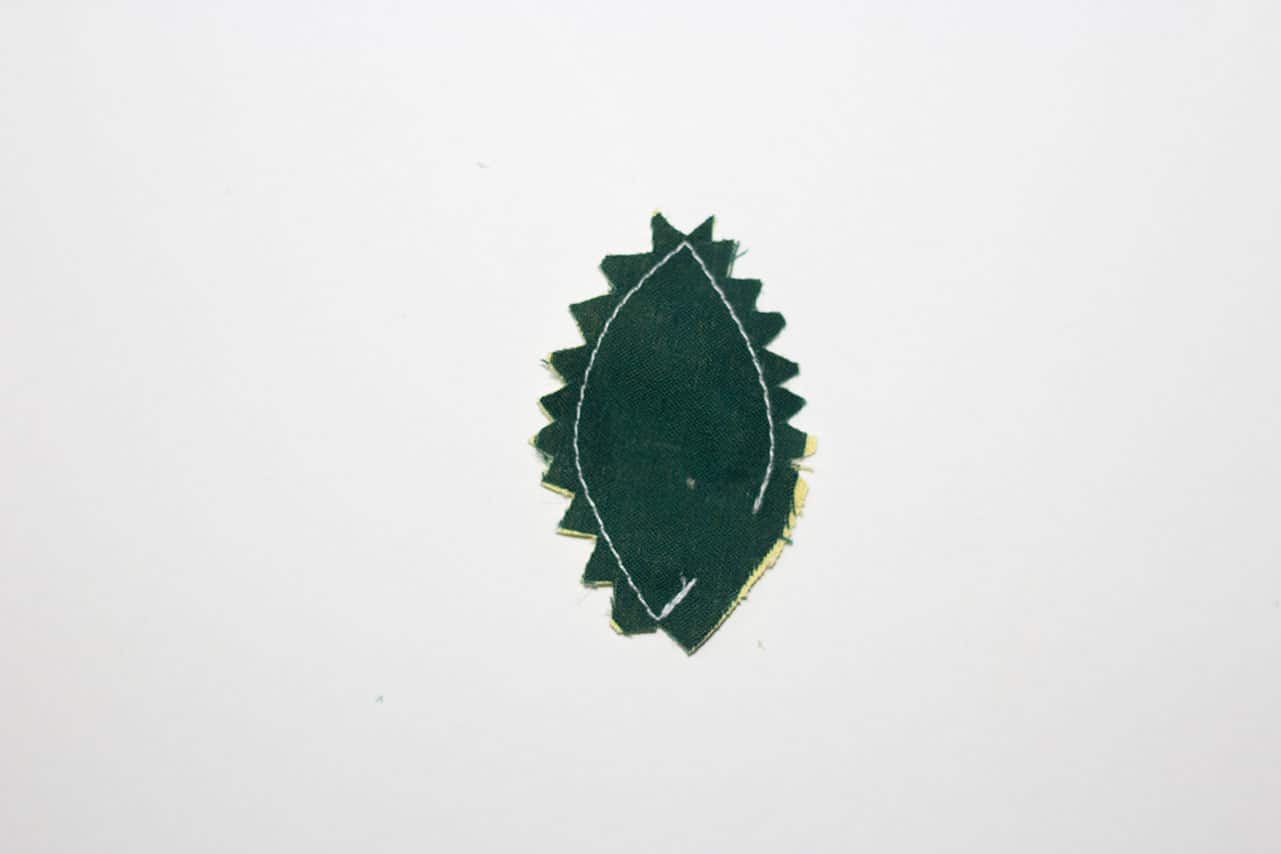
Take your leaf main and leaf lining and lay them on top of each other RTS.

Transfer the markings from the leave pattern. I chose to use pins to mark it

Sew the leaf main and lining together leave the small gap between the two markings open. Note: use a smaller stitch when sewing to get the best leaf shape.
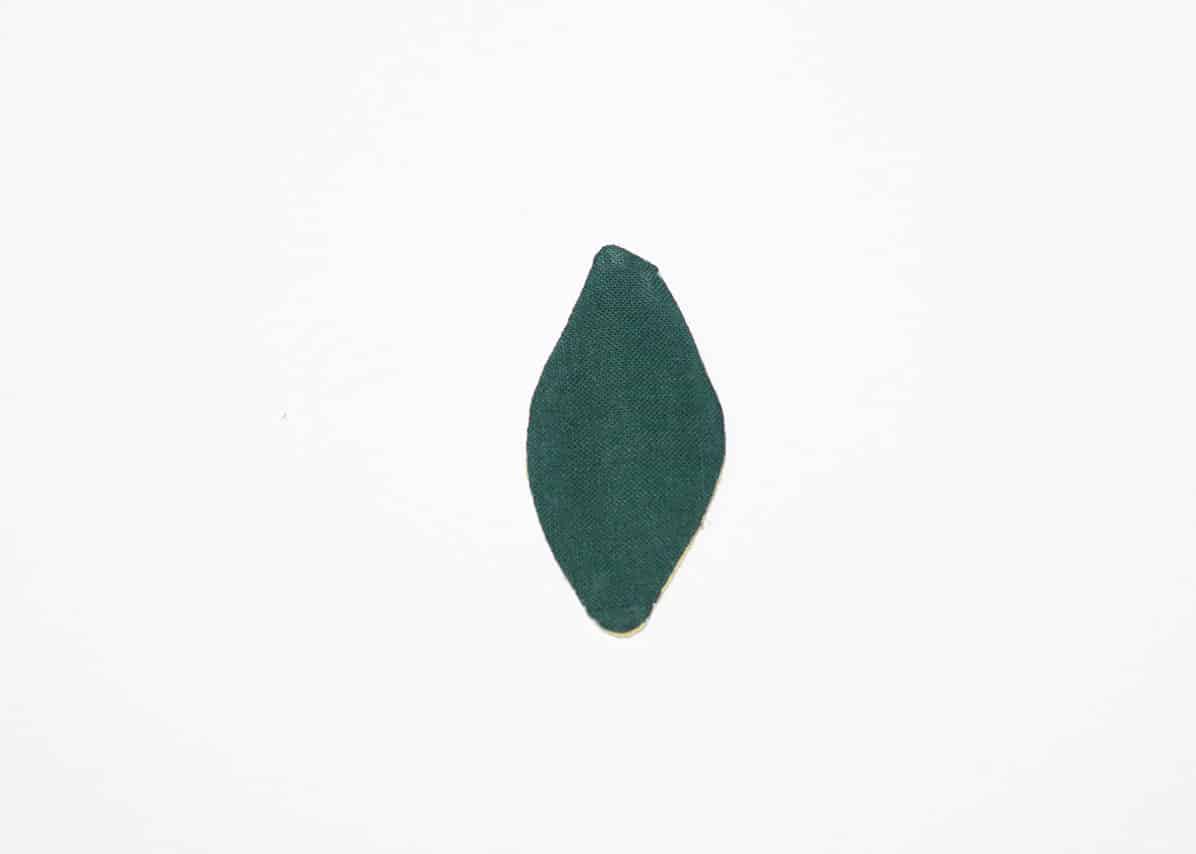
Cut notches around your seam allowance. Do not notch or cut the unsewn gap.
Turn your leaf inside out through the gap. Tuck in your gap seam allowance and press flat. Make sure you are molding your leaf to get the appropriate shape. Set it to the side.
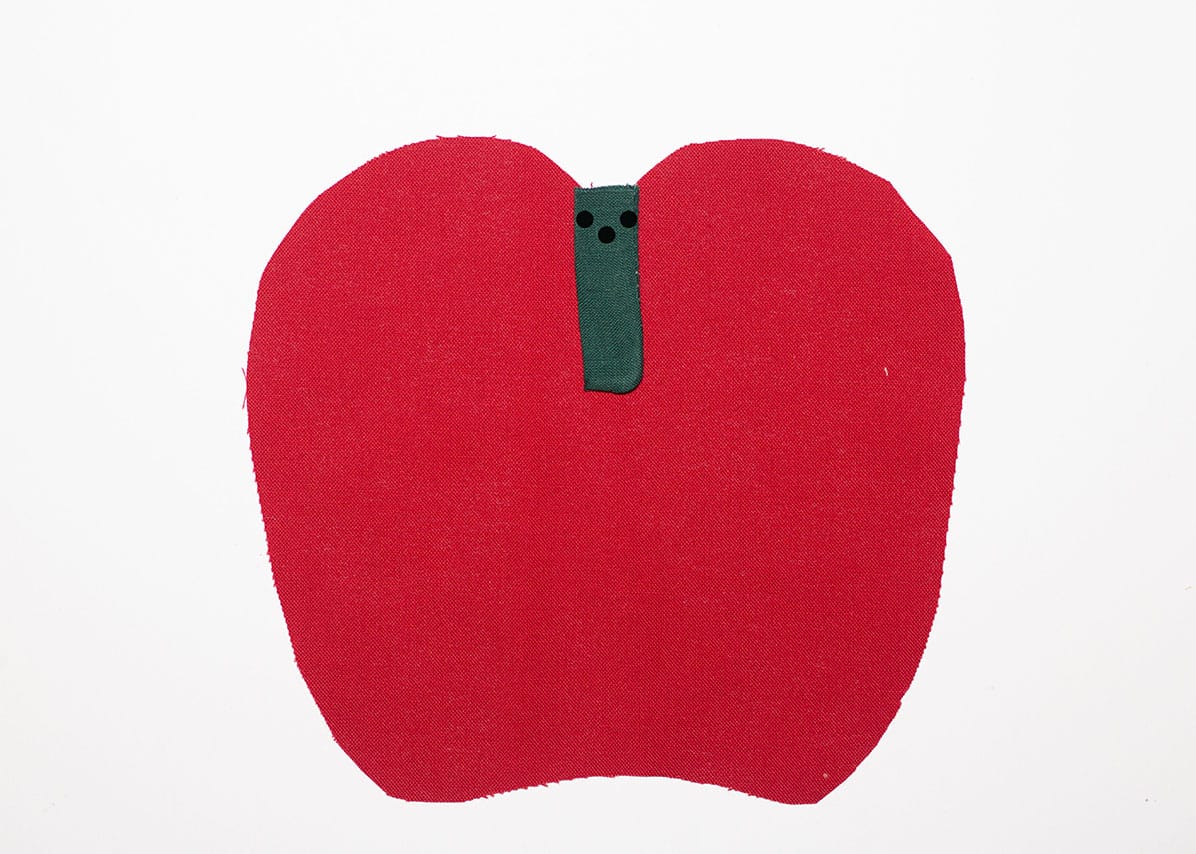
Take your apple main and lay it right side up. Place your stem, raw edge up, at the apple’s ‘v’ where the unfinished corners are lined up with the edge of the apple. Sew using a ⅛” seam allowance.
Lay the apple lining on top of the apple main RTS.
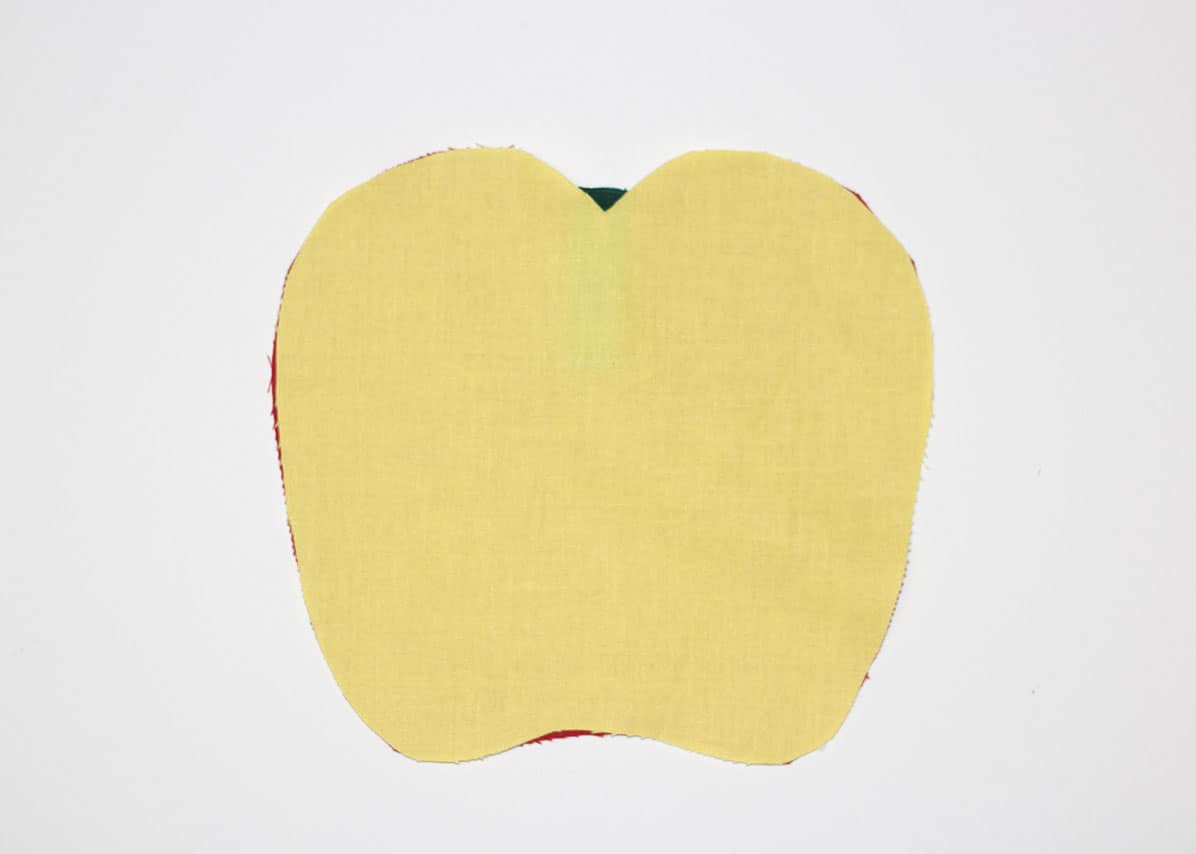
Transfer the markings from the apple pattern. I chose to use pins to mark it.
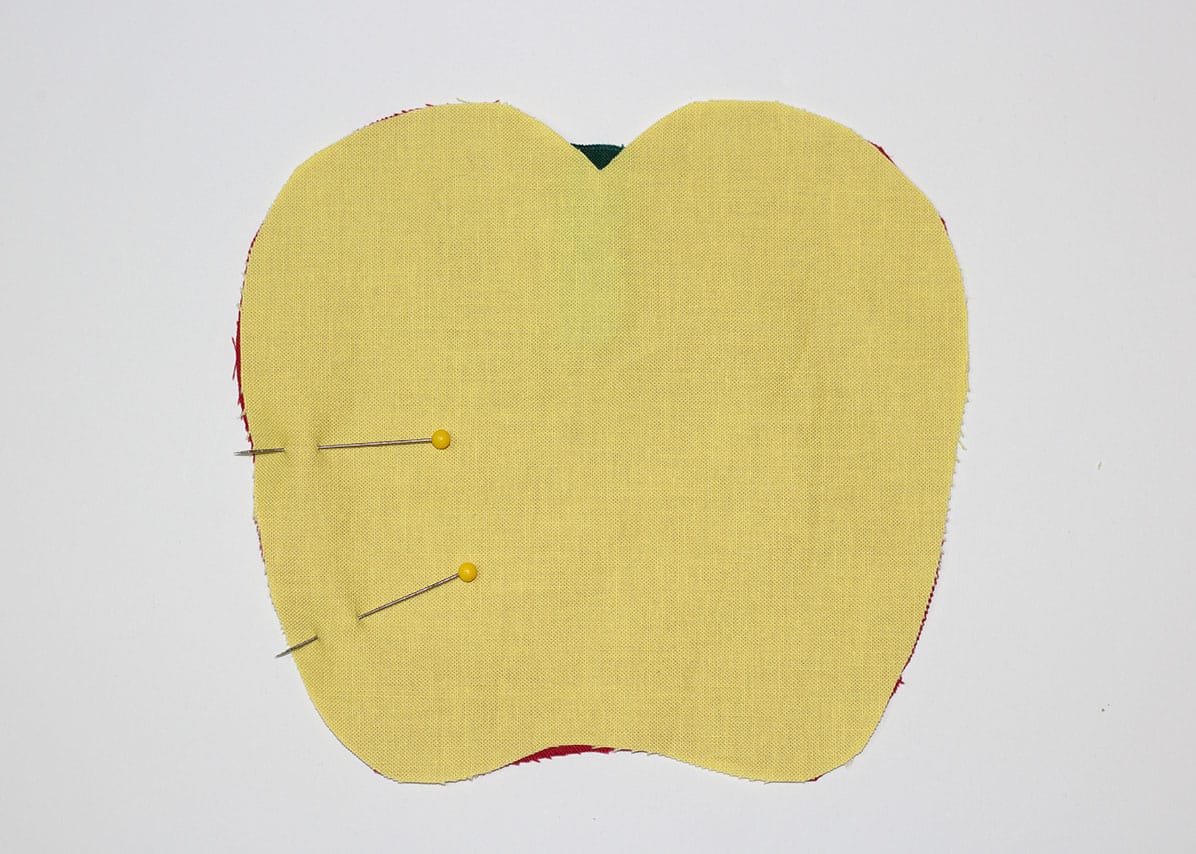
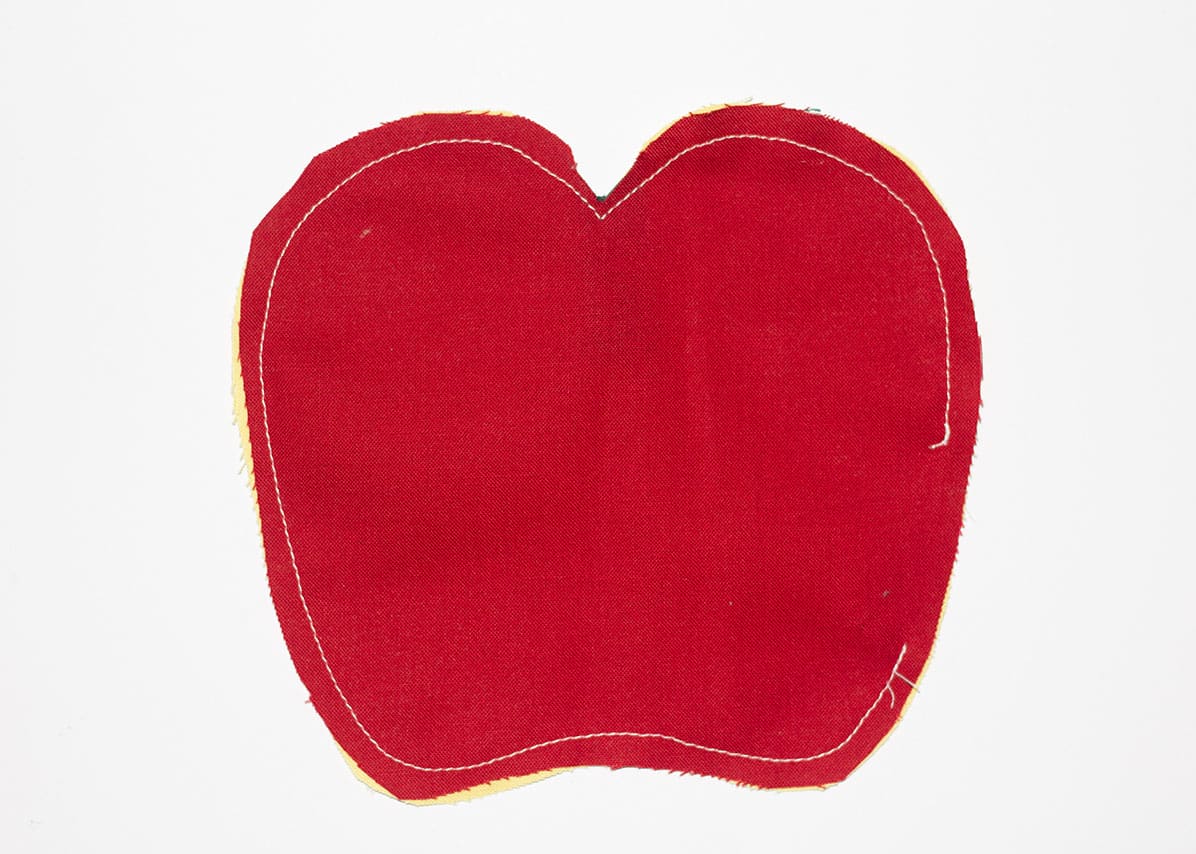
Sew the main and lining together leaving the small gap unsewn. Note: use smaller stitches when sewing to get the best apple shape.

Clip a ‘v’ through both apple layers and the seam at the top of the apple. Cut notches around your seam allowance. Do not notch or cut the un-sewn gap.
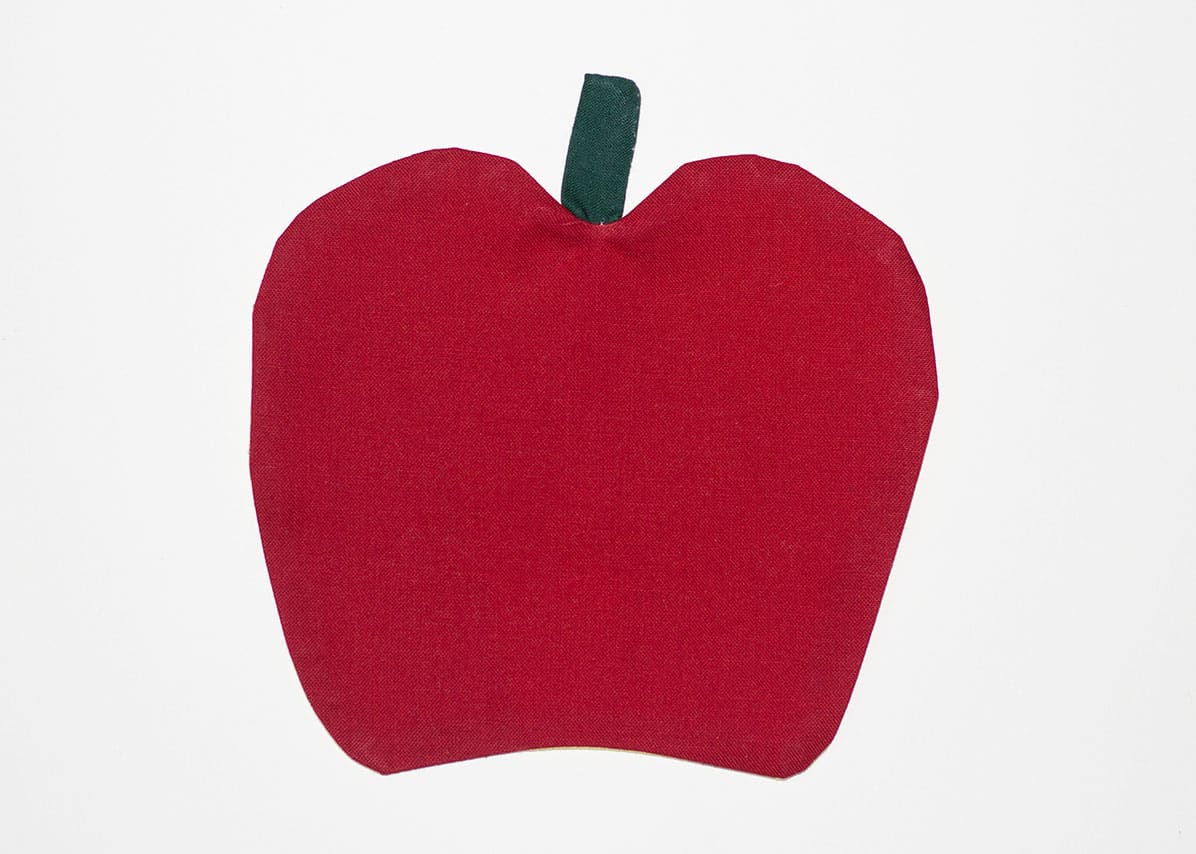
Turn your apple inside out through the gap. Fill it out, pressing while you go. Tuck in your gap seam allowance and mold it to match the opposite of your apple. Press. Take your time to get the best apple shape.
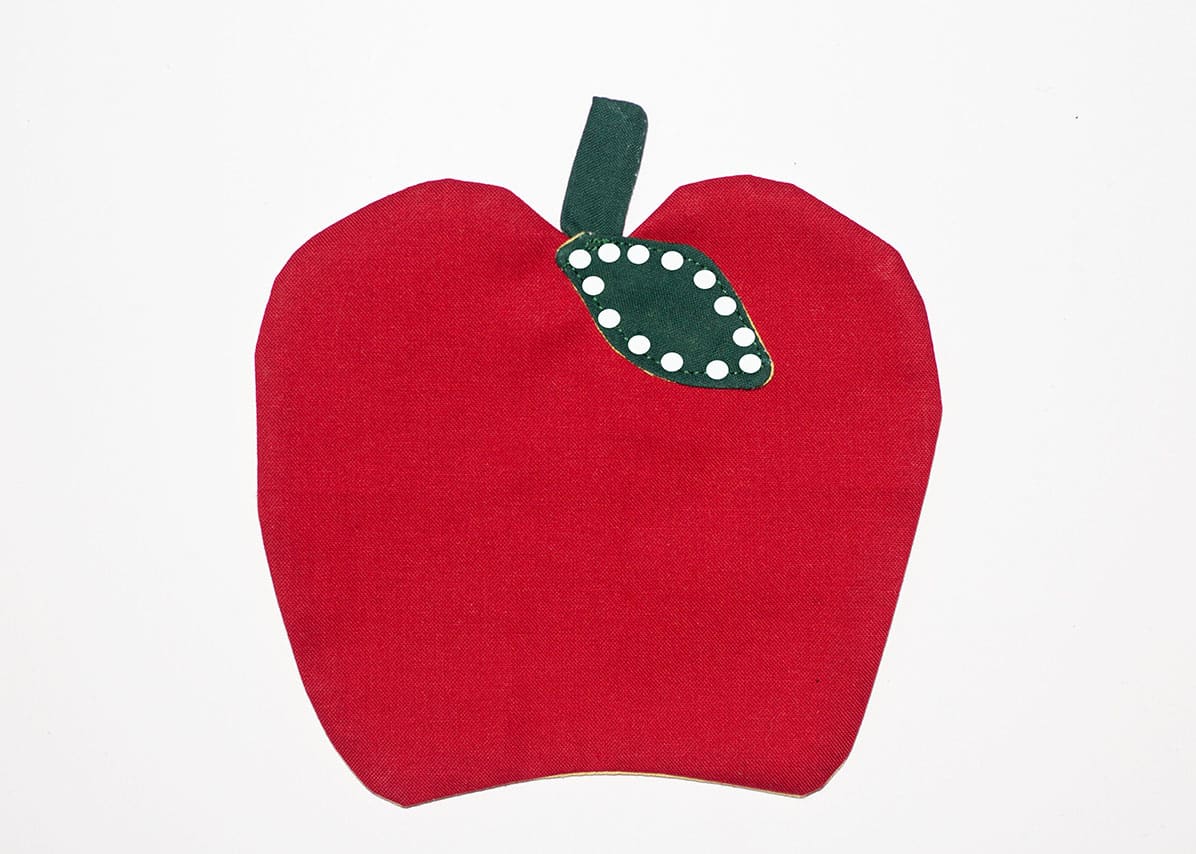
Pin your leaf right where your stem and apple meet. Top stitch it to the apple.
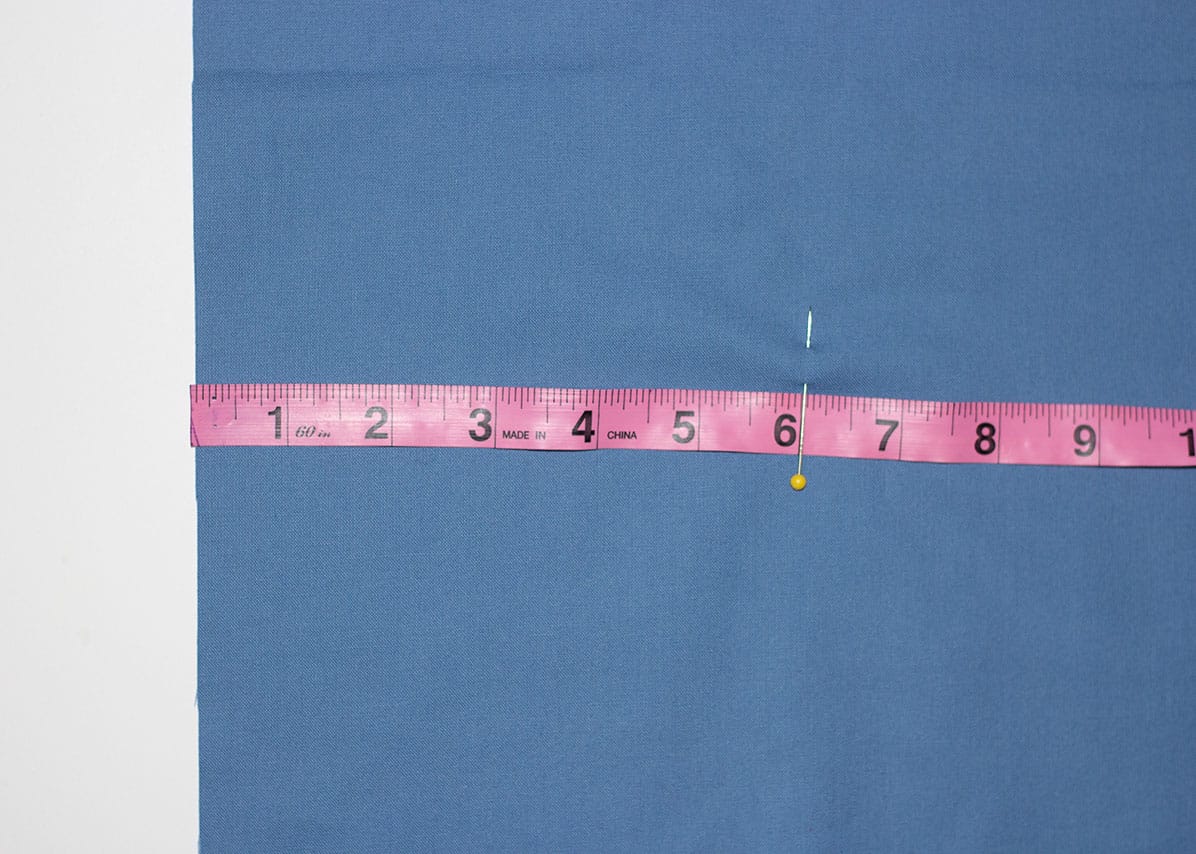
Take your skirt and measure 6” from the short edge on the left side (right side up). Place a pin.
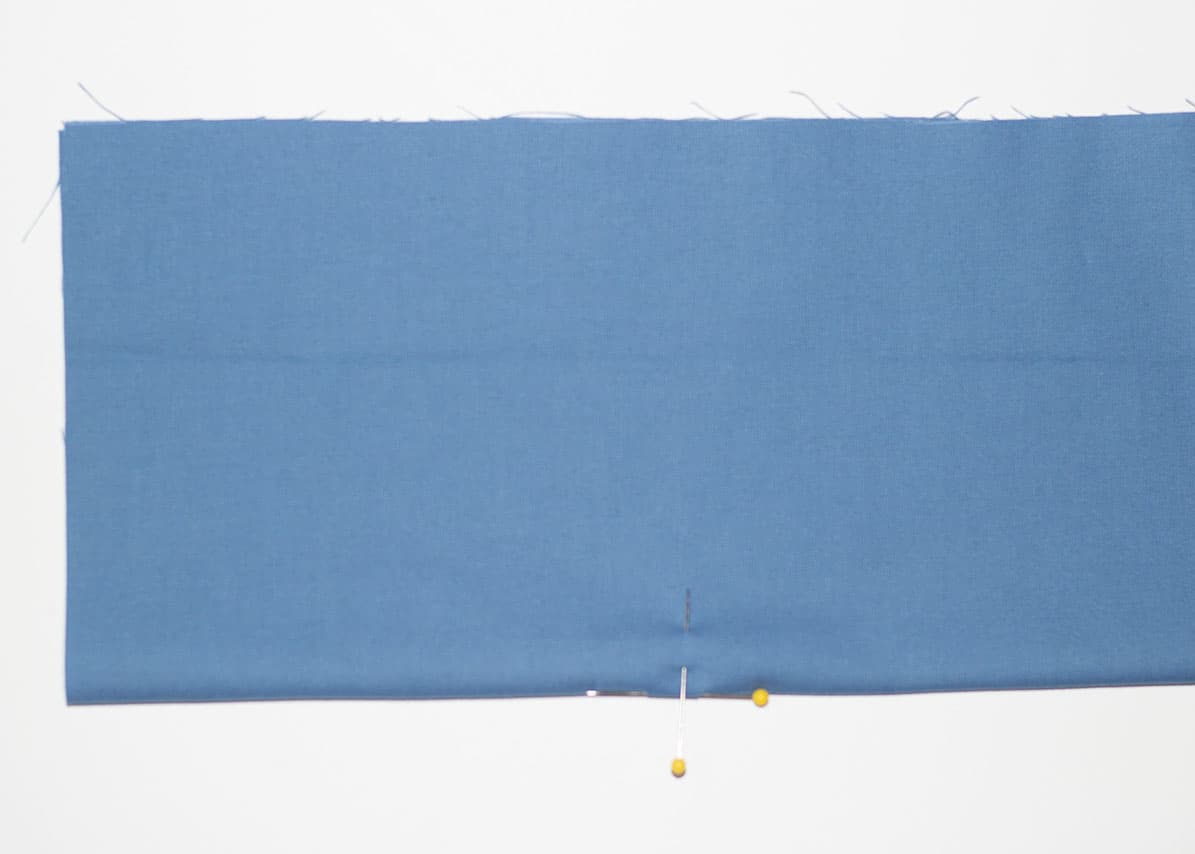
Fold your skirt in half WST. Place a pin on the fold.
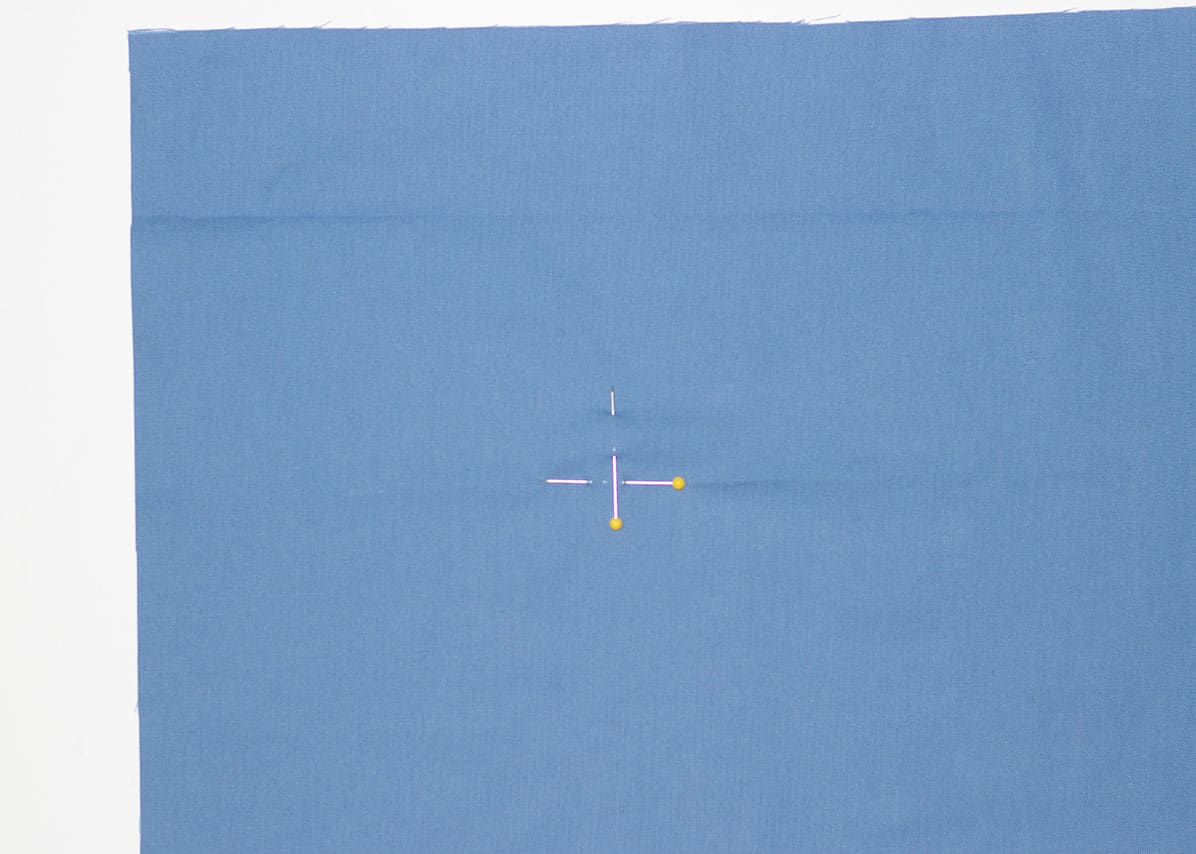
Open your skirt back up and lay it right side up. Move your vertical pin to intersect the horizontal pin (keeping it 6” from the edge).
Fold your apple in half and hand crease it. 
Line your apple crease up with your horizontal pin and lay your apple up against the vertical pin. Pin your apple in place making sure it is sitting straight.
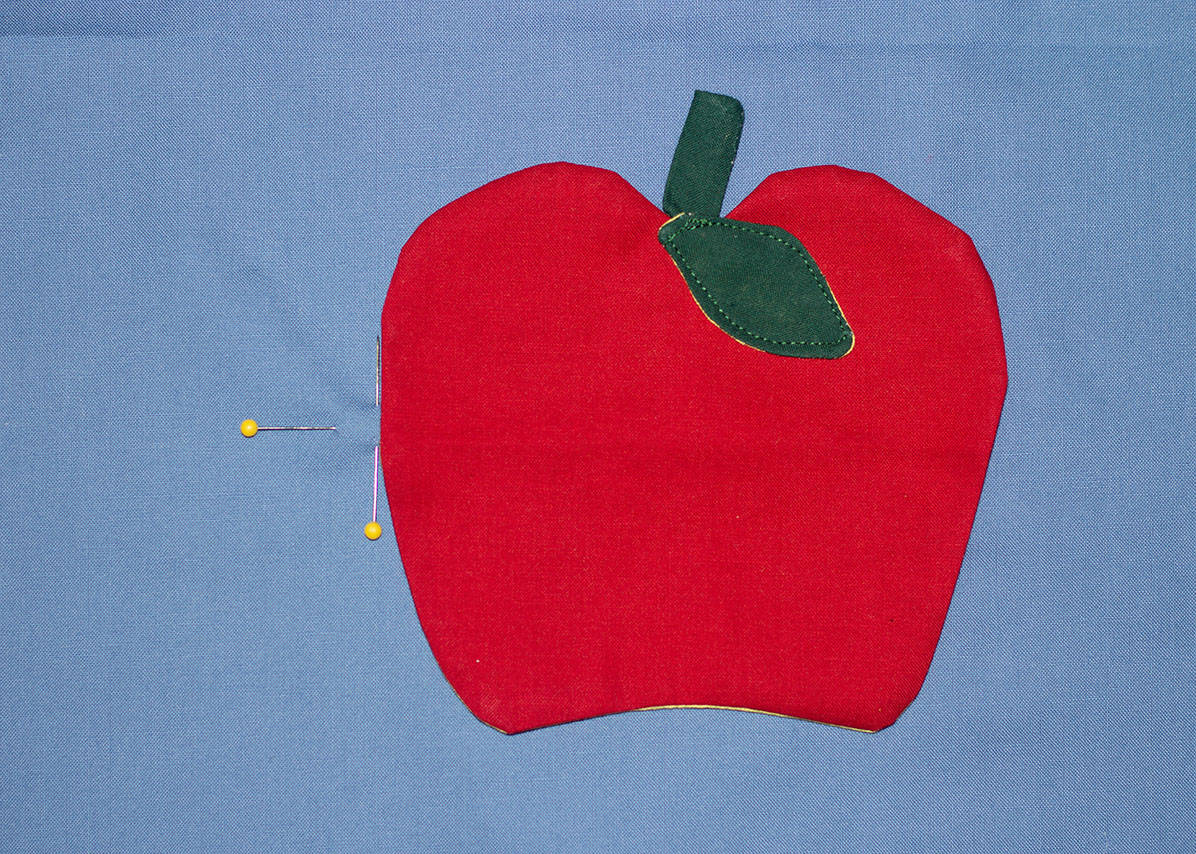
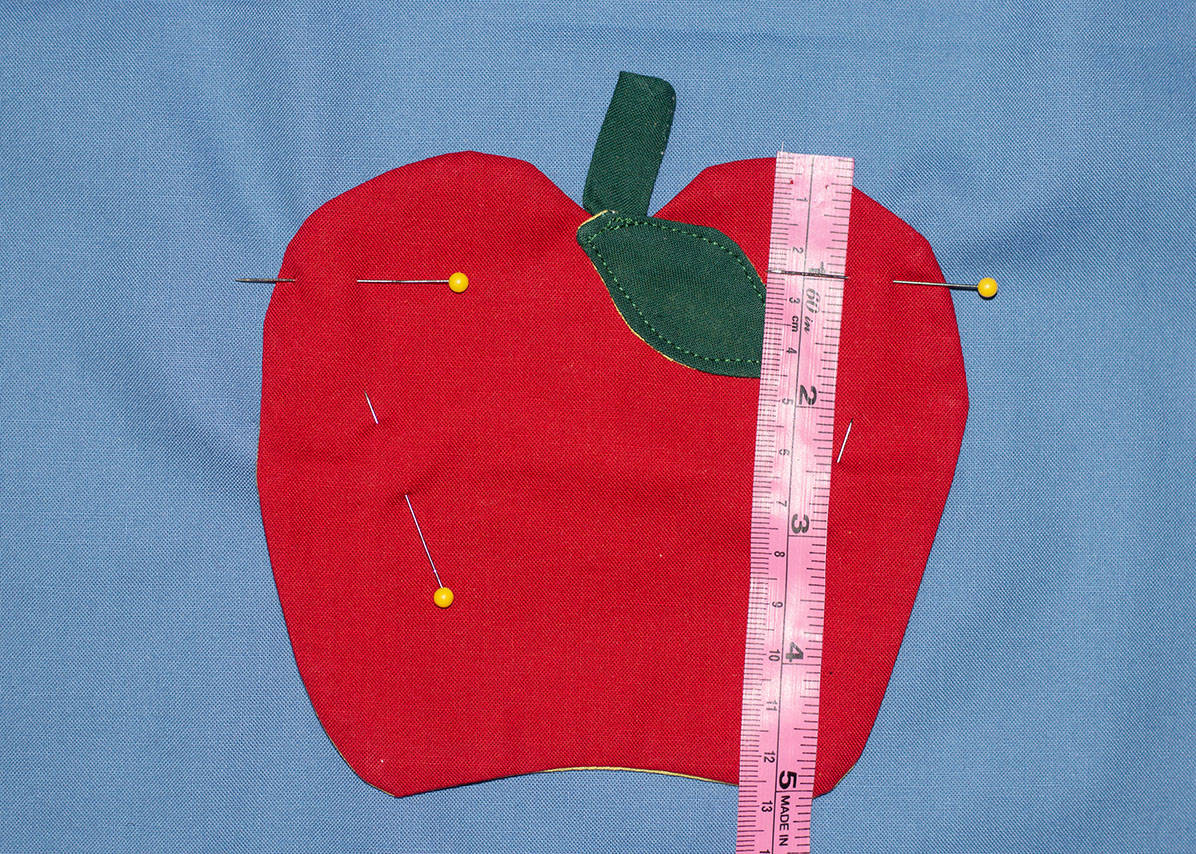
Measure 1” from the top of your apple on the left side and place a pin.

Repeat for the right side.
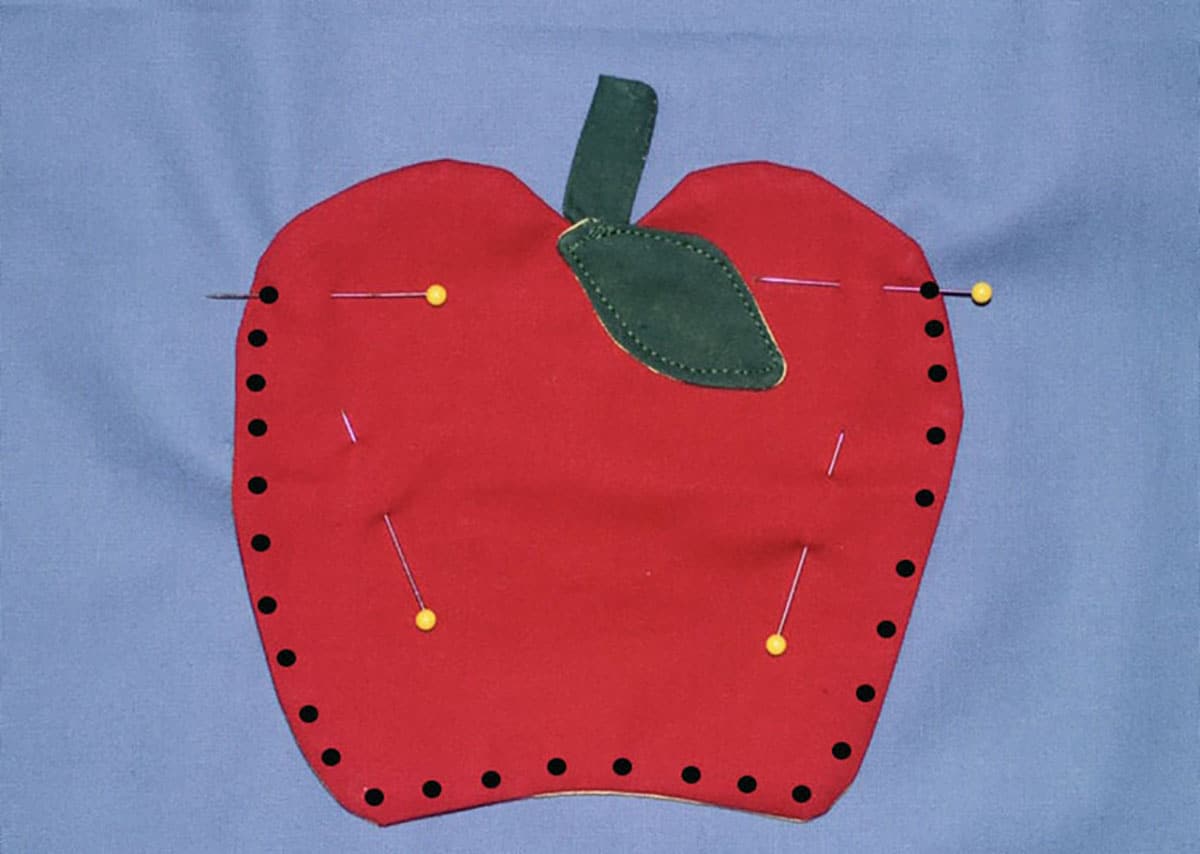
Stitch around the bottom half of the apple from pin to pin.
Complete the skirt as the pattern you are following instructions!

Once you are finished, be sure to snap a picture and share them in the SLPco. Facebook Group! And if you used one of the B2S featured patterns, be sure to use the #SLPCOchallenge in the Facebook group or Instagram for a chance to win shop credit!!
Enjoy!