FREE Black Eyed Susan Embroidery Pattern Tutorial
Hello friends! Tamar here from Tamar Hope Designs. I am thrilled to be able to share with you my very first embroidery pattern.
A lot of love went into making this pattern, and I hope you like it as much as I do!!!!!! Embroidery creates a calm and slow space in my life, and that’s why I love it so much. With all the hustle and bustle in life, it gives me calm to sit down and mindfully and intentionally work at creating something beautiful. I’d love to share that calm and beauty with you! So, grab your embroidery thread and join me with this FREE embroidery pattern!
Supplies:
- Fabric. (I love embroidering on linen, but any woven fabric will work for this project). Note: If you want to make your embroidered design into an item of clothing, make sure that your fabric piece is large enough for your desired clothing pattern piece. I used the Mila pattern.
- The FREE pattern
- Solvy or a water soluble pen
- An embroidery hoop. (I used an 8 inch hoop)
- Embroidery needles. (A straw needle is great for the french knots and the bullion stitch, but it is not totally necessary)
- DMC embroidery thread (stick with DMC. Sometimes the colors of other brands will bleed when washed.)
Step 1: Transfer Pattern to Fabric
First, you will need to transfer the pattern to your fabric. My favorite way to get the pattern on the fabric is using Sulky Solvy. With Solvy, you simply print your pattern on the Solvy with your home printer. Then you peel off the paper backing and stick it to your fabric. When you’re done stitching, you simply rinse off the Solvy. It’s amazing! If you don’t have Solvy, you can also hold the fabric and pattern up to a light source (like a window or light box) and trace the pattern onto your fabric using a water soluble pen like a Frixion Pen.
Step 2: Hoop the Fabric
After your pattern is transferred to your fabric, simply place your fabric in your embroidery hoop. Make sure the fabric is taught.
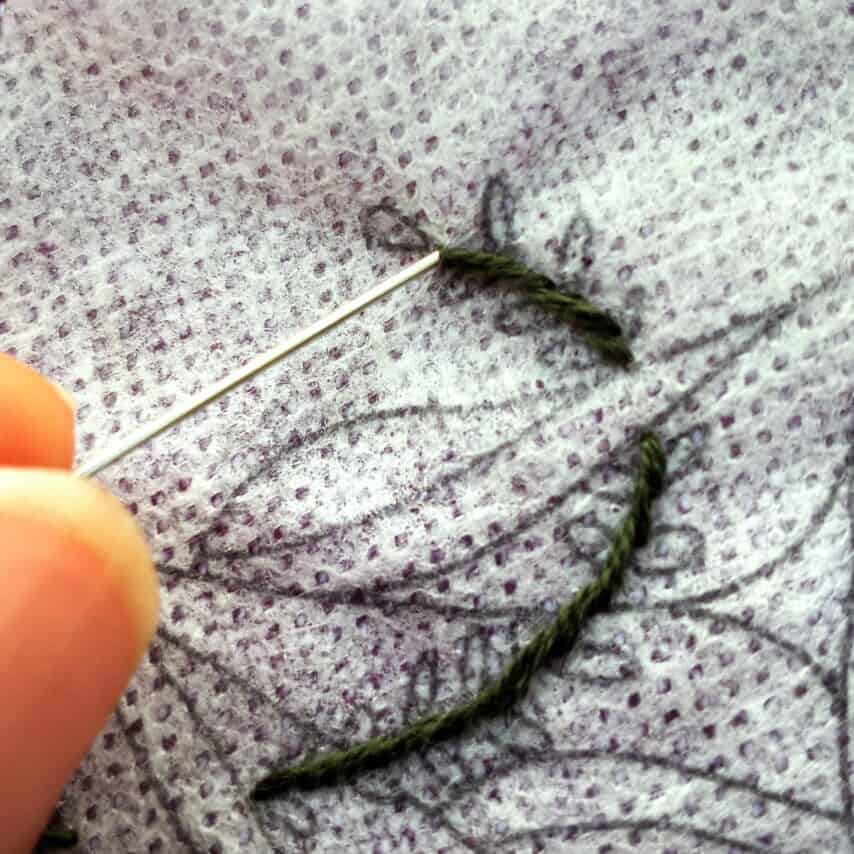
Step 3: Stitch the Stems
Now the fun begins!!!! Start with the stems of the flowers. Stitch them using 3 strands of floss and the stem stitch.
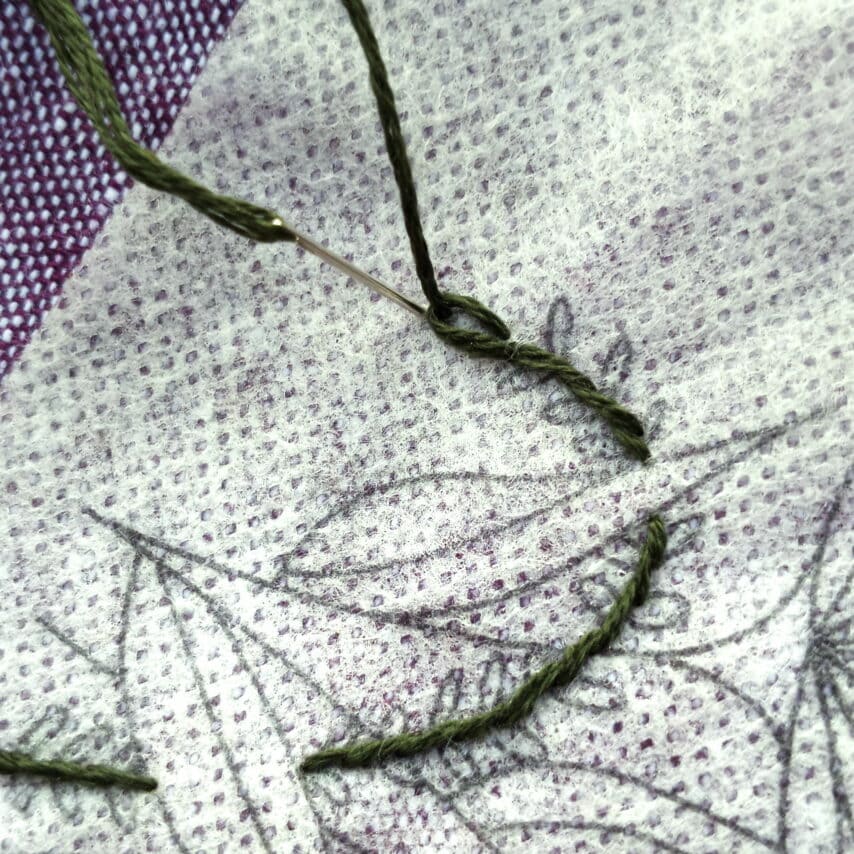
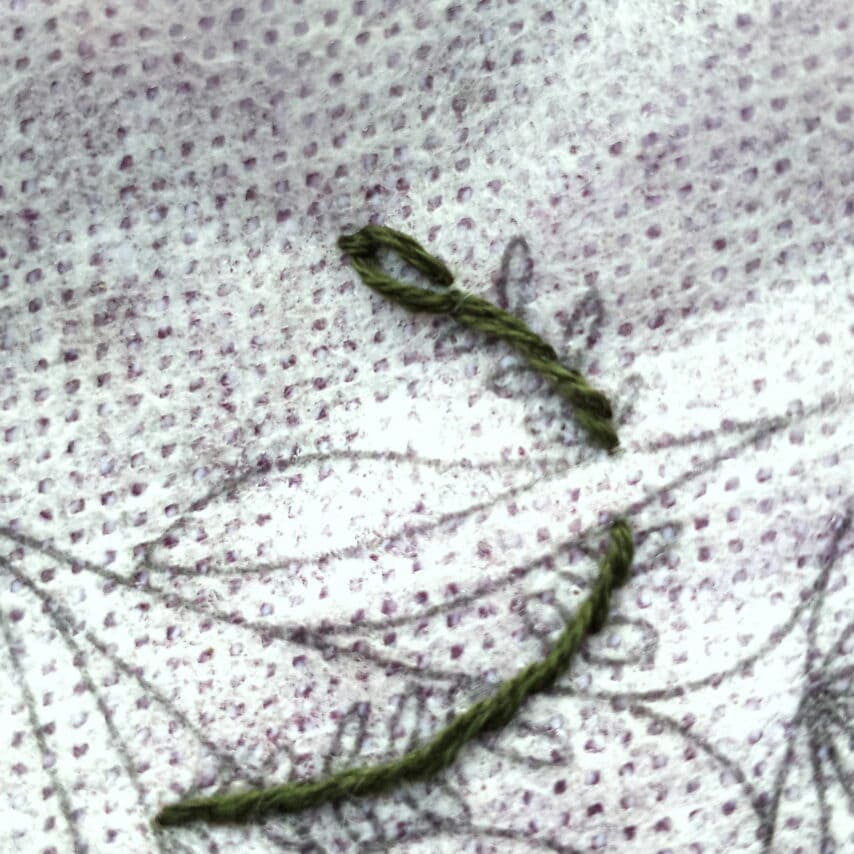
To do the stem stitch, come up at the beginning of your stem.
Go down one stitch length down the stem, but don’t pull the thread all the way through.
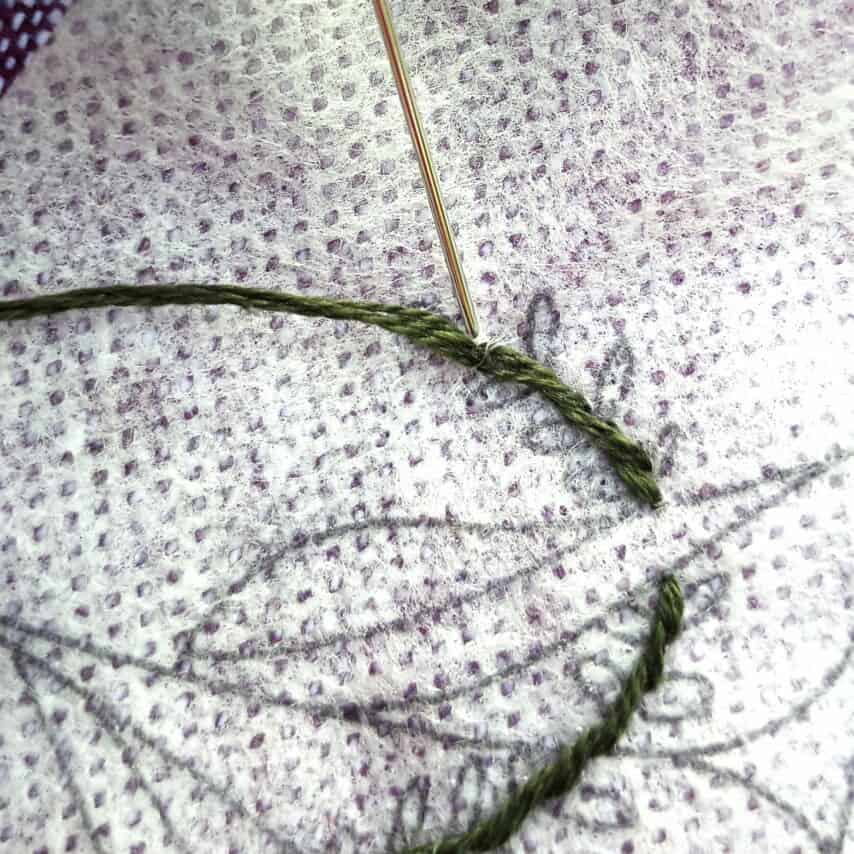
Come up halfway between the beginning and end of your stitch.
Pull the thread all the way through.
Repeat by going down one stitch length from where you came up. Again, don’t pull the thread all the way through.

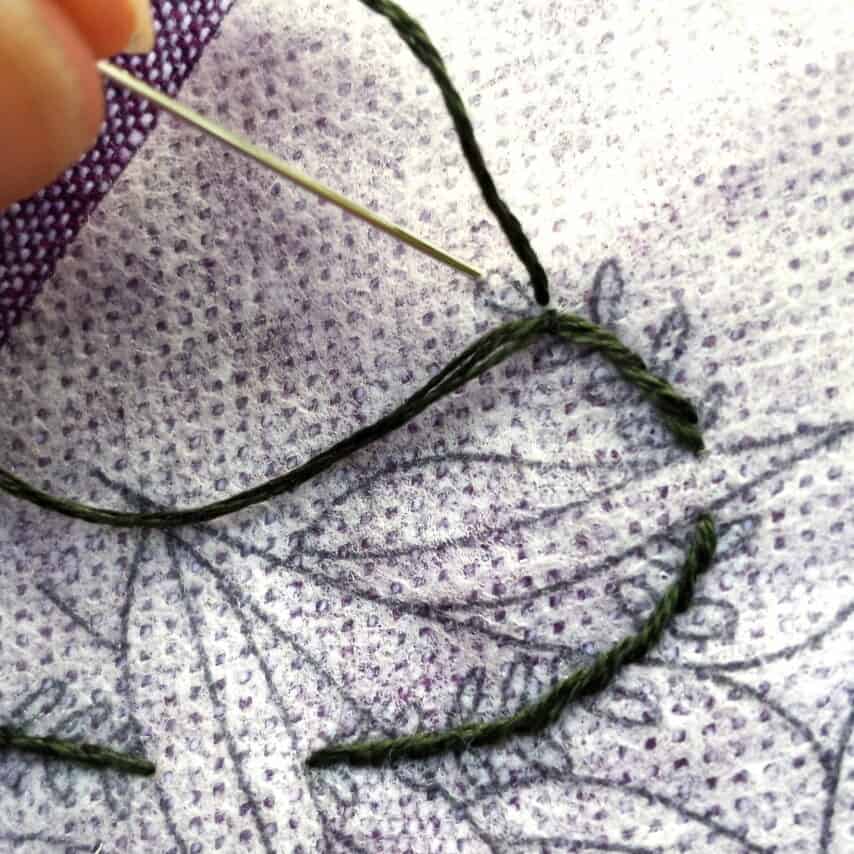
Come up again halfway between the start and end of your stitch.
Continue until you reach the end of the stem.
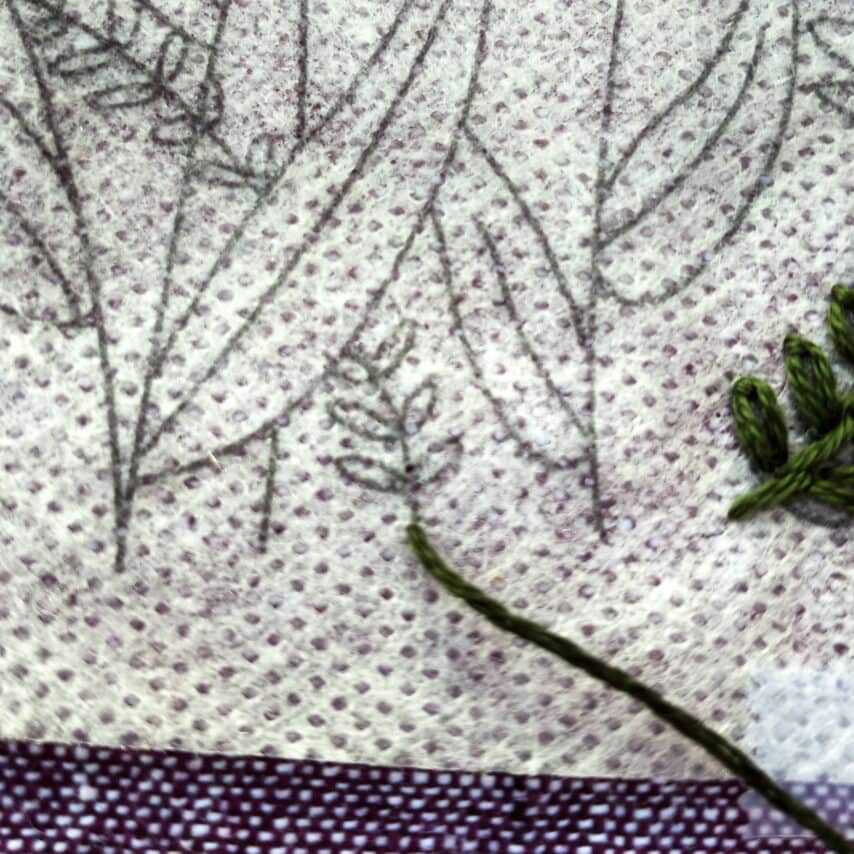
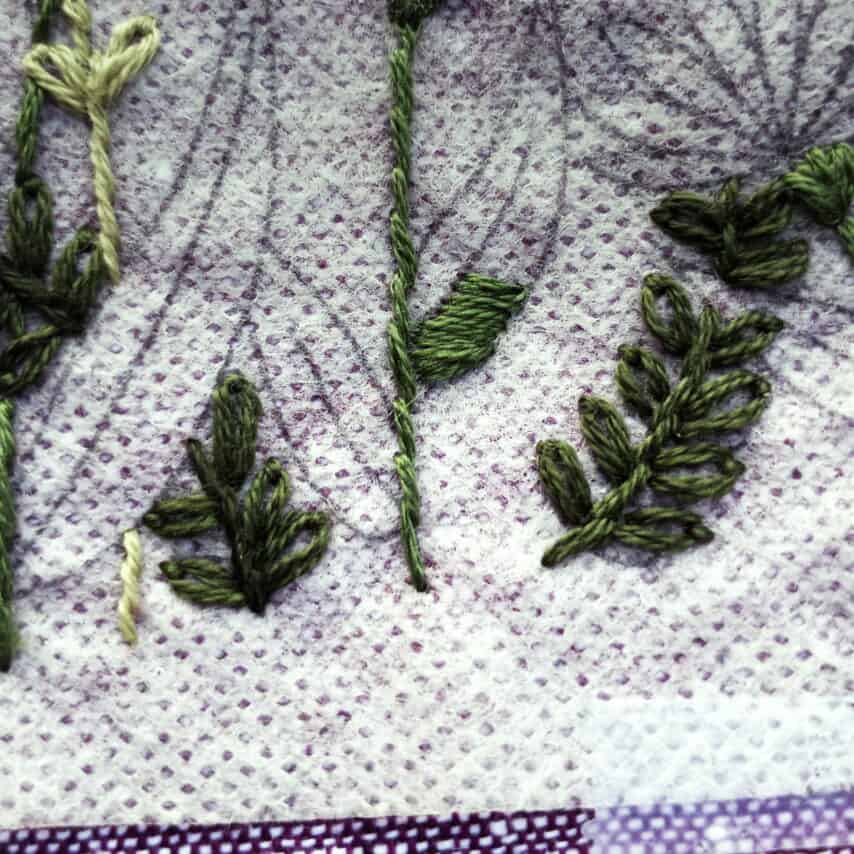
Step 4: Stitch the Leaves
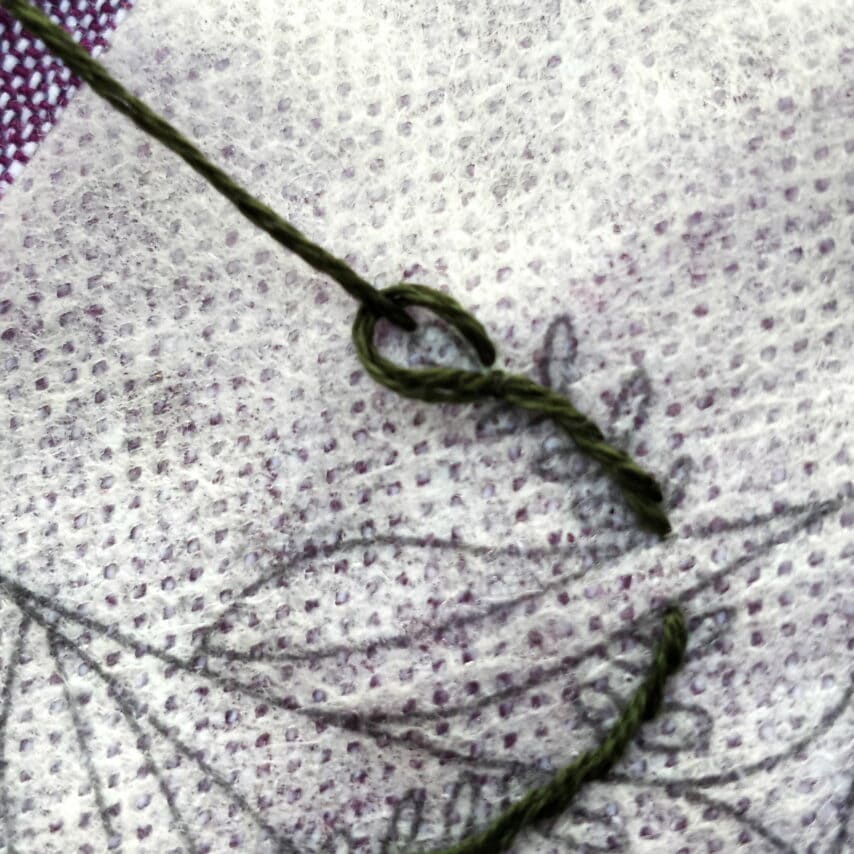
Next stitch the small leaves using 3 strands of floss and the lazy daisy stitch.
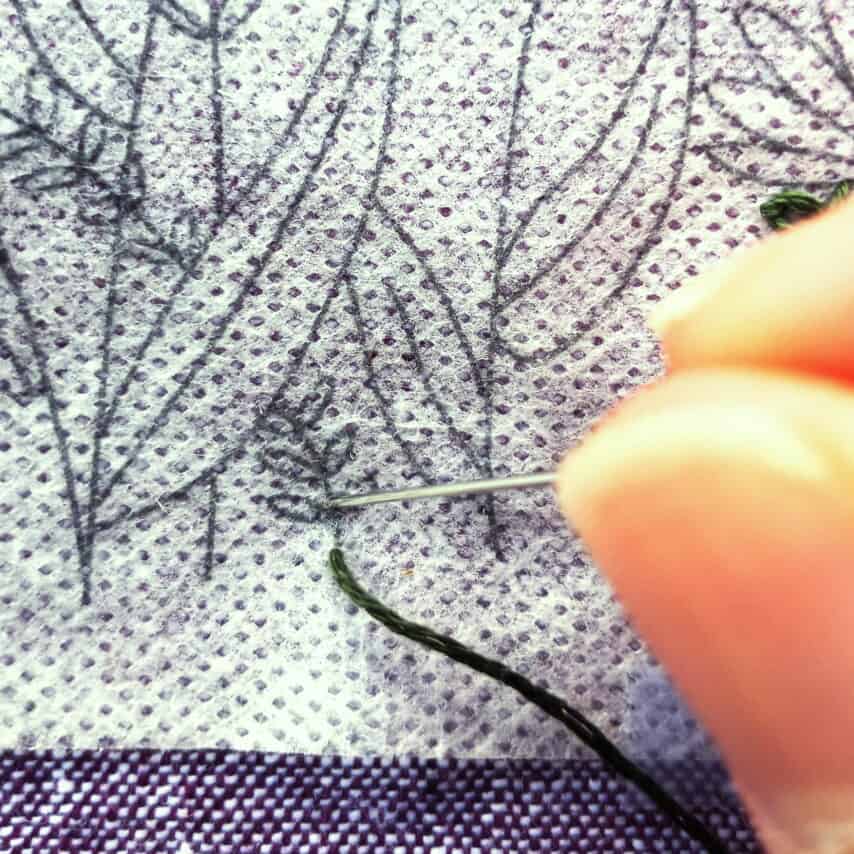
Come up at the base of the leaf.
Go back down right next to the point where you started, leaving a loop of thread.
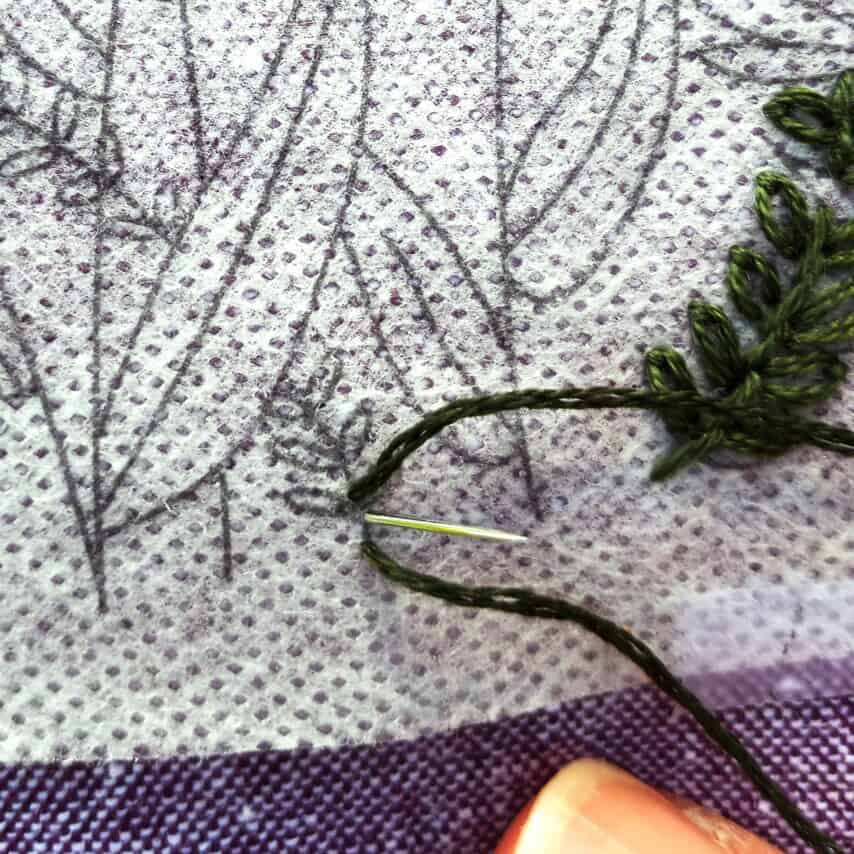
Come up at the opposite end of your leaf.
Pull the thread through, leaving a loop for the leaf.
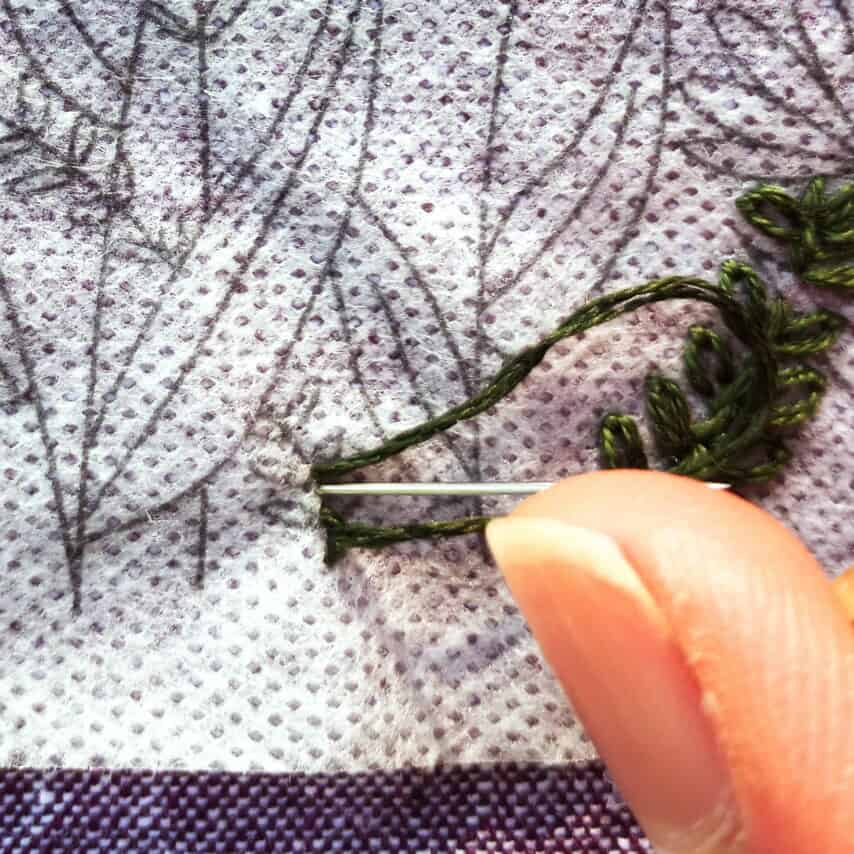
Go down on the other side of your thread, fastening the loop in place.
Pull tight.
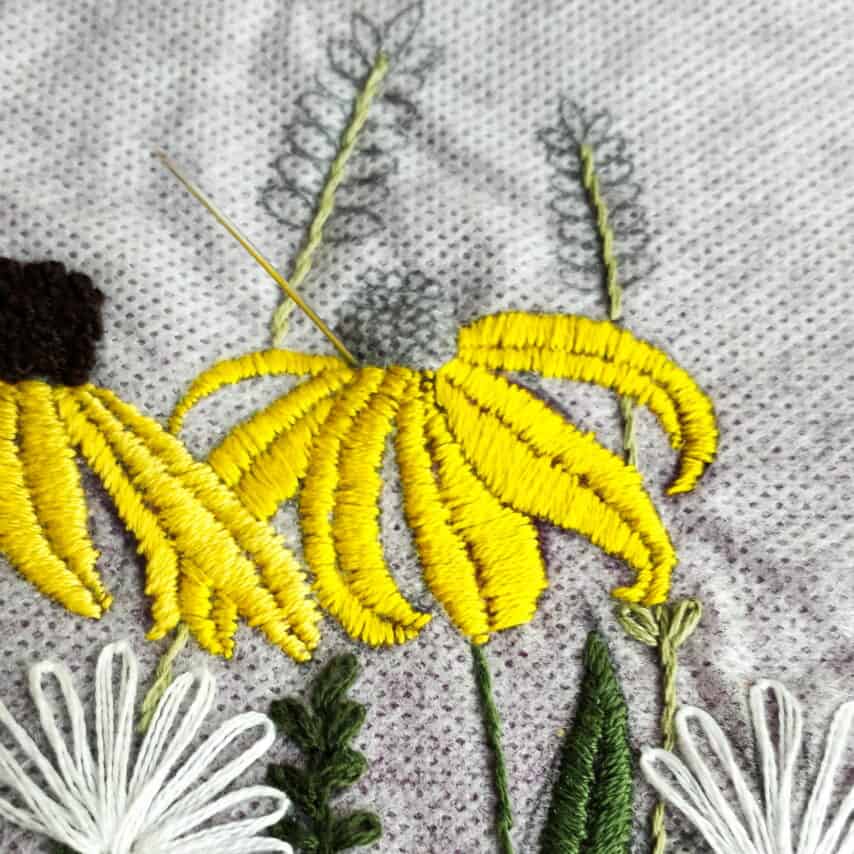
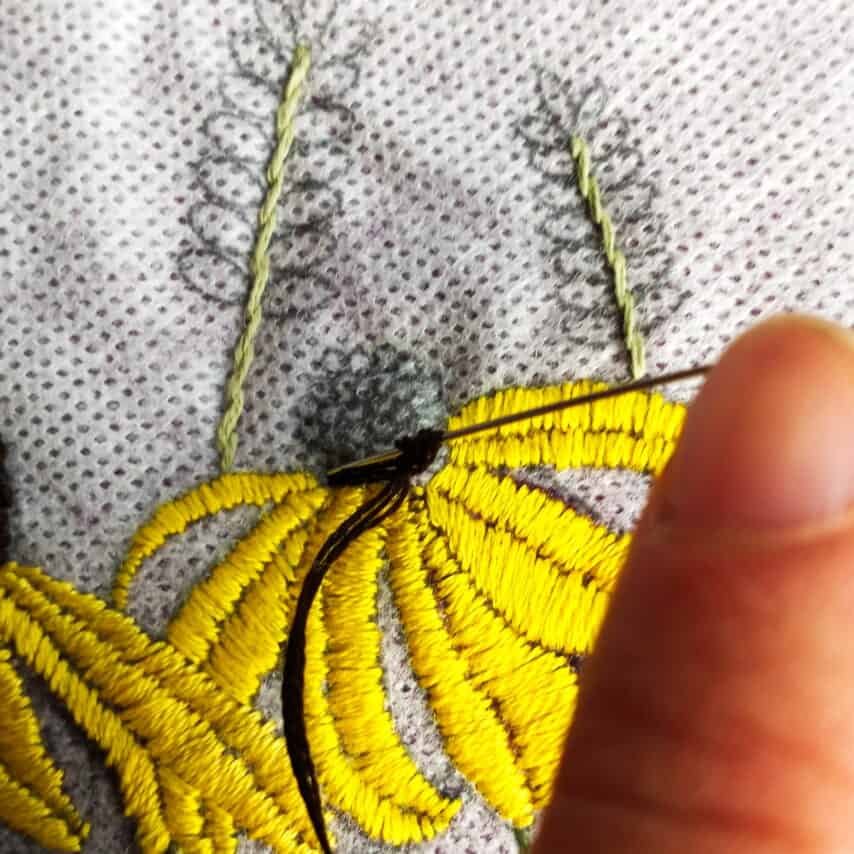
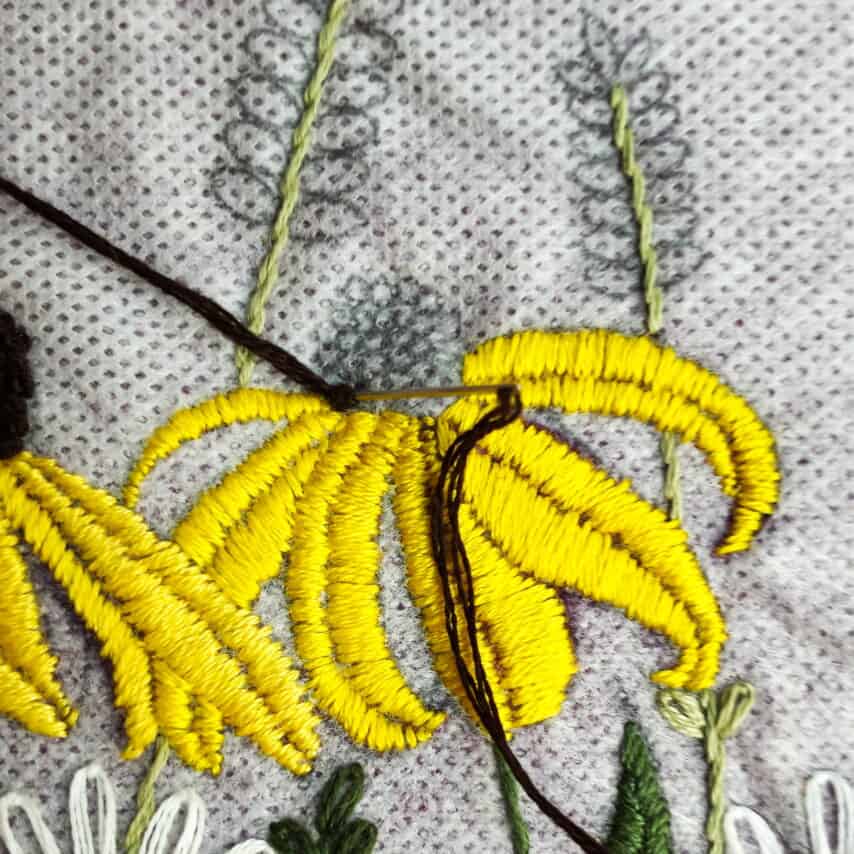
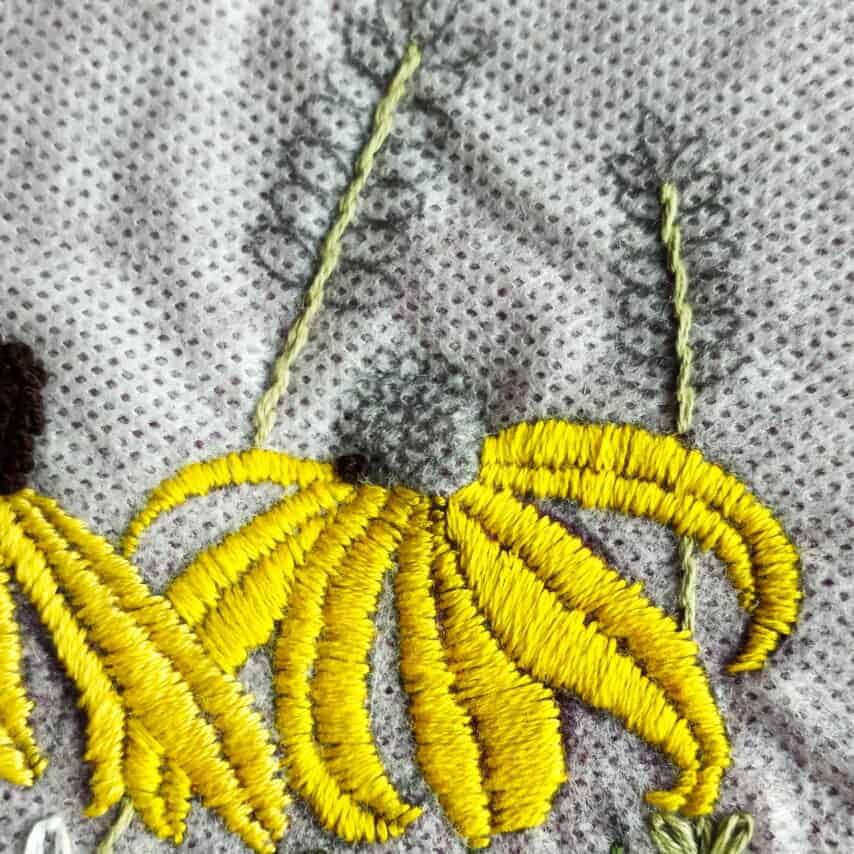
Step 5: Stitch Large Leaves, Petals, and Bottom of the Daisies
Next use 2 strands and the satin stitch to stitch the large leaves, petals, and bottom part of the daisies.
To stitch the satin stitch, come up on one side of your shape.
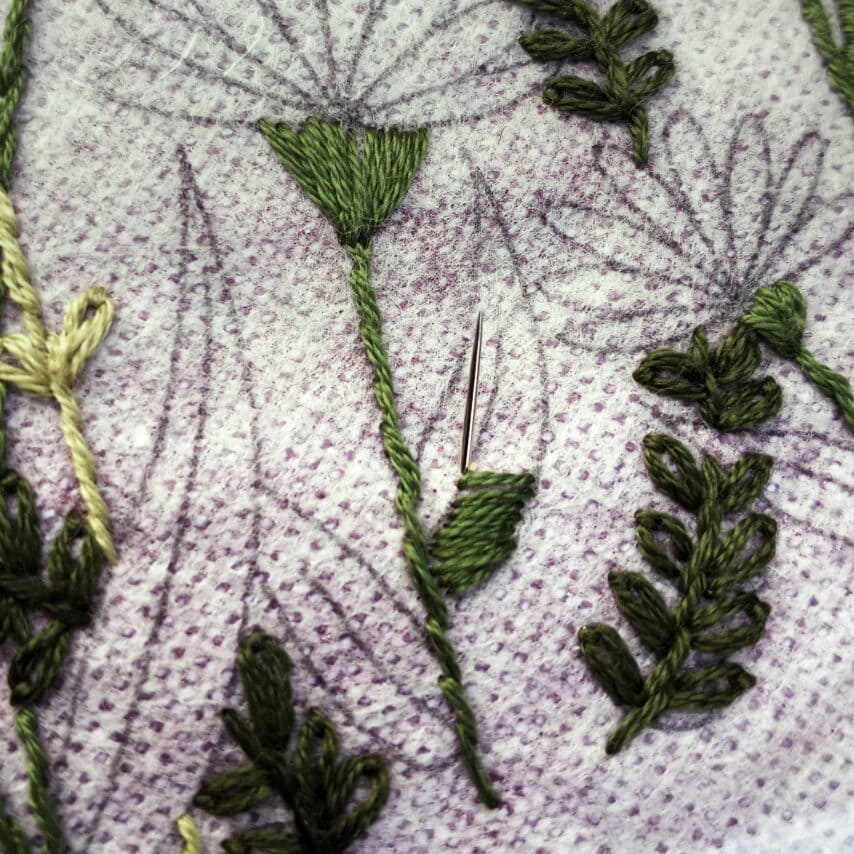
Go down on the opposite side of your shape.
Pull the thread tight.
Continue filling in the shape, laying the threads right next to one another.
Next, go back to the lazy daisy stitch and use it to stitch your daisies.
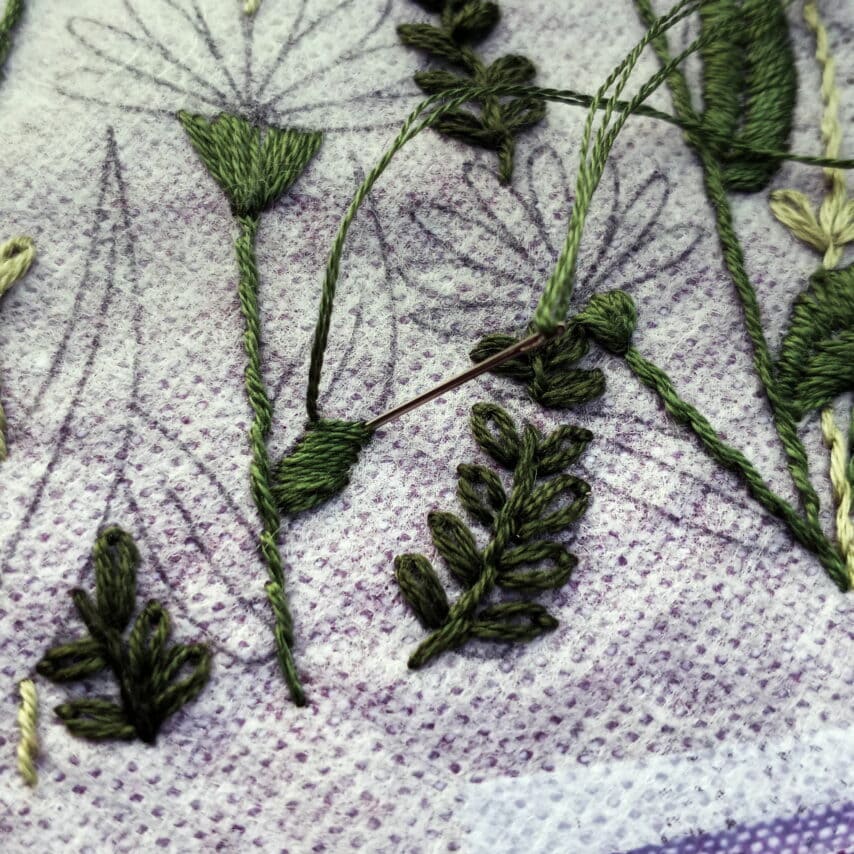
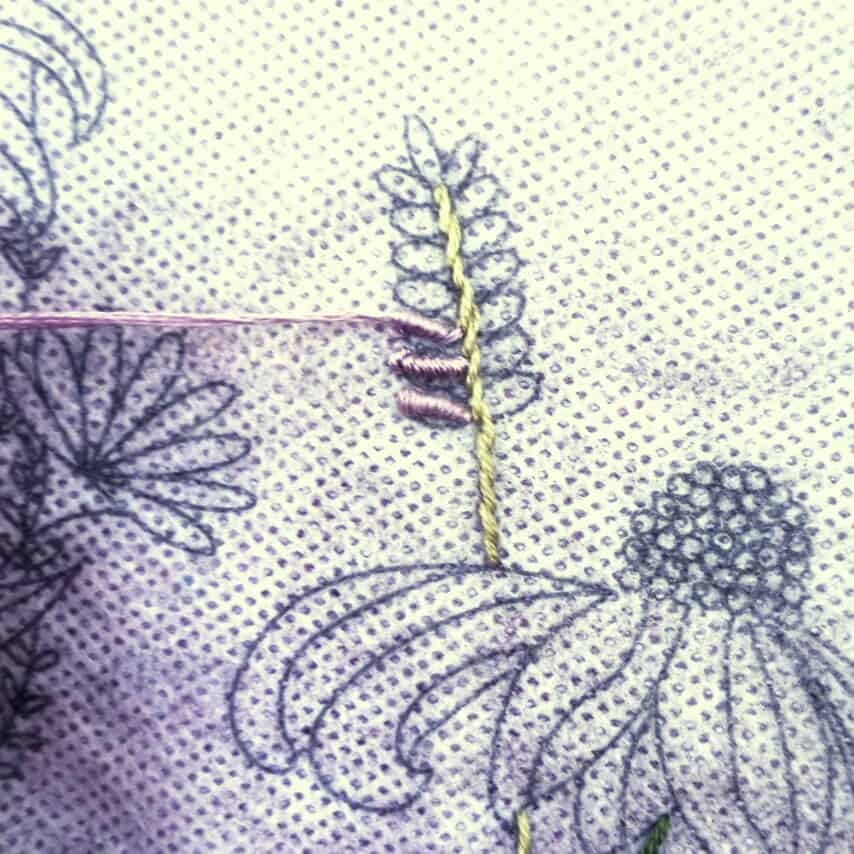
Step 6: Stitch the Lavendar
The lavender can be stitched with 3 strands and the bullion stitch.
To stitch the bullion stitch, come up near the stem.
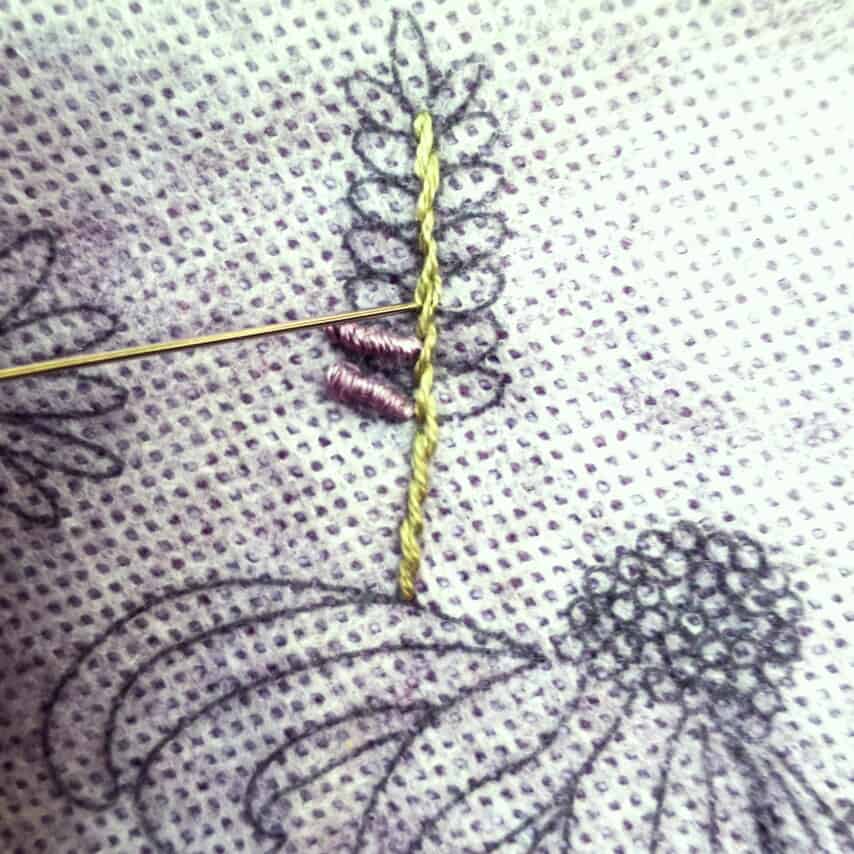
Go down at the opposite end of the petal. Do not pull the thread all the way through.
Come back up near the hole that you started with. Do not pull the needle all the way through the fabric.
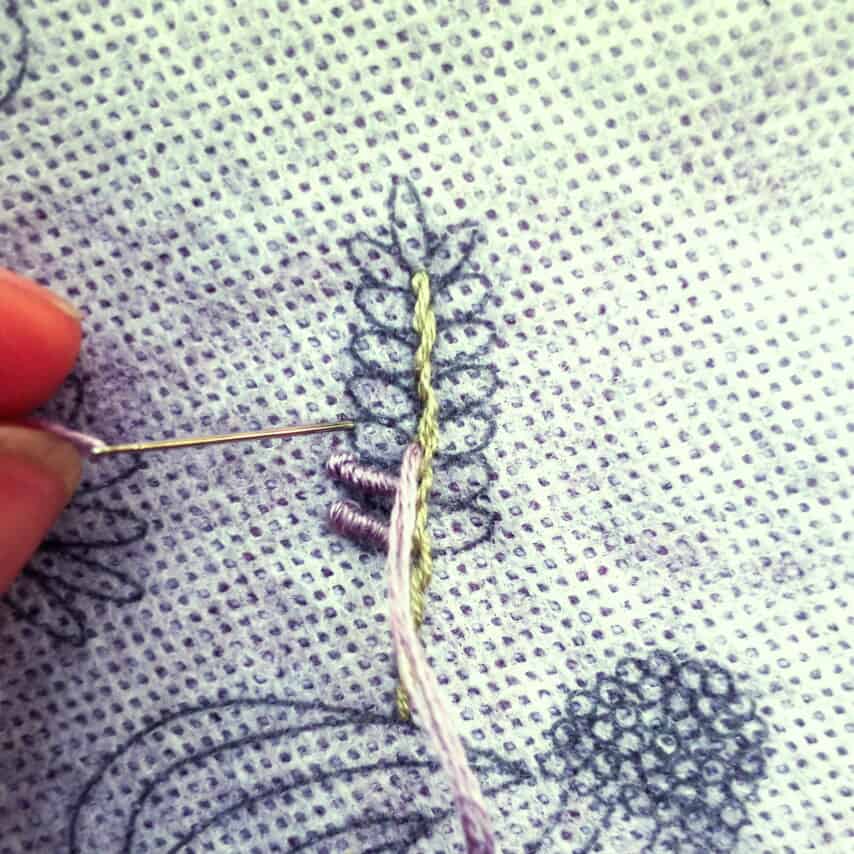
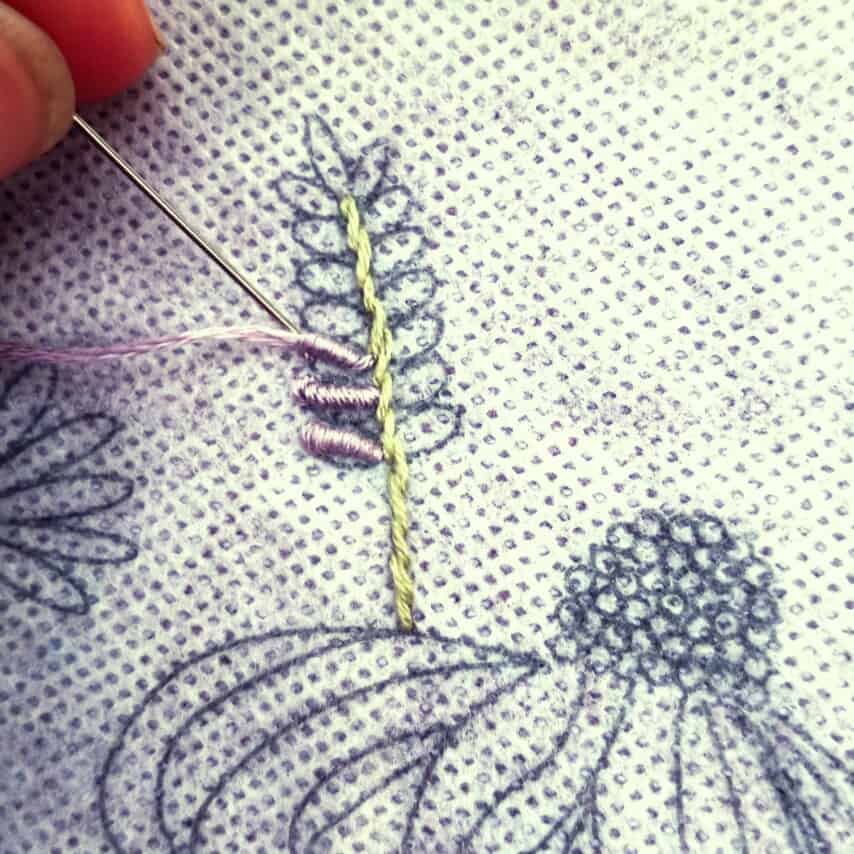
Wrap the thread around the needle 6 to 8 times.

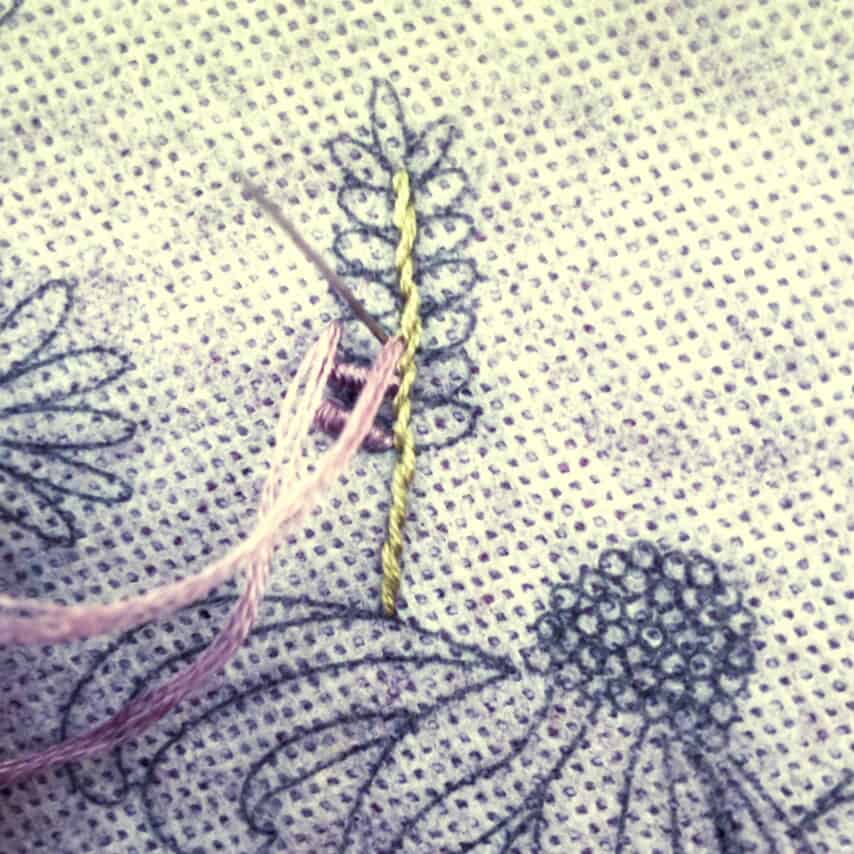
Pull the needle and thread through the wrapped thread. Keep pulling until the wrapped thread lays flat.
To finish the stitch, go back down at the end of the petal.
Step 7: Stitch the Black Eyed Susan Centers
Next, use two strands and french knots to stitch the centers of the black eyed susan blooms.
To stitch the french knots, come up at one side of one of the circles.
Wrap the thread around the needle twice.
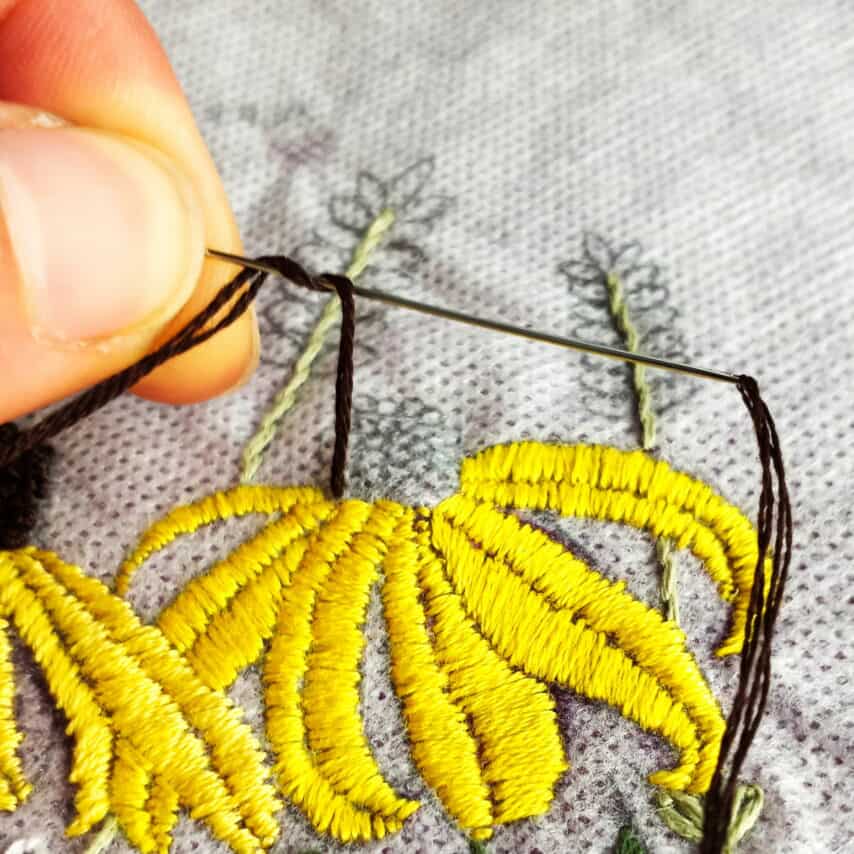
Go back down the center of the circle.
Pull the knot tight around the base of the needle as you push the needle through the knot.
Pull the thread all the way through leaving a knot behind.
Continue stitching french knots until the centers of the flowers are filled in.
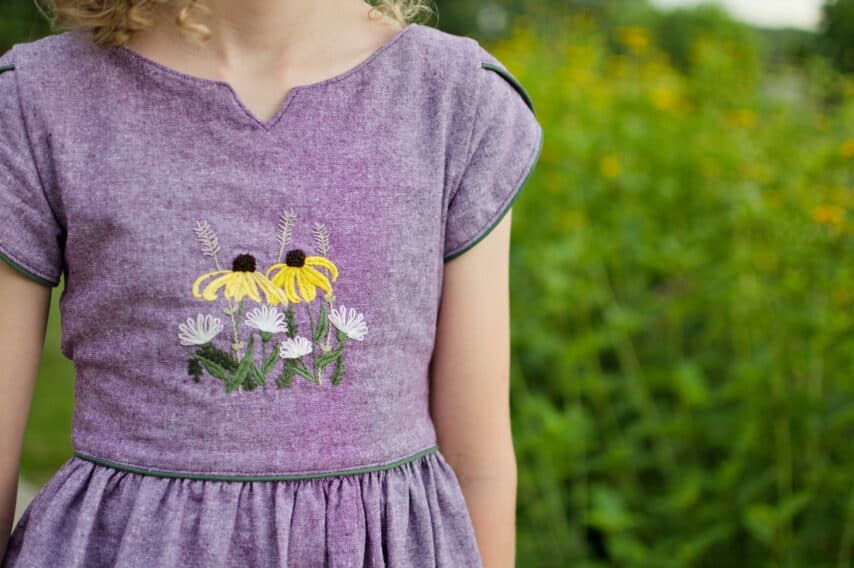
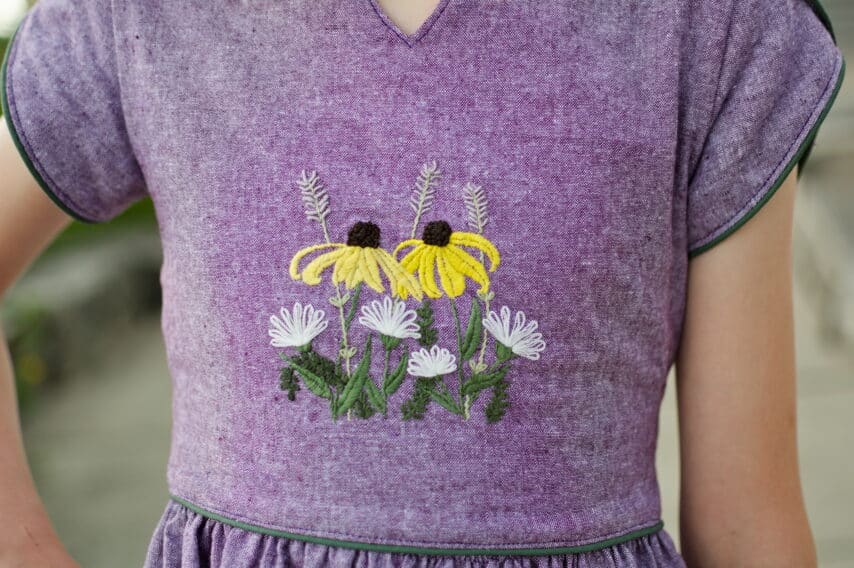
And. . . you’re done!!!! Sit back and admire your hard work.
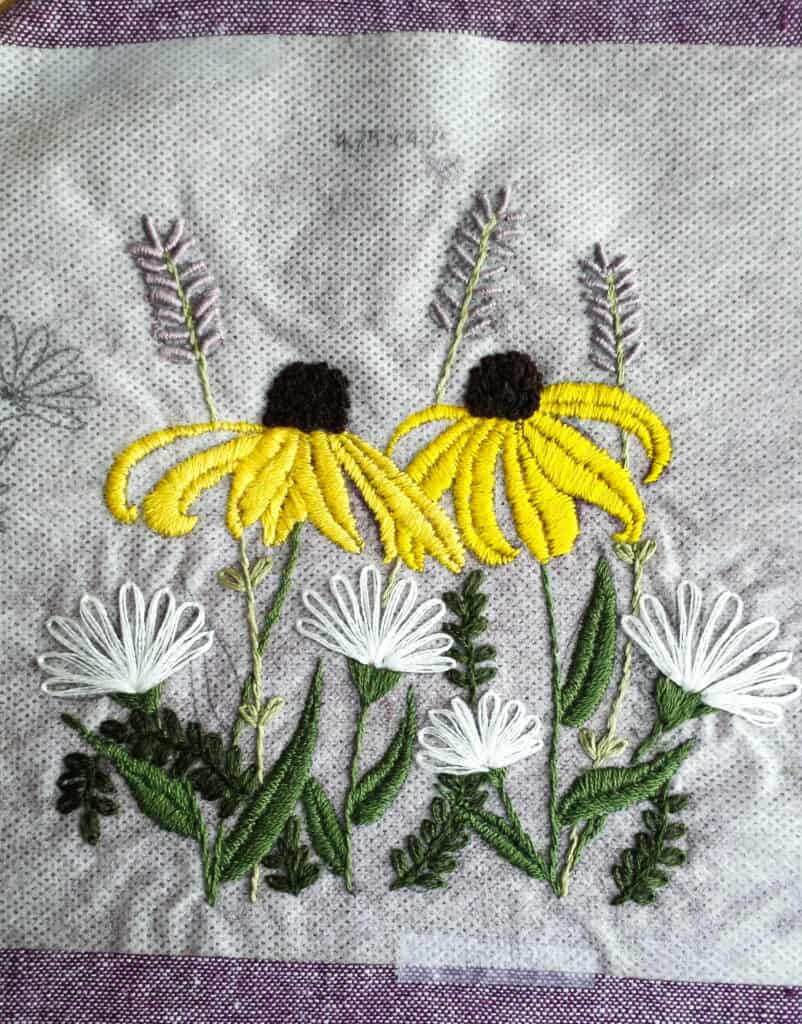
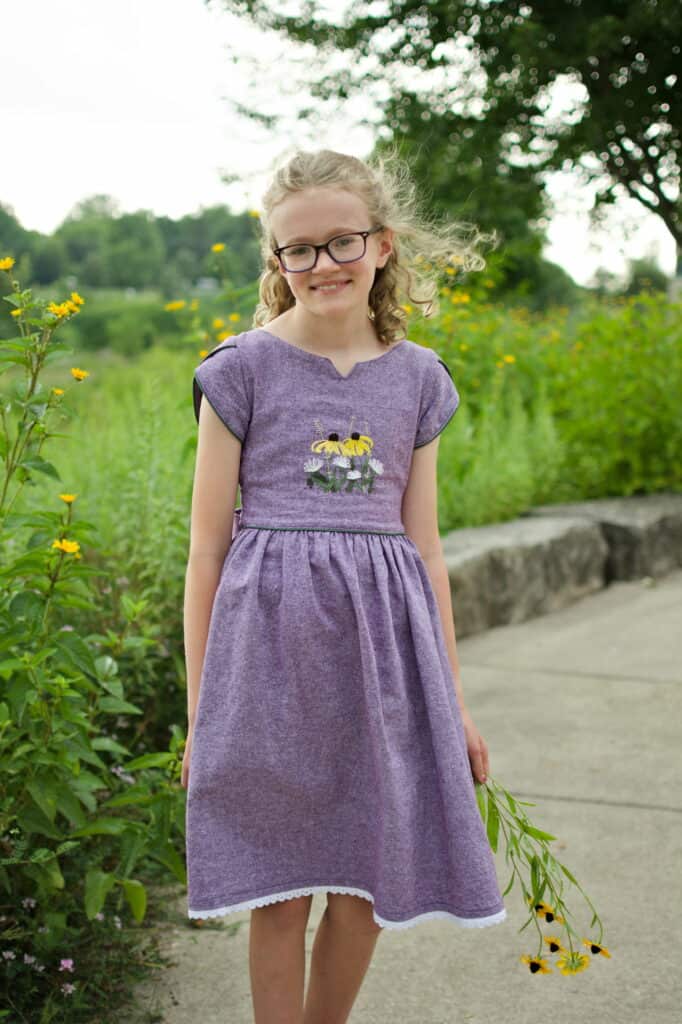
Now you can either display your embroidery in a hoop or cut out your clothing pattern pieces and sew up your clothing. I chose to put my embroidery on the bodice of Mila’s Tulip Sleeve Dress. I personally really enjoy making my children’s wardrobe extra special with my hand embroidery. It’s such a beautiful way to add love and care to the special makes that you sew for your loved ones!
Happy Stitching!!!