
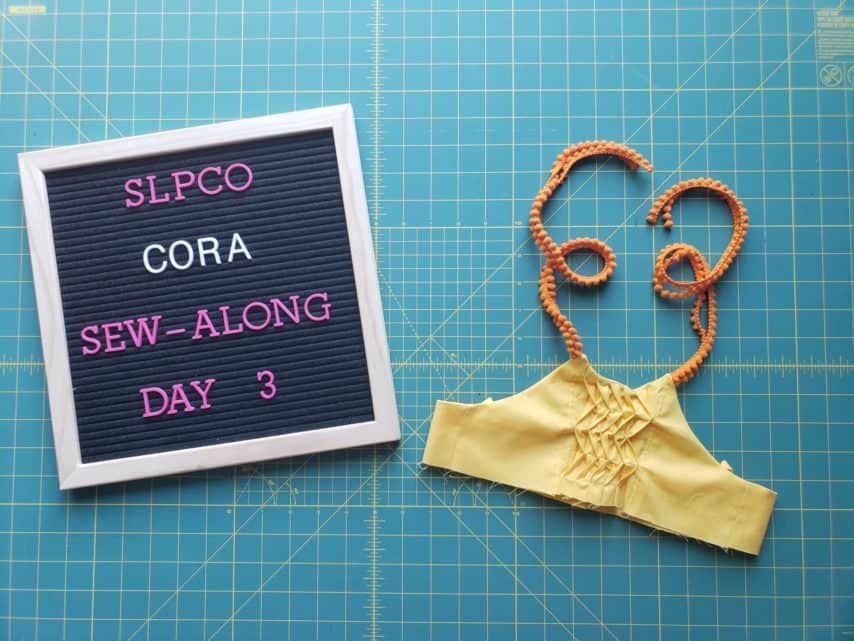
Cora Sew Along – Day 3
First of all, great job on creating the wave pleated bodice yesterday! I did not see any questions so hopefully you all breezed right through those steps. For day three of the Cora sew-along we are working through step 11 through step 22.
Straps & Strap Loops
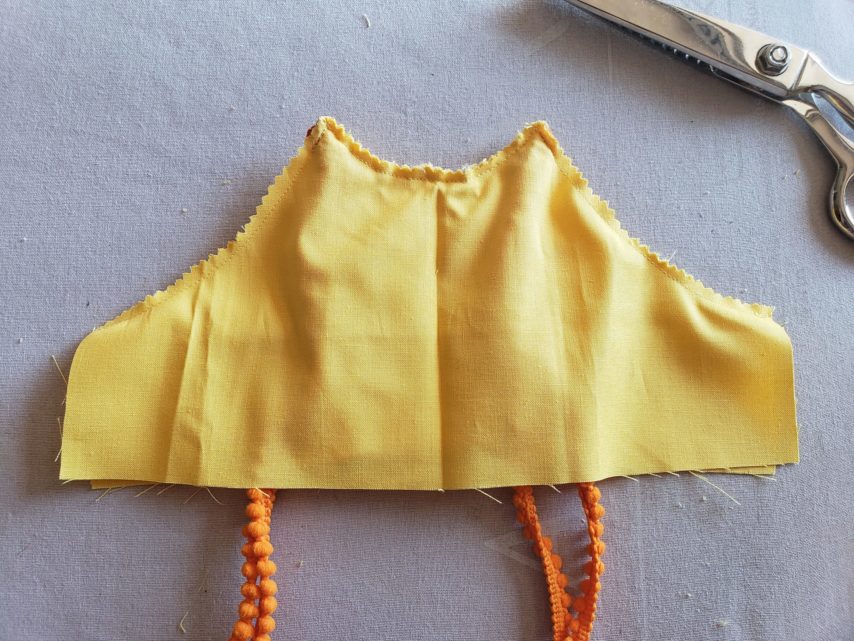
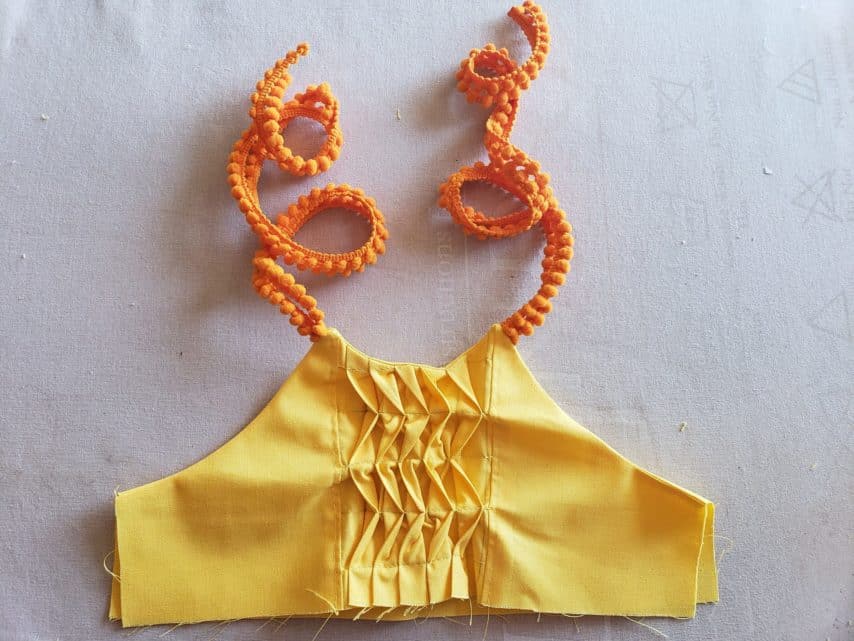
As mentioned on day one you can substitute using decorative ribbon or trim instead of fabric straps if you choose. I decided to add some fun orange pom trim I found at Hobby Lobby for my straps.
However, if you chose to use fabric you will start by laying a strap piece in front of you so that the wrong side is facing up. Fold one short raw edge up 1/4″ and press. Next, press the length of the strip in half so that wrong sides are touching and the long raw edges are matching. Open your strip so the wrong side is facing up. Now, press the raw edges in so they meet in the middle at the folded center crease. Fold the strip in half again and press. Note: your raw edges should now be encased in the strap. Topstitch the strap closed by sewing 1/8″ from the double folded edge. Repeat with your remaining strap(s).
For the strap loops, take your strip of fabric and press the length of the strip in half so that wrong sides are touching and the long raw edges are matching. Open the strip so that the wrong side is facing up. Press the raw edges inward so that they meet along the folded center crease. Press in place. Fold the strip in half again and press. Note: your raw edges should now be encased in the strip. Topstitch the strip closed by sewing 1/8″ from the double folded edge. Cut your loops to be 2″ long each. If you are making the double strap bodice version, you will need a total of 4 loops.
Front Bodice
Now we need to sew the bodice lining to the bodice main and add our straps. Begin by placing the bodice lining on top of the bodice main so that right sides are touching. Sew along the top neckline curve only. Clip the neckline curves with pinking shears, making certain not to clip through any stitches.
Turn the bodice right side out and press along the seam you just created. Note: if you created the wave pleated bodice it is best to under stitch the bodice instead of topstitching. To under stitch, separate the bodice and lining fabrics. With the seam allowance pressed toward the lining measure a little over 1″ from each side and pin. Stitch the seam allowance to the lining between the pins you placed.
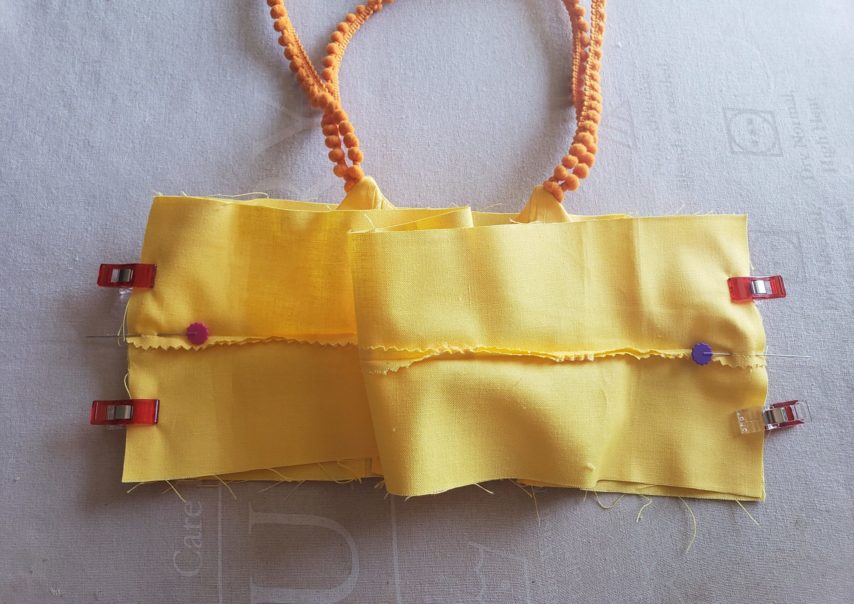
Lay your bodice open so the right sides are facing up. If you are making the 4 strap version, take 2 of your straps and lay them on top of each other so the seams are both facing the same way. Place a set of straps on the front main bodice as high up on the neckline as you can. Note: try to keep your straps as horizontal as you can. If the straps get angled down, they will pucker when tied. Baste your straps in place.
Next, flip your lining back down over your main bodice and match up the side curves. Sew along the curves making sure to backstitch over the straps to reinforce them. Clip your curves with pinking shears. Open up your bodice and press the seam allowance toward the lining along the side curve. Under stitch the seam allowance to the lining as far up the side curve as you can. Note: you will not be able to under stitch all the way up the side curve.
Back Bodice
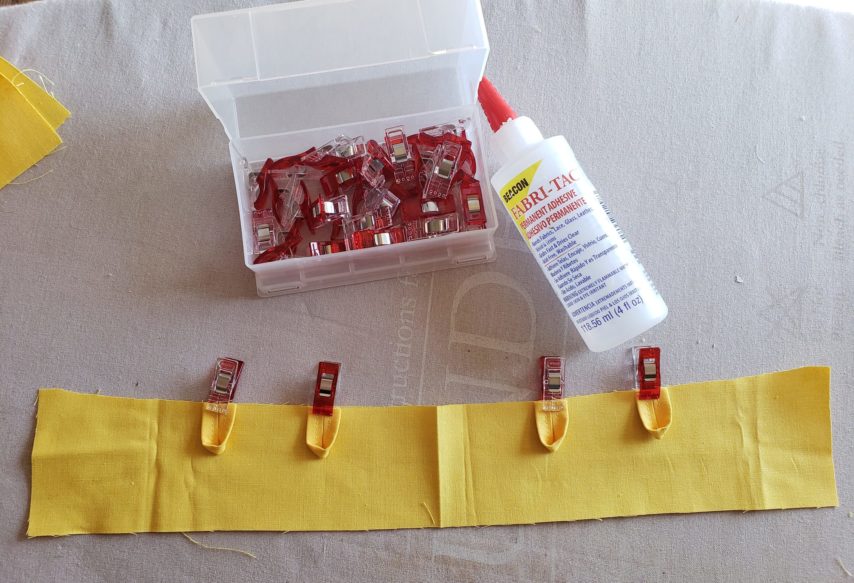
Now we need to add the strap loops to your back bodice and enclose them with the back bodice lining. Begin by laying your back main bodice flat in front you so that the right side is facing up. Mark the center with a pin. Next, use the chart on page 11 to mark where your loops will go. I like to use a sewing pen and make marks along the top raw edge.
If you chose to do the v-strap version, place a loop on each side of the center pin with no space in between the loops. Pin your loops to your marked point. Baste your loops in place. Designer tip: I like to place a dab of Fabri-Tac glue on the mark and then clip my loop to the mark using a wonder clip. Then I don’t have to worry about my loops shifting when I go to baste them in place.
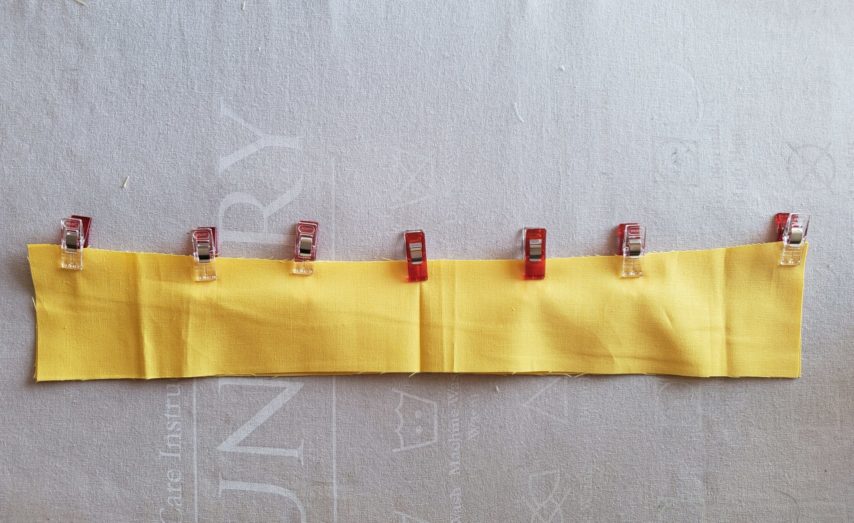
Place the back bodice lining on top of the back bodice main so that right sides are touching. Line up the raw edges and pin in place. Sew along the top raw edge. Clip the curves with pinking shears. Turn right side out. Press your seam allowance toward the lining. Measure in a little more than 1″ from each side and mark with a pin. Under stitch the seam allowance to the lining between the pins you placed.
Attaching The Front and Back Bodice
Open your front bodice so that right sides are facing up. Next, open up your back bodice and lay it on top of your front bodice so that right sides are touching. The front bodice lining should be facing the back bodice lining. Likewise, the front bodice main should be facing the back bodice main.

Match up the center seams and pin along the raw edges. Stitch along the side. Note: when you get to the center seam, stop with your needle still in the down position and reposition your fabric so that raw edges match up. Continue to sew the side seam closed. Repeat with the remaining side. Press your seams toward the front of the bodice. Turn your bodice right side out and press flat.
Day 3 Progress
That’s a wrap for day three! Please feel free to reach out to me in the Facebook fan group if you have any questions. Otherwise, I’ll see you back here tomorrow when we will add the elastic to our back bodice. Also, don’t forget to upload your daily progress photo into the sew-along album for a chance to win shop credit!
Happy sewing,
Chauncey