Enclosing a Waist Seam
Hey, sewists! It’s Victoria back again to show you two ways to enclose a waist seam of a dress using the Josie and Betty patterns! The first method is called the burrito roll method. This method can be used on any dress (or garment with a skirt) that has buttons the length of the dress. The second method is an alternative method using sewing tape (fusible or double-sided) or a glue stick that works for any skirted garment waist seam.
METHOD 1: Burrito Method
Step 1: Completing your skirt and bodice
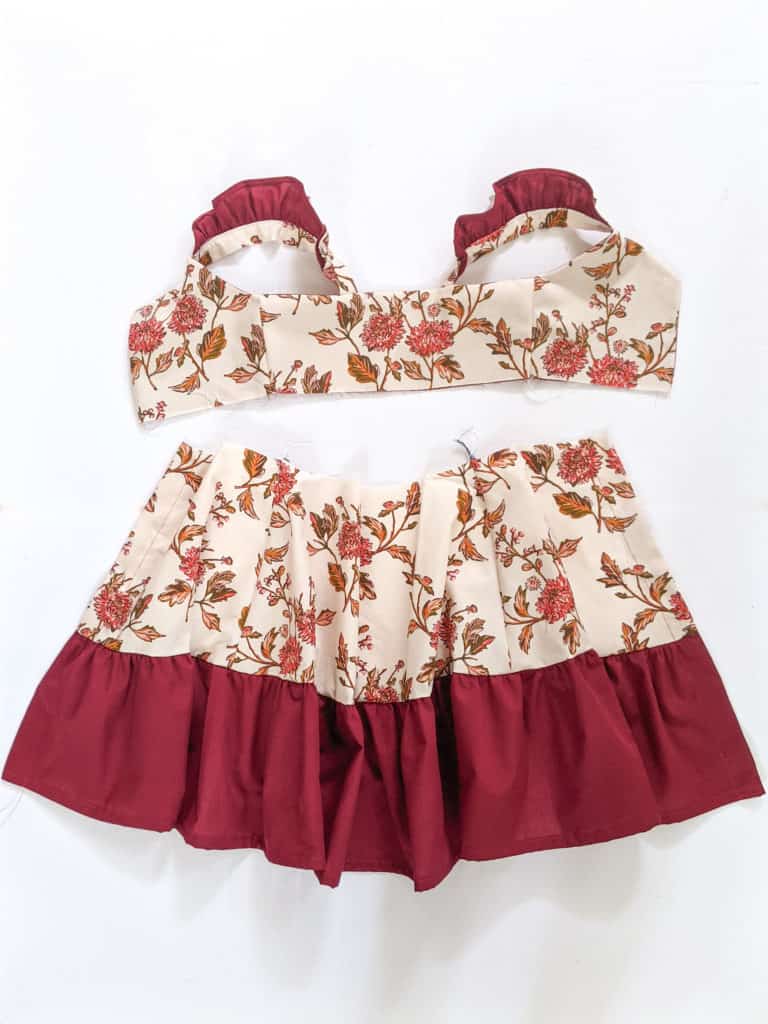
First, make sure you have a completed bodice and a skirt ready to be attached. It is important to note that the lining of your dress bodice should not be attached to your main fabric at the side seams. In some cases, this means doing in-set sleeves. Basically, that means instead of attaching the sleeves to the bodice before sewing your side seams, you will have to attach the sleeves after the side seams have already been sewn. When sewing your side seams, be sure to sew the front and back lining together and the front and back main together separately so that they are not attached at the side seams. Do not top stitch your bodice yet.
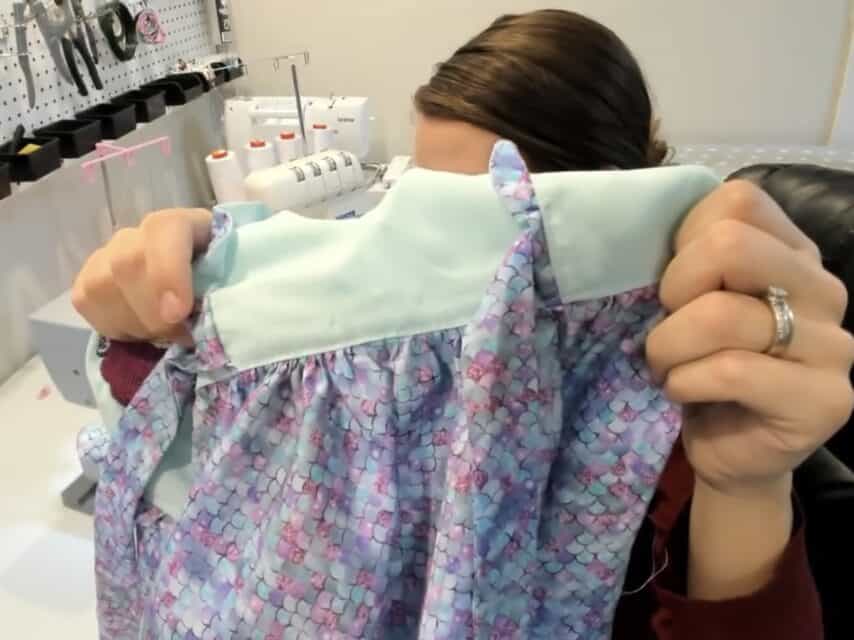
Step 2: Attaching your skirt to the main bodice
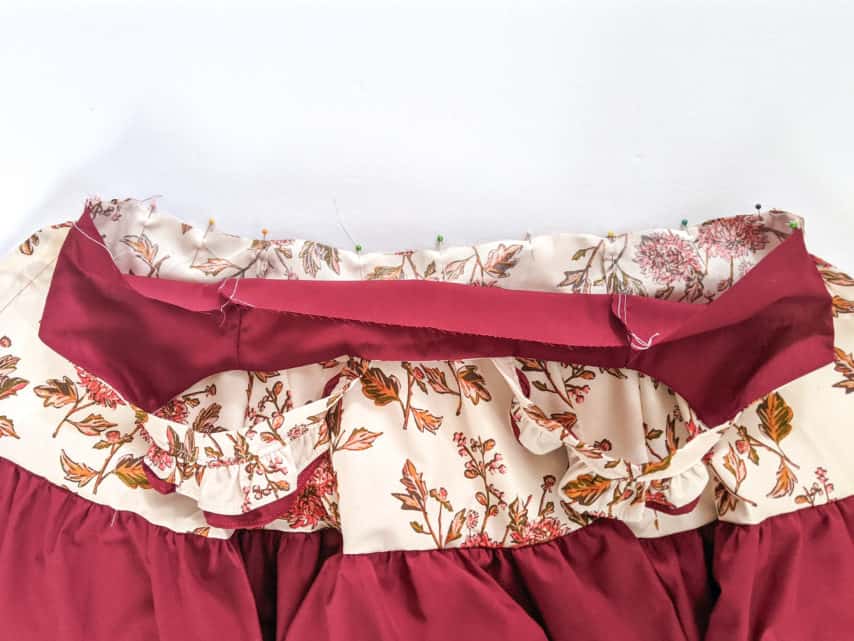
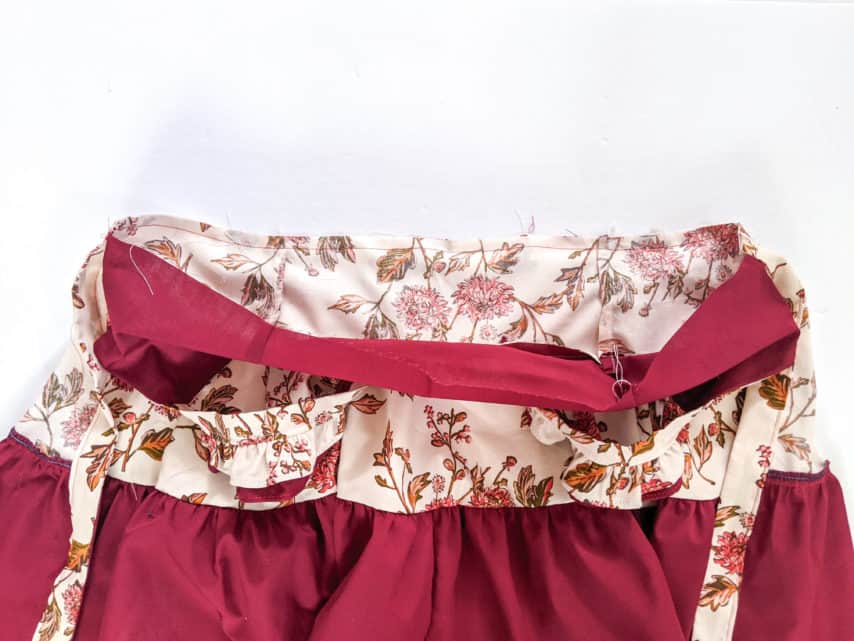
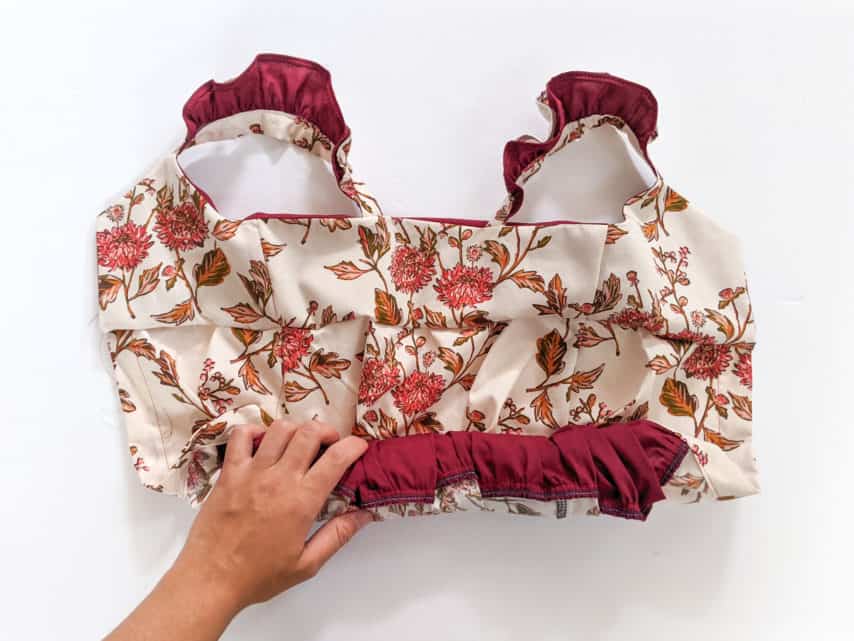
When your bodice and skirt are complete, you will be ready to attach the raw edge of the main fabric from your bodice to the raw edge of your skirt. The photo above shows the bodice right sides together with the skirt, and only the main fabric from the bodice pinned to the raw edge of the skirt. Once sewn, you will have something that looks like the picture below.
Step 3: Rolling a burrito
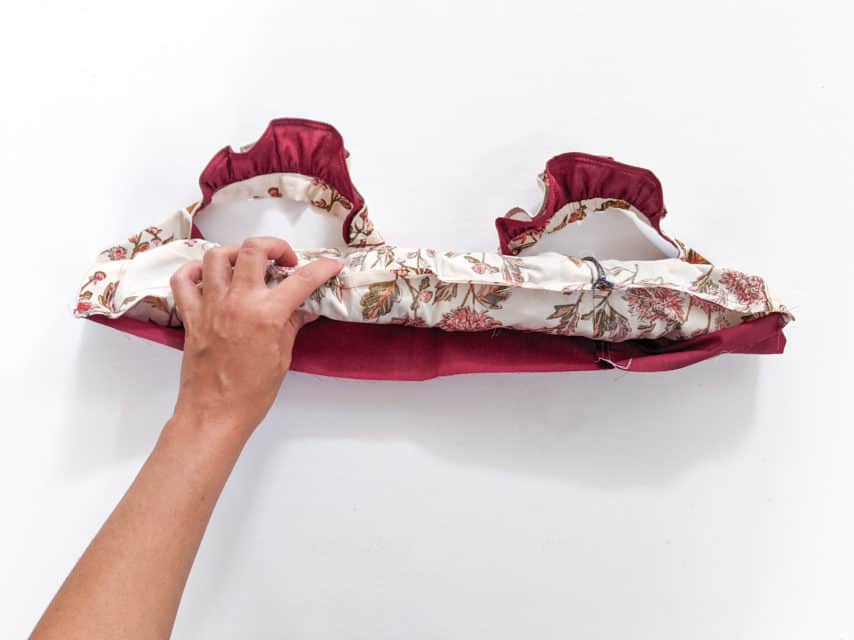
With your dress right side up, take the end of the skirt and tightly roll it up toward the bodice. When you get to the waist seam, ensure you are only rolling the main fabric, and continue rolling to the very top of the bodice.
Step 4: attaching the lining
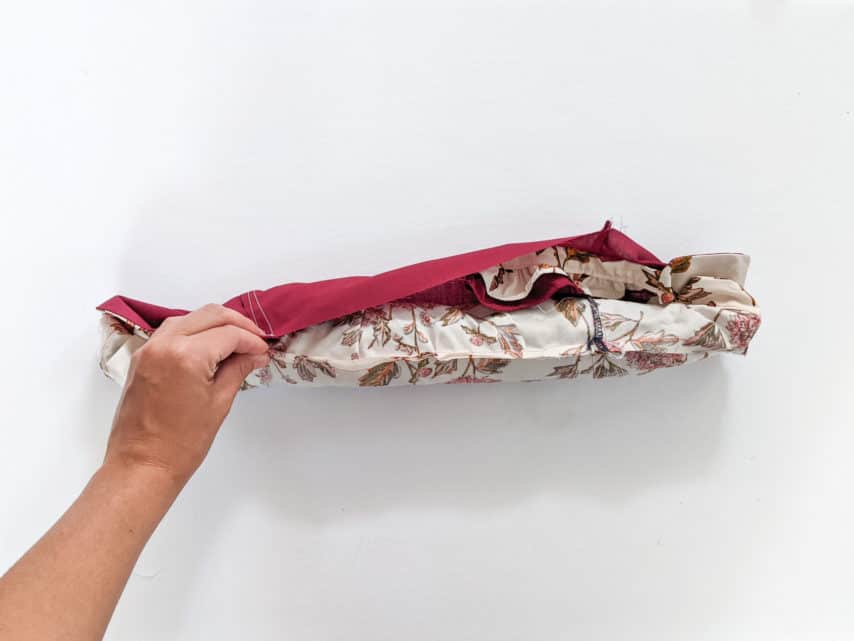
Flip the lining up and under your burrito and around your sleeves (being sure to tuck them out of the way), and match up the raw edge of your bodice lining with the waist seam. Pin in place.
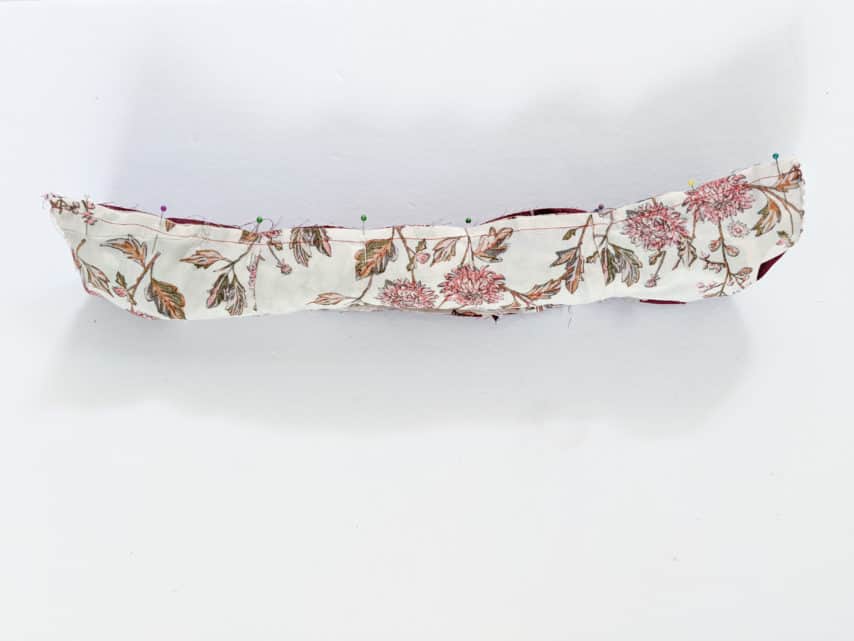
When you sew, be sure to sew exactly on the waist seam stitches. Leave about a 3” gap in the middle for turning.
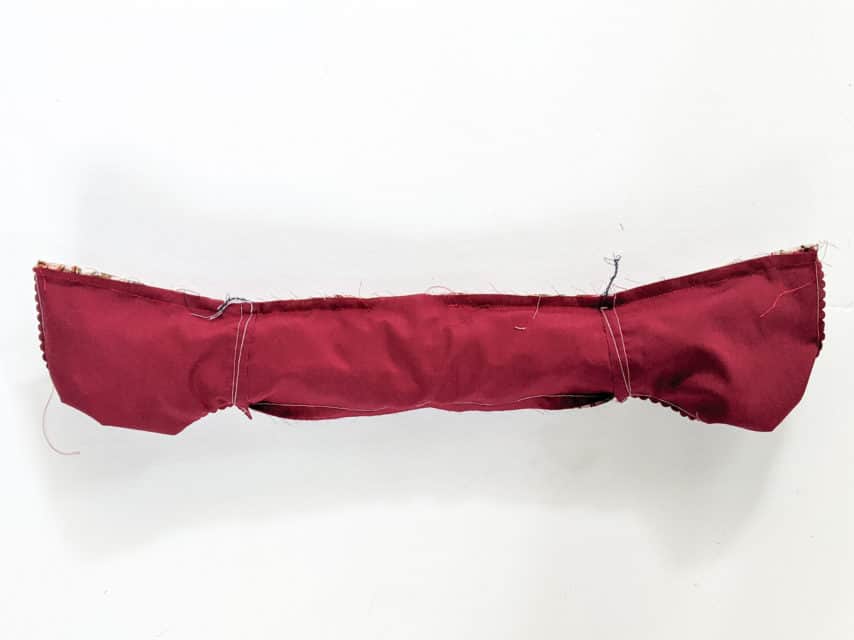
Step 5: Turning your bodice out
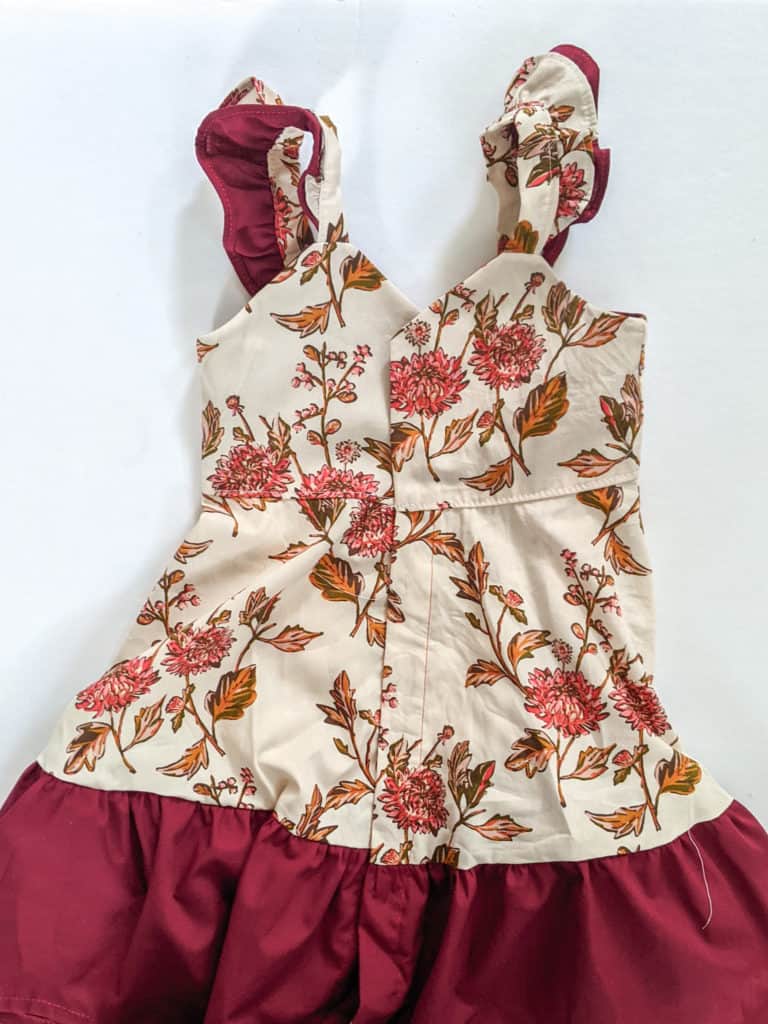
Pull your bodice out through the 3” gap, and you’ll have something that looks like the photo above. Give your dress a good press, focussing on the waist seam.
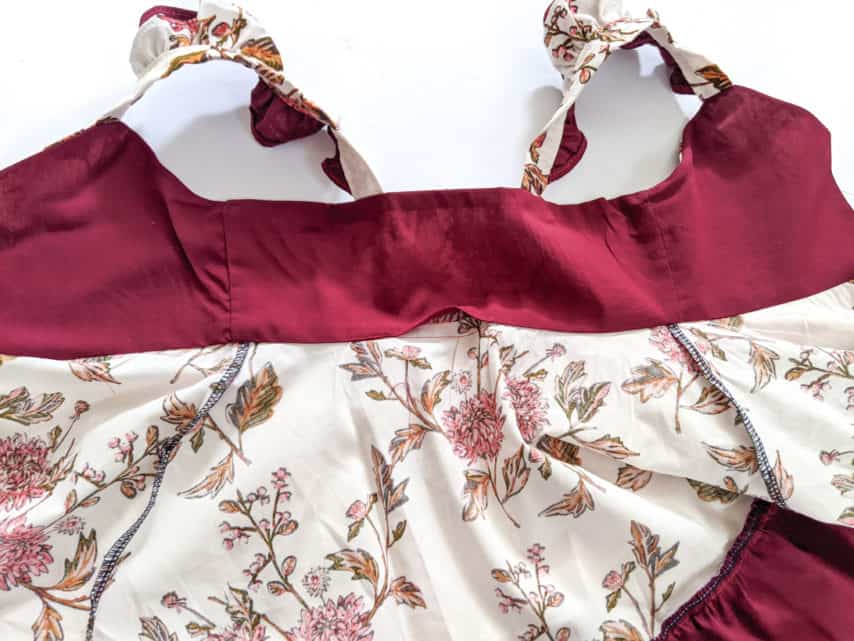
Step 6: Top stitching
Pin the gap in place (or use a bit of hem tape). Top stitch your bodice waist seam from the right side so the the outside of the dress looks the best. The stitching on the inside of the bodice May not be perfect the first time, but no one will see! Practice makes perfect, my friends. Top stitch the rest of your bodice as well, if desired.
Once you have the waist seam top stitched, you are ready for the best part – BUTTON HOLES!
METHOD 2: Sewing Tape/Glue Stick Method
Step 1: Completing your bodice and skirt

Thankfully, for this method there is a video tutorial included in the Betty Sew-along. To watch the video, click HERE. The following is step-by-step instructions:
First, make sure you have a completed bodice and a skirt ready to be attached. As stated in the first method, It is important to note that the lining of the dress bodice should not be attached to your main fabric at the side seams. In some cases, this means doing in-set sleeves. Basically, that means instead of attaching the sleeves to your bodice before sewing the side seams, you will have to attach the sleeves after the side seams have already been sewn. When sewing the side seams, be sure to sew the front and back lining together and the front and back main together separately so that they are not attached at the side seams. Do not top stitch your bodice yet.
Step 2: Attaching your skirt to the main bodice
When your bodice and skirt are complete, you will be ready to attach the raw edge of the main fabric from your bodice to the raw edge of your skirt. Put the bodice right sides together with the skirt, and pin the main fabric from the bodice to the raw edge of the skirt. Sew!
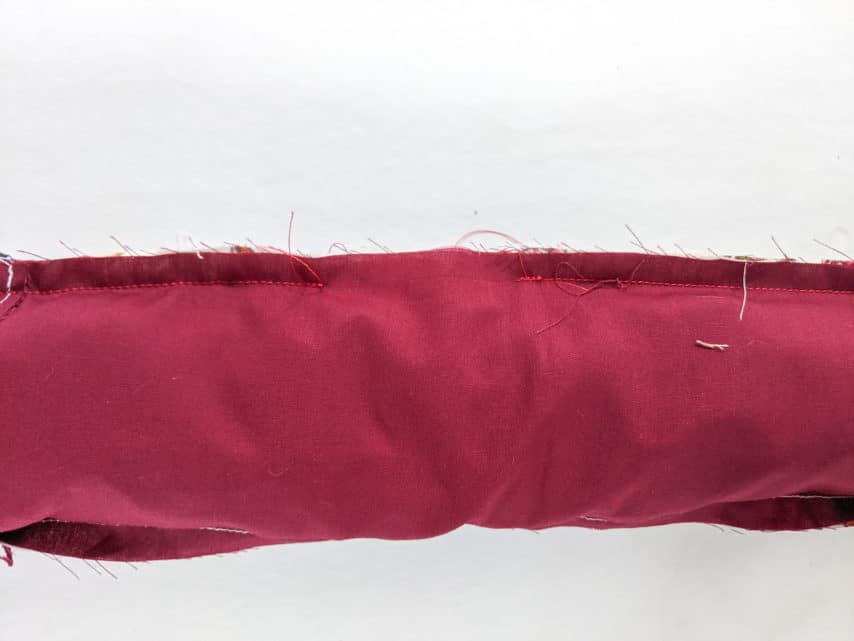
Step 3: Pressing your lining up
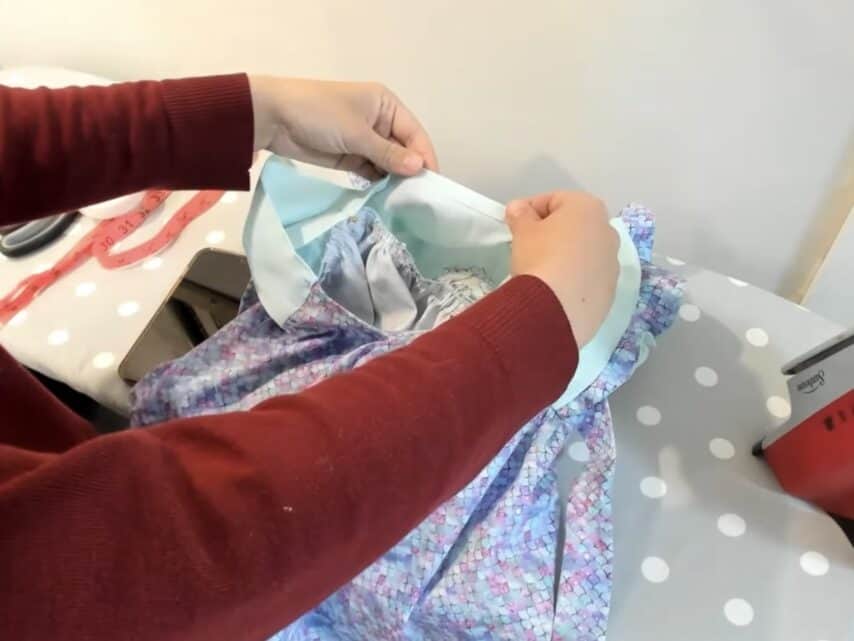
After you have your skirt attached to your bodice main, flip the waist seam up toward the bodice and press. You will notice at the back bodice seam, the lining will start to flip up in between the lining and main as well. Use this as a guide to fold and press the raw edge of the bodice lining up between the main and lining. When pressing, ensure that the fold completely covers the line of stitching you made when attaching the skirt to the main.
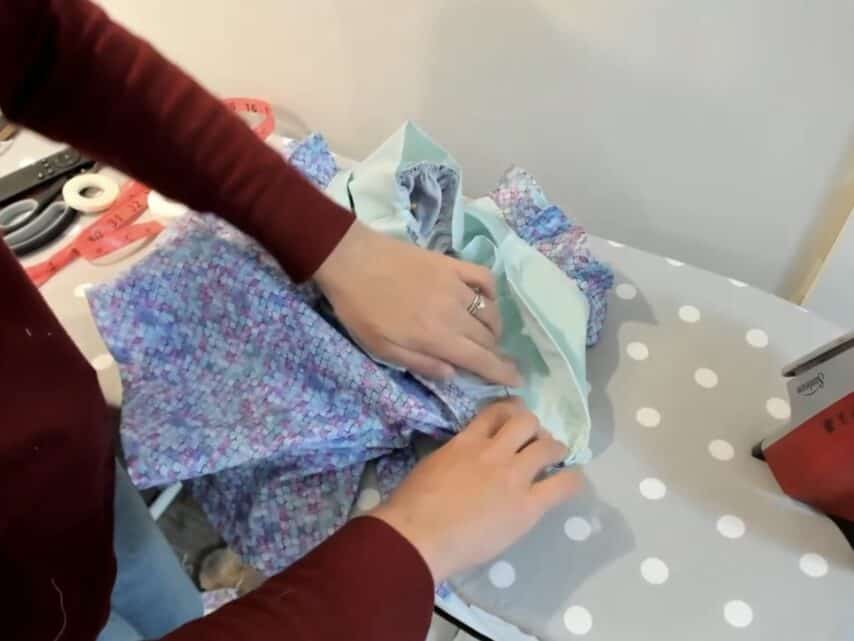
Step 4: Using hem tape, Steam-a-Seam, or glue stick
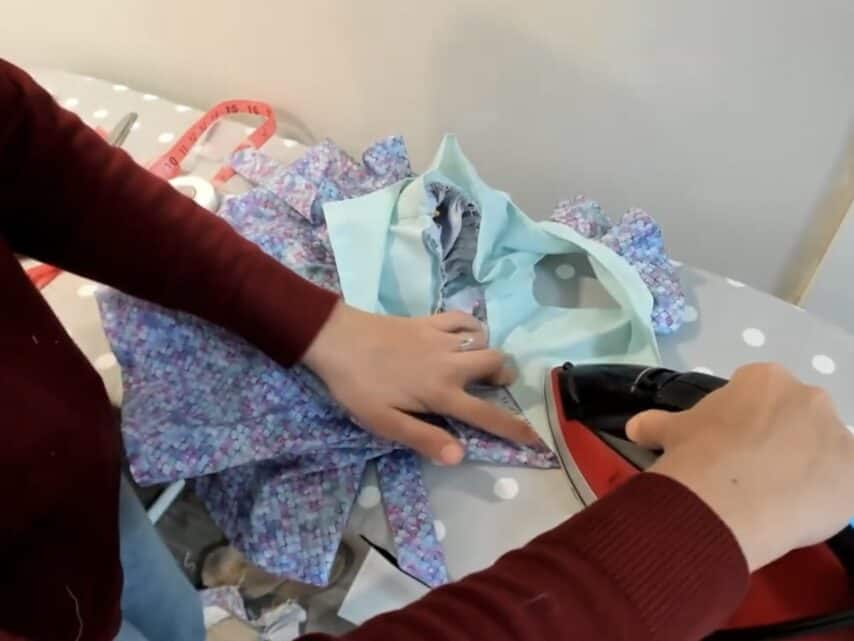
Now that you have the lining pressed up, it’s time to pull out some sewing tape or a glue stick! Fusible hem tape, double-sided tape, or a craft glue stick will all work for this step. Basically, the idea is to secure the lining to the skirt so that it doesn’t move around when top stitching. You could use pins, but they are much less precise. The photo above shows me using fusible hem tape, which is my favourite method. This can be found at just about any fabric or craft store and it holds the lining in place perfectly.
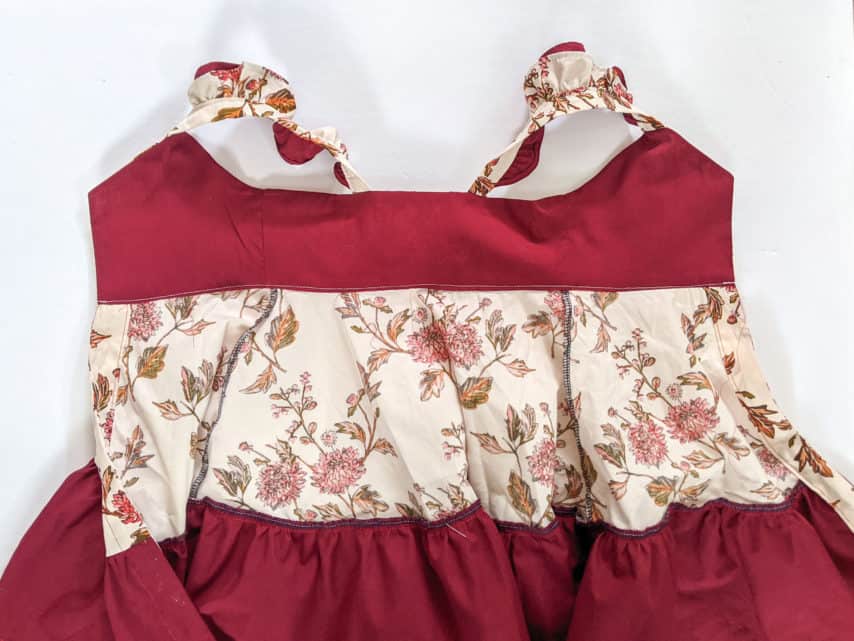
Step 5: Top stitching
Finally, Top stitch the bodice waist seam from the right side so that the outside of the dress looks the best. As stated above, the underside of your stitch might not be perfect, but no one will see! Practice makes perfect! Top stitch the rest of your bodice as well, if desired.

Once you have your waist seam top stitched, continue to finish sewing your garment according to the pattern tutorial.
Much love ❤️
Victoria Strong.