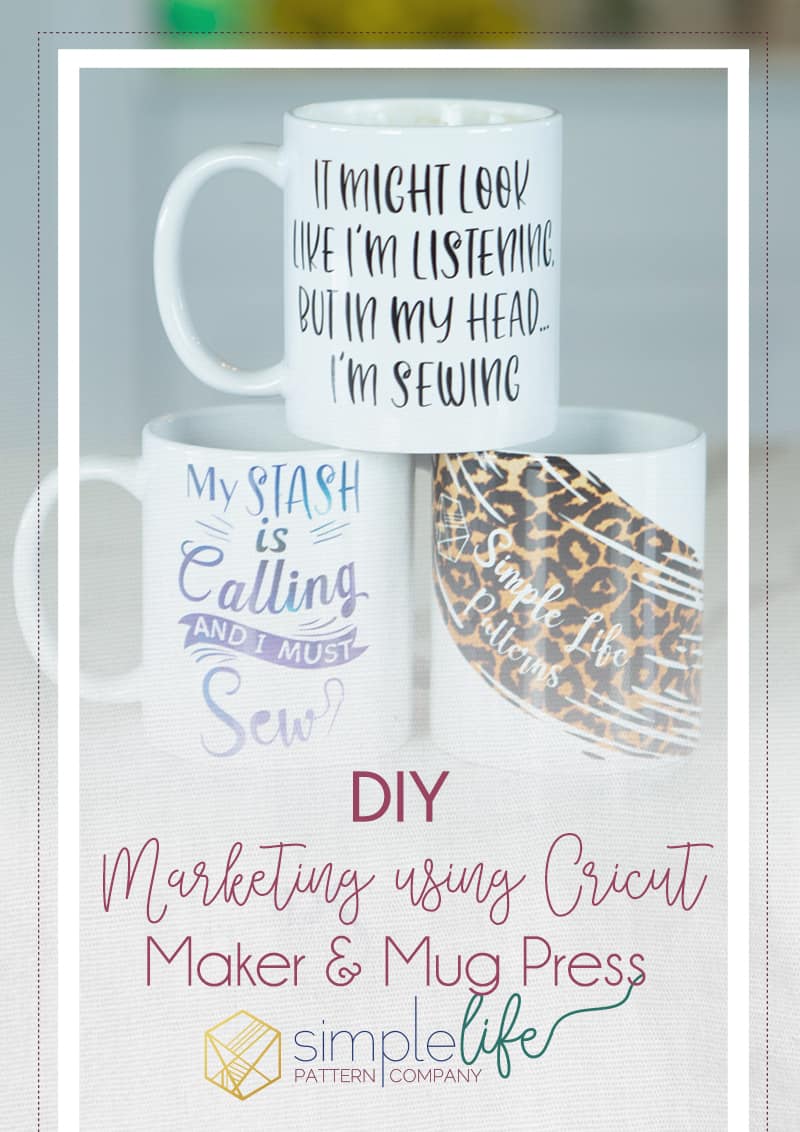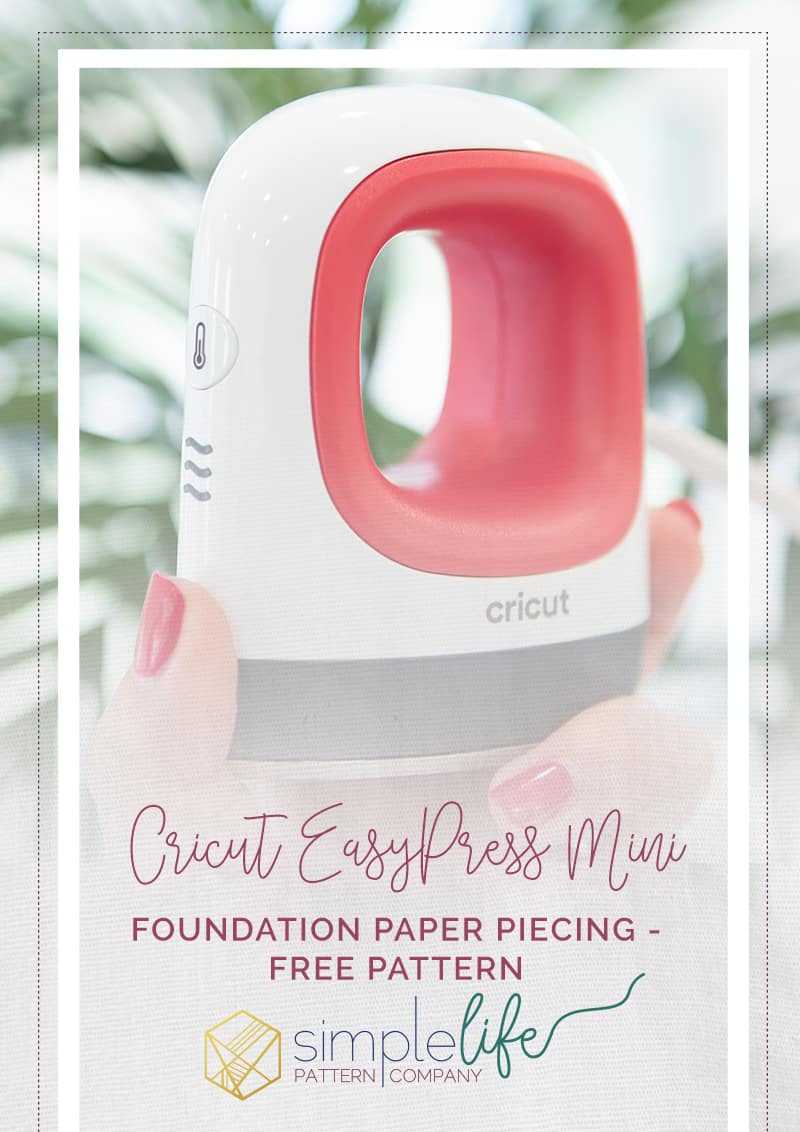
Foundation Paper Piecing with Cricut EasyPress Mini
I am super excited to share a free foundation paper piecing pattern with you today! This file is all set up in the Cricut Community so you can start this project anytime you want! I am a HUGE paper piecing fan and when Cricut announced the EasyPress Mini, I knew I had to have this super cute and tiny iron. The EasyPress Mini was designed for smaller projects using Cricut products, like the new infusible inks, on hats, shoes and small items. However, me being an avid sewer, I wanted this to sit right next to my sewing machine when I do all my foundation piecing. Isn’t it just the cutest! It is so tiny, making it great for traveling as well. I use my Cricut Maker for sewing a lot, especially FPP projects. I dabble in iron on and vinyl here and there but the Maker is just so great for cutting fabric.
This is a sponsored conversation written by me on behalf of Cricut. The opinions and text are all mine.
Okay, lets get to this super fun and FREE paper piecing pattern. You can find this project HERE in the Cricut Community. I am going to show you quickly how to paper piece. If you want a more in depth lesson, you can check out my YouTube video I did for my free Seafarer quilt (which can be cut on the Cricut as well). If you join our Facebook fan group, you can use the coupon code in the “announcements” to get that quilt pattern free.

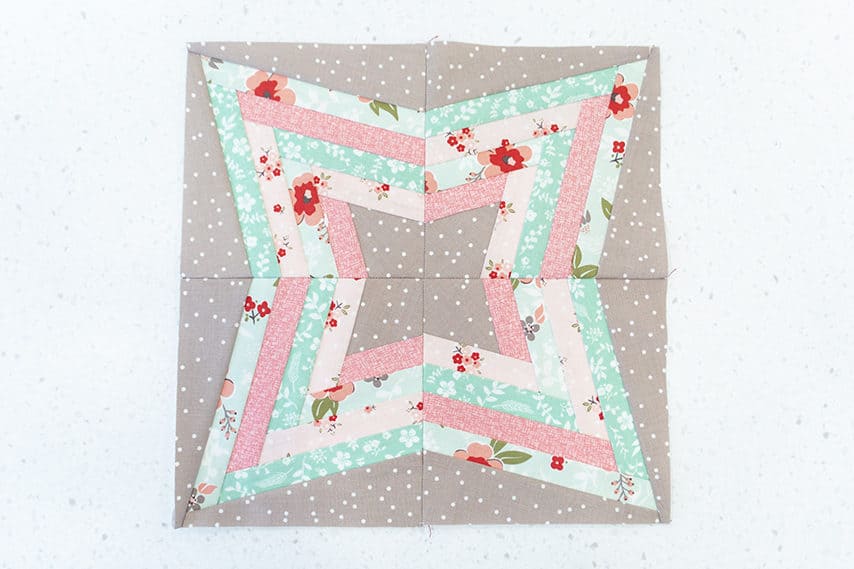
Here is the project we are sewing today.
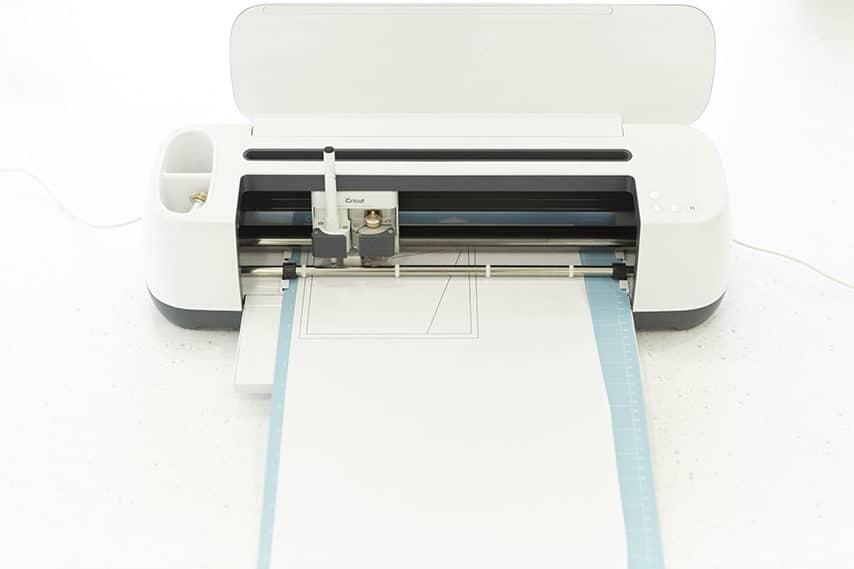
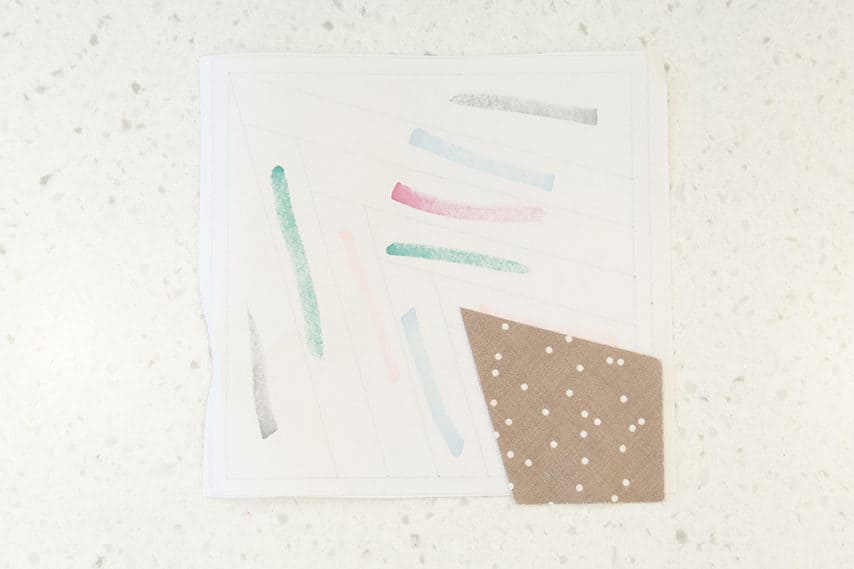
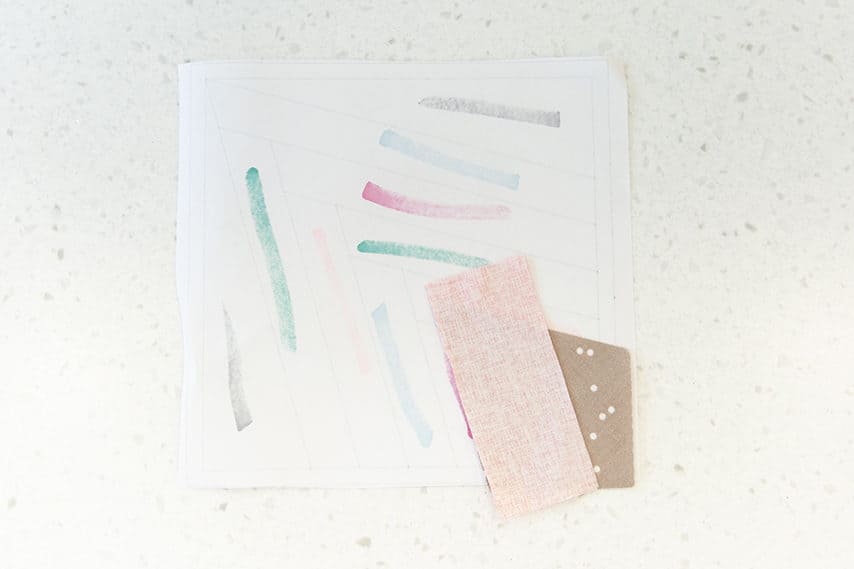
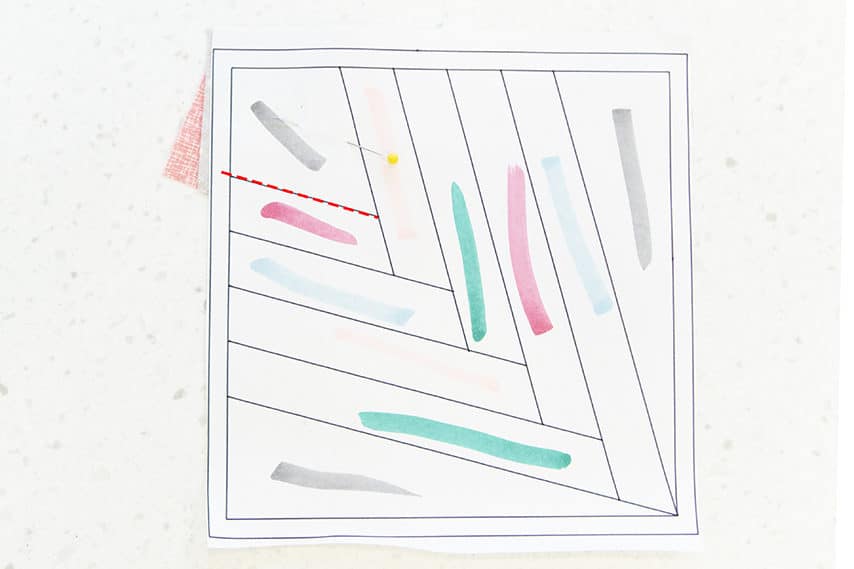
Start by drawing our your templates. I used a thin black pen. You dont want your lines super thick since FPP is all about precision points/ sewing. You need 4 templates to create one block. I used large format paper from my big printer. If you dont have that you can use regular copy paper but you can only draw one on each sheet. I also love the Melissa and Doug craft paper – and that is 12″ wide making is a perfect fit for your Cricut machine. Be sure you use the light blue cutting mat so your paper doesn’t get stuck to the mat. When removing your paper, flip the mat so the paper is face down. Then peel the mat off the paper – this makes the paper come off so much easier.
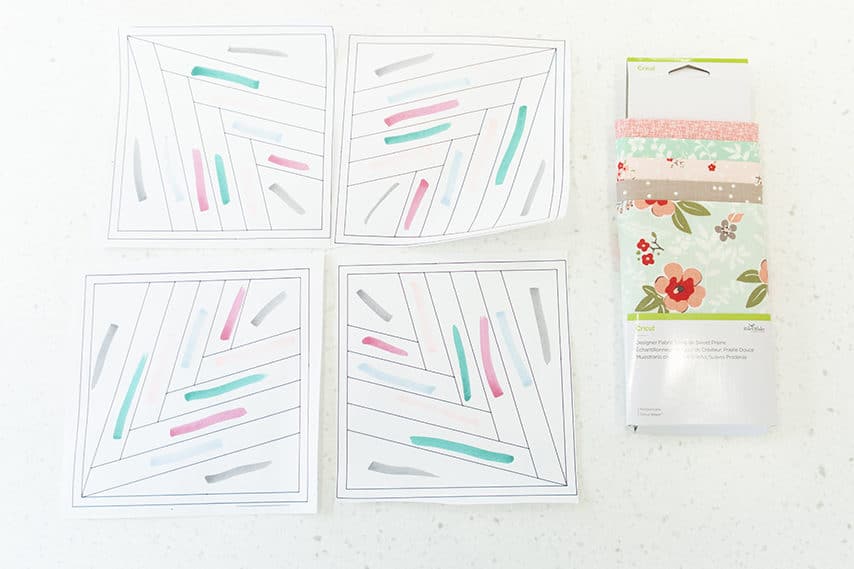
Next, you will want to color code your pieces. This just makes it easier when piecing so you know which fabric goes where. I am using this super cute Riley Blake fabric that Cricut sells. These are great for projects like this because the fabric is already cut to 12″ wide so all you have to do is give them a press and put them on your cutting mat! Cricut often has sales and you can score designer fabric at an amazing price!
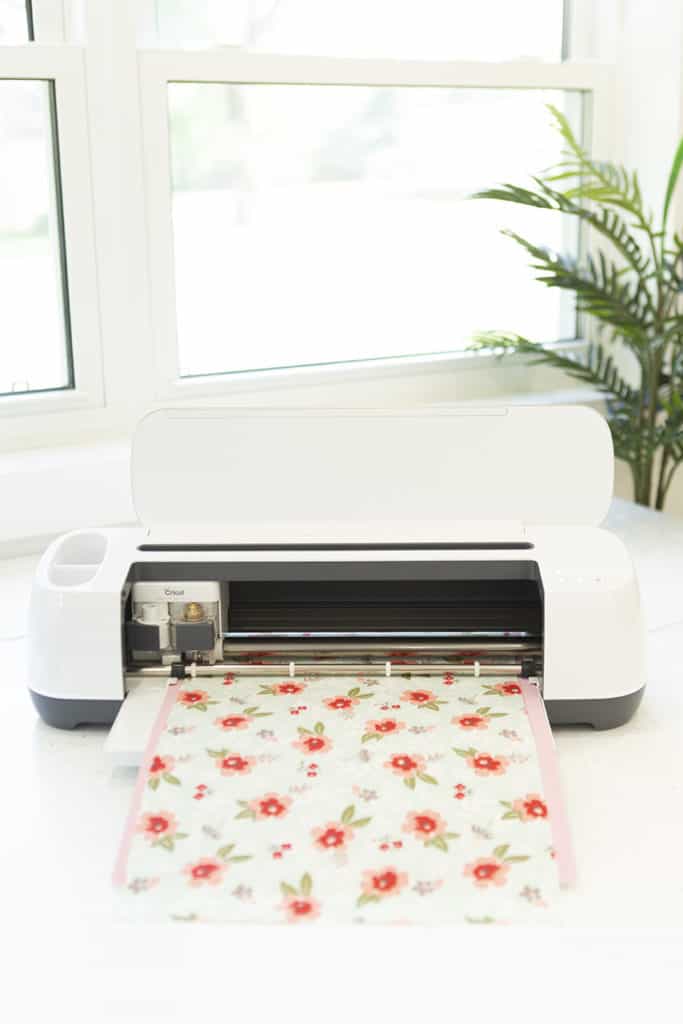
Cut out all your pieces.
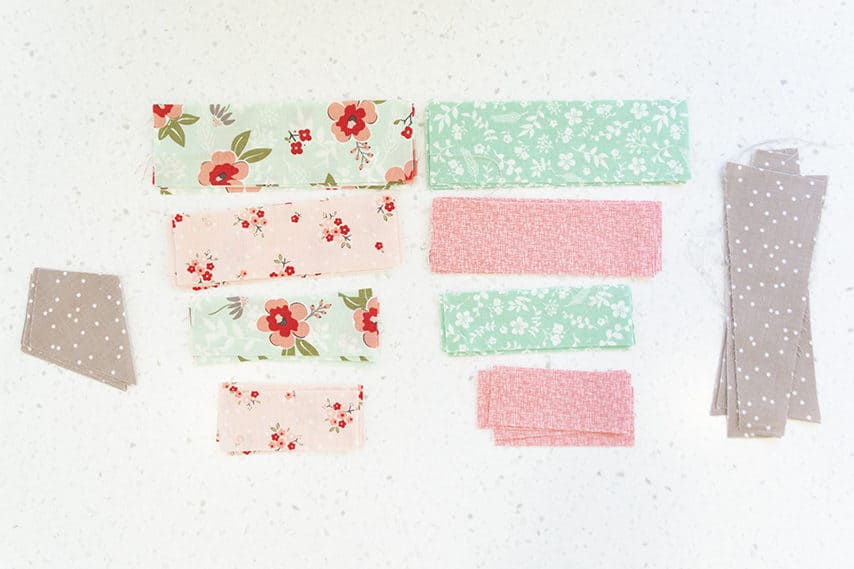
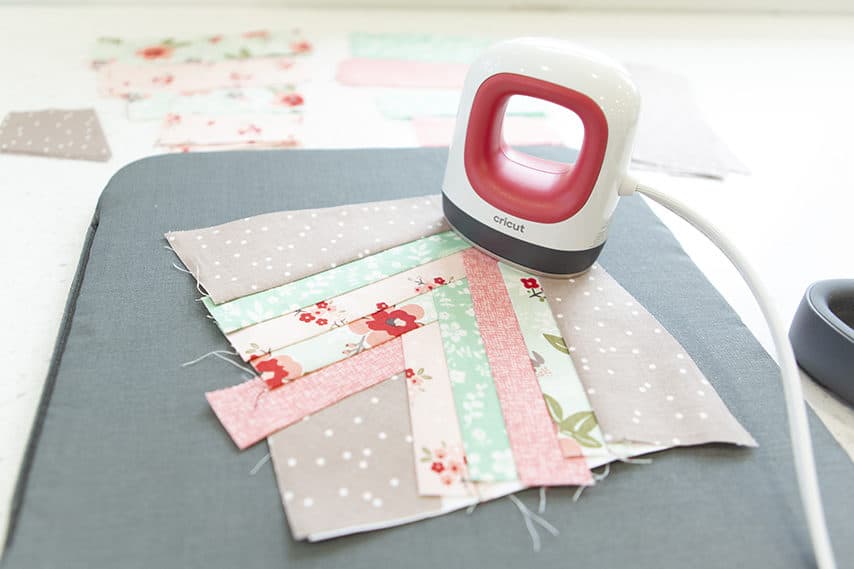
Once you have them all cut, organize them in the order you will be sewing them (smallest pieces are first). Organization is key! I get so lost in a daze when FPP that it can be easy to mix up a fabric.
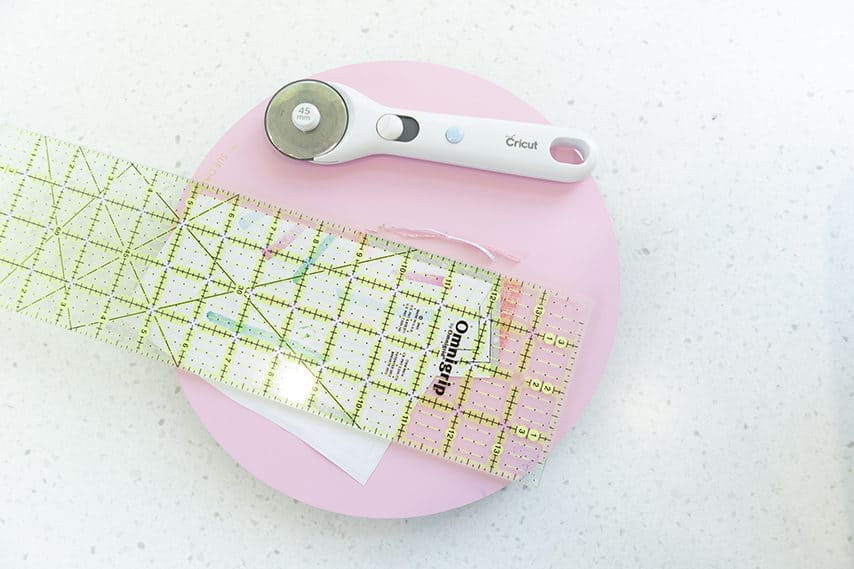
I like to set up my workspace so I have the cutting on the left hand side and pressing on the right side. I do it this way so I can just roll side to side….. lazy or genius????? hehe. I have this awesome lazy susan cutting board (the pink circle thing). I got that from Fat Quarter Shop a while back and I LOVE it. Not only is it pretty but it is great for small projects like this. I also have my medium EasyPress mat. I have all the sizes but I like this medium one for this project.

LETS SEW!!!!! Take the kite shaped piece and place it on the BACK of your template, right side up. Make sure you have at least 1/4″ on all sides of the lines. Using a BrightPad or holding it up to a window works great. You can use a glue stick to hold it in place. My kids stole all mine for school…. So I will be using a pin . (not ideal in FPP since it can manipulate the fabric).
Take the small dark pink fabric strip and place along the side of the kite, right sides together. Hold up to the light and make sure you still have the 1/4″ of fabric around the edges.
Flip the template over, being sure your fabric doesnt twist or move! Using a small stitch length (I like 1.8mm) sew the first short line. Do not sew past the line, stop right at it. You can start in the seam allowance if you want.
Fold the template paper along the stitch line, exposing the seam allowance you just sewed. Trim to 1/4″.
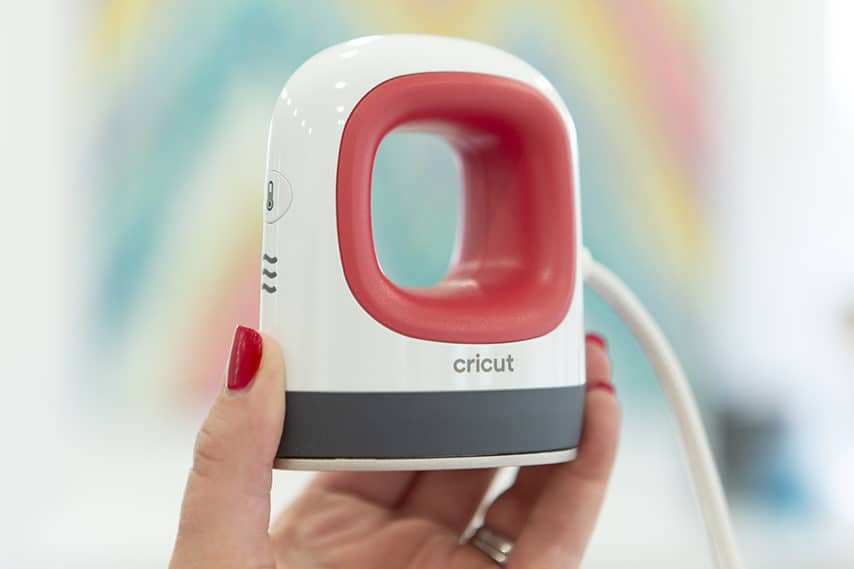
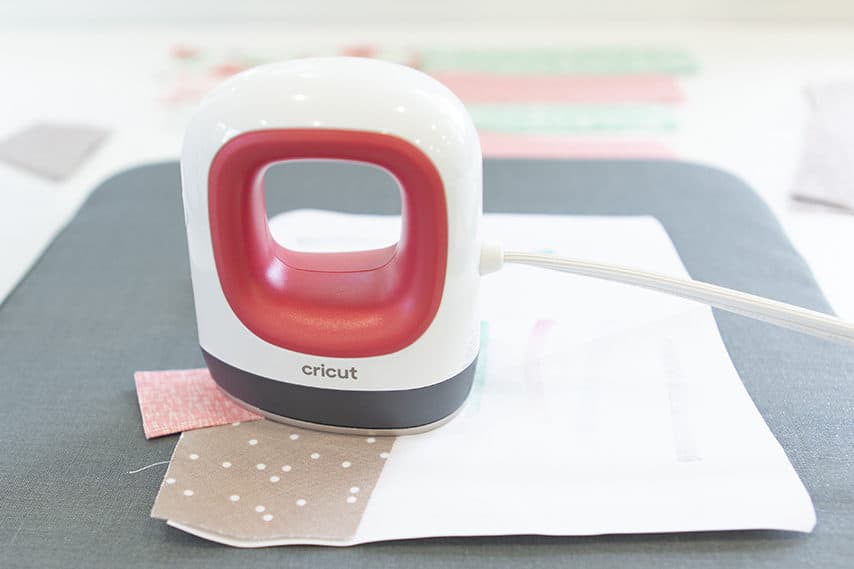
Pressing is a critical part of FPP – dont ever skip it. Take your EasyPress Mini and press the strip you just sewed over. This little EP Mini packs a TON of heat. I started at the high level but found that I didn’t need that much heat so I put it down to level one. There are 3 levels of heat to choose from.
Keep sewing, triming and pressing your strips one at a time. Once you have the block done, give it one last press before trimming it down.
Trim the excess fabric to the OUTER line. The inner line is the sewing line, you need that 1/4″ around each side for your seam allowance. 1 of 4 is done. Create 3 more of these blocks to create the full block.
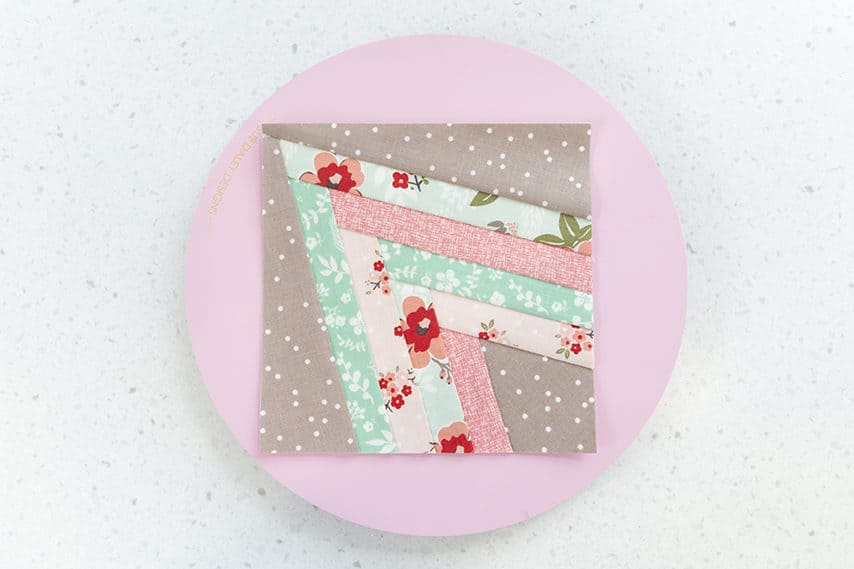
Once you have all 4 blocks done, sew them together to create this beautiful 12″ (finished) block!
I hope you enjoyed this fun tutorial. Be sure to follow us on Facebook, Instagram and YouTube @SimpleLifePatterns
Happy Sewing,
![]()