Clover Applique/ Iron on
Hi, it’s Amanda on the blog today to bring you some St. Patty’s Day Inspiration! I am also going to give you a few tips on easily adding an applique (or several!) to your items.
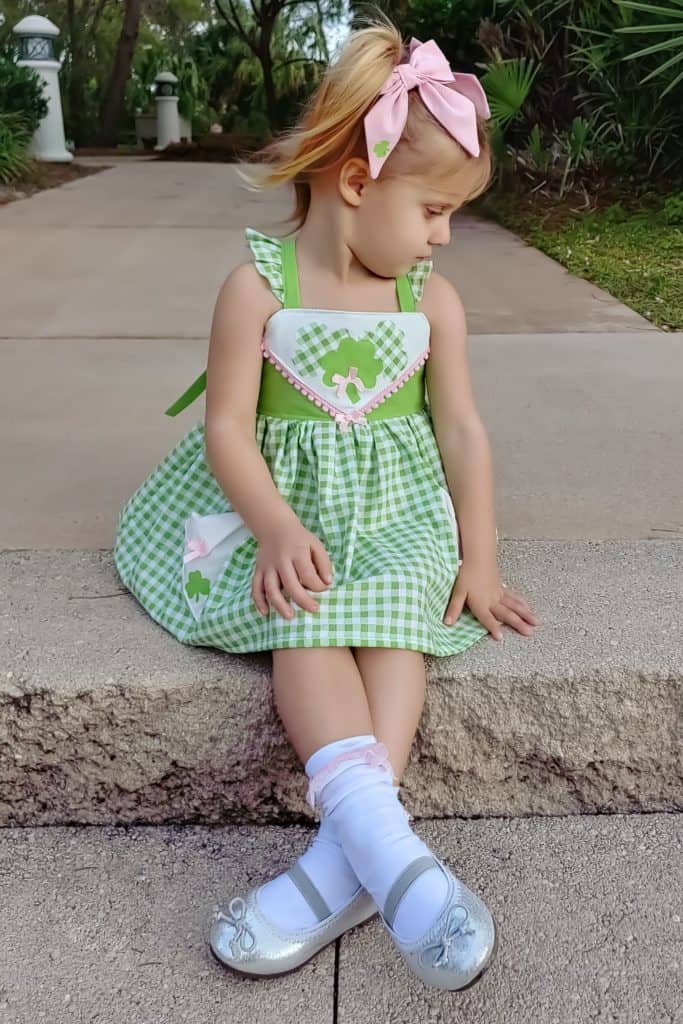
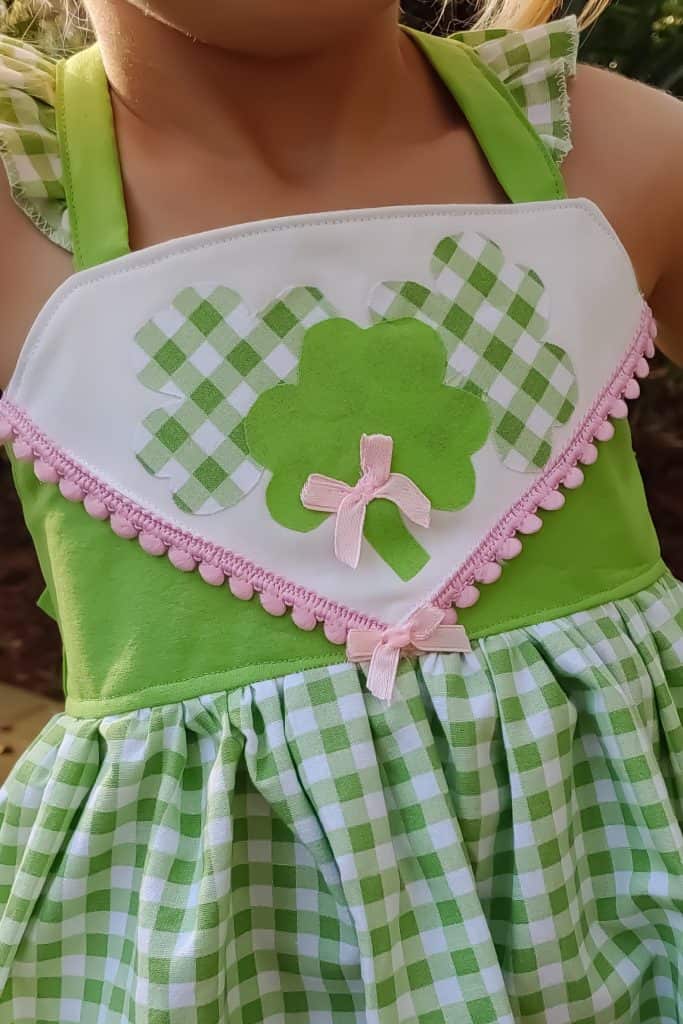
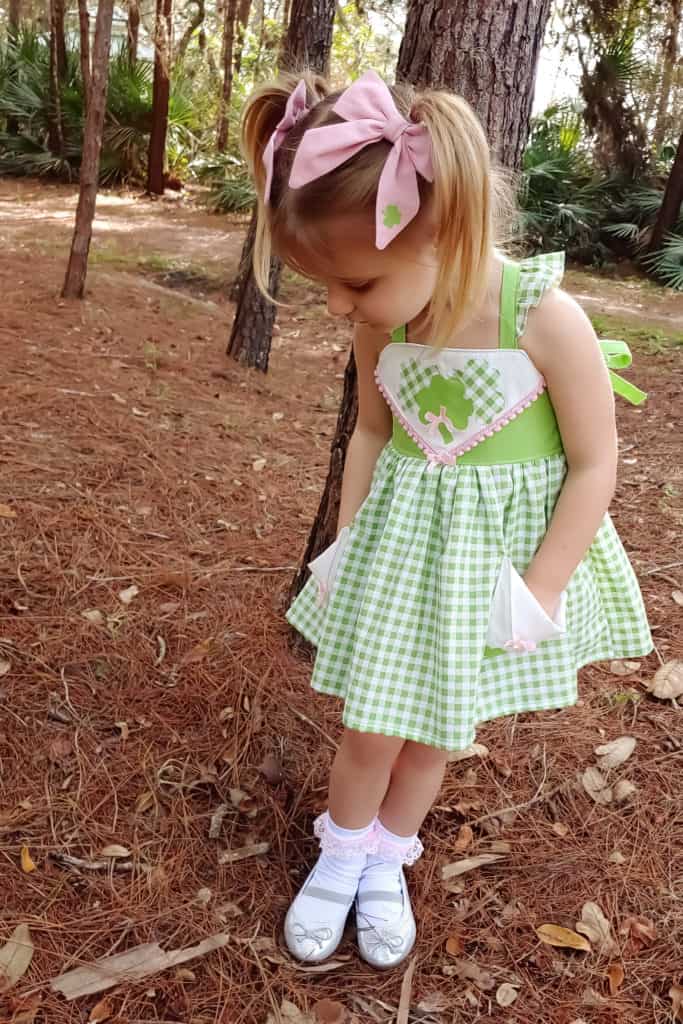
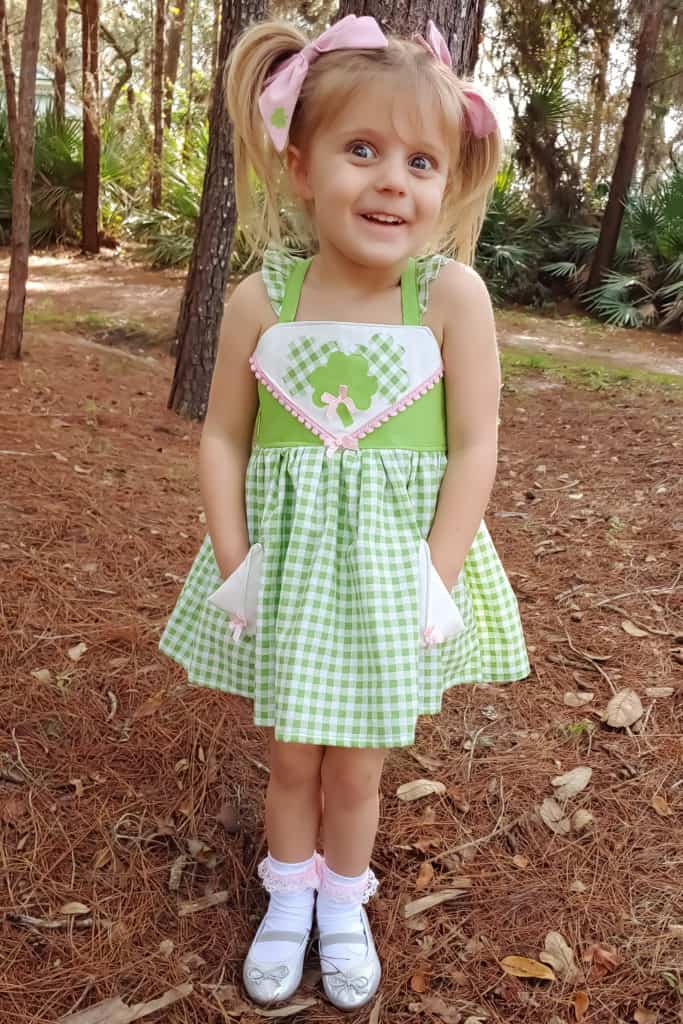
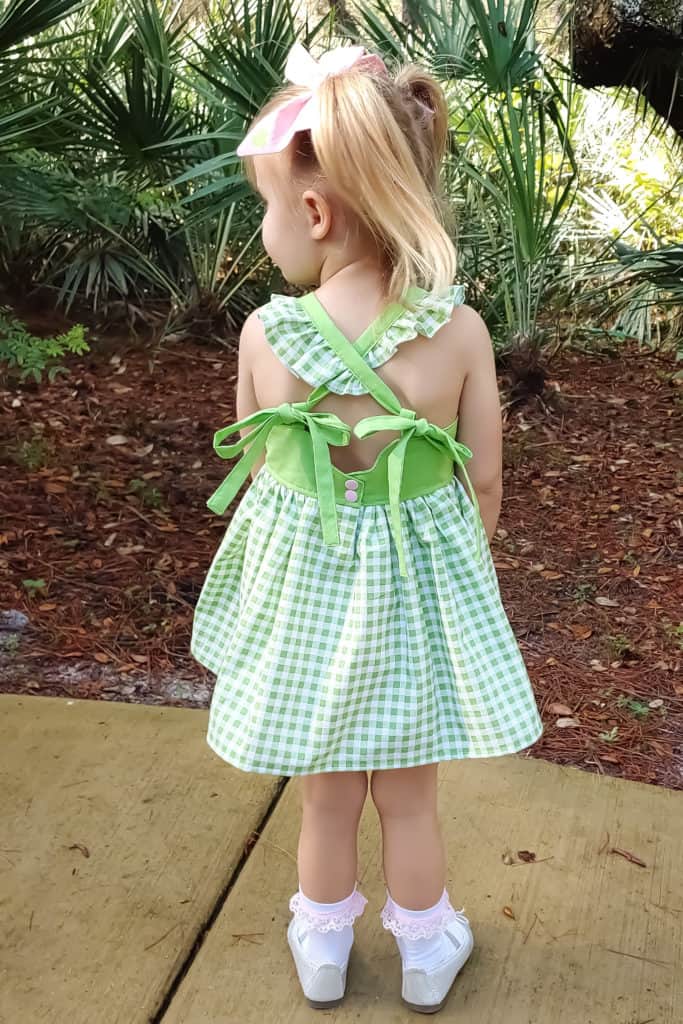
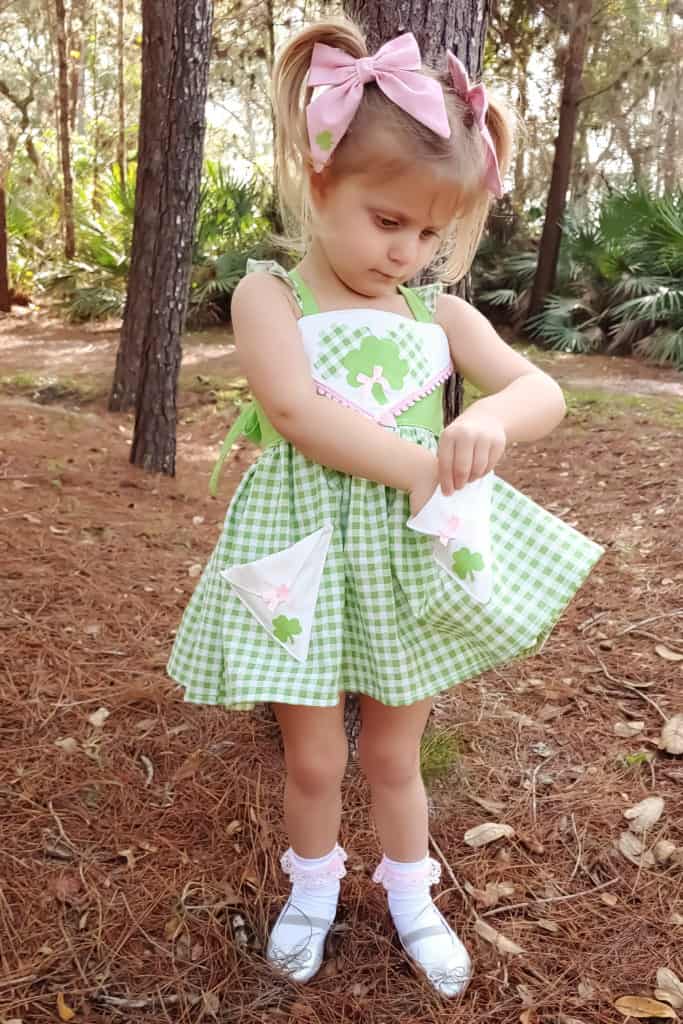
I fell in love with the Spring vibe from the Blakeley pattern and just knew it would be the perfect dress for this project! I paired this vintage length Blakeley with Rosie’s Bloomers, Sloane Socks and the (free!) pigtail bows featured on the blog for the perfect Spring outfit. When deciding on what/where to applique I wanted to coordinate the bodice and pockets to tie this dress together.
Stephanie was on the blog last month going over basic applique techniques for her Valentine’s inspiration. This time I will go over another option for you! When choosing to use a clover leaf for the applique work it was going to be difficult to stitch along the smaller lines and fine details. So, this technique will use a double sided no sew permanent adhesive for application. I had Heat & Bond Ultra on hand so that is what I used. You will iron this onto the fabric you will be using for the applique but leave the paper backing on until later.
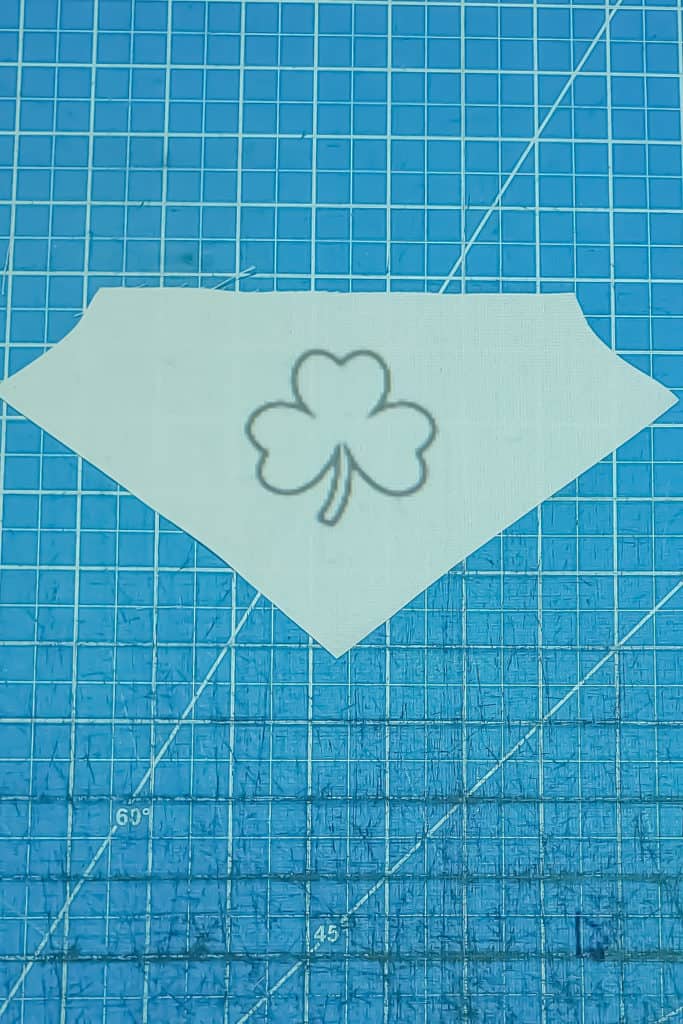
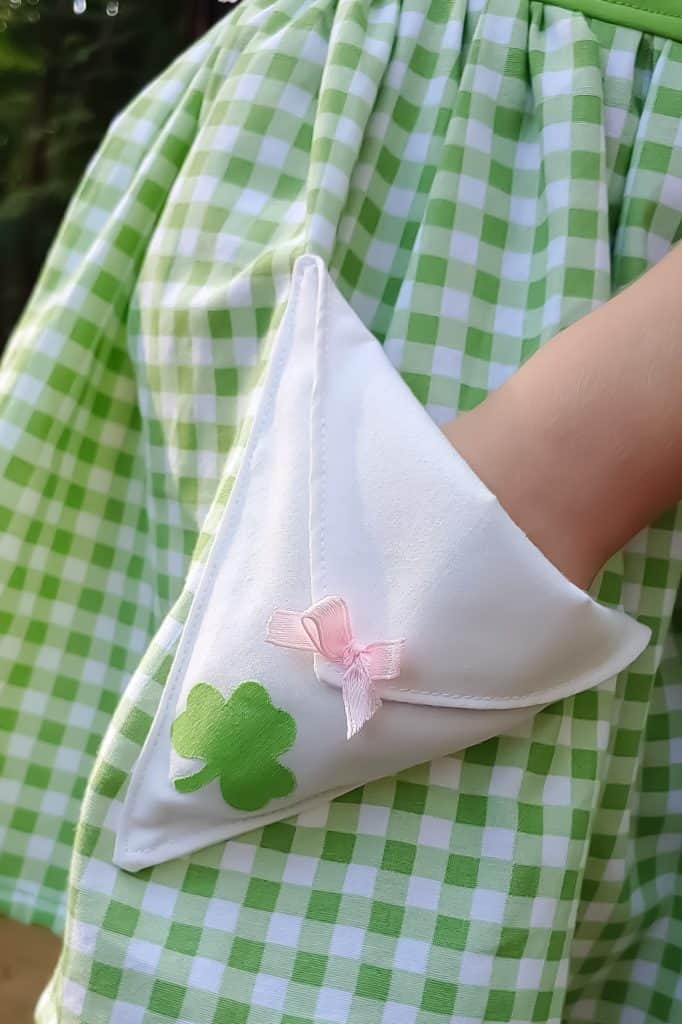
Once your interfacing is applied you will find your applique shape for your project. I like to google the shape and look for coloring book images as they are generally a strong clean line for tracing. If you have a projector you can simply project your googled image straight onto your fabric and adjust size as needed until it is the correct size (be sure to leave room for your seam allowance). You can then trace the image right onto the paper backing (be sure to mirror the image if needed). If you do not have a projector you can print the image out and trace on instead. A third option is to cut it using your Silhouette or Cameo using the correct settings for fabric. When using your cutting machine, you will peel the paper backing off before placing onto the mat and will cut with fabric facing right side up. I used my projector for my bodice images and used my Silhouette for my tiny pocket images.
Caption: Photos of my images projected directly onto my pattern pieces to get the correct sizing.
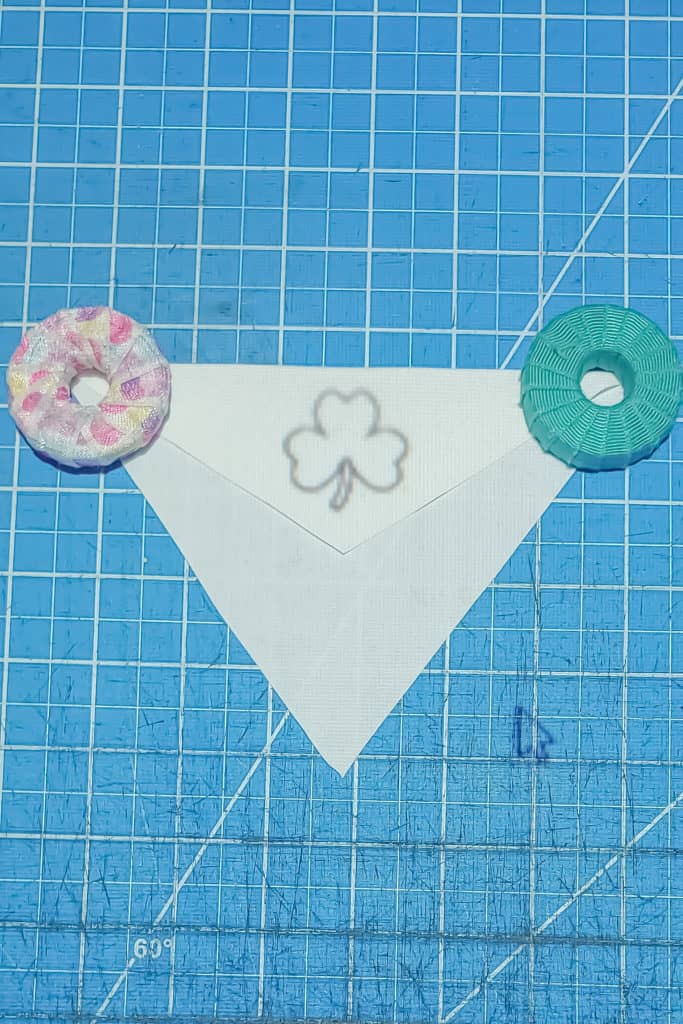
Once your images have been traced and cut using your preferred method above you will peel the paper backing and apply to your pattern pieces using an iron. These do not need stitched on afterwards when using a permanent interfacing such as Heat and Bond Ultra. I love this option for tiny, detailed applique work such as these clovers (especially those itty-bitty pocket ones!). I embellished mine with tiny satin bows and then sewed up my pattern per the instructions.
This is a perfect way to up the wow factor on your item without a lot of extra work! I hope you try this method of applique work and be sure to share yours in the Simple Life Fan Group when you are finished!
Happy Sewing,
Amanda