Lullaby Collection: 2 Quick and Beginner Friendly Free Patterns
Lullaby Collection: 2 Quick and Beginner Friendly Free Patterns
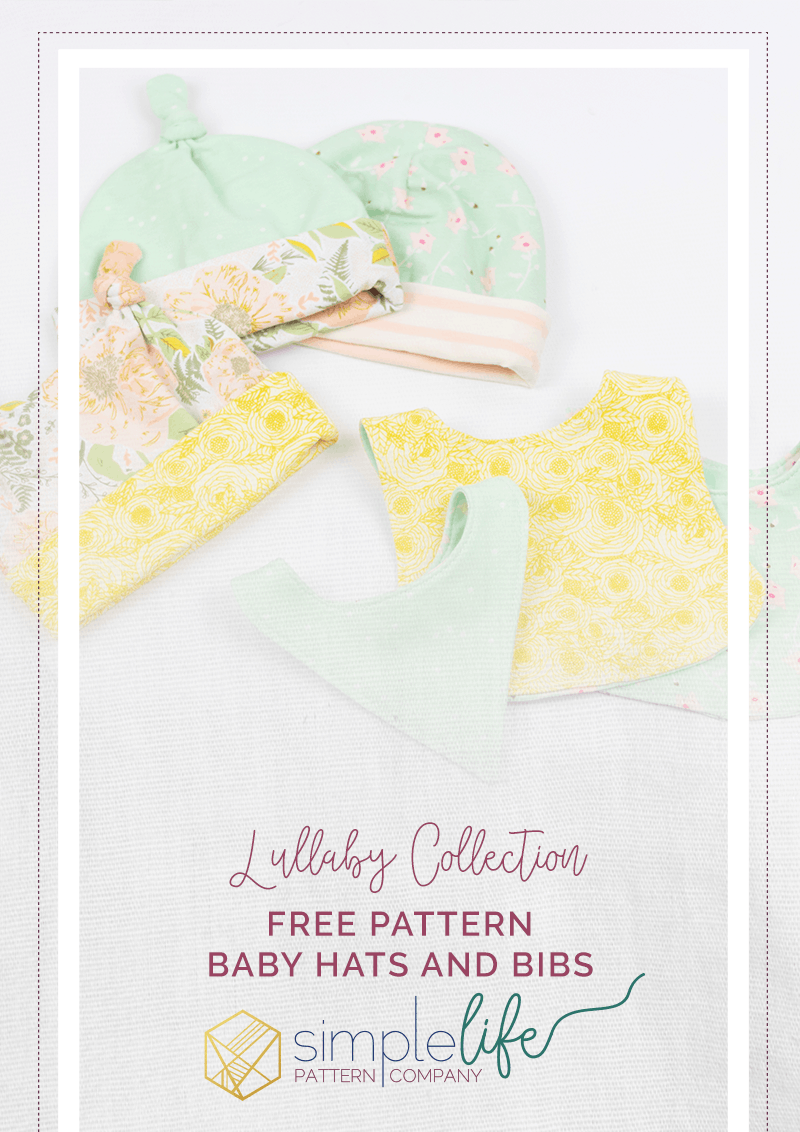
Hey everyone! I am so excited to share with you the new FREE lullaby collection.
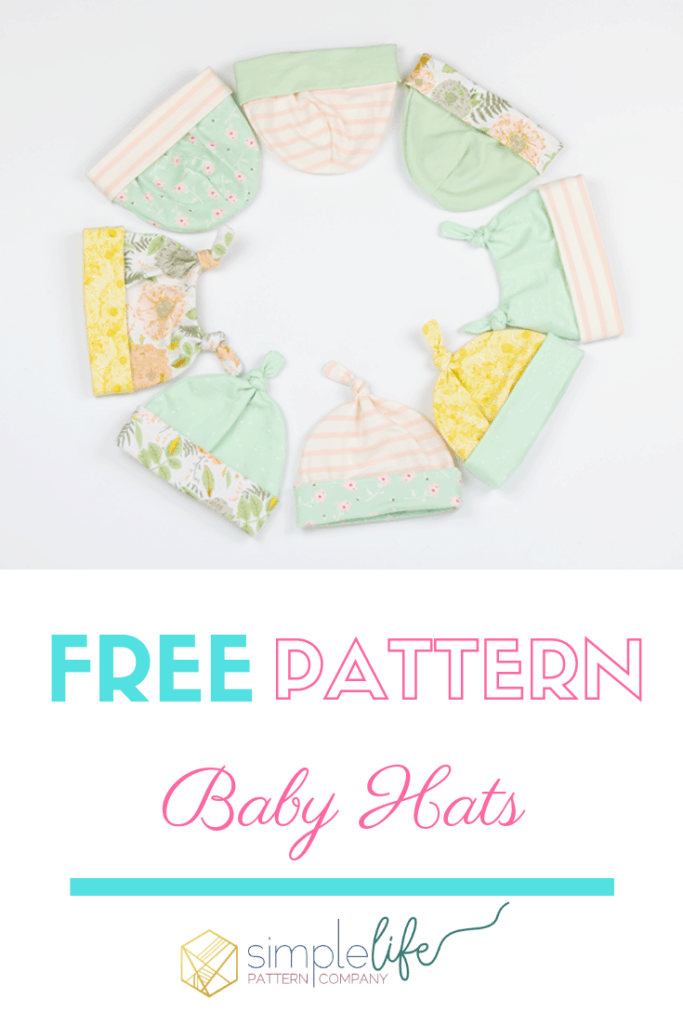
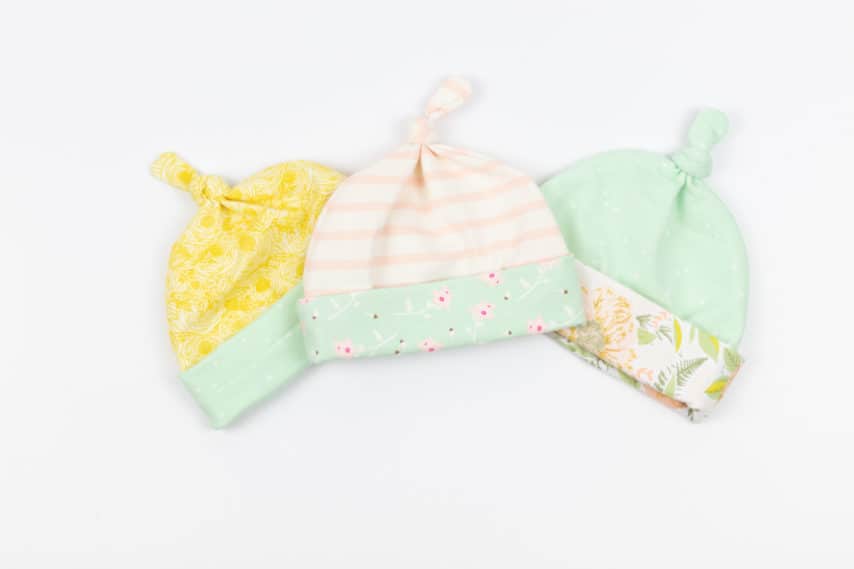
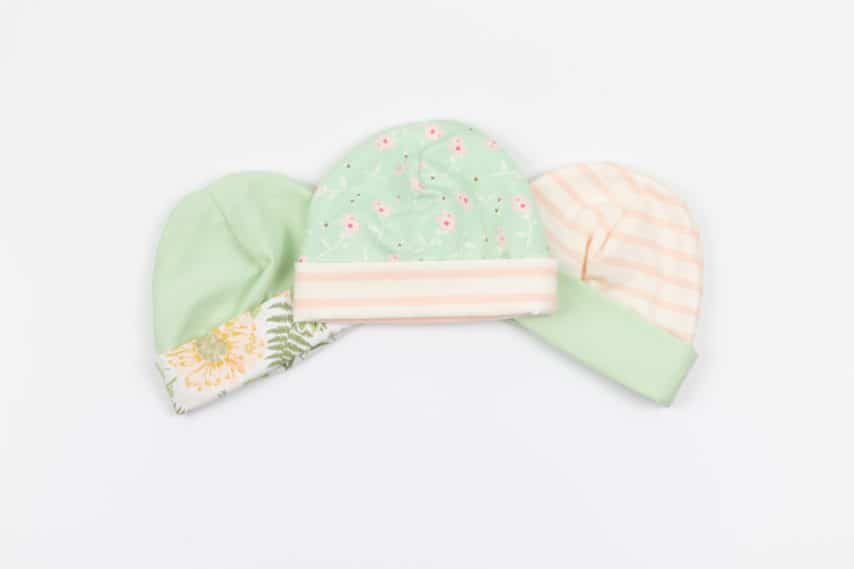
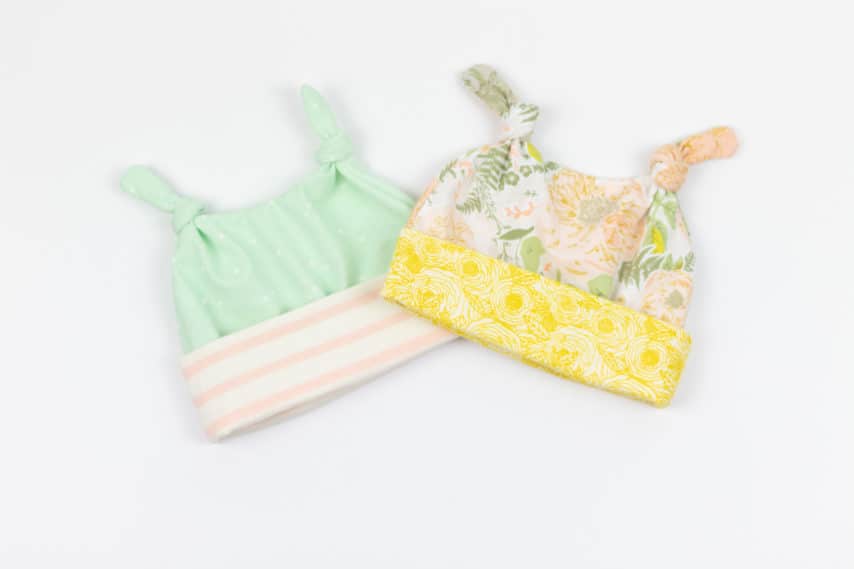
This new collection is the perfect option for gift giving. With 3 adorable hat options and 3 equally cute bibs, you can gift a new parent a complete set for their new bundle. Let’s not forget the fact that this is such a quick and easy project, making it perfect for you last minute gift givers.
(Don’t worry, I’m a last minute person myself)
You will need to join our Facebook fan group and grab the coupon code that is in the pinned post. Then you can go grab the Lullaby Collection. After you grab your free pattern, come back here for the tutorial!
Lullaby Collection: Hats
Materials
Knit Fabrics– 3/8 yard
Baby Beanie
*All seam allowances are 3/8″*
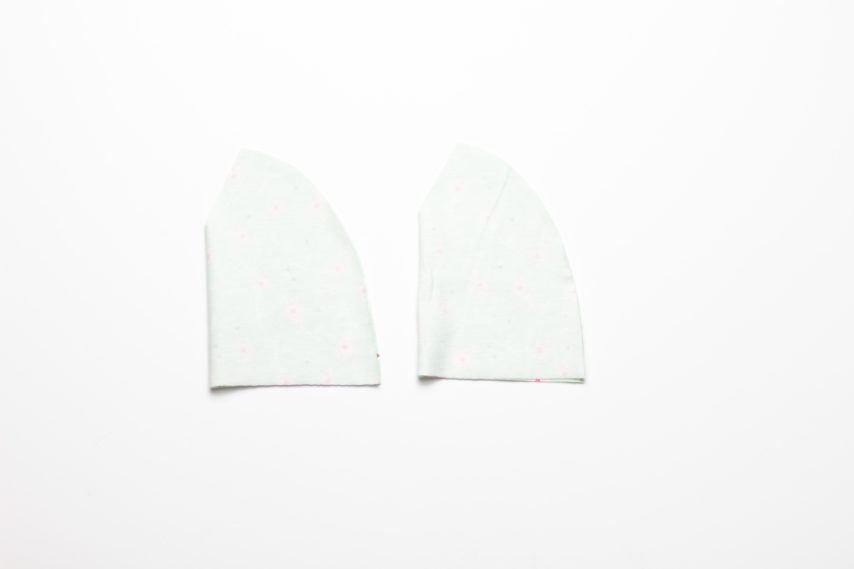
Fold your hat front and hat back piece in half right sides together. Sew/serge along the short angled edge.
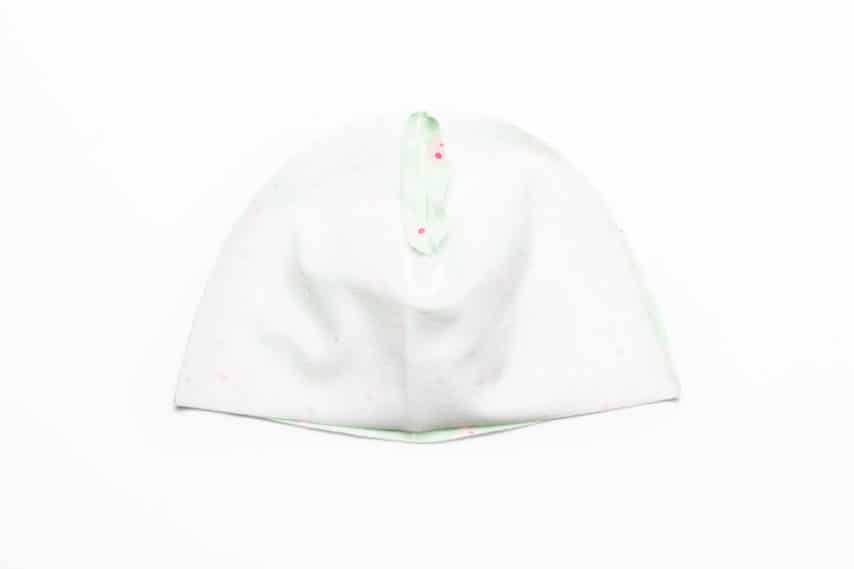
Place your hat front and hat back right sides together so that the raw curved edges align. Sew/serge along the curved edge.
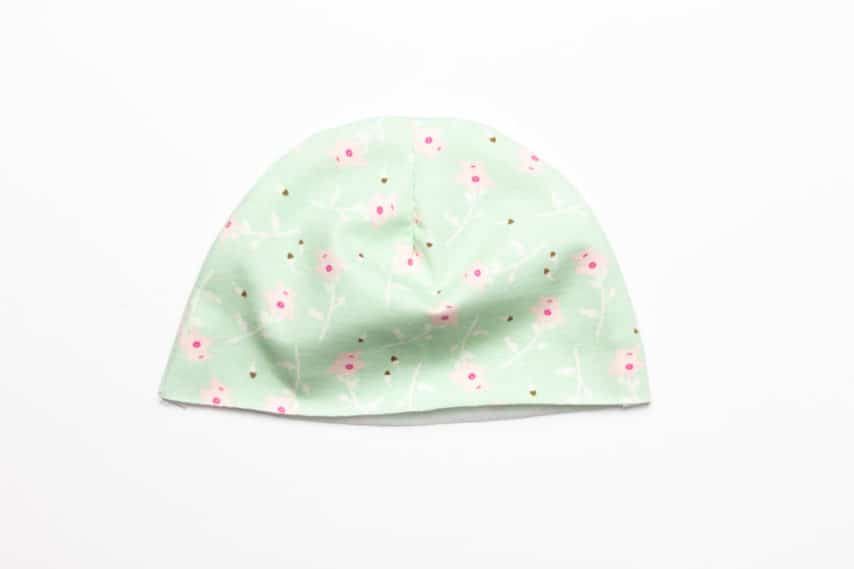
Turn your hat right sides out and set aside.
Double Top Knot
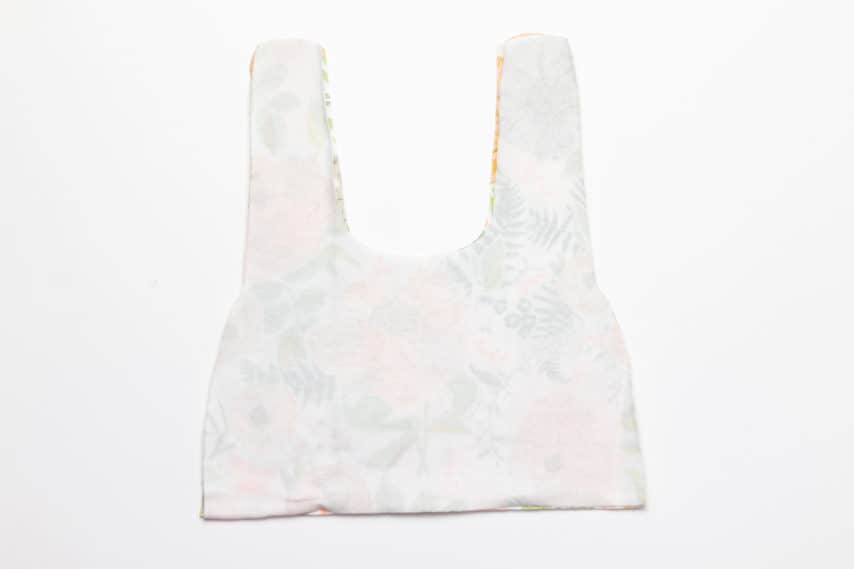
Place your hat front and back pieces right sides together. Sew/serge around the outside of your hat (leaving the bottom open).
Top Knot
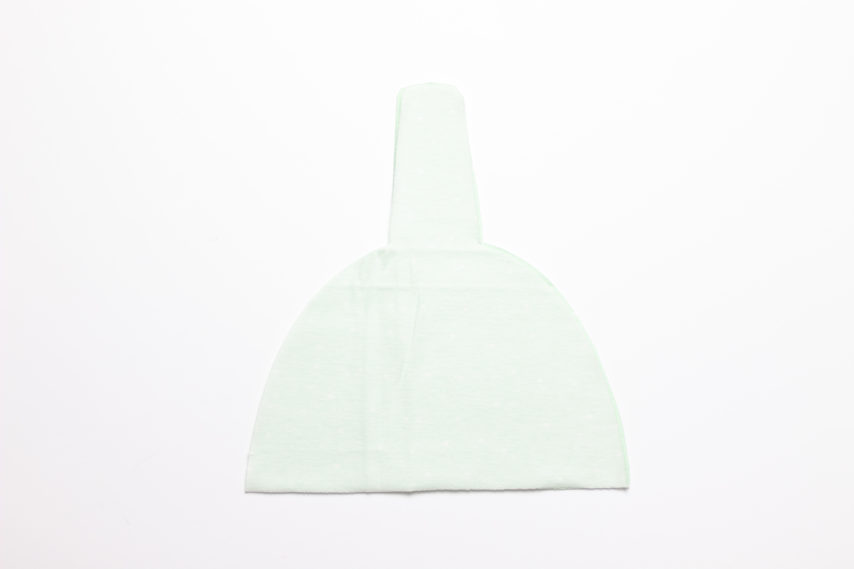
Place your hat front and back pieces right sides together. Sew/serge around the outside of your hat (leaving the bottom open).
All Versions Continue Here for Band
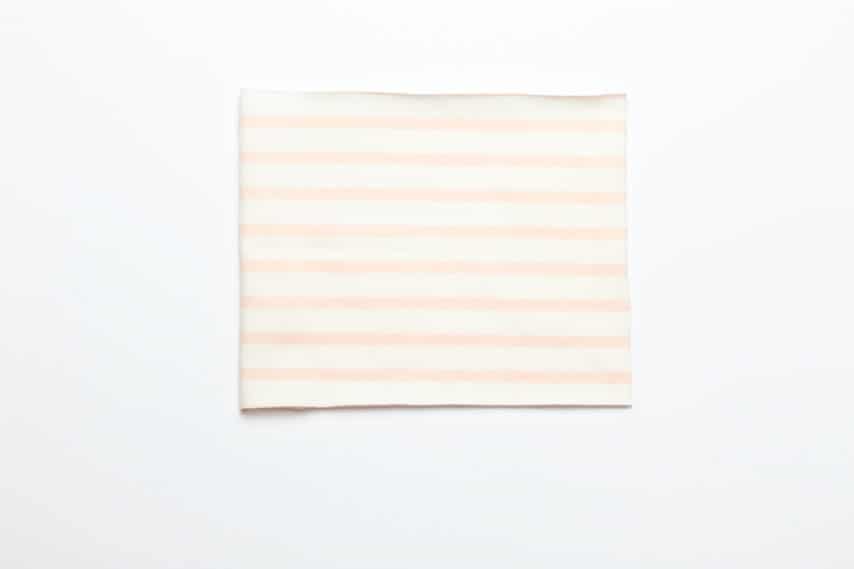
Take your band piece and fold it right sides together so the two short raw edges align. Sew/serge along the short raw edge.
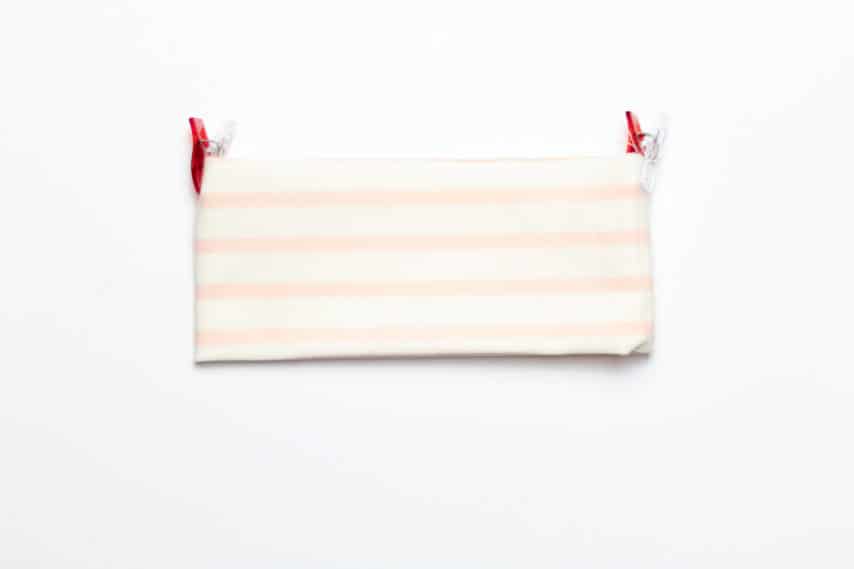
Fold your band in half, wrong sides together, so that the long raw edges align. Mark your 1/2 points using clips or pins. One mark will be where your seam is.
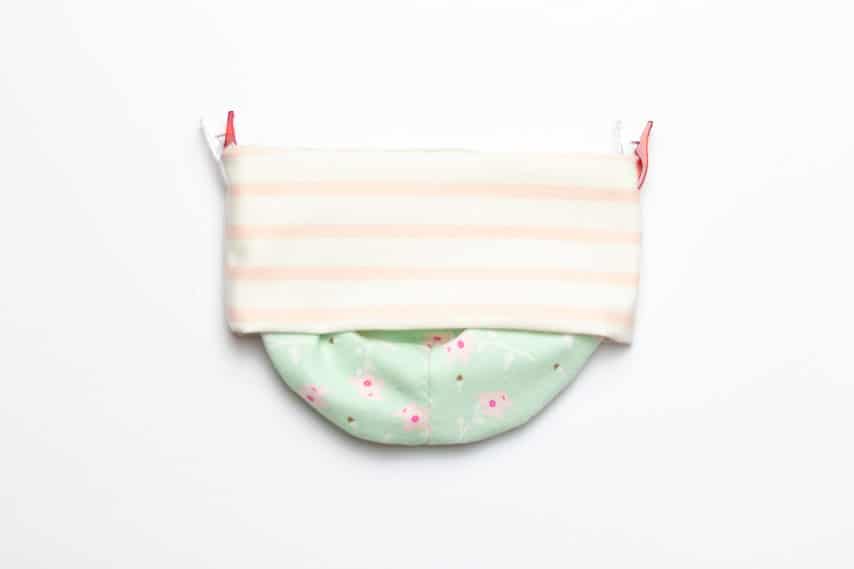
Align the raw edge of your band with the raw edge of your hat, right sides together. Match your 1/2 points with the side seams of your hat. Sew/serge together.
Lullaby Collection: Bibs
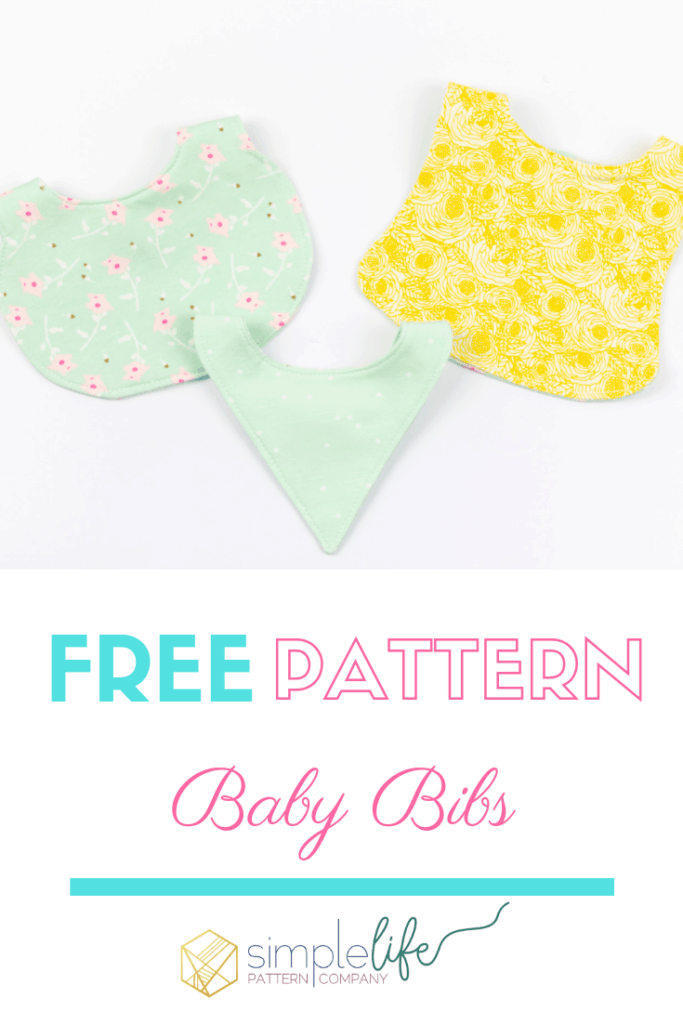
Knit or Woven Fabrics– 3/8 yard of main fabric (quilting cotton or knits may be used)
Knit or Woven Fabrics – 3/8 yard of lining fabric (quilting cotton, knits, terry cloth, etc.)
5/8″ Hook and Loop Tape OR Snaps
All Bibs Follow the Same Instructions
*All seam allowances are 3/8″*
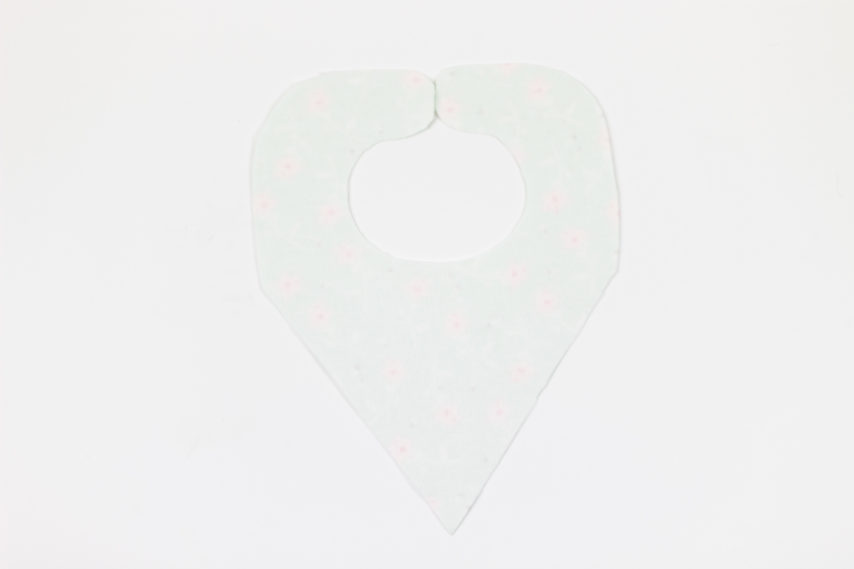
Iron your interfacing to the wrong side of your bib front.
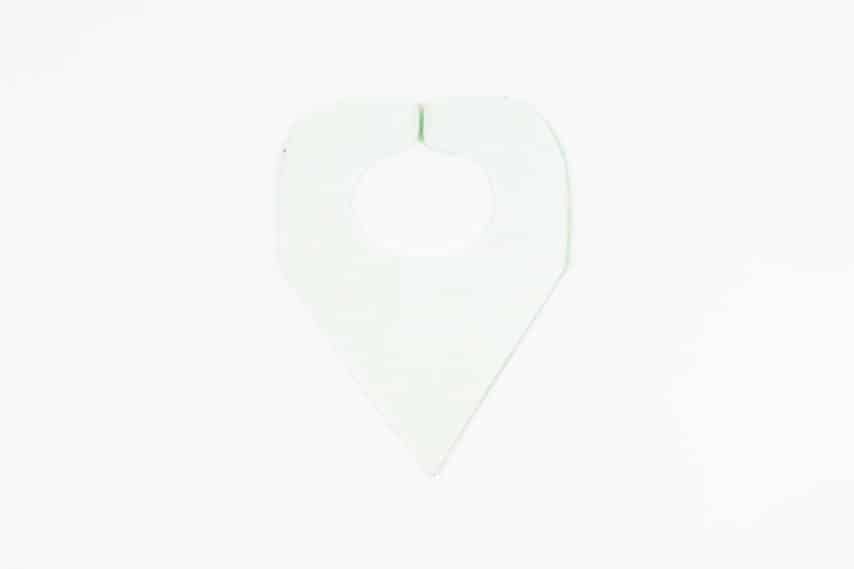
Align your front bib piece and back bib piece right sides together. Pin/Clip and sew with a 1/4″ seam allowance. Leave a 2″-3″ opening for turning right sides out.
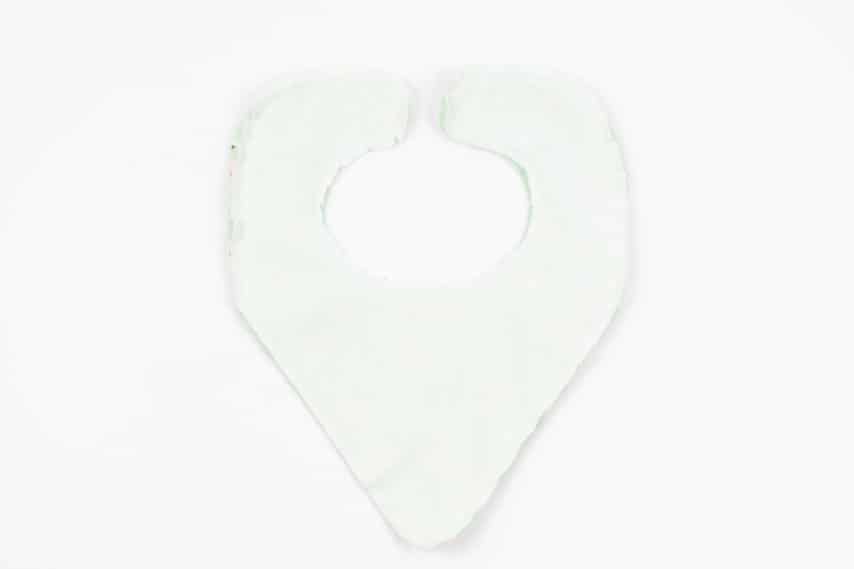
Clip your curves and corners well
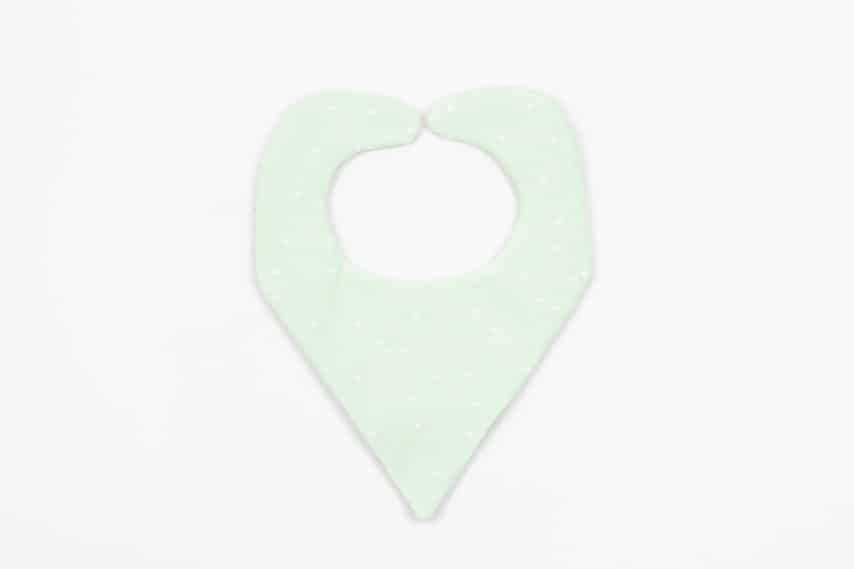
Using the opening that you left, turn your bib right sides out. Use a turning tool, chopsticks, or even a pencil, to help turn your neck straps right side out completely.
Iron and top stitch around the outside of your bib.
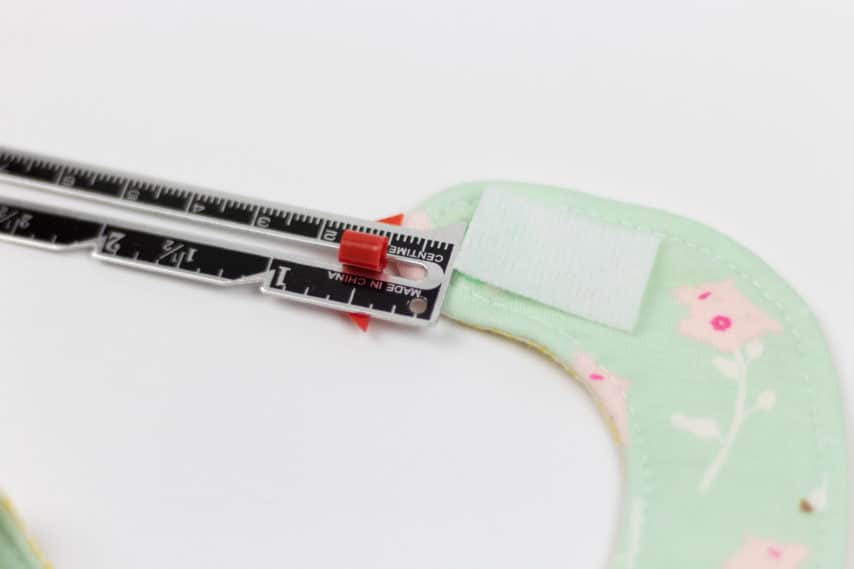
If using a hook and loop closure, cut two 1″ strips and attach to the neck straps. My closures are placed 3/8″ from the edge.
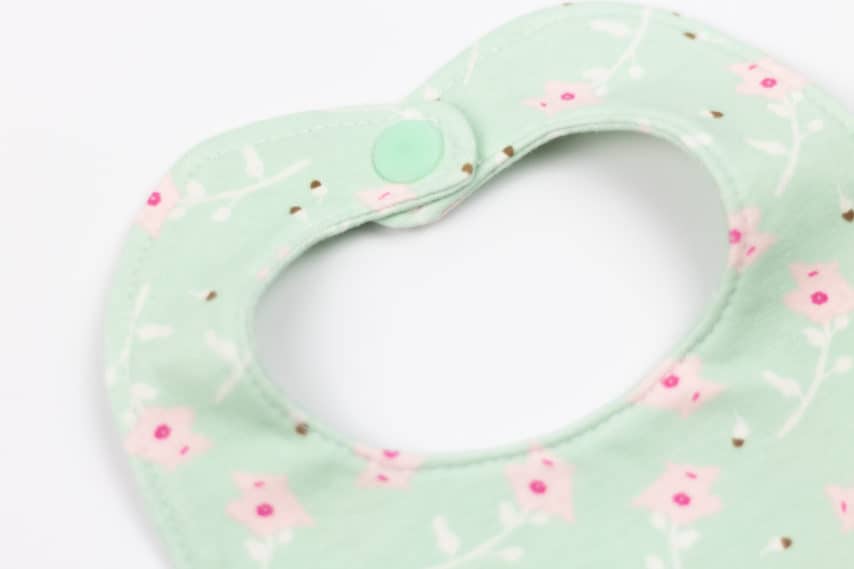
If using snaps, following the manufacturers instructions, install snaps to your straps.

That’s it! How easy was that?
Don’t forget to join our Facebook group and share your makes with #SLPcoLullaby so we can see what you create!
Until next time,


