Free Quilted Pillow Pattern using the Cricut Maker
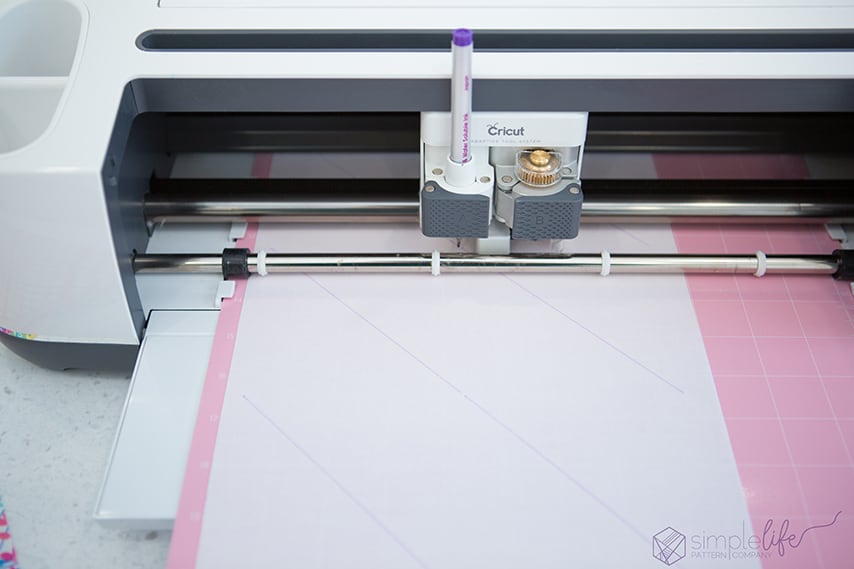
Today I have a super fun Half Square Triangle tutorial for you! I have these 2 SUPER ugly and well stained pillows that I just couldn’t throw away. The pillow forms are real down but those covers are just so disgusting. They are old (oh gosh, maybe 12 years old) and that brown silk and embroidered paisley – I hate it. I have been slowly redecorating and ridding our house of anything beige. I love fun, bright colors so I knew I needed to use my new fabric collection for Art Gallery Fabrics, West Palm Fabrics (shipping out to quilt shops March 2019) to make new covers. These colors make me super happy and thats what I want to feel when I walk into my messy living room. I ordered new couches over a month ago and they still are not in so no pretty pics on an actual couch at the moment (my brown couch has got to go…..). I love to cut EVERYTHING out on my Cricut Maker so of course I designed this project to be cut using the adaptive tool system on the maker. The rotary blade can cut hundreds of different types of fabrics. So, lets get your Maker out and ready to cut everything out while you clean… or take a little break….
This is a sponsored conversation written by me on behalf of Cricut. The opinions and text are all mine.
This project will yield one 18″ (finished) block. The squares are 4″ and once sewn into two HST (half square triangles), you will square them to 3.5″. This will give you a 3″ finished HST.
All seam allowances are 1/4″
You can go directly to the Cricut project here in the Cricut Community.
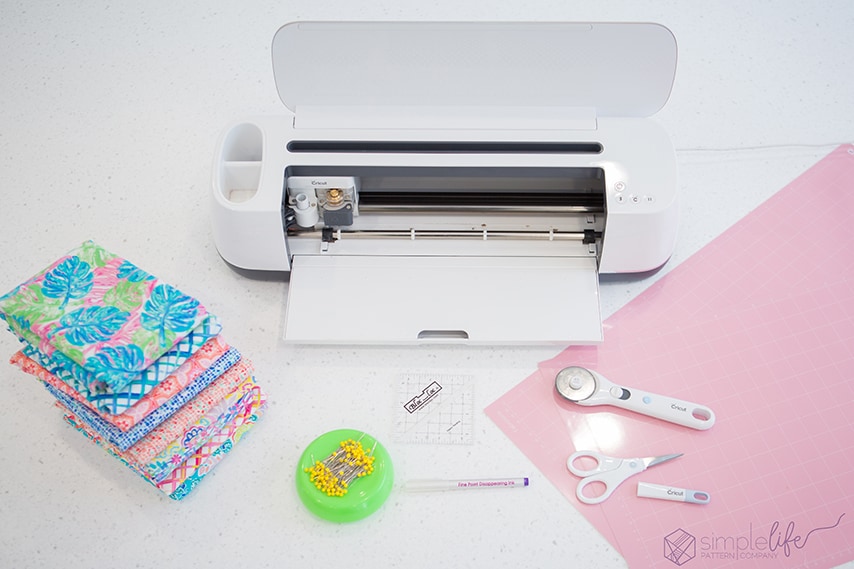
Let prepare. Here is what you will need. If you are cutting by hand, you don’t need the Cricut maker or the fabric grip mat.
Washable Marker (I highly recommend the one linked (I have it in blue and purple). I am not a fan of the Cricut brand marker, its way too thick of a line and really hard to wash out – and this fits in the maker!!!!)
Bloc_Loc 3.5″ (or bigger) square (HIGHLY recommend this!!! makes squaring up your blocks so much easier)
Batting: I LOVE Hobbs but any batting really will work
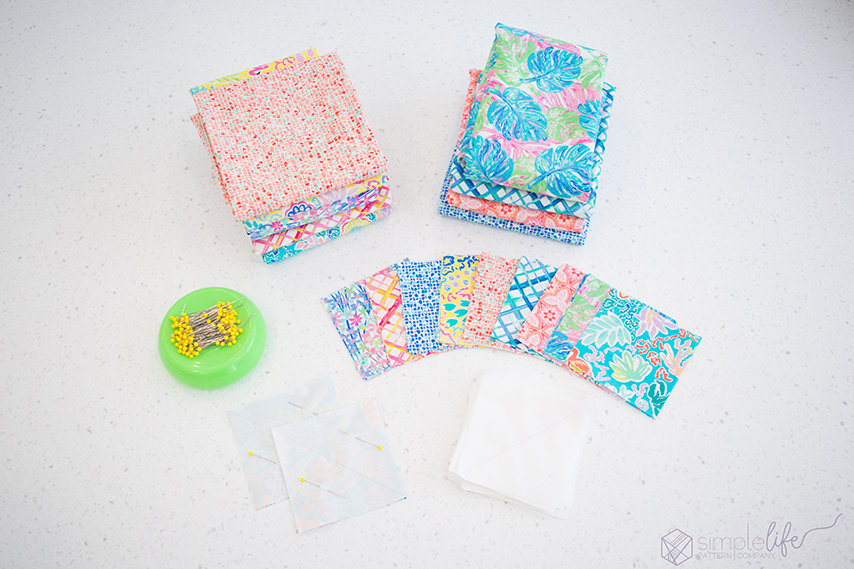
From your fabric, you will need to cut: (this is for 1 pillow)
White fabric: 21″ x 9″ and 17″ x 9″
from your 9 print fabrics: 5″ x 9″
If you are cutting by hand:
White: cut 18 4″x4″ squares (draw a diagonal from one corner to the opposite corner using a fabric washable marker on all your white squares)
Prints: cut 18 4″x4″ squares
If you want a little extra wiggle room for squaring up, you can do 4.25″ squares, OR if you have some charm packs (5″ squares) laying around, you can use those and square your blocks to 3.5″.
Back of quilt sandwich: 20″ x 20″
Batting: 20″ x 20″
Pillow back: cut two 16″ x 18″
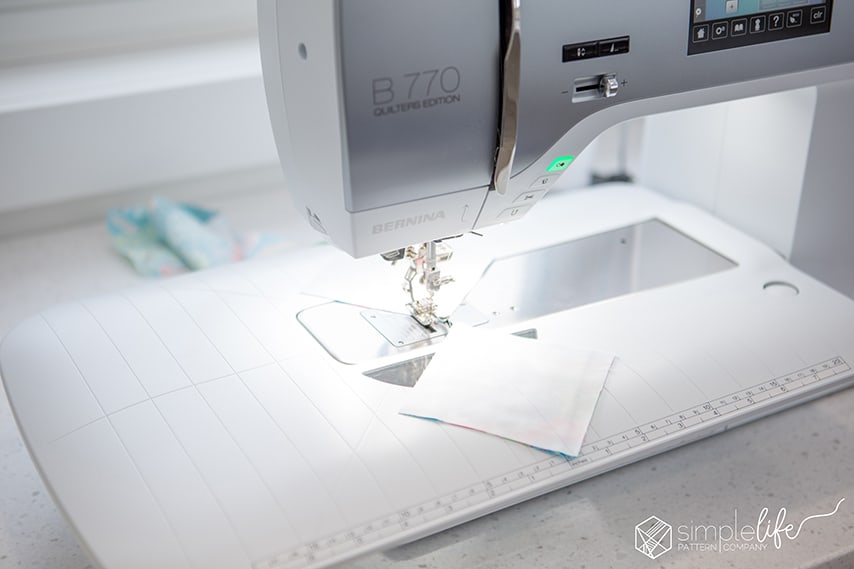
Once you have everything cut, take one white square and line it up with a print. Place them right sides together and sew 1/4″ on each side of your diagonal line. DO NOT sew on the line, you have to sew 1/4″ from each side so you get two HST. Repeat with all your pieces.
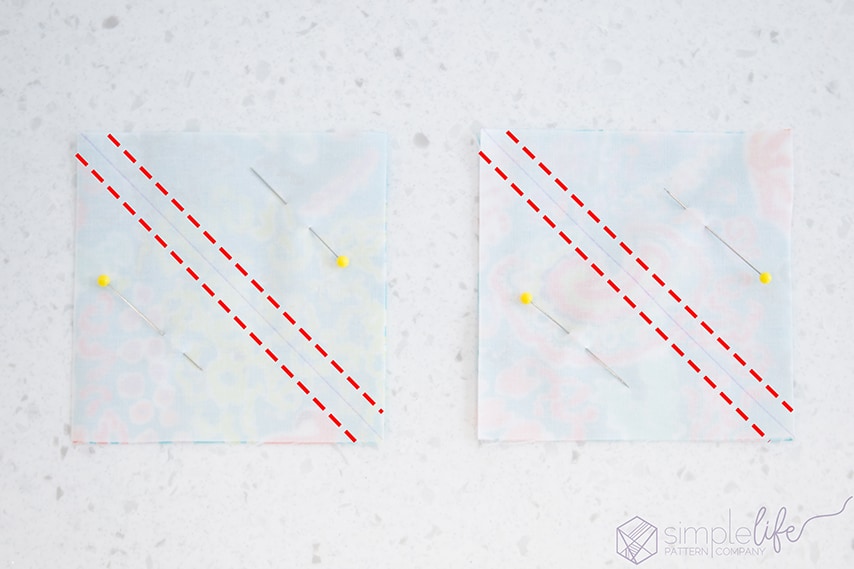
I like to chain piece everything.
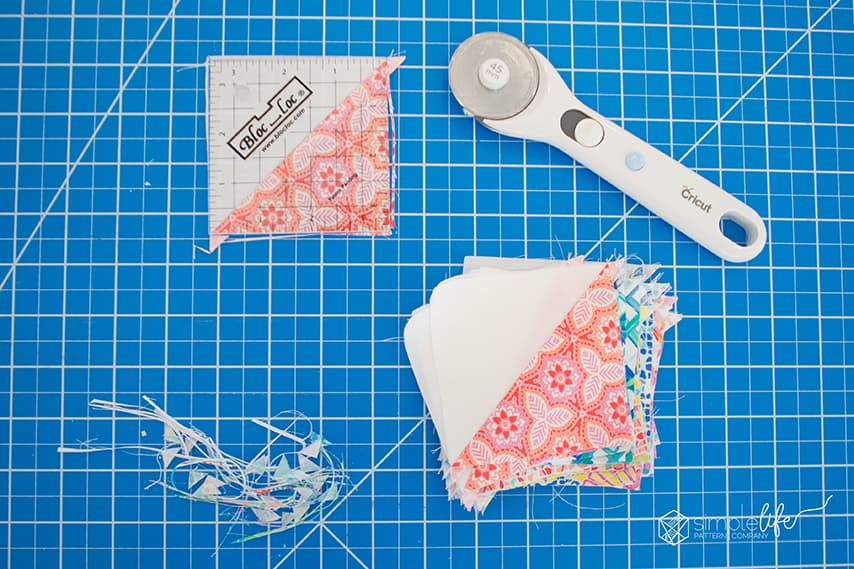
Cut your squares on the diagonal line you drew. This will be right in the middle of your two rows of stitching. Press all your blocks so your seam is towards the dark side.

Now we have to square up EVERY block. Don’t skip this step. It’s important to sew with nice and square blocks or you will end up with something wonky. I love using my Bloc_Loc ruler. There is a special little grove in it that hugs that seam, making it so fast and easy to line up your square and cut.
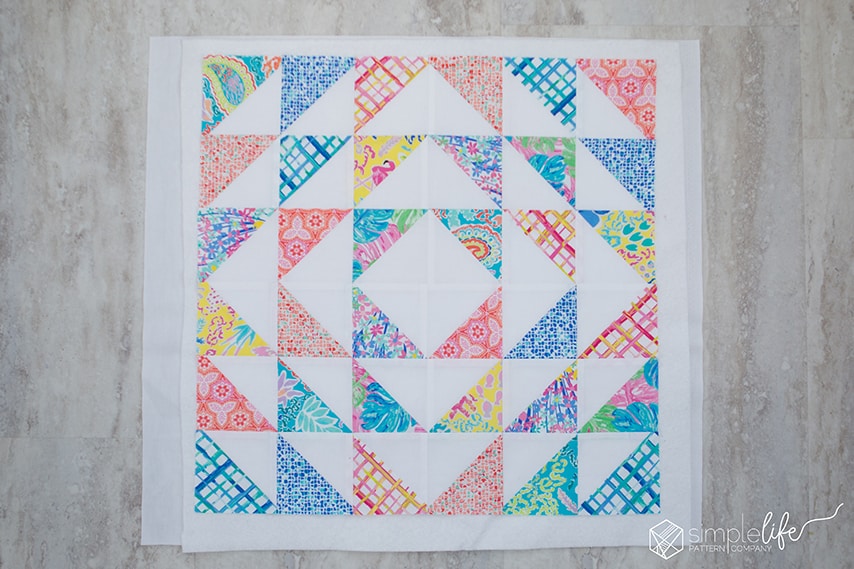
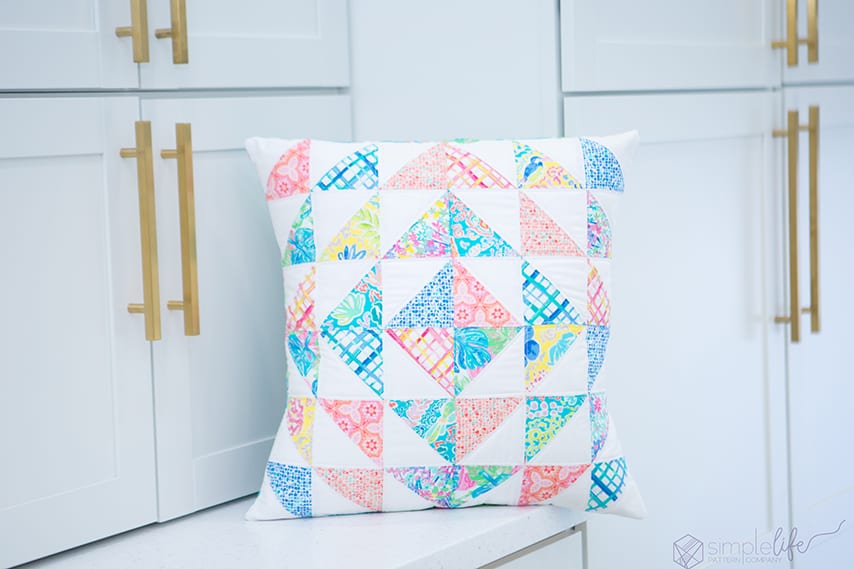
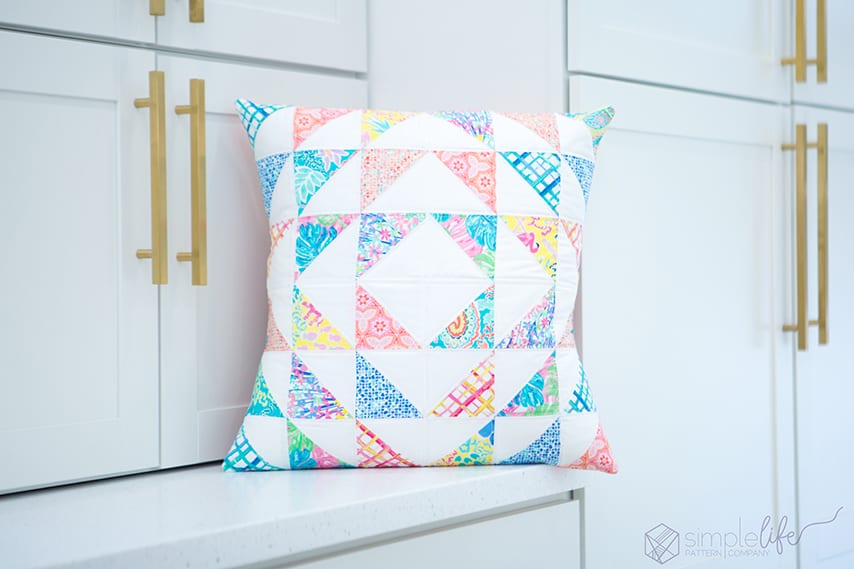
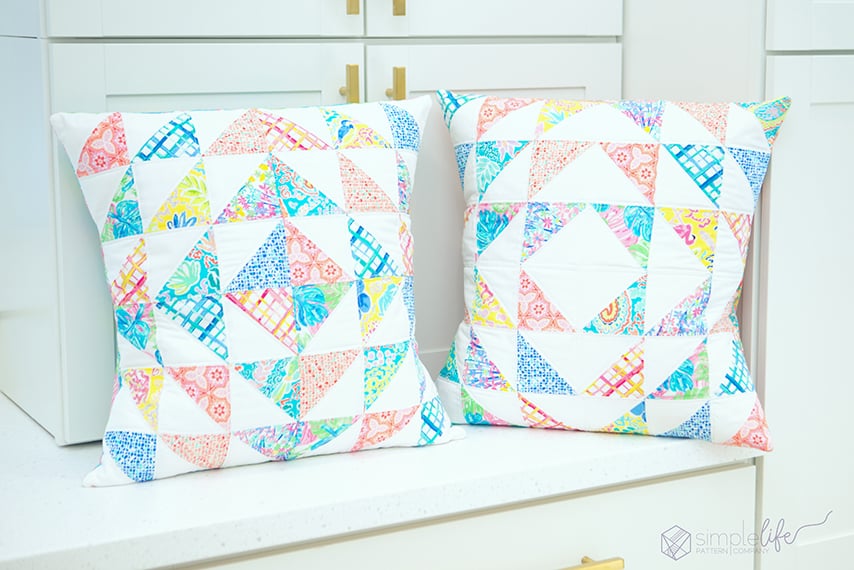
Lay your pieces out however you want. I made two pillows, I did one with the center being white. The other pillow I did, I laid them out in the opposite way, so the center had all prints. It’s totally up to you how you want to lay it out. There are so many different ways and they will all look great. Once you have your layout set, take column 2 and flip it over onto column 1, right sides together. Sew down the right side. I like to chain stitch so it all stays in place. Continue to sew each set. Then take column 3 and flip it over to column 2, right sides together and sew…. continue until all your columns are sewn. Don’t snip any threads. It’s nice to have those threads hold it all in place. Press each row of seams in opposite directions. ex: row 1 press to the left, row 2 press to the right, row 3 press to the left…..
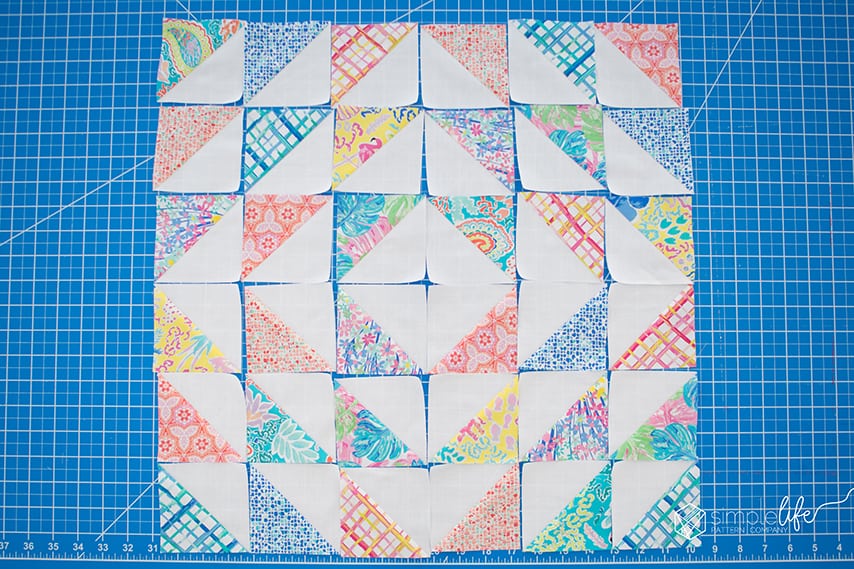
Now you can take row 1 and fold it on top of row 2, right sides together. Sew the rows together. Repeat this step with all the rows. Press all your seams in one directions.

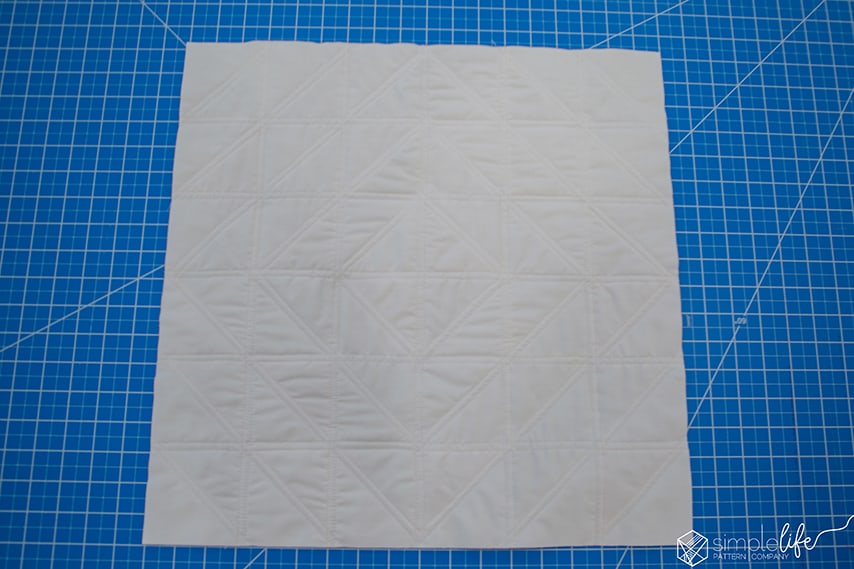
Time to make a quilt sandwich. Take your 20″ x 20″ quilt back and lay it wrong side up. Take your 20″ x 20″ batting and lay it on top of your back. Now take your quilt block and lay it on top so you have batting and backing on all 4 edges. Pin baste in place. Quilt your pillow however you would like. I went with the classic geometric lines.
Its pretty hard to photograph the quilting, but I did 1/4″ on each side of the seams. I am really happy with how this turned out.
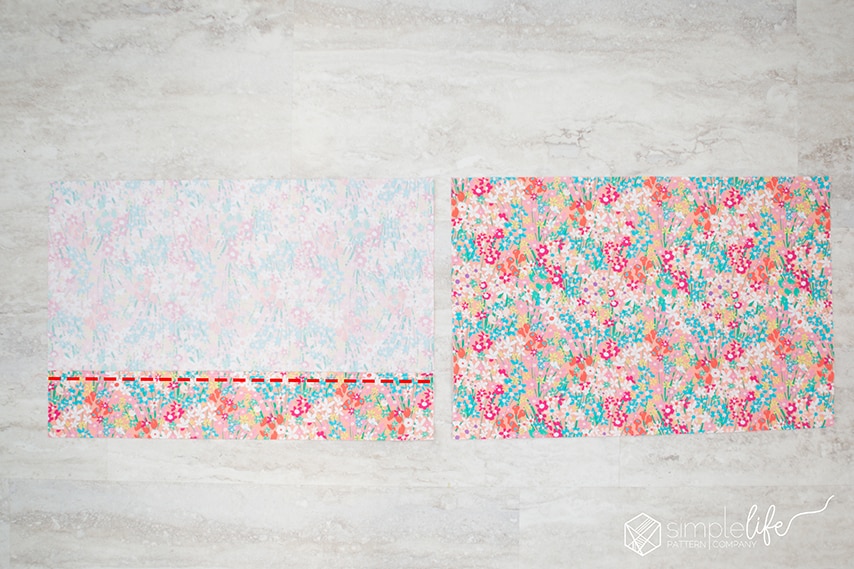
Time to make the envelope back. Take the pillow backing and fold one long (18″) side and fold it up 3/4″ and press. Fold an additional 3″ and press. Topstitch 1/4″ from the edge. Repeat with the other side.
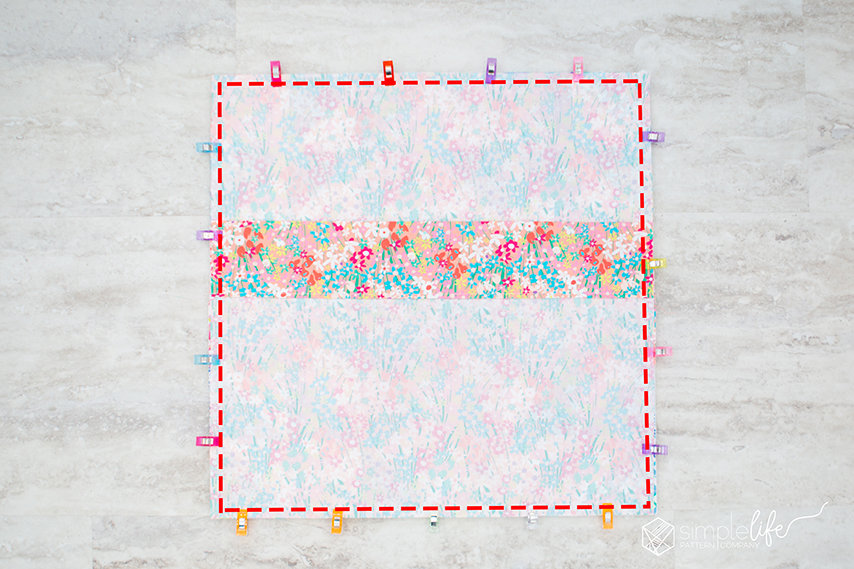
Take one backing piece and lay it on your quilted block, right sides together, being sure your hemmed side is towards the center. Now take your other backing piece and lay it right sides together with your quilted block. Be sure your hemmed side is towards the center. All the raw edges will be on the outside edges. Sew around the entire square, be sure to backstitch at the beginning and end.
Turn right side out through the center opening. Insert your pillow form into the cover and fluff. You now created an amazing quilted pillow cover.

I hope you enjoyed this tutorial. Be sure to join our FAN GROUP and follow us on FACEBOOK and INSTAGRAM. We love to see your creations. Please post anything you make from us using the #SLPco hashtag so we can see what everyone is making.
Happy Sewing,
![]()