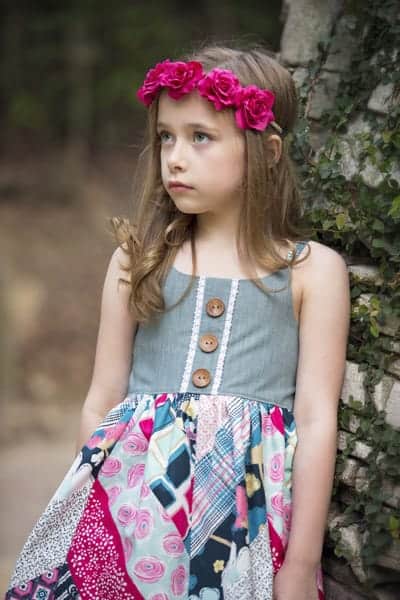
Herringbone Patchwork Bella Dress
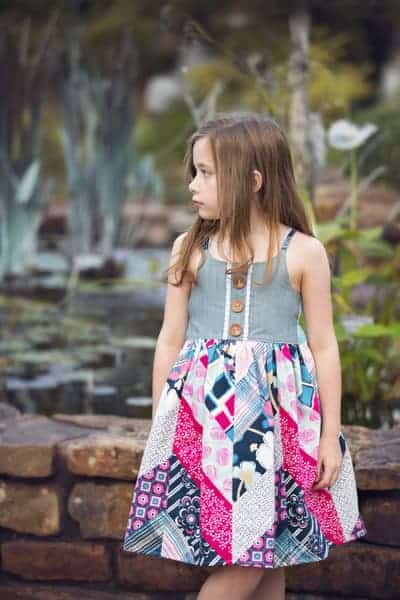
This is Ali Brorsen of Because of Brenna. I am so excited to be guest blogging for Simple Life Pattern Company today! This is my second stop along the DARE Blog Tour, and as promised I am going to take you through how I created the Bella Herringbone Dress. The inspiration for this dress came about after visiting the International Quilt Market this fall. I was amazed by all the gorgeous quilts. I personally am not a quilter, but was drawn to all the gorgeous patterns and designs that I saw, so I decided I would take The Bella dress by Simple Life Pattern Company and turn the skirt into a patchwork.
I was all set to start cutting out squares when this picture showed up in my Instagram feed…
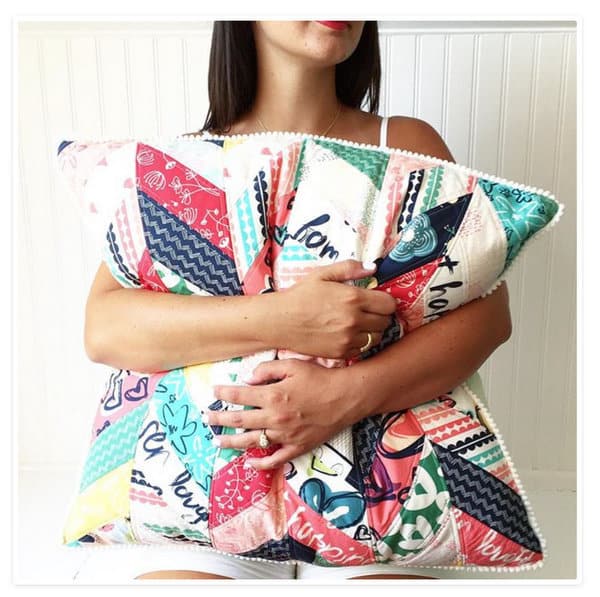
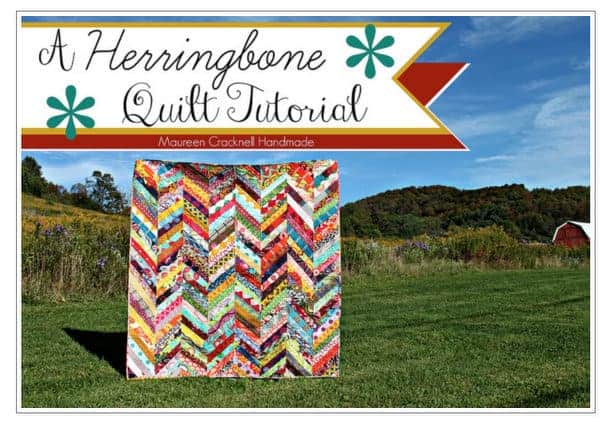
Swoon! This gorgeous herringbone pillow cover was made by Sew Caroline (insta @SewCaroline) using the QAYG herringbone quilt tutorial written by Maureen Cracknell. I was so excited that there was already a tutorial out there to help me create this one of a kind dress. Maureen’s tutorial for her breathtaking quilt can be found here
Did I mention when I was at quilt market I also picked up the entire line of the Dare collection by Pat Bravo. This Art Gallery Fabrics collection has bold prints and is so vibrant. I knew it would be perfect for what I had envisioned.
My first step was to create the bodice. I planned to use some scraps of AGF Denim that I had left over from a bag I cut up. Not only did I have just enough denim left over to create the Bella bodice, but I also used part of the strap from the bag to create a detail down the center to showcase two Because of Brenna buttons and some lace. (Brenna loves having personalized buttons added to her dresses).

The bodice is constructed per the instructions included in the Bella PDF pattern. My only modification was sewing the strap, lace, and buttons to the front bodice for a little something extra.
Next was skirt construction. After reading over Maureen’s blogpost, I decided how to best use the tutorial on the application of a skirt instead of a quilt. I suggest reading over her blogpost as well. Her pictures and directions are so clear.
This is the material list I used for my size 8 skirt.
1. 24 strips of fabric cut at 4” x width of fabric (I used 12 different fabrics for this, so I cut 2 strips of each print)
2. 8 backing panels of quilting cotton cut at 20” tall x 9” wide (these panels will act like the batting from the QAYG tutorial)
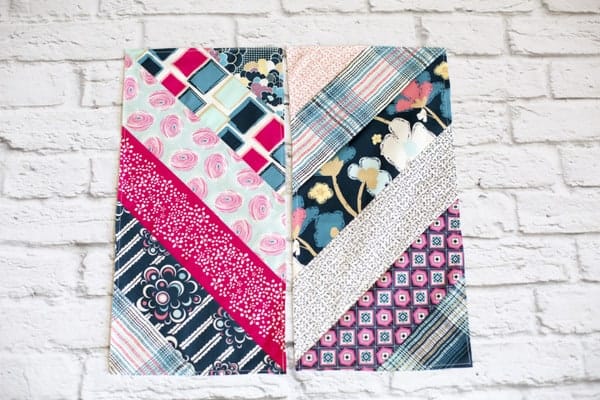
You will be creating 8 panels total with the supplies above. You will have 4 facing one direction and 4 mirrored as shown here.
How to create the panels:
1. First you need to draw a 45-degree line in the top RIGHT corner of your panel. To do this I brought my panel over to my cutting board and used the lines as a guide. I made sure the point of the top right corner was 3.25” away from where I would draw my line. That way I knew my 4” wide strips would overlap each other.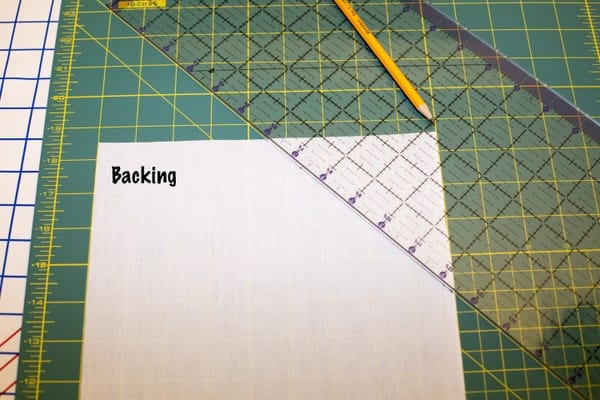
2. Next take your first strip and lay it across the line with the main fabric facing down as shown in the picture.
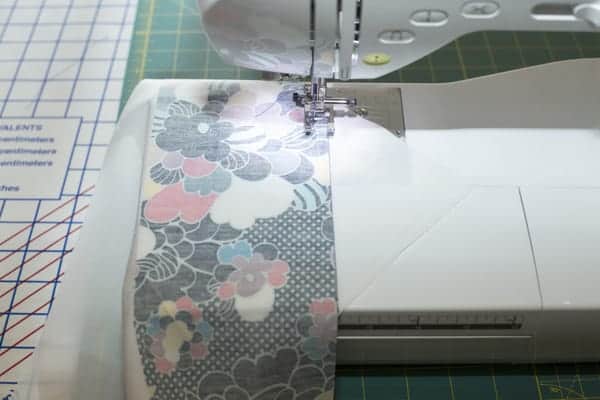
Sew with a ¼” sewing allowance. Once sewn, fold the fabric over and iron flat.
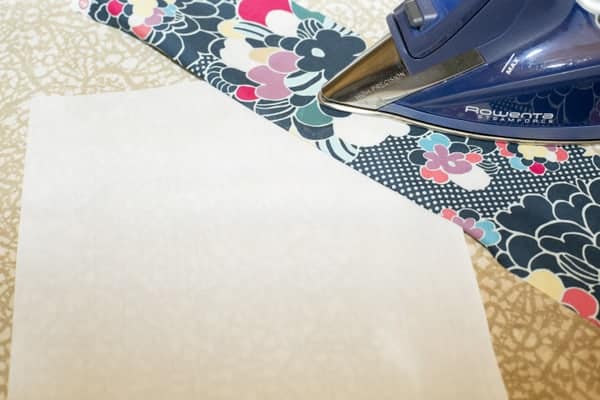
Then turn over the panel and cut away the excess fabric. Keep the extra fabric to use on another panel.
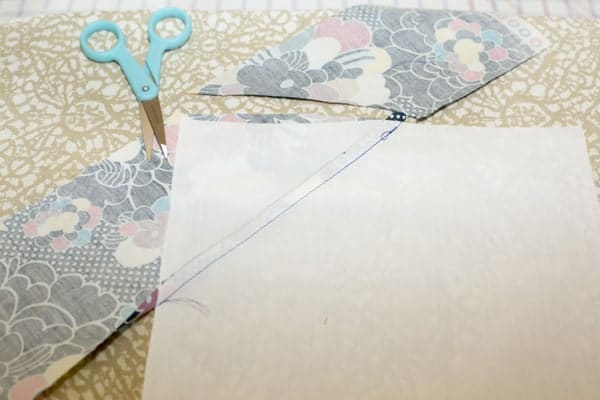
3. Now you will take your next strip of fabric and lay it face down on your first strip, right sides together. *Be sure to leave enough fabric on each side so that when it is flipped up it will cover the panel completely.
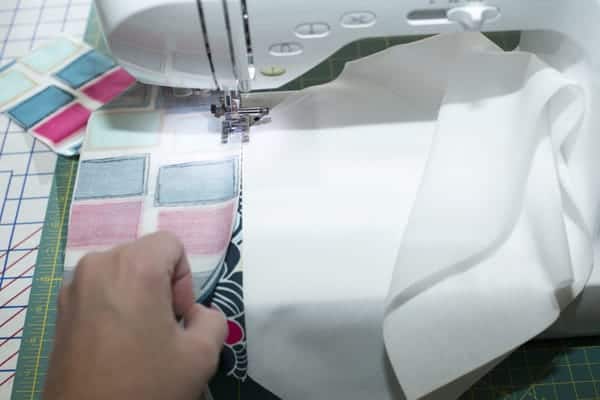
Sew along the raw edge with a ¼” seam allowance. Flip the second strip over and iron flat.

(You can choose to topstitch here, but I left it as is.) Turn the panel over and trim the excess fabric. Keep the extra fabric to use on another panel.
4. Repeat step 3 until you reach the bottom of the panel. Baste stitch all the way around the panel 1/8” from the edge to keep the fabric in place. Your panel will look like this once complete.
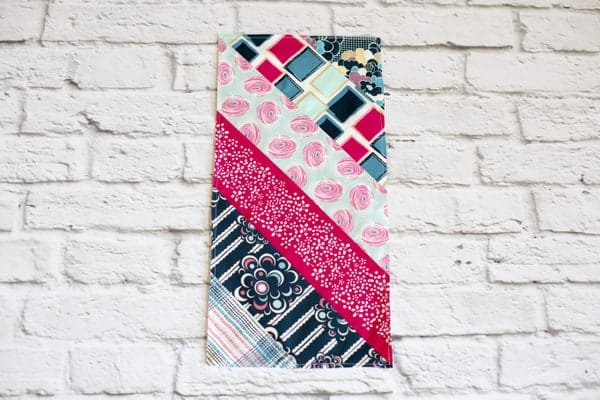
5. Repeat steps 1-4 to create three more panels exactly like this. I choose to use the same fabrics on these 4 panels, but if you want you can make each panel unique. The sky is the limit.
6. Once these are complete, it is time to make the opposite 4 panels, which will create the herringbone effect. It is done exactly the same way except you will draw your 45-degree angle in the top LEFT corner like you did in step 1.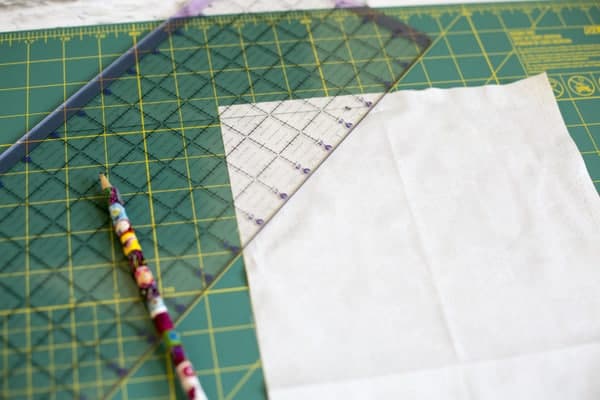
You will continue through steps 1-4 to create the 4 opposite panels. Once completed you will have 8 panels total.
7. Take two panels that are going opposite directions. Place them right sides together and sew them together using a ¼” seam allowance. Finish seams. Keep adding panels until you have a continuous circle.

8. Hem the bottom of the dress. Turn the fabric ¼” up and iron. Then turn up another ¼” and iron. Sew around the ironed hem.
9. Attach the skirt to the bodice as directed in the Bella PDF pattern.
And now you have a unique dress that I DARE to say you will not find anywhere else!
**Quick Note: I made a size 8, so if you are making a different size your measurements will vary. You also may prefer to do narrower or wider strips. This is just a guide.
You can see this SLPco Bella dress along with some other amazing projects using the Dare collection here.
Thank you for stopping by the Dare Blog Tour!
Happy Sewing,
Ali Brorsen
LET’S LINK UP
Instagram @SLPco, @ArtGalleryFabrics, @PatBravoDesign @BecauseofBrenna
FB: Simple Life Pattern Company, SLPco Fan Group, Art Gallery Fabrics, Pat Bravo, Because of Brenna