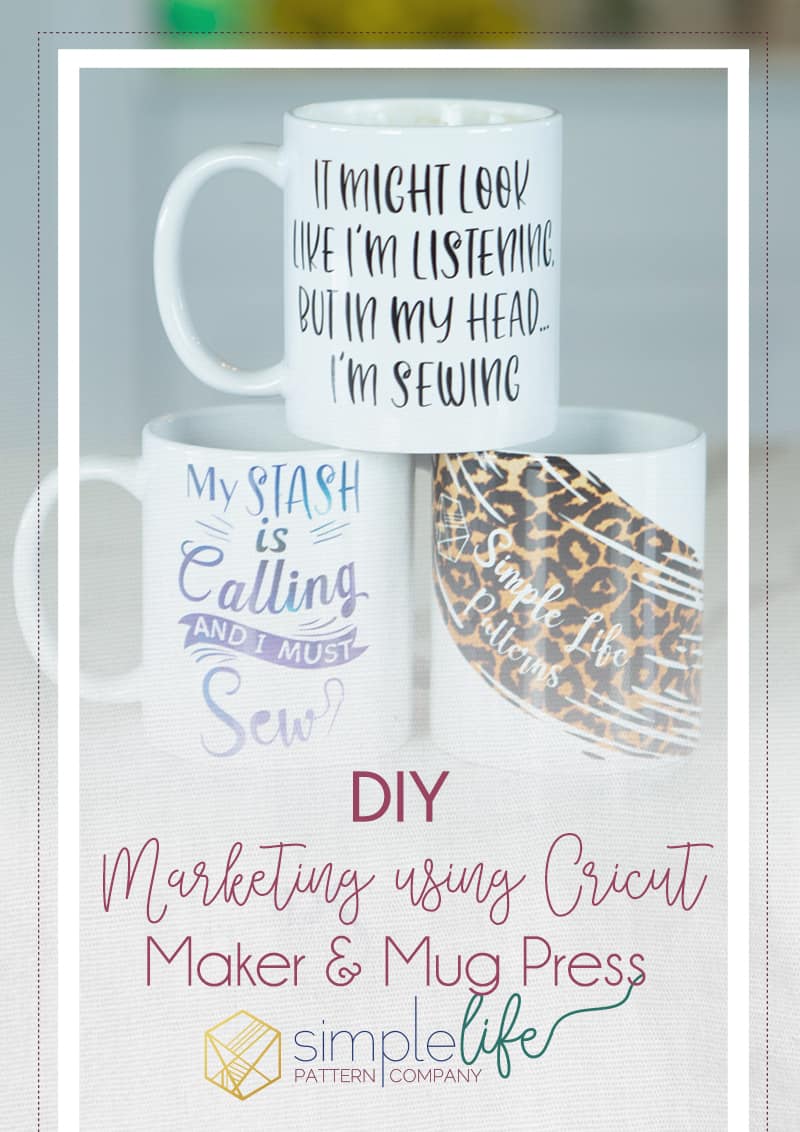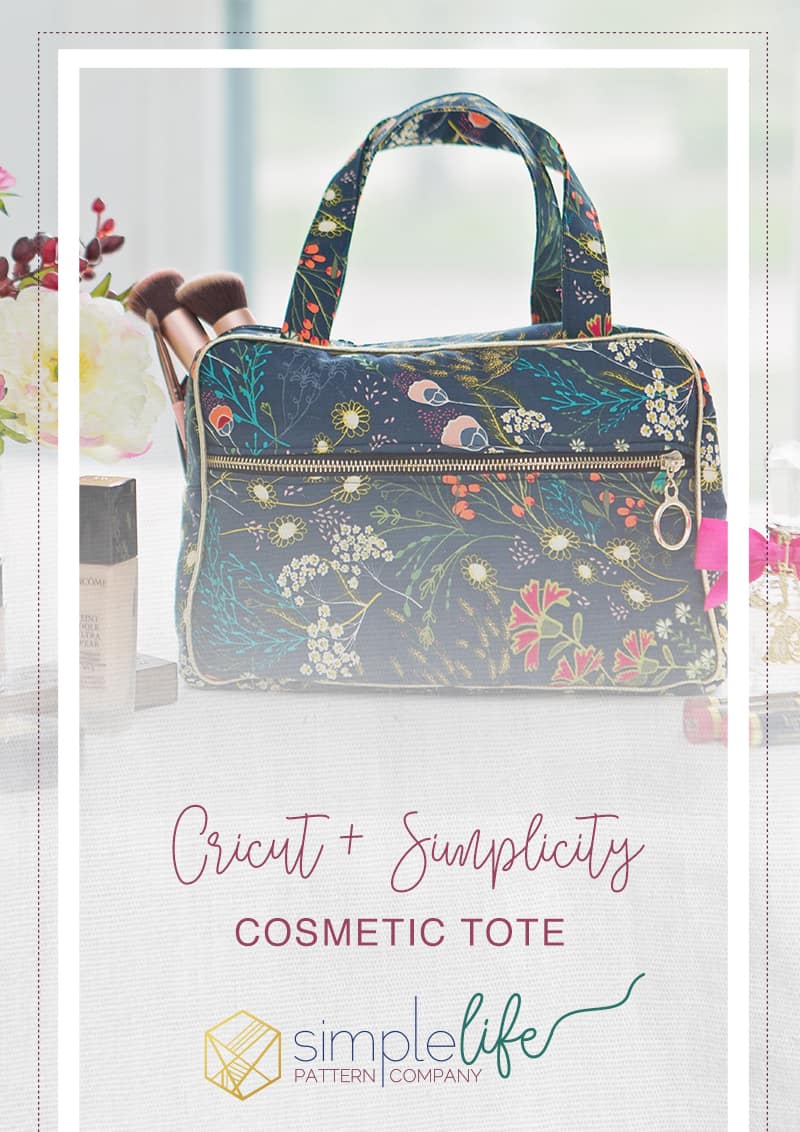
How to sew the Cricut + Simplicity Cosmetic Tote
Have you ever been intimidated to sew a pattern? Worried about cutting out all those pattern pieces precisely so everything goes together effortlessly? Well I have some great news for you! With the Cricut & Simplicity patterns partnership, they take all the frustrations of cutting and marking your fabrics out of the equation, leaving you with precisely cut pieces, all your markings you need and you get to do the fun part, SEW! There is nothing like being efficient and precise, something that is very hard to achieve when you have to cut so many different pieces out and don’t even get me started on the tissue paper! With Simplicity/ Cricut patterns, you can cut the patterns you purchase as many times as you need – and never have to worry tissue paper / lost patterns again!
This is a sponsored post however, all opinions are mine. This post contains affiliate links. I earn a small commission on purchases at not extra cost to you. Thanks for supporting our blog!
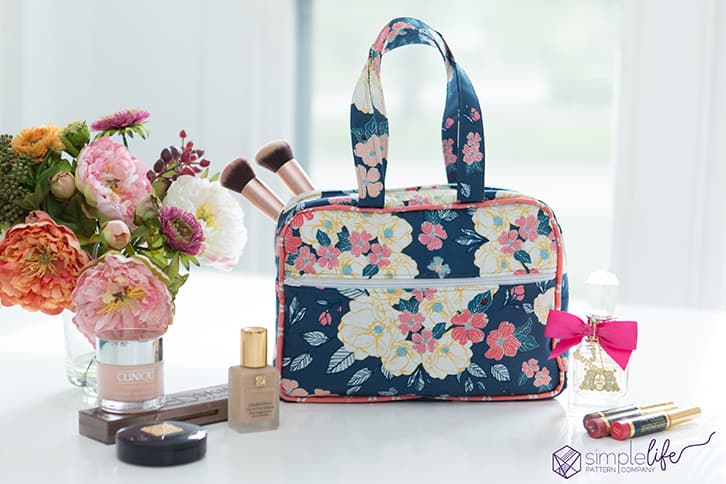
Since Cricut announced their partnership with Simplicity nearly a year ago, there haven’t been many tutorials on the Simplicity patterns, leaving a few sewers behind the screen wondering how to sew these patterns up. When Cricut announced they were going to be doing a big campaign on Simplicity patterns, I just knew I had to jump in and help with some tutorials so anyone, newbie – expert can sew these up. My first one is this super awesome Cosmetic Tote (fyi, it’s more of a bag size, not tote….), Simplicity pattern #1128 and here I will show you a brief tutorial on how to sew this up TWO different ways.
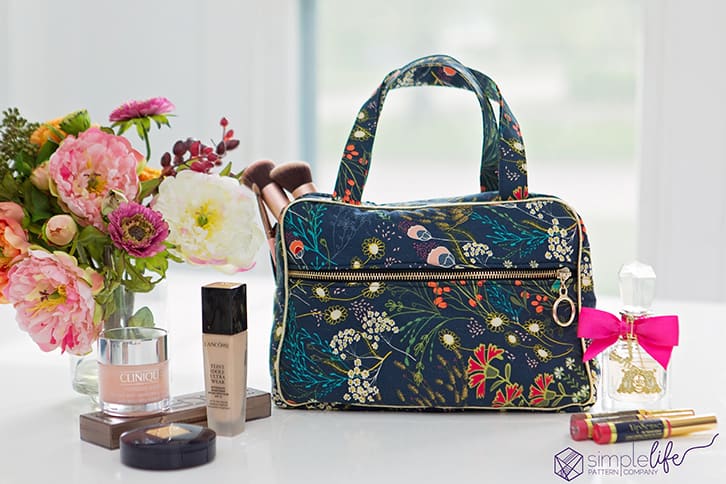
When I made my first bag (floral w/ pink piping), I wanted it to be insulated so I can bring some pop in a bag to the beach, or some cold snacks and not worry about them getting so hot from sitting in the sun. I used Insul-bright for the main fabric stabilizer. By using this, it can now be used as a lunch box/ cooler which will be very practical for us this summer. For the lined bag (navy w/ gold piping), I used a fusible fleece for the stabilizer, making it super fast and easy for construction. Stabilizing a bag is important if you want it to have structure. If you don’t stabilize, your bag will be floppy. Some other fun options you can do would be to use a canvas fabric, such as Art Gallery Fabrics canvas, for the main fabric, then you can get away with not stabilizing because canvas fabrics already have good structure for a bag. Linings don’t have to be stabilized but I love Pellon SF101, it makes working with the fabric so nice and does help give the bag a professional look and feel. A great alternative for the lining would be to use a laminated fabric, I would highly recommend this if you are making a cooler / lunch box like I did (or a cosmetic bag if you want to wipe the lining if your makeup spills out). If you do decide to use a laminated fabric for the lining, you will want to do the lined version, not the original instructions version. All that food/ makeup gunk all over the inside binding would be gross and hard to clean.
First, I will show you how to sew this according to the pattern and then I will quickly show you how to line the side of the bag so you don’t have any exposed seams. You can see the difference here. I never put binding on my inside seams because I ran out of the fabric to do bias binding, and the fact I hate binding seams. So it is what it is on that one. If you want a super great video tutorial, you can check out Bonnie from Bonnie & Blithe’s video at the end of her post on the cosmetic bag.

THINGS TO KNOW
*This pattern doesn’t tell you how to make your own straps – just says to cut 18″ of webbing…. So, I will be helping you out with that. My first bag (with the pink pipping) has 18″ straps, placed where you are supposed to place them. I thought they were too long and too close to each other so on the second bag (gold piping) I did 15″ straps and placed them 3″ from the center. (don’t worry – I will go over details on straps in the tutorial below)
*You cut 2 main fabric pieces out – just remember, one of them gets completely covered by the front zipper pieces, so don’t fret over fabric design placement.
*If you are using nylon zippers, its okay if they are longer than the specified length in the pattern, you can cut right through them after they are sewn into place. (You can NOT use shorter ones).
*I think marking your fabrics with the water soluble pen is a waste of time on this pattern. The main marks you need are cut (notches) with the fabric. the only thing you are missing really is the strap placement. But marking your fabrics takes SOOOO long compared to just cutting. So be sure to turn that option off BEFORE you send it to your machine.
*You don’t have to use clear vinyl for the front pocket if you don’t want to – I didn’t, I just substituted it for the main fabric.
*You don’t HAVE to add the front zipper pocket if you don’t want to. You can’t delete them off the cutting mats, but you can just toss them and skip those steps if you want to.
MATERIALS
Fabric for main and lining
16″ zipper (main bag zipper)
11″ zipper (front pocket)
Fusible fleece or Insulbright (main fabric stabilizer) – 1 yard based on 44″
Pellon SF 101 (lining stabilizer) – 1.5 yards – based on 20″
—optional items—
Cricut EasyPress (this makes pressing the stabilizers in place SOOO much faster)
Cricut self healing cutting mat
CUTTING
Main fabrics, cut each of these:
12″ x 7″ -bottom front pocket. (grain line parallel to the 7″).
10.5″ x 22.5″ – Bottom gusset and sides of zipper. (grain line parallel to the 10.5″).
12″ x 23″ – Front of bag, back of bag & top of front pocket (grain line parallel to the 23″).
4″ x 16″ (cut 2) – straps.
Lining fabrics, cut each of these:
10.5″ x 22.5″ – Bottom gusset and sides of zipper. (grain line parallel to the 10.5″).
12″ x 19″ – Front of bag, back of bag & top of front pocket (grain line parallel to the 19″).
Fusible fleece / Insulbright stabilizer
12″ x 7″ -bottom front pocket.
10.5″ x 22.5″ – Bottom gusset and sides of zipper.
12″ x 23″ – Front of bag, back of bag & top of front pocket.
SF101
10.5″ x 22.5″ – Bottom gusset and sides of zipper.
12″ x 19″ – Front of bag, back of bag & top of front pocket.
4″ x 16″ (cut 2) – straps.
Quick tutorial on how to make this cosmetic bag
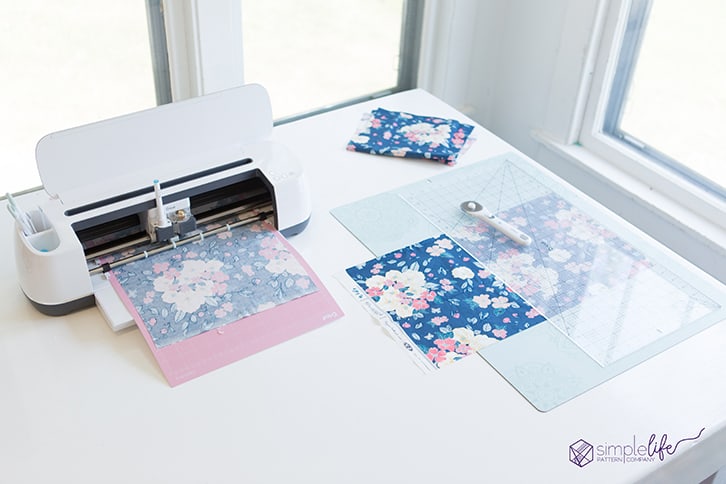
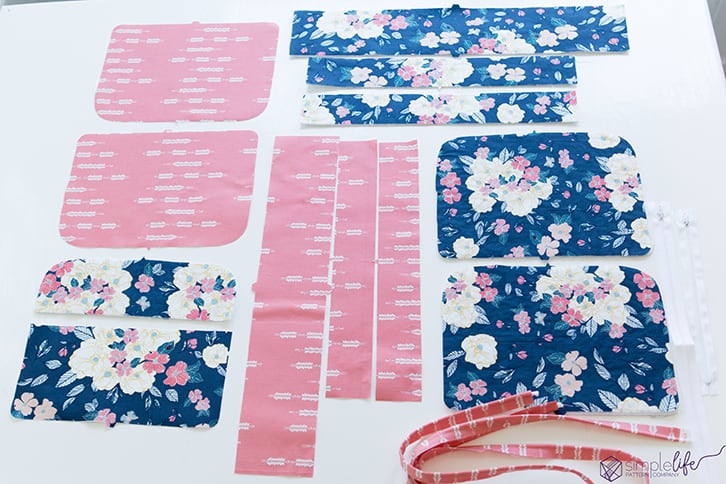
Step 1: Cut all your fabric rectangles out. I usually get one cut – place it in the maker and then get the next one ready while that is cutting. Makes for a more efficient process. Because we are adding stabilizers to our pieces, we will cut this project out 3 times. 1 for your fabrics, 1 for the fusible fleece (use the “batting” cutting setting – Insul-bright has its own cutting setting) and one for your SF101 stabilizer (fabric- quilting cotton setting worked just fine for mine). Continue until all your pieces are cut out.
Step 2: Fuse your stabilizers to the wrong side of the fabrics. Remember, the thinner SF 101 goes on the lining pieces (and the main fabric strap pieces) and the thicker fusible fleece goes on the main pieces. If you are using a Cricut EasyPress and EasyPress Mat, I found that the fusible fleece needed a pretty hot iron at about 350 degrees for 10 seconds. SF101 was better at 315 degrees for 10 seconds. If you are using your home iron, you can follow the stabilizer manufactures directions. If you are using Insul-bright for your main fabric stabilizer, you can baste it to the wrong side of your main fabric, about 1/4″ from the edge. *Basting: sewing with a longer stitch length (5.0mm) to secure the 2 pieces together temporarily.

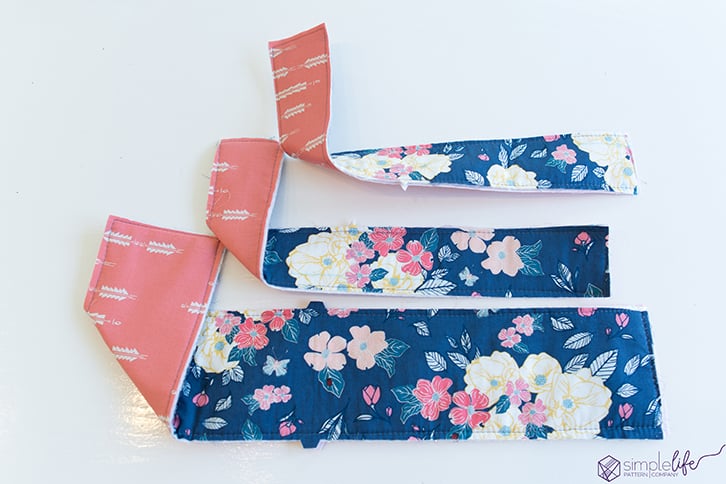
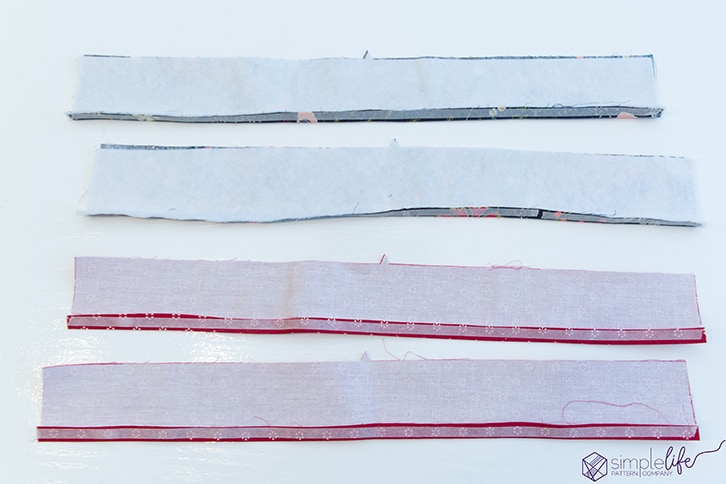
Here are all the pieces after the stabilizers have been fused.
Step 3: Please note, my zipper was longer then what was required. Fold your front top pocket bottom edge up 1/2″ towards the wrong side and press. Pin the folded edge to the zipper. If y0u are using a longer zip like me, be sure the very top of your zipper pull is about 5/8″ away from the edge, you don’t want it to be in your seam allowance. Topstitch the edge of the fabric, about 1/8″ from the folded edge, to the zipper. Use a zipper foot for better control of your stitches. You will also need to unzip it a little, sew, and when you get close again, with your presser foot up and needle down, pull the zipper back up and finish sewing.

Step 4: You will complete the same process as step 3 with your front bottom pocket piece. Fold the top edge of the piece down towards the wrong side of the fabric 1/2″ and press. Pin it to the zipper being certain that it lines up with the top. You will want the zipper closed when doing this. Topstitch 1/4″ from the folded edge like you did in step 3.

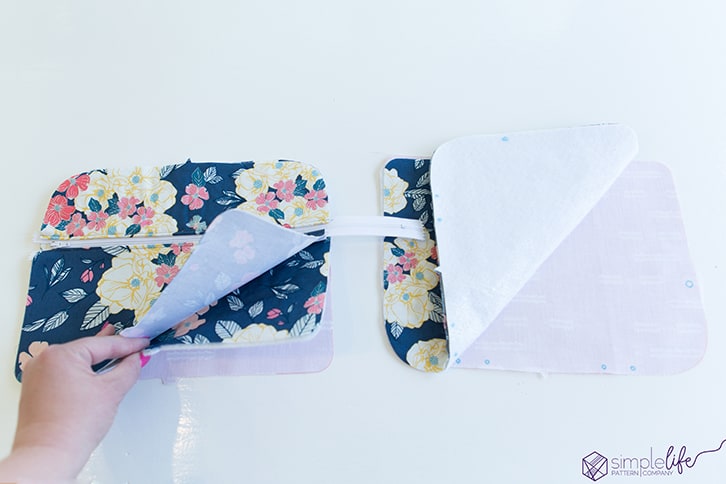
Step 5: Take a bag lining piece and lay it down, wrong side up. Take your front pocket piece with the zipper and lay it on top of one front main bag pieces so the right sides are both facing UP. (You want to see the pretty fabric on the inside when you open the zipper). Take those two main pieces and lay them on top of y0ur wrong side up lining piece. You now have a 3 layer sandwich for that side. Next, take the other bag lining piece and lay it flat, wrong side up. Take the other main bag piece and lay it on top of your lining, right side up (your stabilizers will face each other). Baste around each set to hold the layers together.
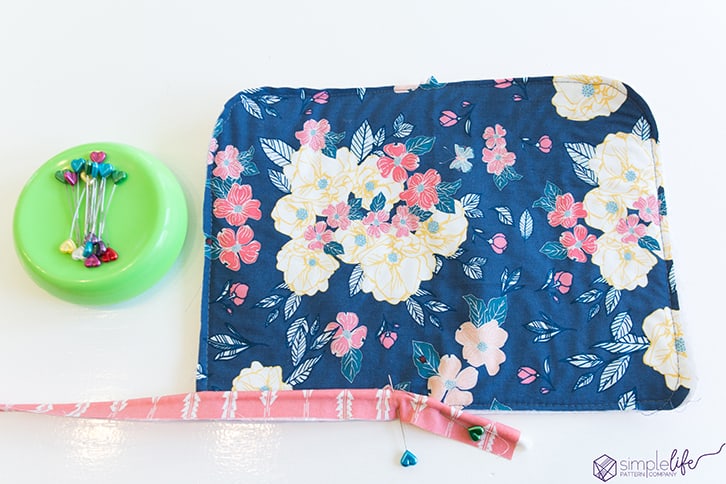
Step 6: Pin your piping to the front and back bag pieces, starting at the center bottom
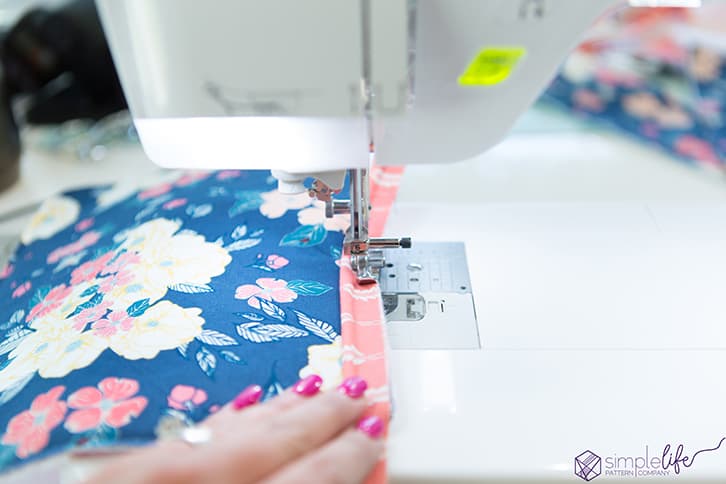
Step 7: Sew in place using your zipper foot.
Step 8: Clip any excess off. If you have a longer zipper piece, you can clip that off as well.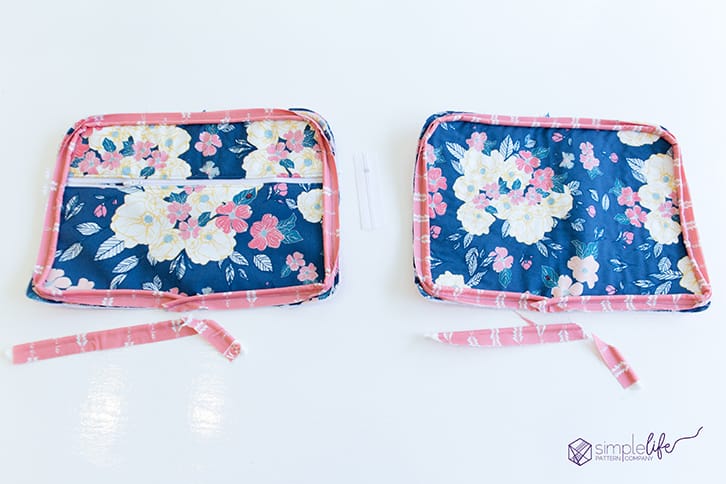
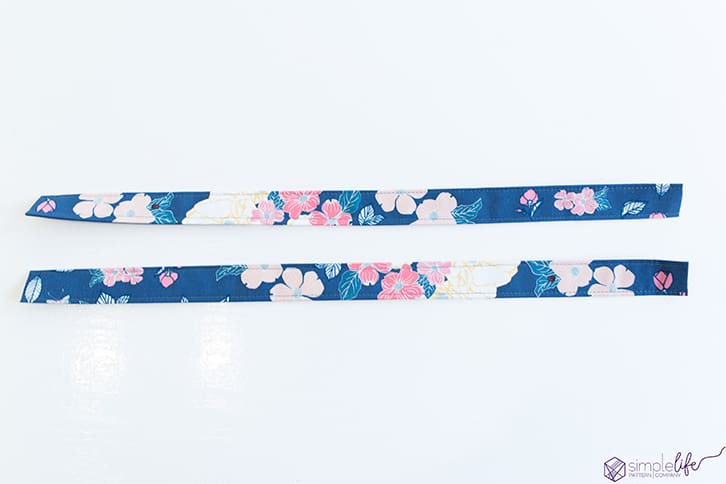
Step 9: To make your handle straps, take the fabric and fold it in half, wrong sides together and press. You need this crease as a guide. Now open your straps back up and take the long raw edges and fold them to the center crease, wrongs sides together, and press in place. Next, take your one long edge and fold it over to the other side (that same first crease we made) and press. Your seams are now all encased. Topstitch on each side of the strap, 1/8″ from the edge.
Step 10: If you used the marks from the water soluble pen, you can use those as guides but I personally thought they were too close together (and the 18″ straps they said to use were too long- IMO). SO, you can do what I did on my gold piping bag, and find the top center of your bag and mark with a pin. Measure over 3″ on each side and mark with a pin. Center your straps on your marks and pin in place. Baste the straps in place.

Step 11: Baste your main & lining gusset and size of zipper pieces.
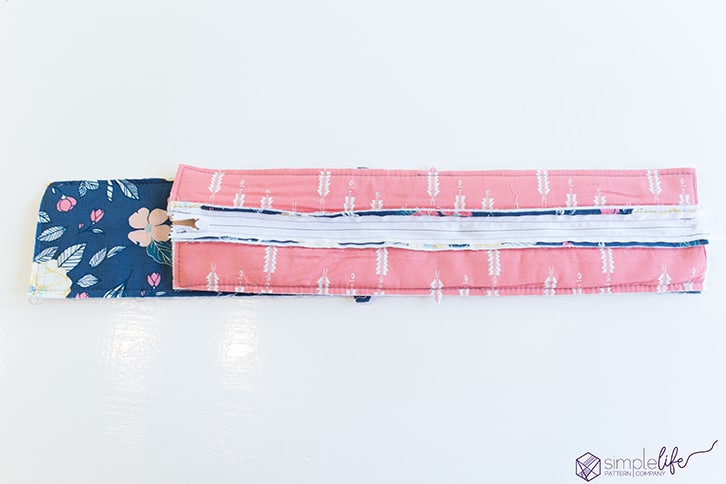
Step 12: Following the same directions in steps 3 & 4, fold your side of zipper edges up (that dont have the notches) 1/2″ to the wrong side and press. Pin to zipper and topstitch them in place 1/8″ from the edge.
Step 13: Attach your zipper piece to your gusset at the side edges. Sew together using a 1/2″ seam allowance. Repeat with other side.
Step 14: Take a front bag piece and place it along the gusset, main bag fabric right sides together with the gusset main fabric, matching up all the notches and pin. Sew the two pieces together using a 1/2″ seam allowance. There is a lot of bulk around those corner so take your time. Unzip your zipper about half way (dont forget to do this or it will be super hard to unzip it from the wrong side of the zip). Now repeat this with the other side of the bag. You can then add the binding over your seams to encase the raw edges. That’s it!
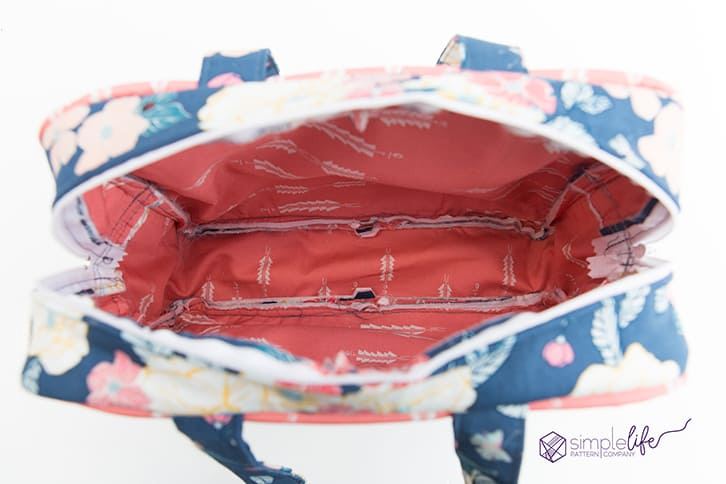
How to create a separate lining to your bag
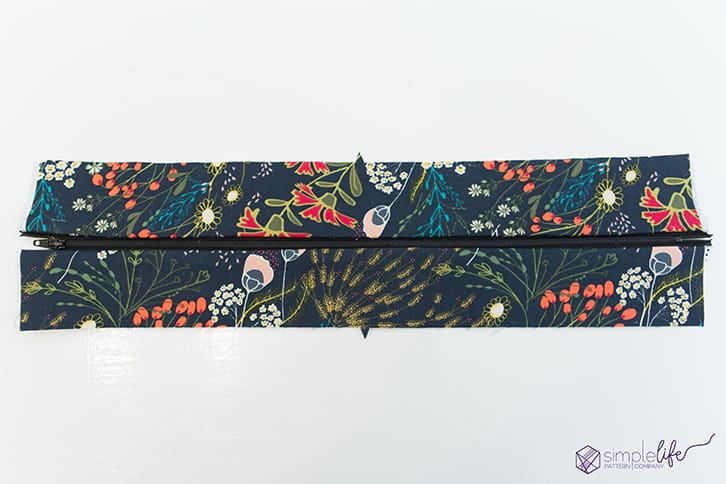
Instead of basting your main pieces to your lining pieces, we will sew them separately. You will follow steps 12-13 with your main fabric. For your lining, you will still fold your edges 1/2″ to the wrong side but you will not be adding a zipper to the lining. Just go ahead and stitch the zipper sides to the bottom gusset piece.
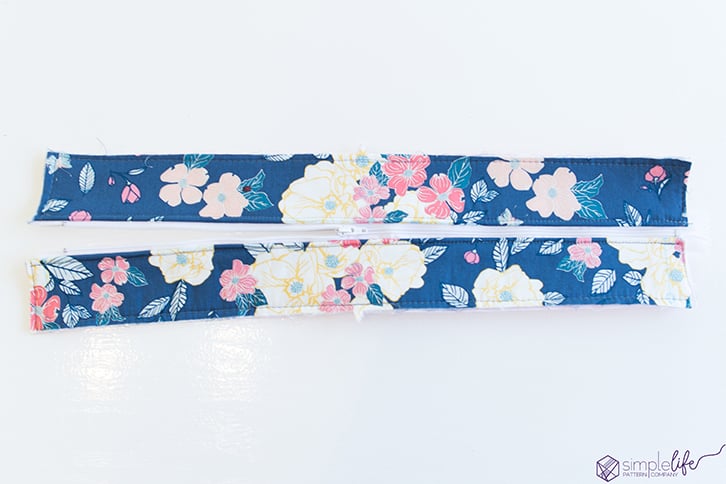
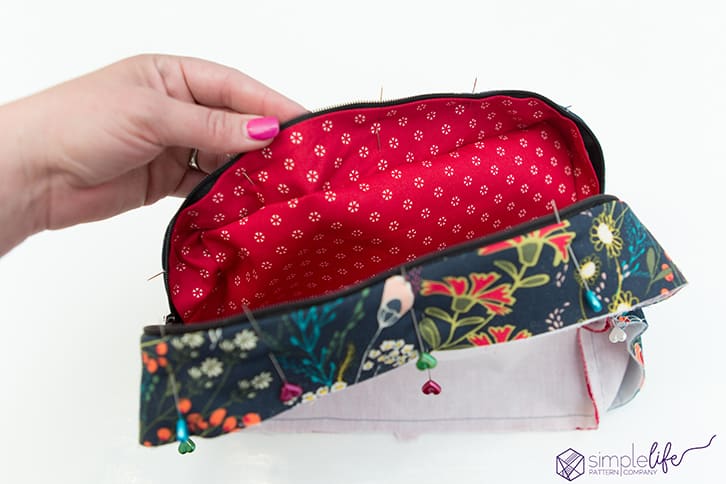
Here are the lining pieces sewn together.

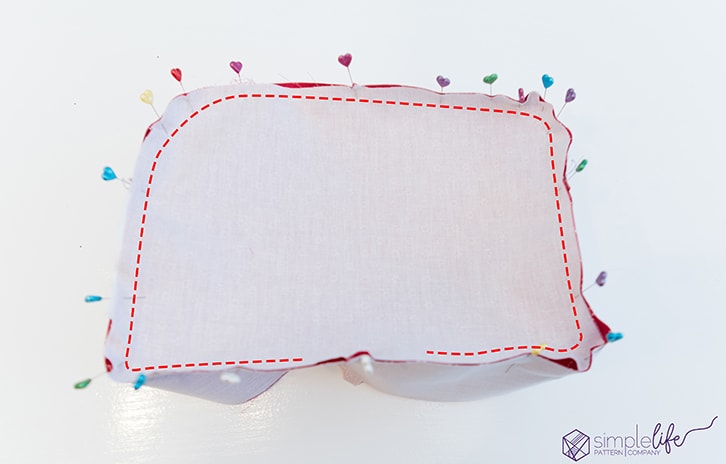
Just like step 14, you will sew your bag pieces to the gusset piece, matching notches. On ONE side you will want to leave a 4″-5″ opening towards the bottom. You need this open to turn the bag right sides out later. Sew the whole piece on the other side, not leaving any openings.
Follow step 12 to sew your zipper in place. You can do 1 of 3 options. We will be topstitch the main fabric later so you can decide what method works best for you. You can baste the zipper in place for now, just to hold the pieces together and remove the basting later. Use steam-a-seam double sided fusible to hold the pieces in place or you can topstitch it in place. If you topstitch, you will have to sew over it again later so you may not want to have 2 sets of stitches there.
Take your lining bag piece and slide it under the main fabric gusset piece, matching the zipper side notches. We are only positioning the lining zipper opening along the zipper right now.
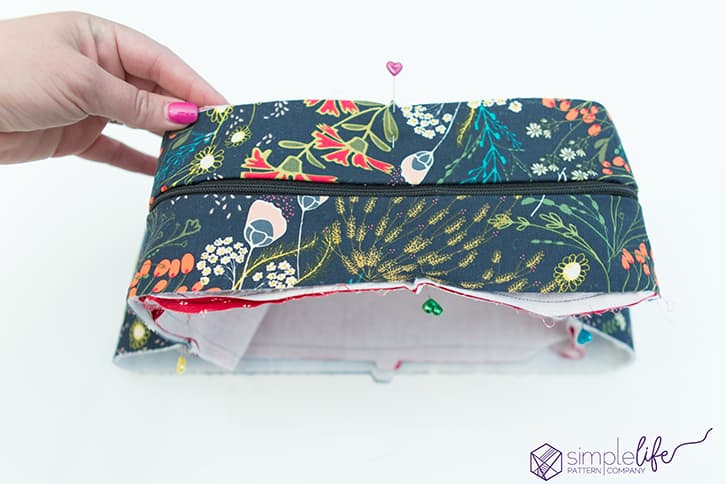
Pin the lining along the zipper teeth and pin. You can now topstitch along the entire zipper, 1/4″ away. You want to be sure you are catching your lining fabrics when doing this. If you basted your main pieces, you can remove your basting stitches now.
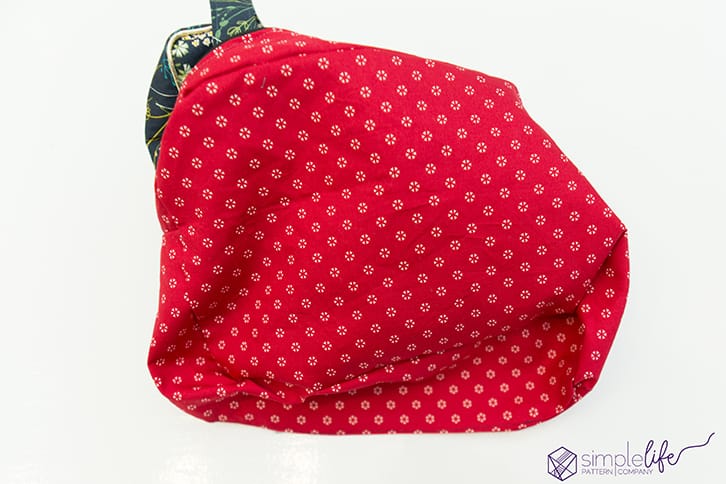
I somehow didn’t photograph this next step but it is just like step 14. Pin your main bag piece to your main gusset, right sides together and sew in place. Be sure to unzip your zipper at least a few inches! Repeat with the other side. You can now turn your bag right sides out through the opening in the lining.
Sew your lining closed. That’s it – easy peasy and now you don’t have to bind any seams! yay!
I hope you enjoyed this little tutorial on how to sew the Simplicity cosmetic bag. I have more tutorials coming soon so stay tuned 🙂

Happy Sewing,
Katie Skoog
This is a sponsored conversation written by me on behalf of Cricut. The opinions and text are all mine.