Raw Edge Applique
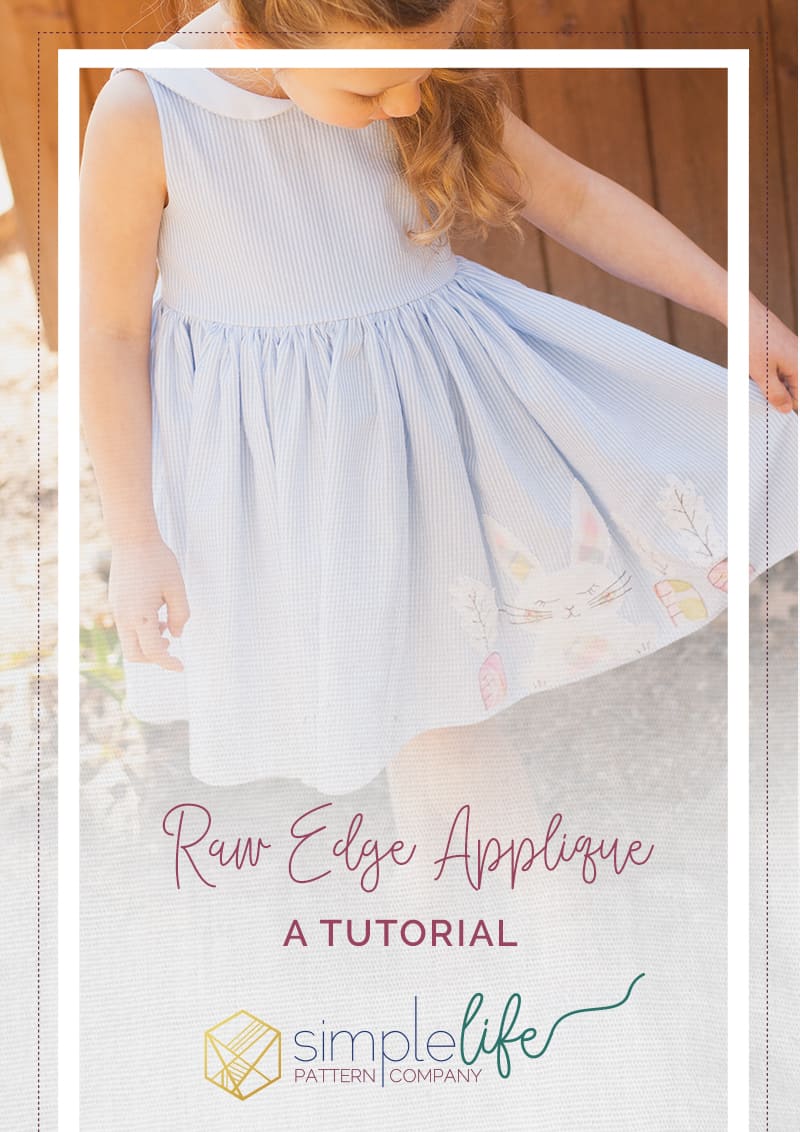
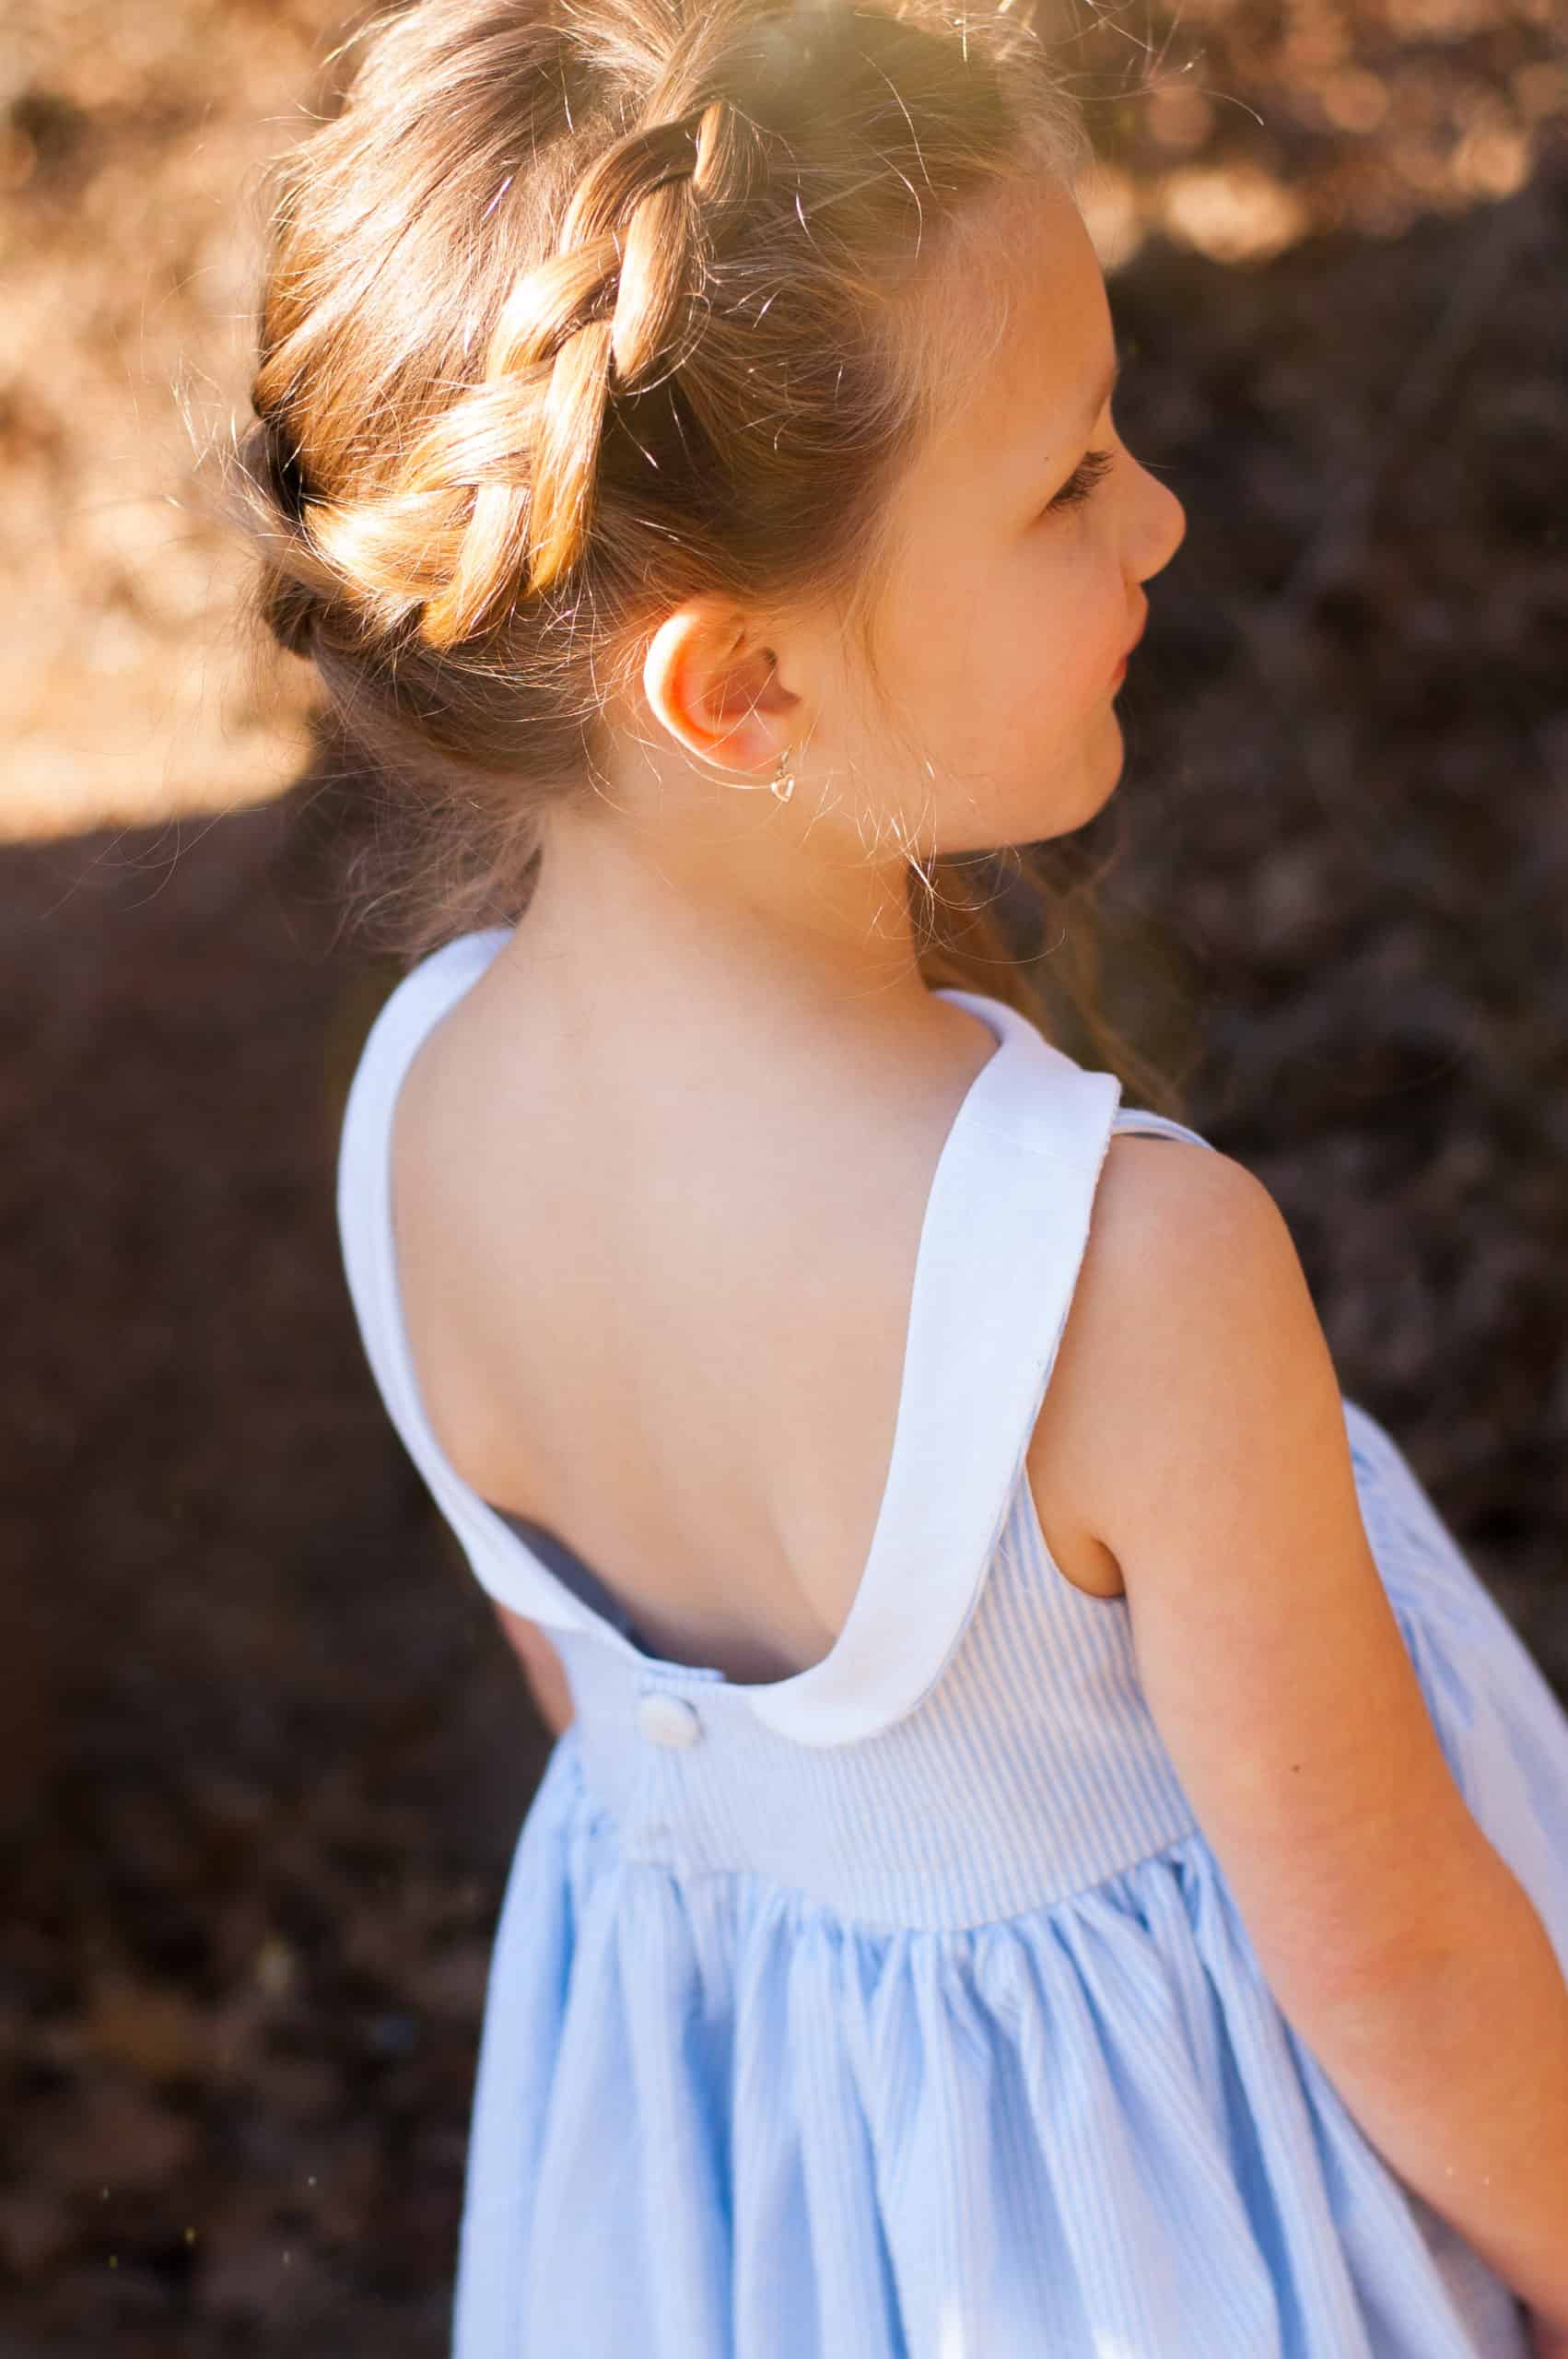
Can you believe that we are already through most of February?!? I feel like yesterday we were getting ready for the big man to come down the chimney, and now it’s time for spring! I don’t know about y’all, but when I think of spring dresses, especially for Easter, I always envision seersucker with the cutest embroidery and monograms. Doesn’t a blue seersucker Molly with a white collar and the sweetest little bunny sound perfect for that?!?
Now, I know not everyone has the luxury of an embroidery machine, so today I want to show you a simple technique that anyone with a basic machine can do!! It’s called raw edge appliqué, and while it’s more popular in the quilting world, there is no reason that we can’t use it to make all our spring dress dreams come true! You can tell by the name that this form of appliqué leaves the fabric edge raw, so you will get a bit of fraying. This adds so much to the character of the piece, and needs to be kept it in mind when selecting fabrics for your appliqué!

First, let’s talk supplies. You can technically use your general presser foot for this, but I would suggest grabbing a free motion quilting foot to give you a little more freedom. I found one that fit my (very) basic Janome from Amazon for $6! You will also need a fusible adhesive to hold your pieces in place, I used Heat N Bond lite for my skirt. Last you need scrap fabric! This is a perfect way to use all those little pieces in your scrap bucket!

Next, we need a game plan! Decide what your image is going to be, you can see in the picture above I drew out a bunny and a few carrots that would go along the hemline of my skirt. You can find inspiration anywhere, coloring books, stock illustrations, or your own doodles and sketches! The sky is the limit. Once you have chosen your design, then think about the fabrics, thread colors and patterns you will use in creating it. Since I was looking for a spring feel, I choose to stick with pinks, blues, greens and whites. You can also consider different textures to add more interest. In this particular piece, I chose to use a mix of cotton, canvas, linen and lace.

Now we need to trace each piece from your original drawing onto the paper side of your Heat N Bond. Remember to mirror the image! I like to add a little extra to where the pieces overlap (for example, I added about 1/8 inch to the body where the head would sit over it).
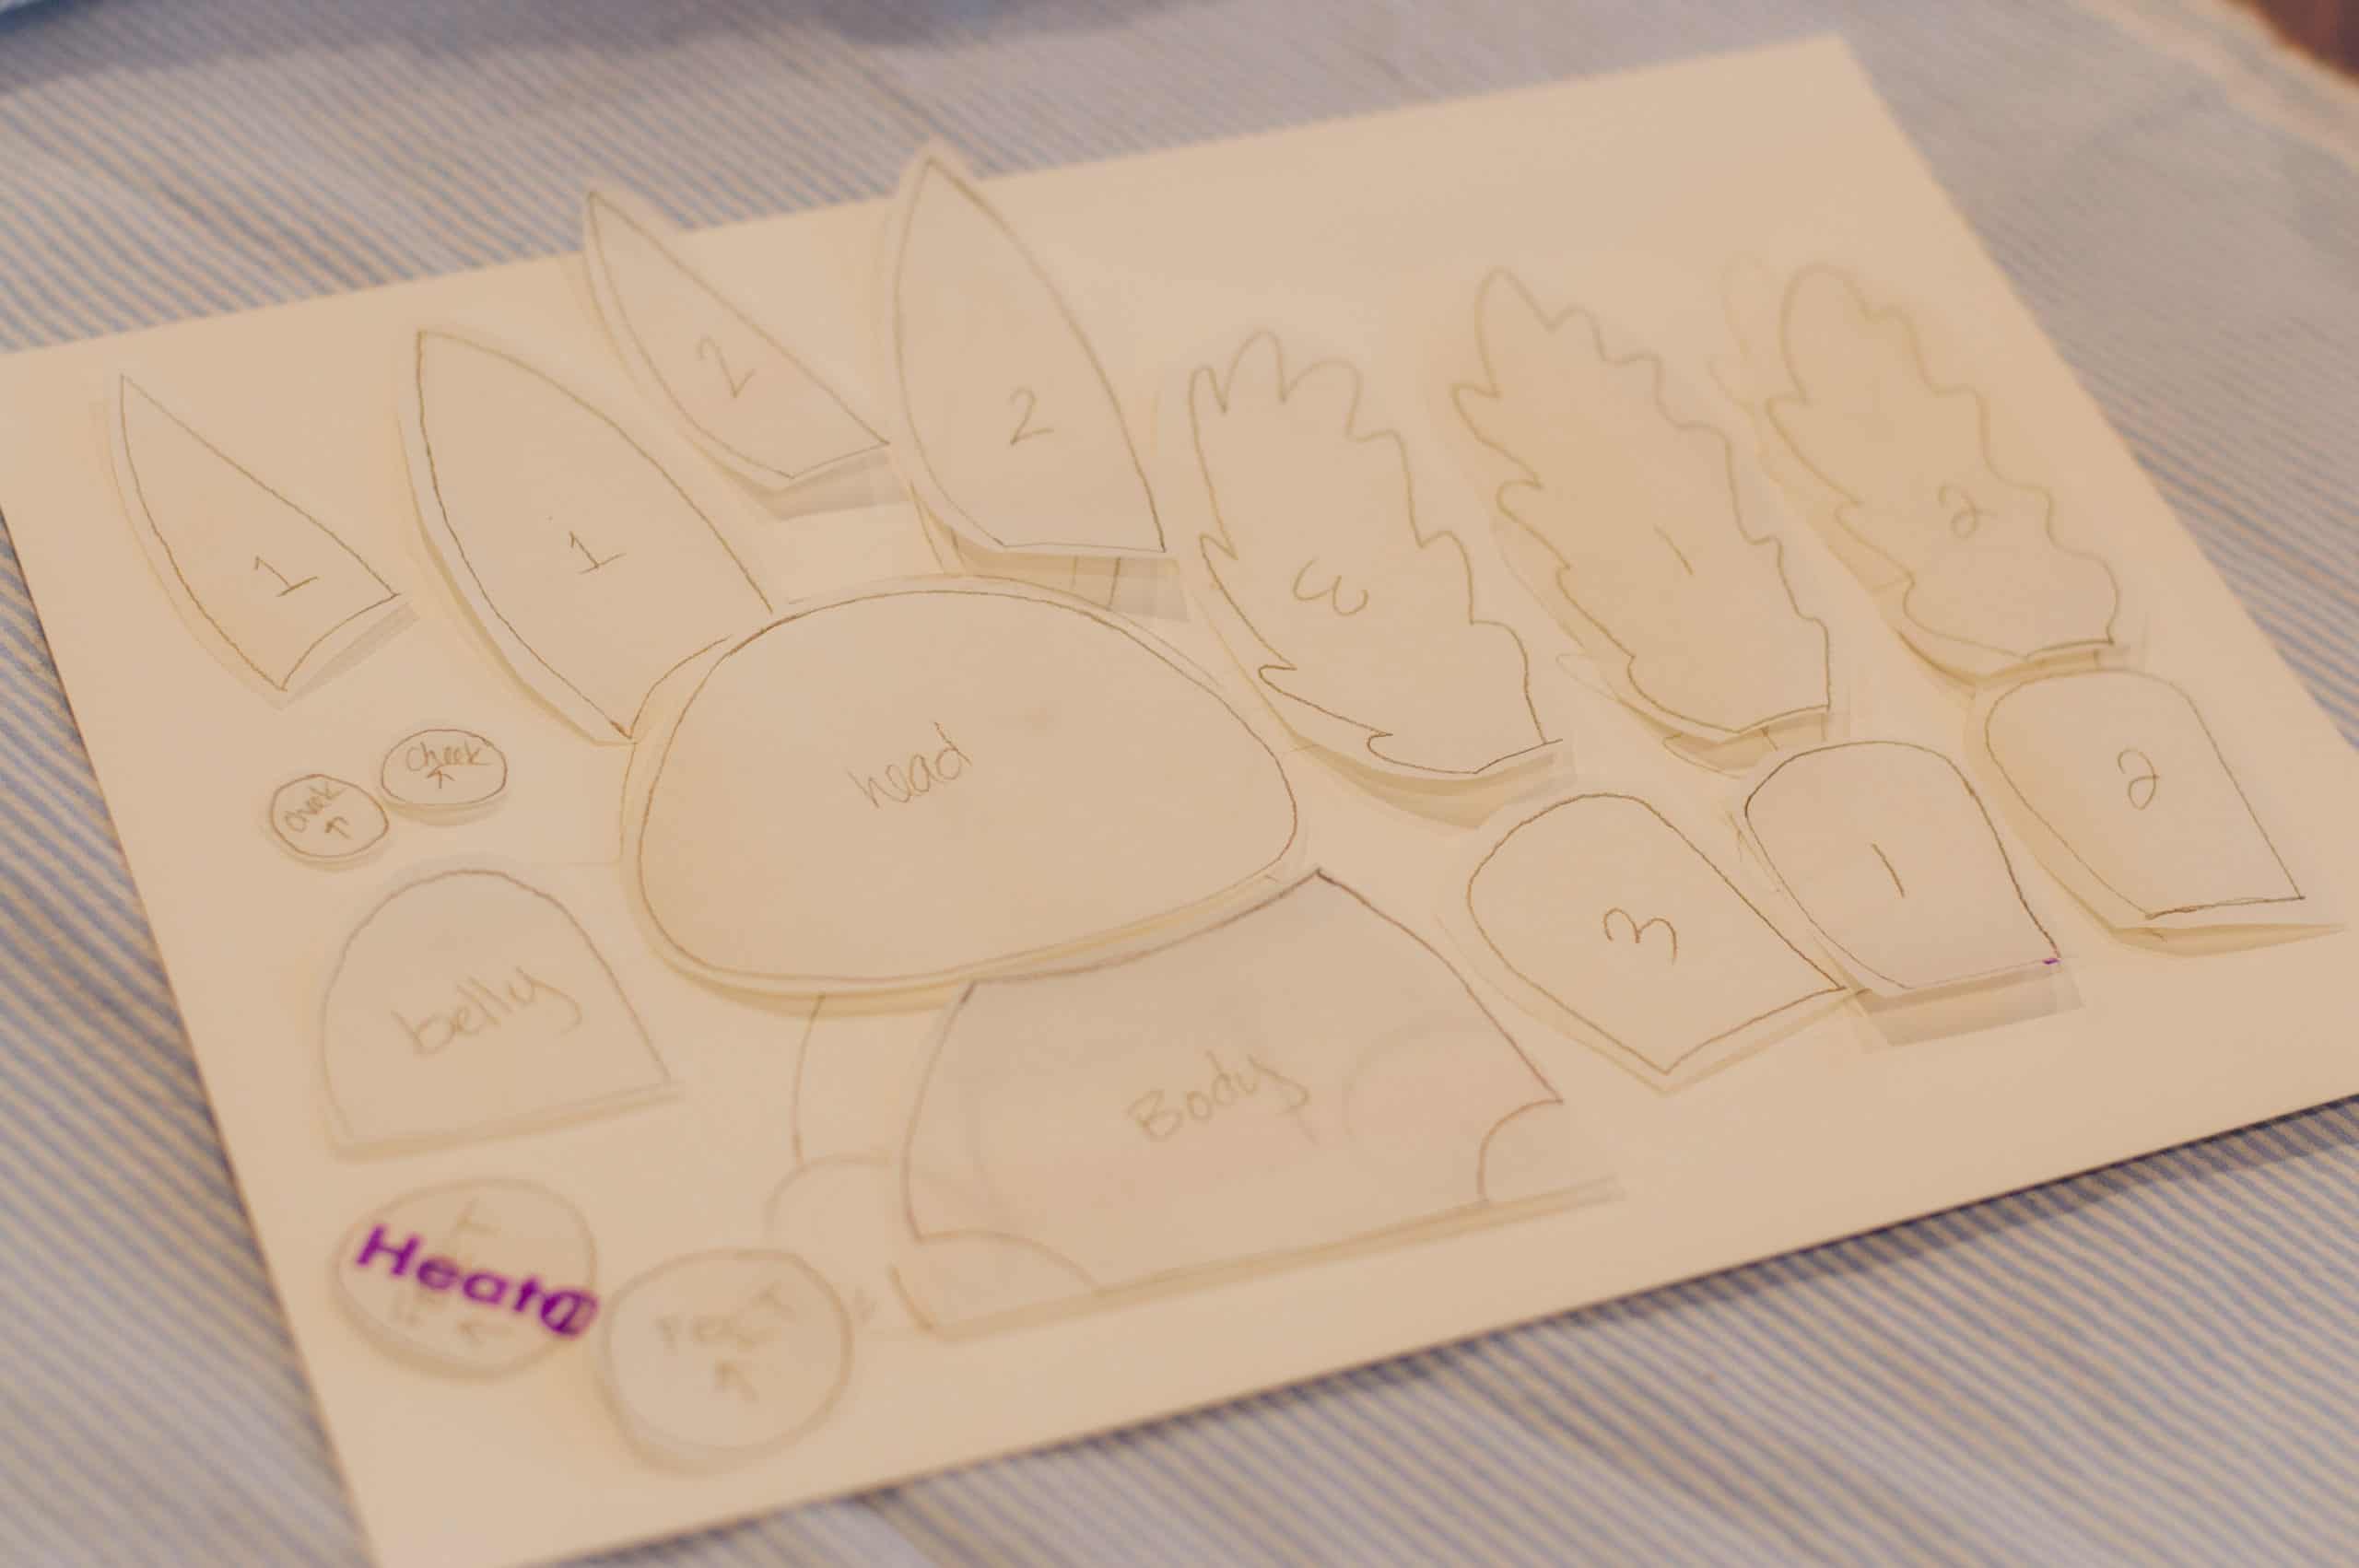
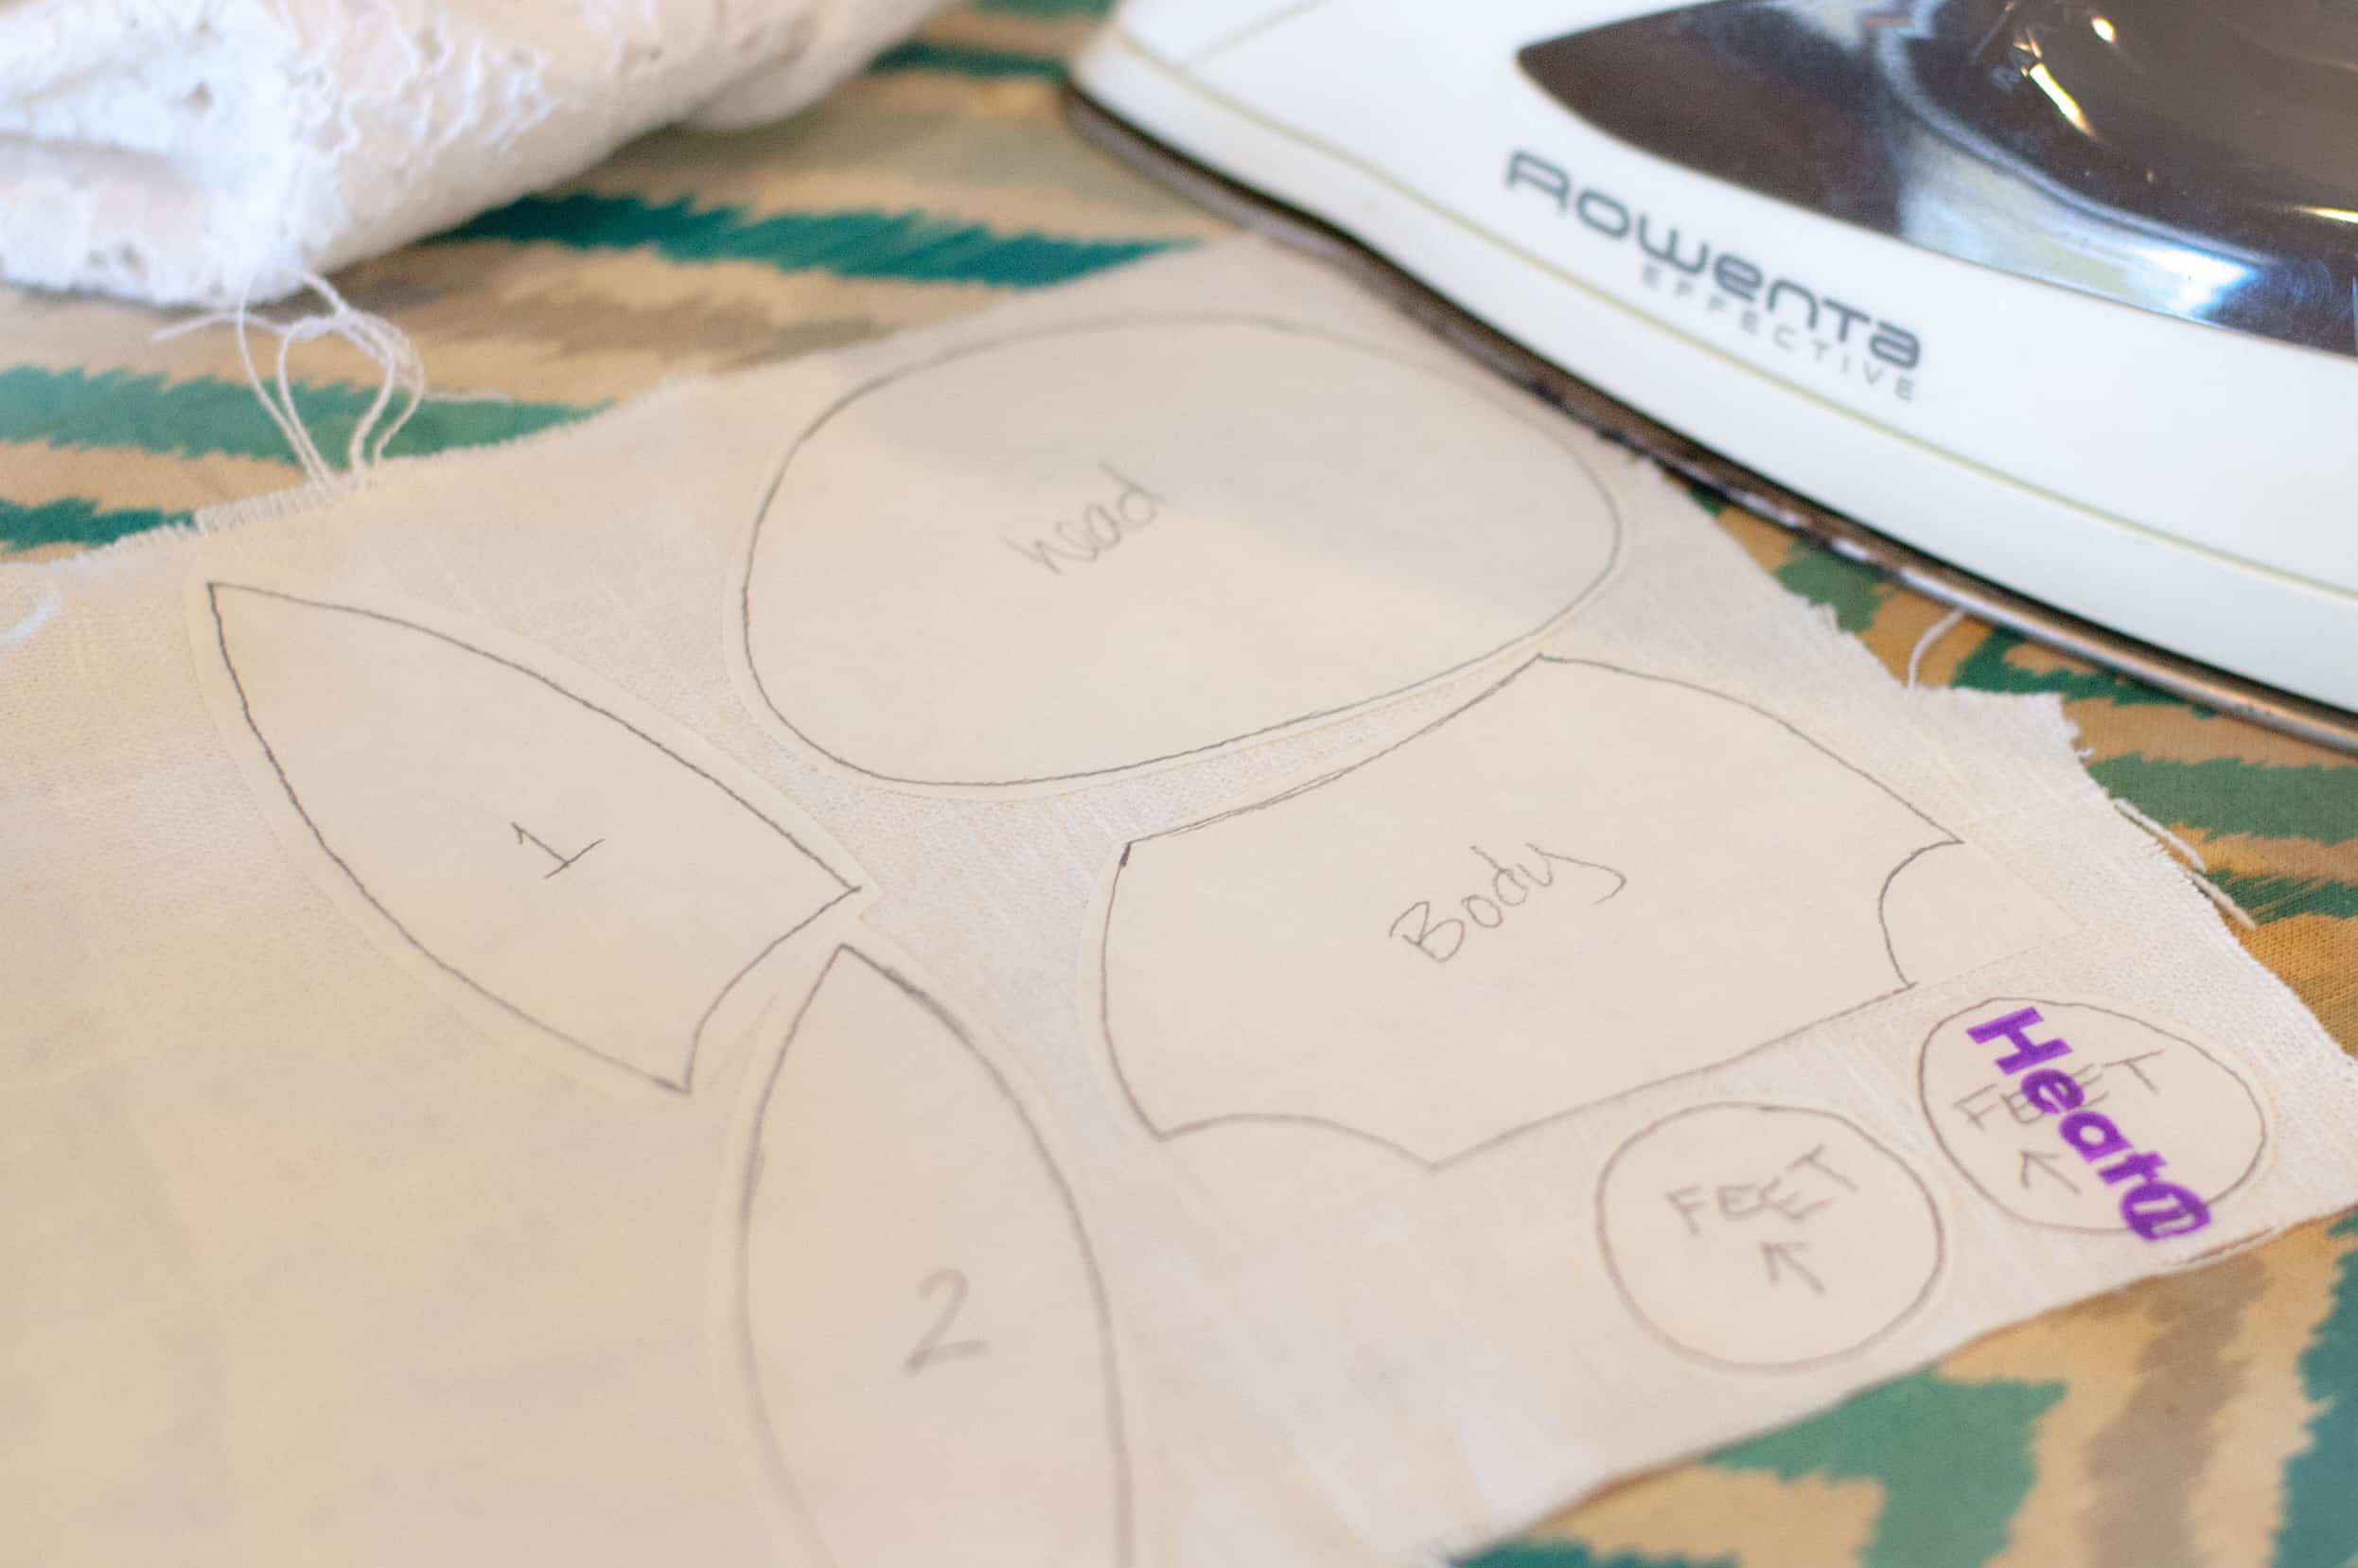
After you are done tracing, roughly cut the pieces out. I like to number my pieces as I go along, just to help stay organized once they are all cut out! Following the directions with your fusible adhesive, attach to the wrong side of your fabrics and cut them out along the traces lines.
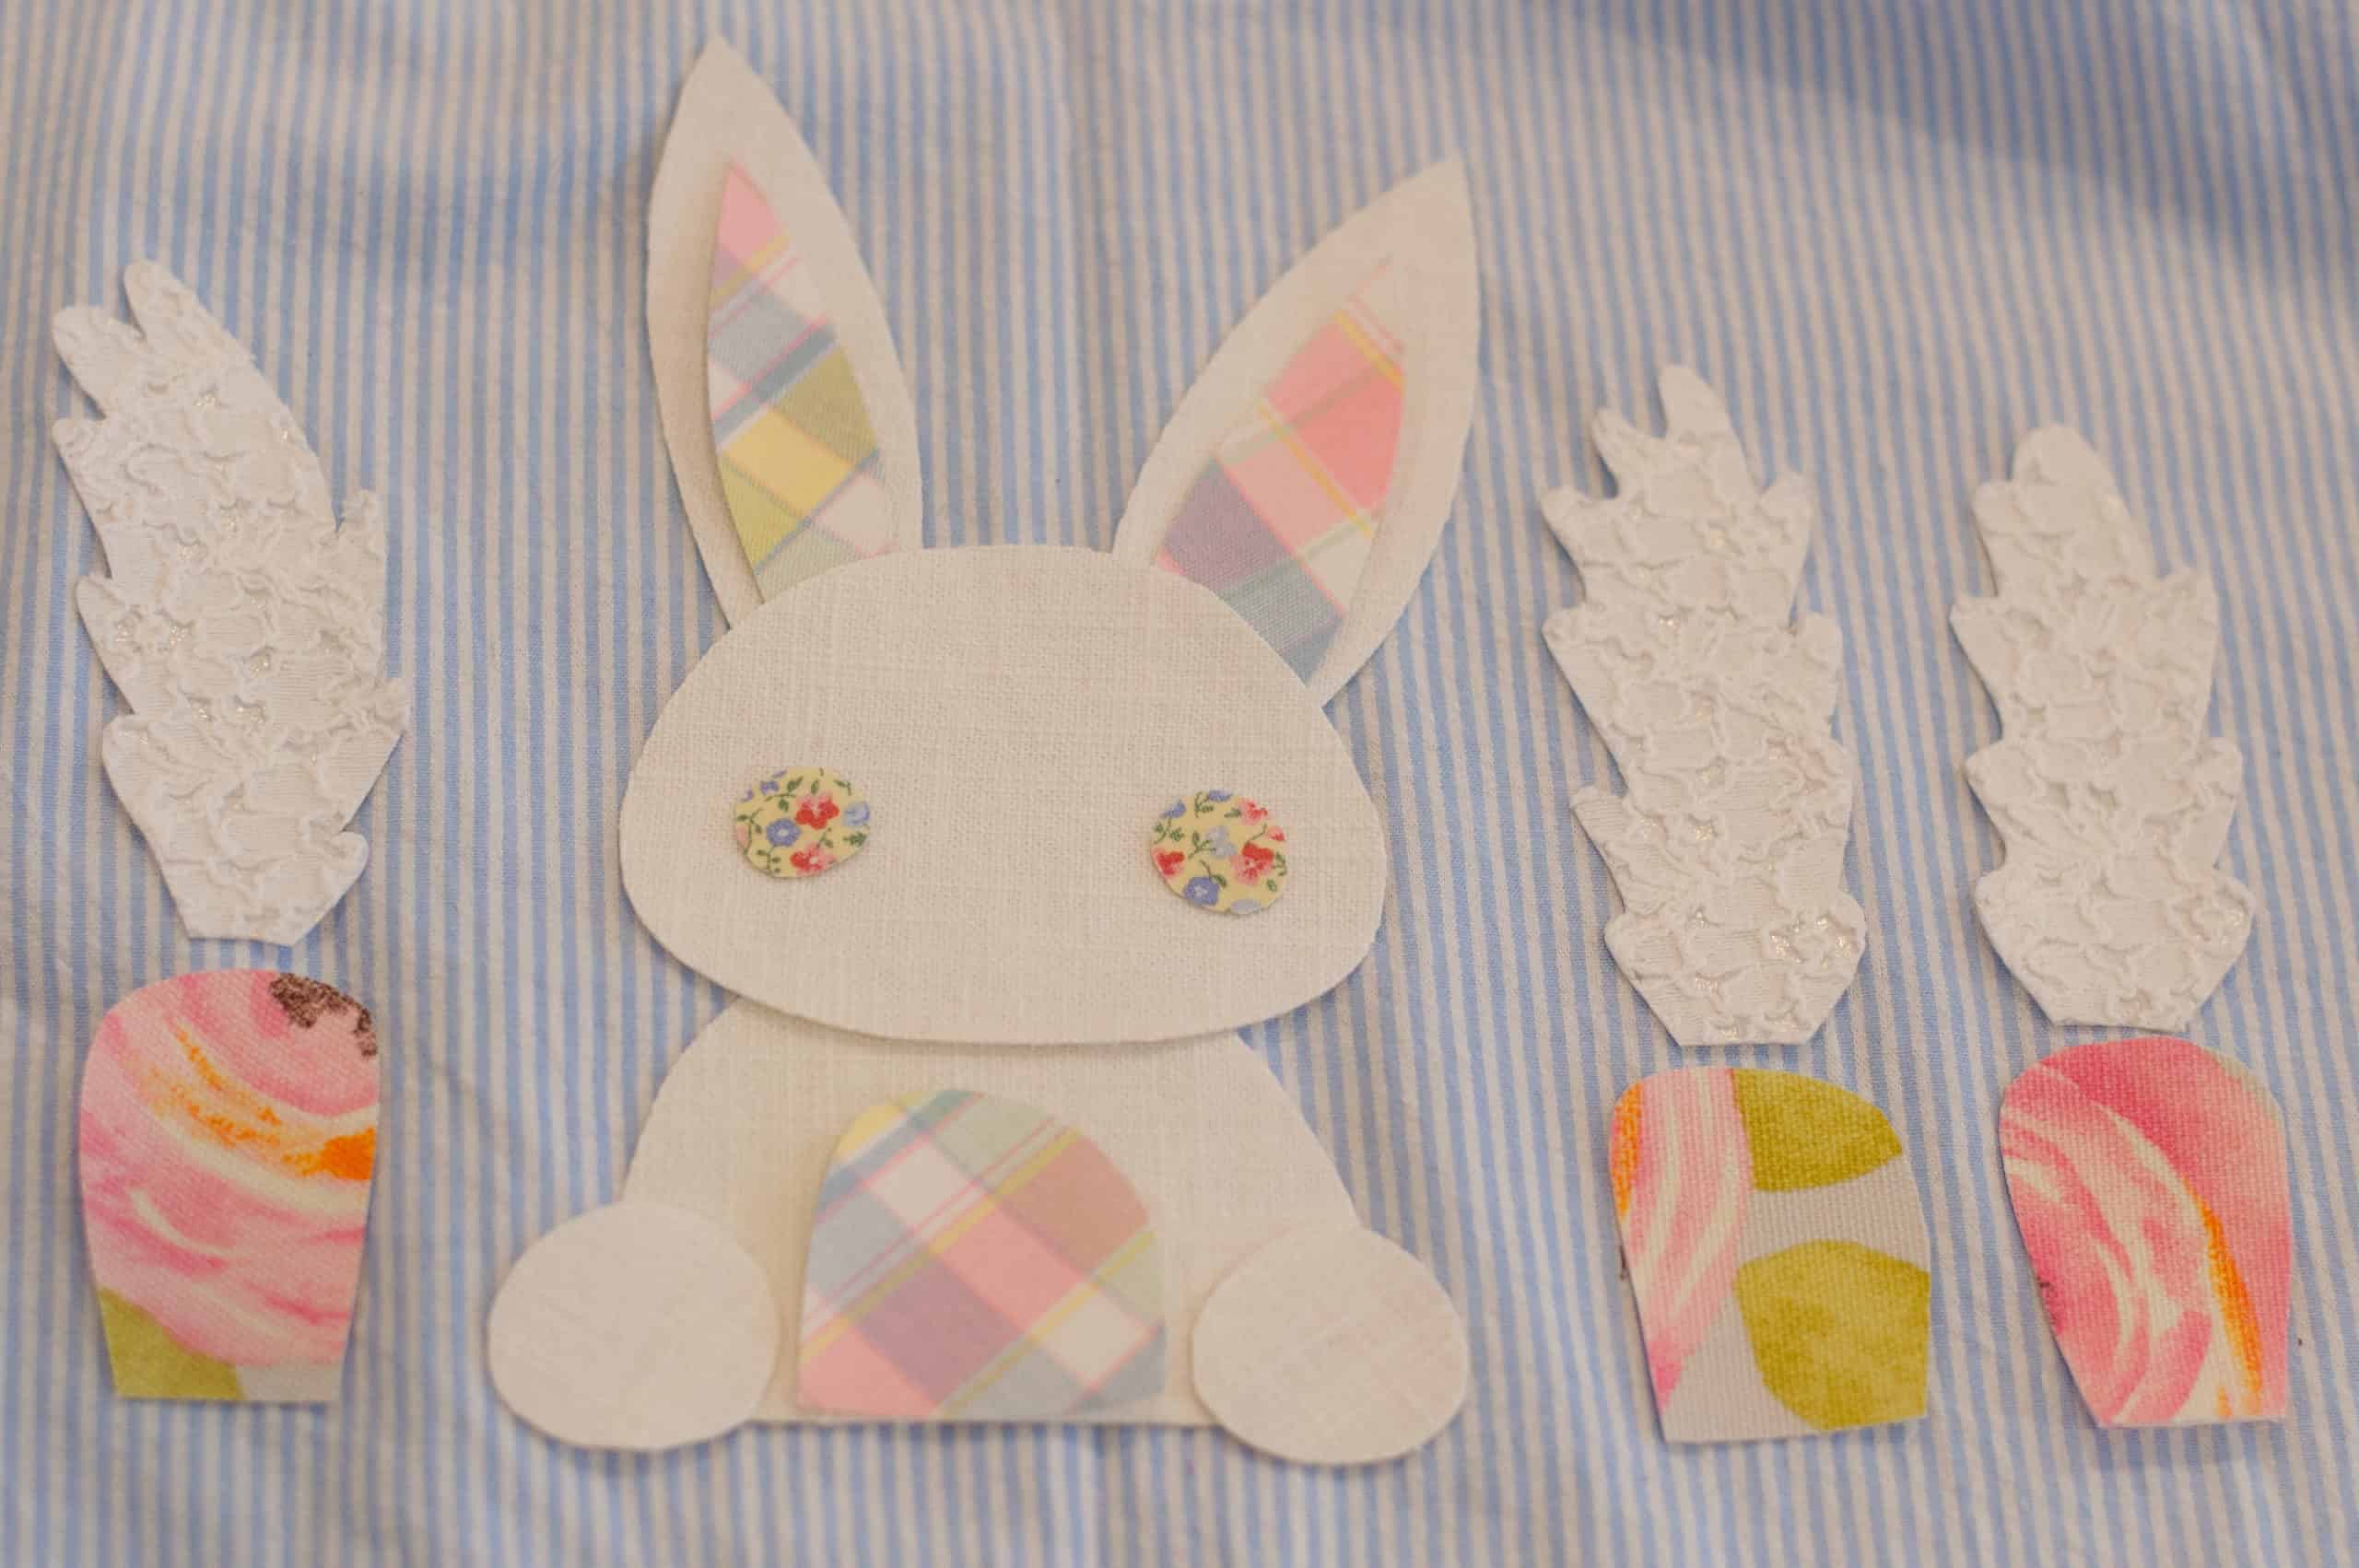
At this point, arrange your pieces how they will be applied to your fabric. This is your chance to make any changes to patterns, spacing, color, etc! Next, you will peel the backing off and iron your pieces onto the main fabric (following your fusible adhesive instructions). I like to work in stages. For example, I attached the inner ear to each ear, the belly to the body and the cheeks to the face before I attached each piece to the main fabric itself.
Now, you are going to choose your thread color and sew around each little piece. Since the free motion presser foot doesn’t touch the fabric between each stitch, you have control to move as you want, basically allowing you to “draw” with your stitches however you would like! I went around each piece twice in white to attach them to the main fabric.
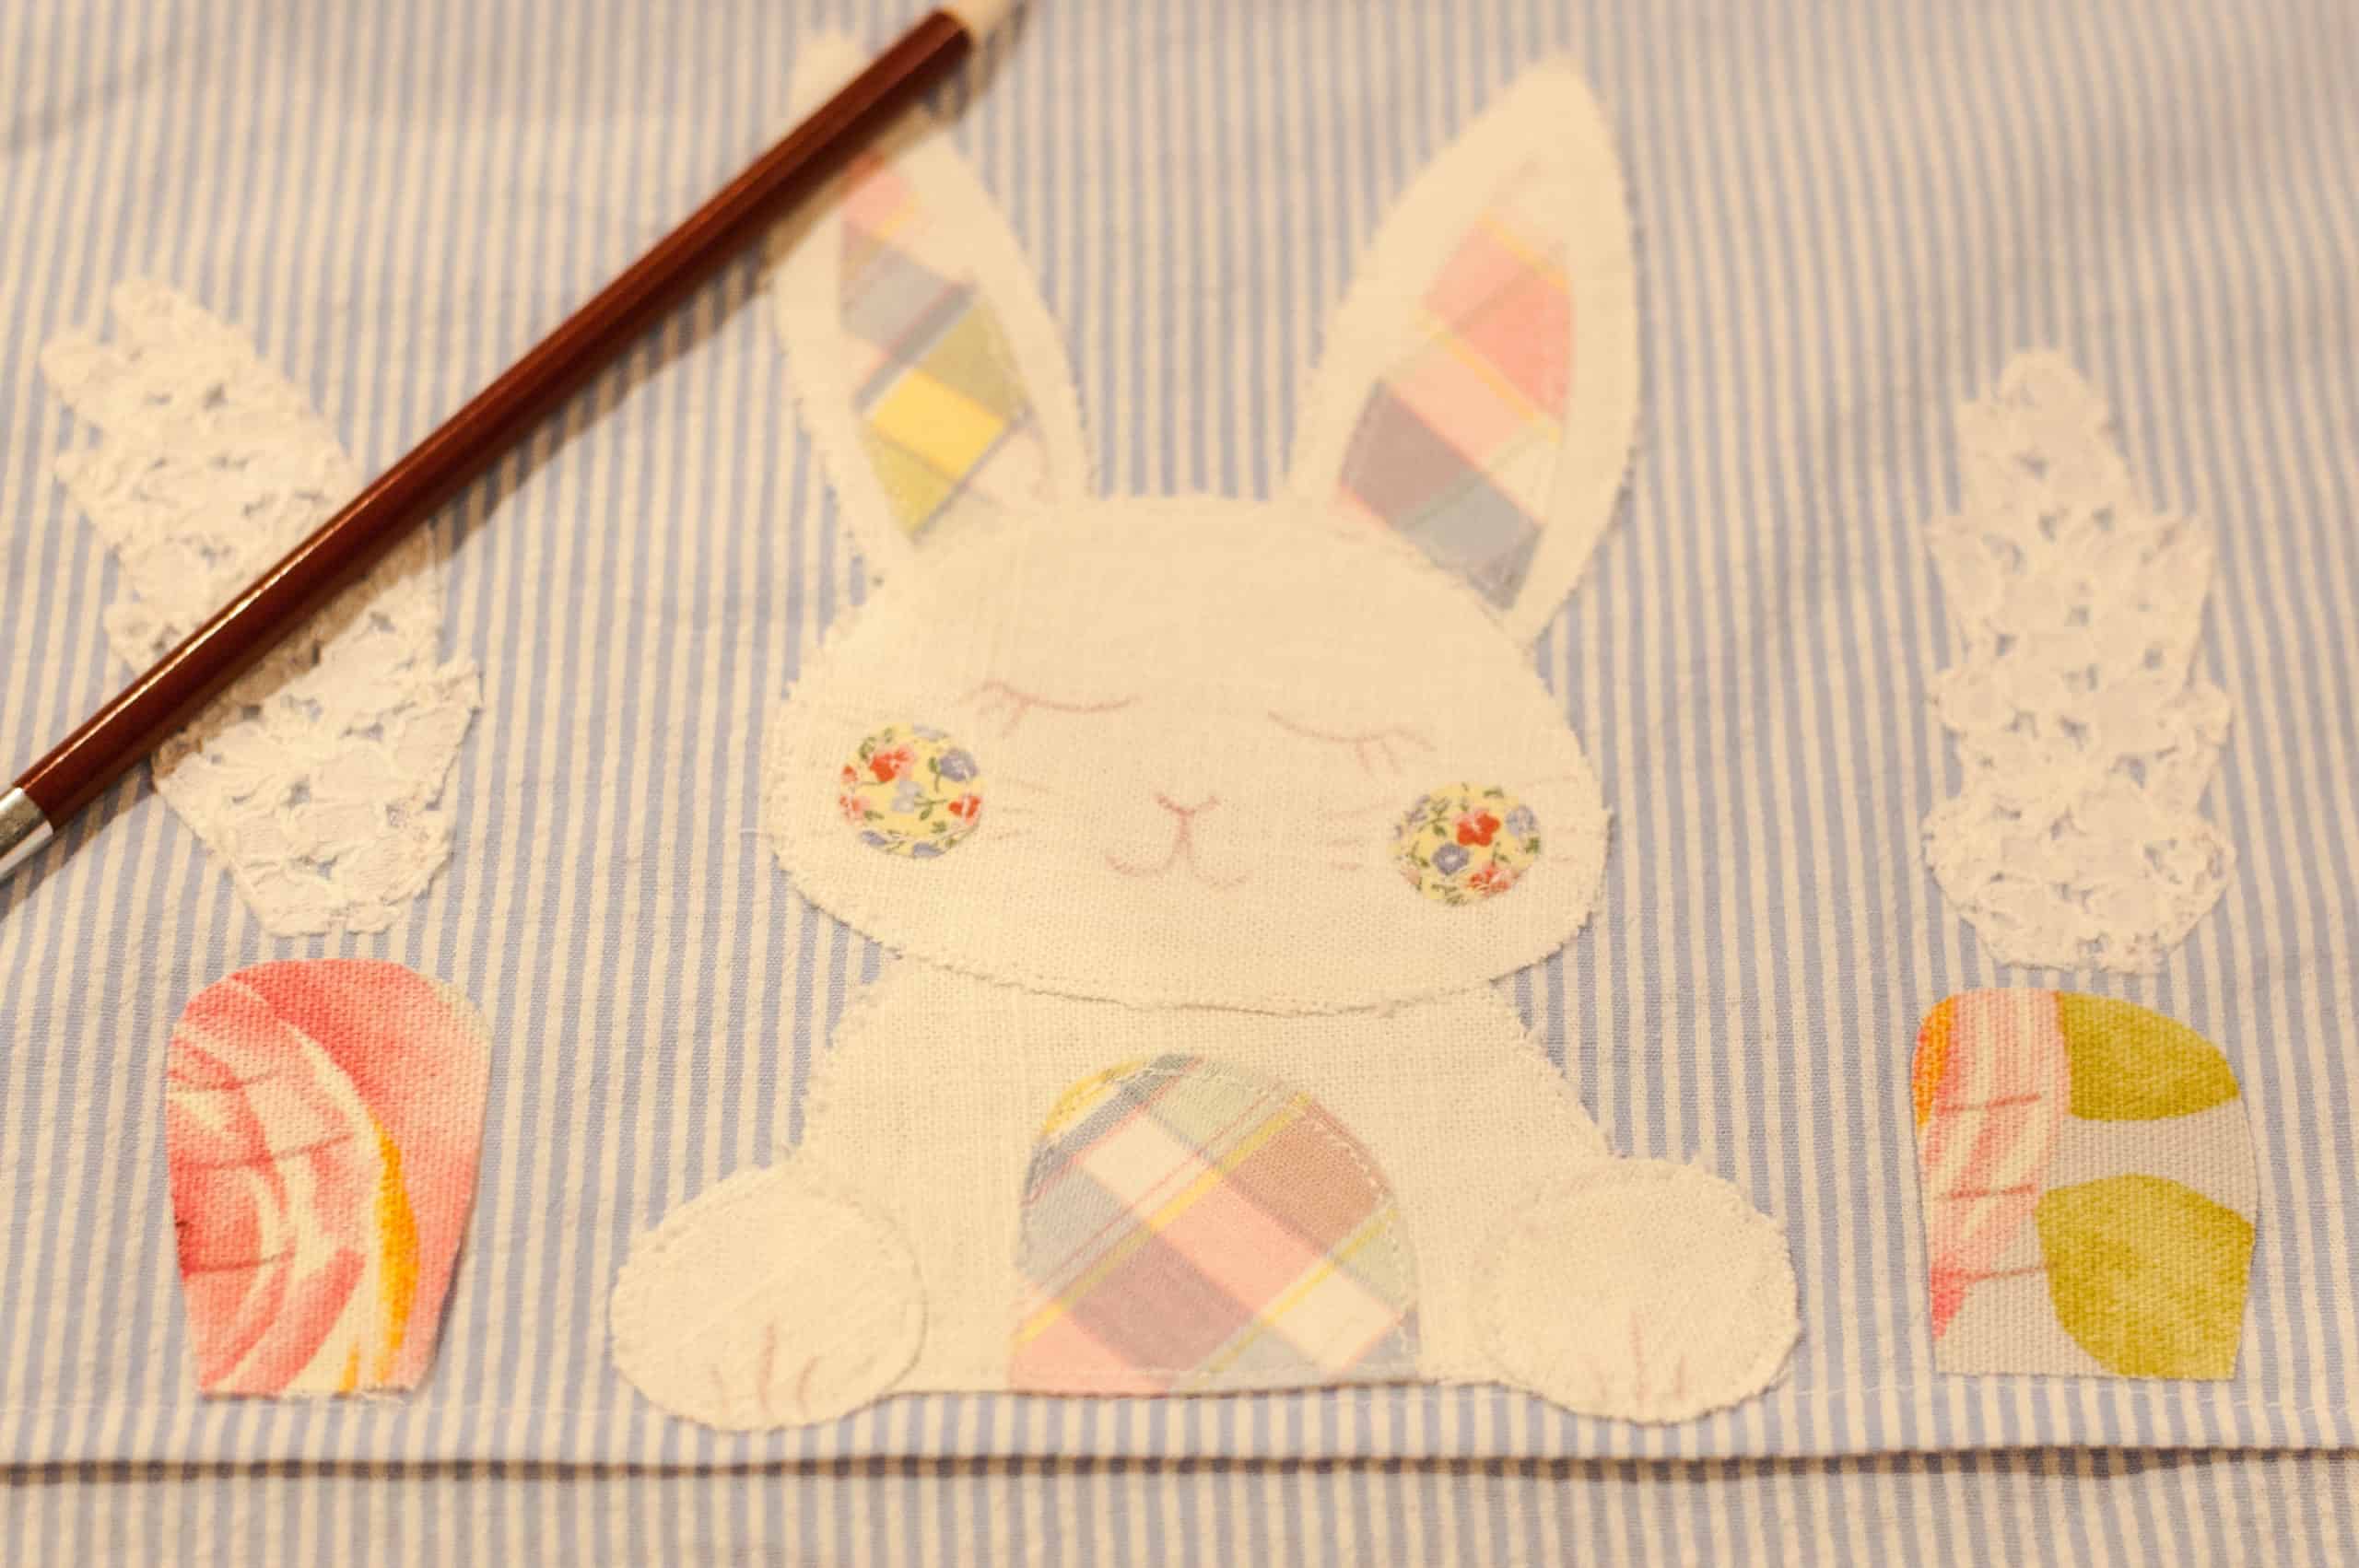
Now that the outlines have all been completed, I wanted to go back in with a brown thread and create detail. Using my chalk pencil, I drew in where I wanted to add outlines to the carrots, a face to my bunny and veins to the carrot tops. The video below shows how I used free motion quilting to applique the bunny and thread paint the details.
That’s it! Simple, easy, and anyone can do it! I can’t wait to see all of your wonderful creations!

Happy sewing!
Lacey Lee