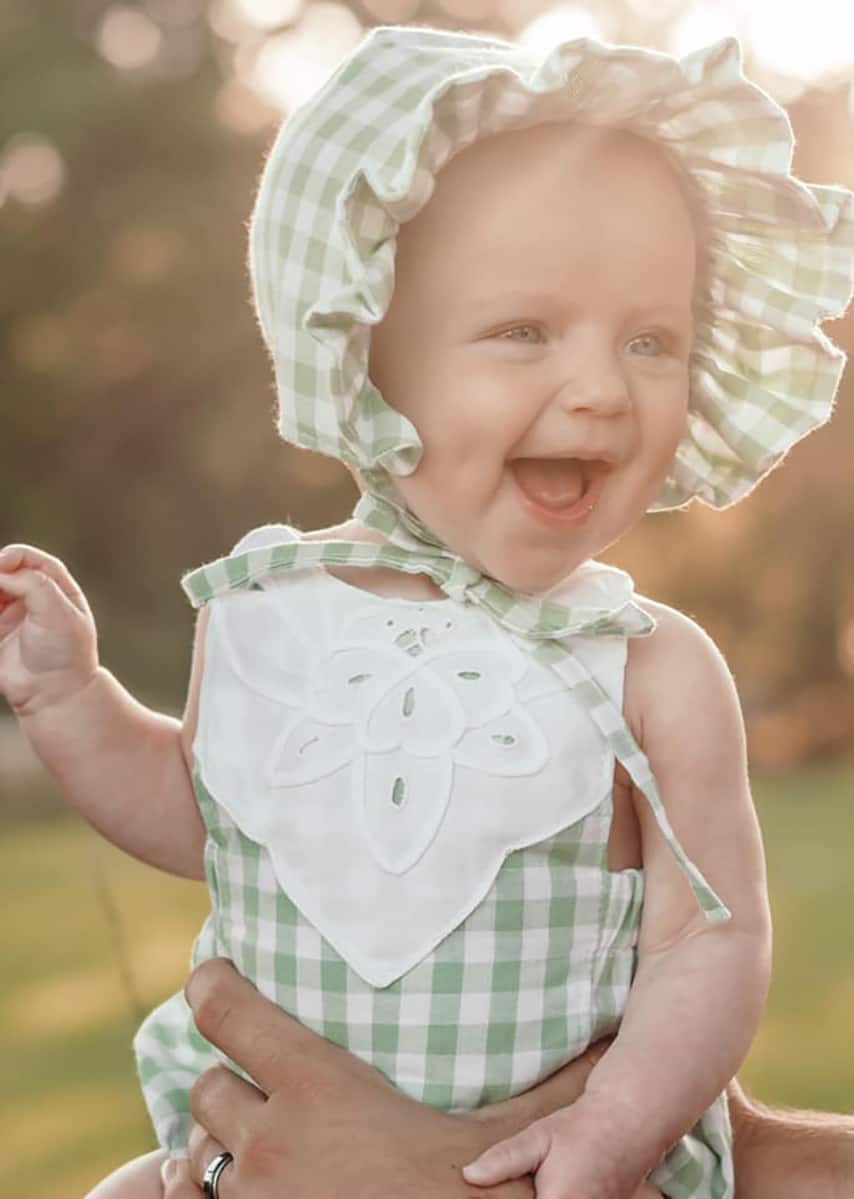
Daisy Bonnet – How to Add a Ruffled Brim
Hey everyone! I am Kristen and I am super excited to show you all how to make the Daisy Bonnet with a ruffled brim. Daisy is such an adorable pattern and as a bonus, IT IS FREE! So go get your copy of the pattern, HERE, and some super cute fabric and join me.
Note: For this hack you will not need brim interfacing.
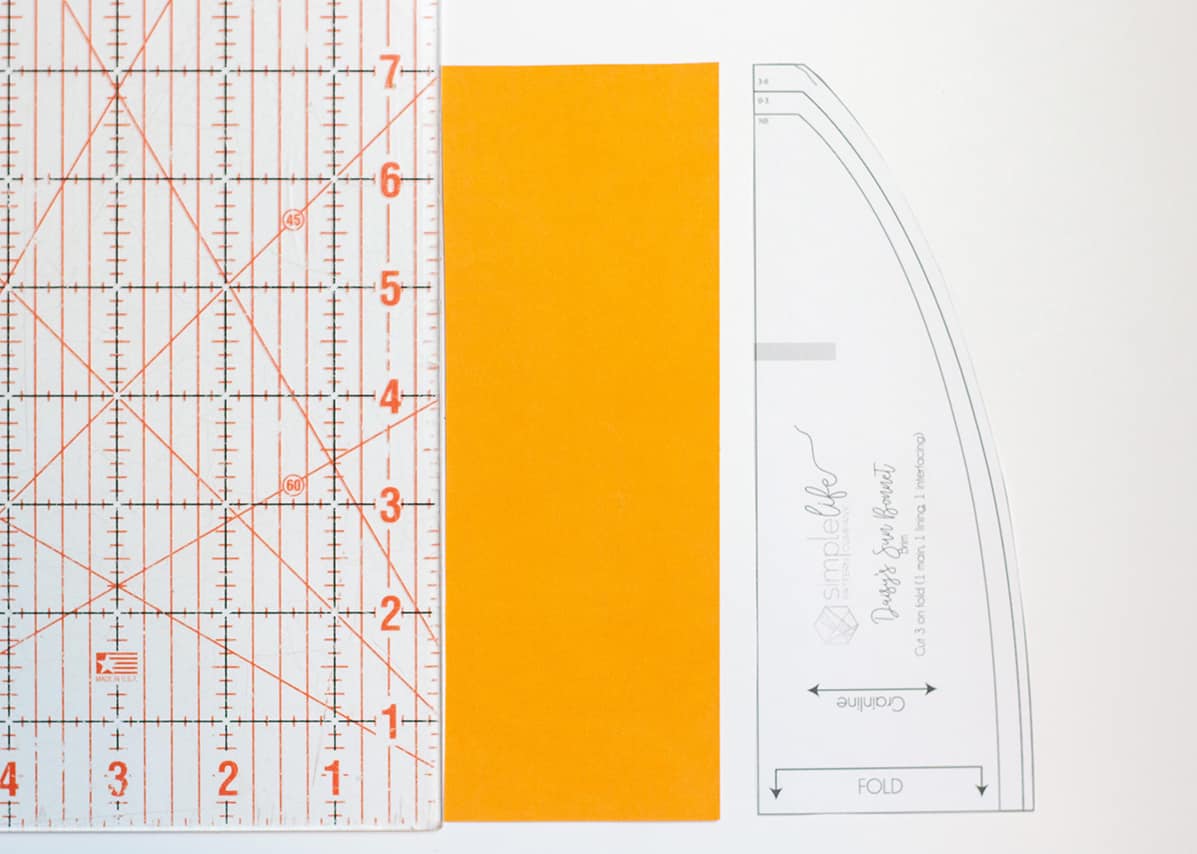
First, take your brim pattern piece and measure the width of the squared side.
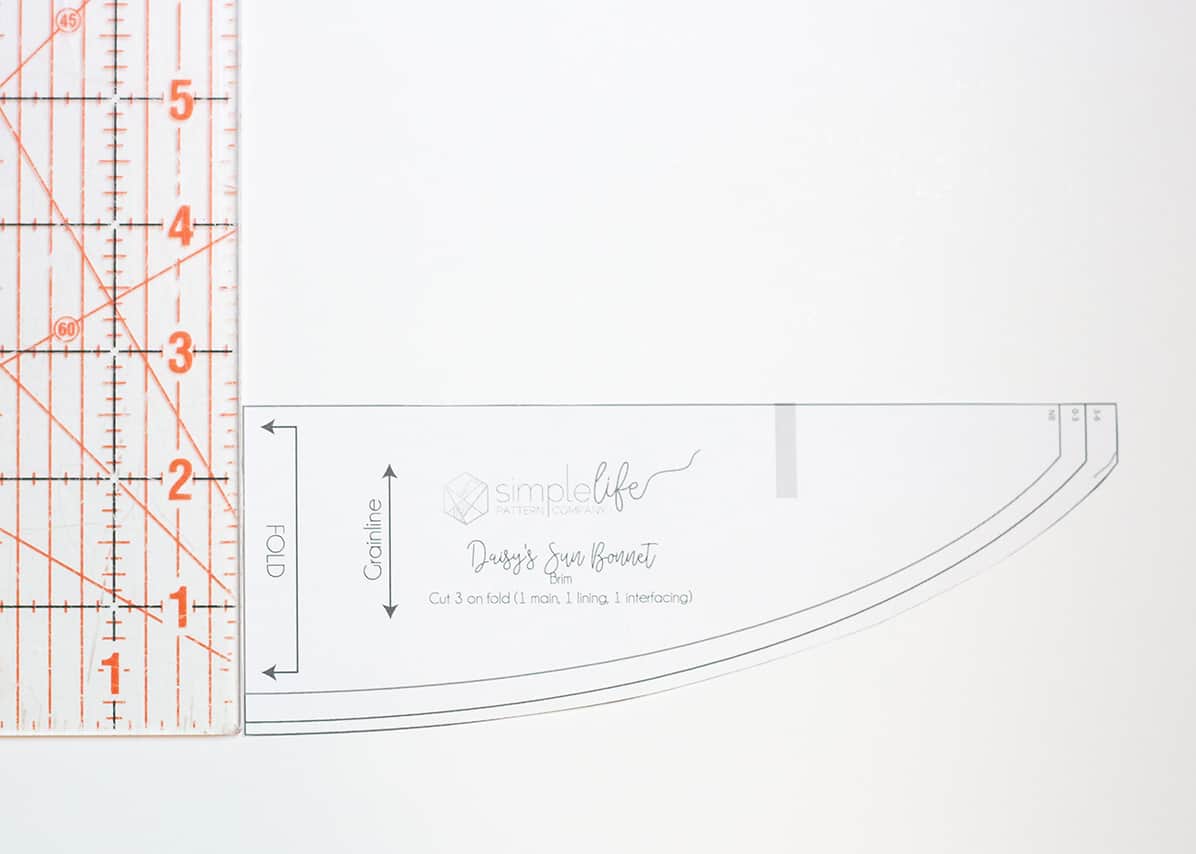
Now, measure the length of the entire brim piece.
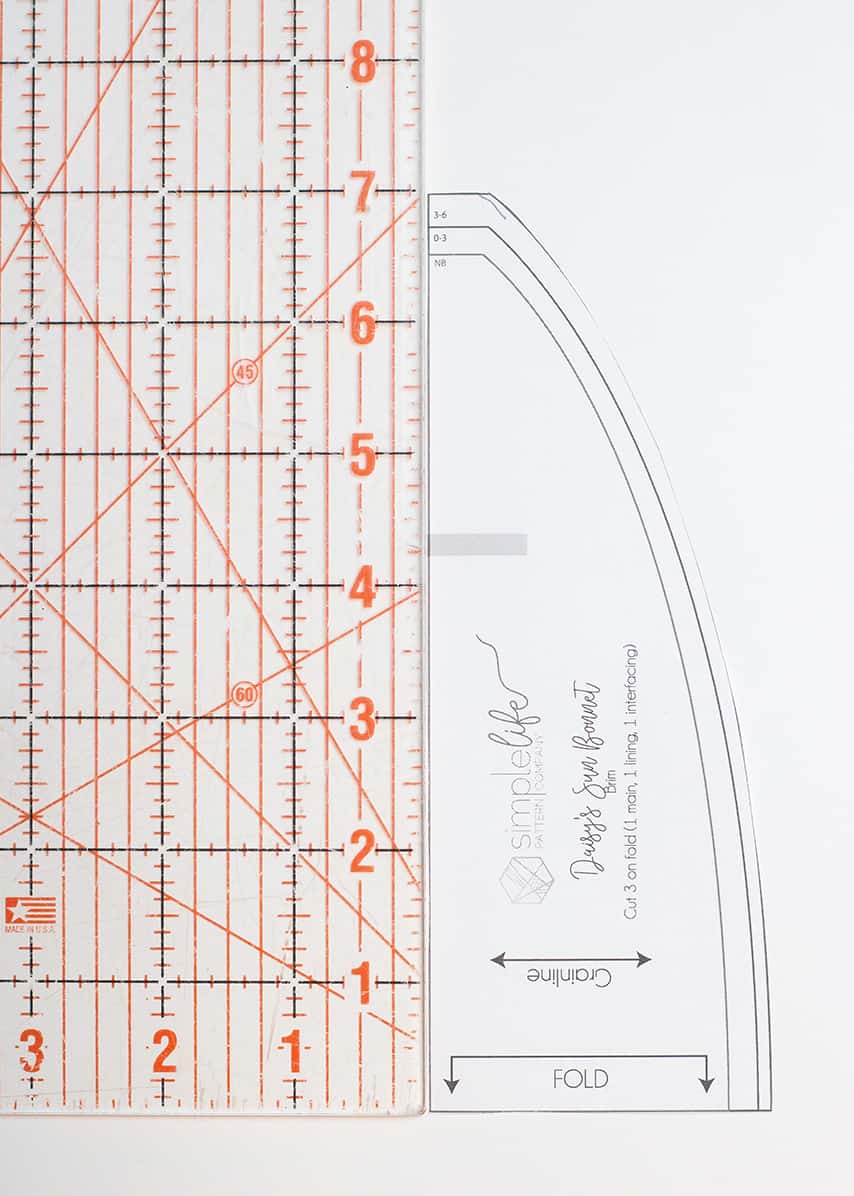
Cut a rectangle out of paper that matches your measurement. For example, I am making a 3/6 month and have measurements of 7” long and 2.5” wide. So I am cutting a rectangle to those measurements.
Next, attach the short end of your rectangle to the square short end of your brim piece. Tape them together. You have now created your ruffled brim pattern piece!
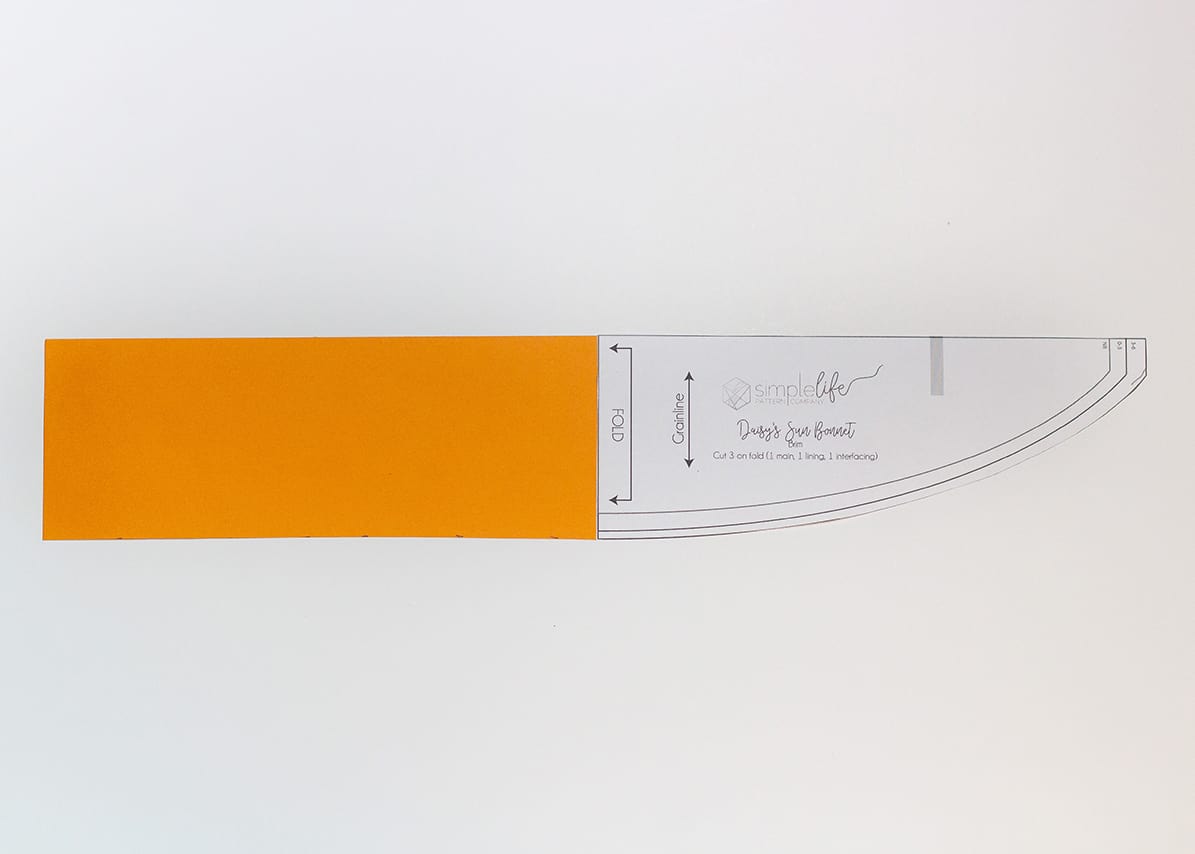
You will still place the square end of the brim piece on the fold and cut one lining and one main as the pattern directs.
Complete steps 1-3 found in the Daisy instructions.
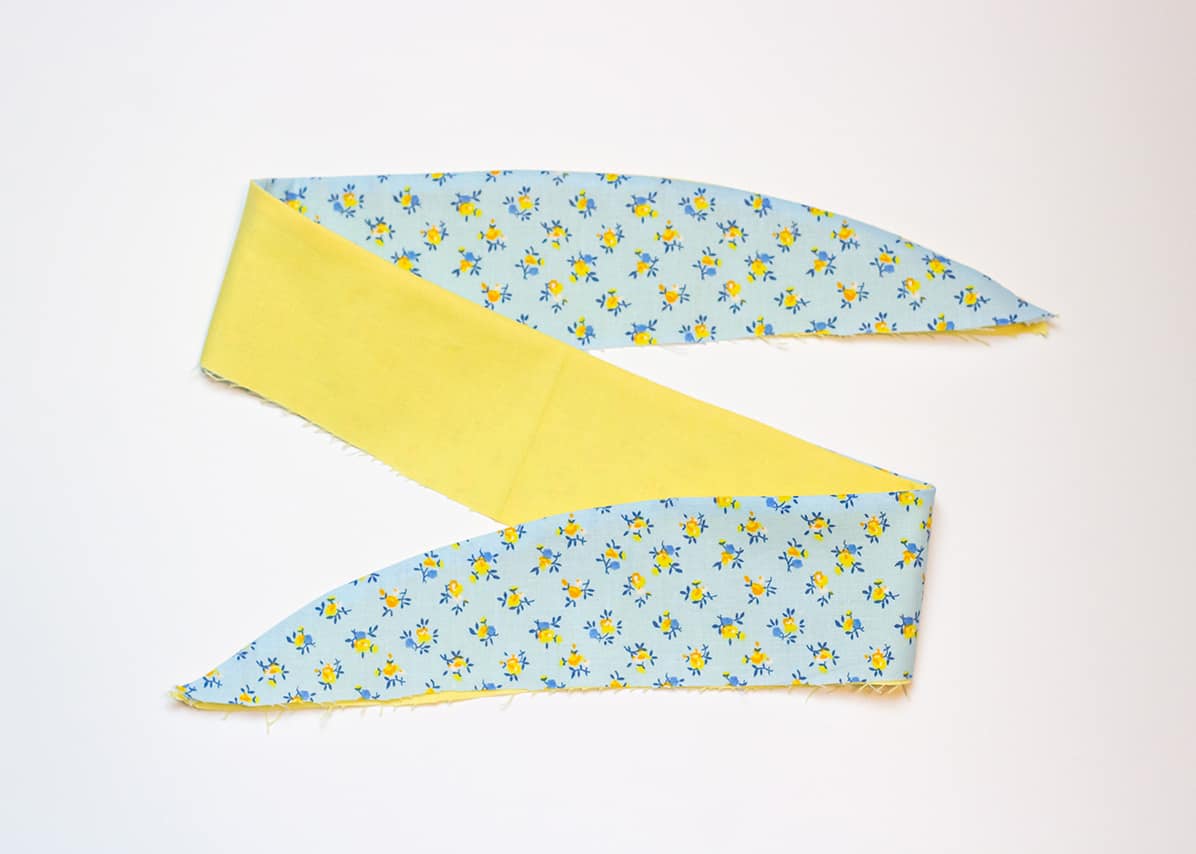
Now, lay your two ruffled brim pieces RST matching the straight edges and the curved edges.
Note: If you prefer, pin them together.

Sew along the curved edge from one end to the other. Cut ½ of the seam allowance and clip your curves.
Flip your ruffled brim inside out (WST) and press.
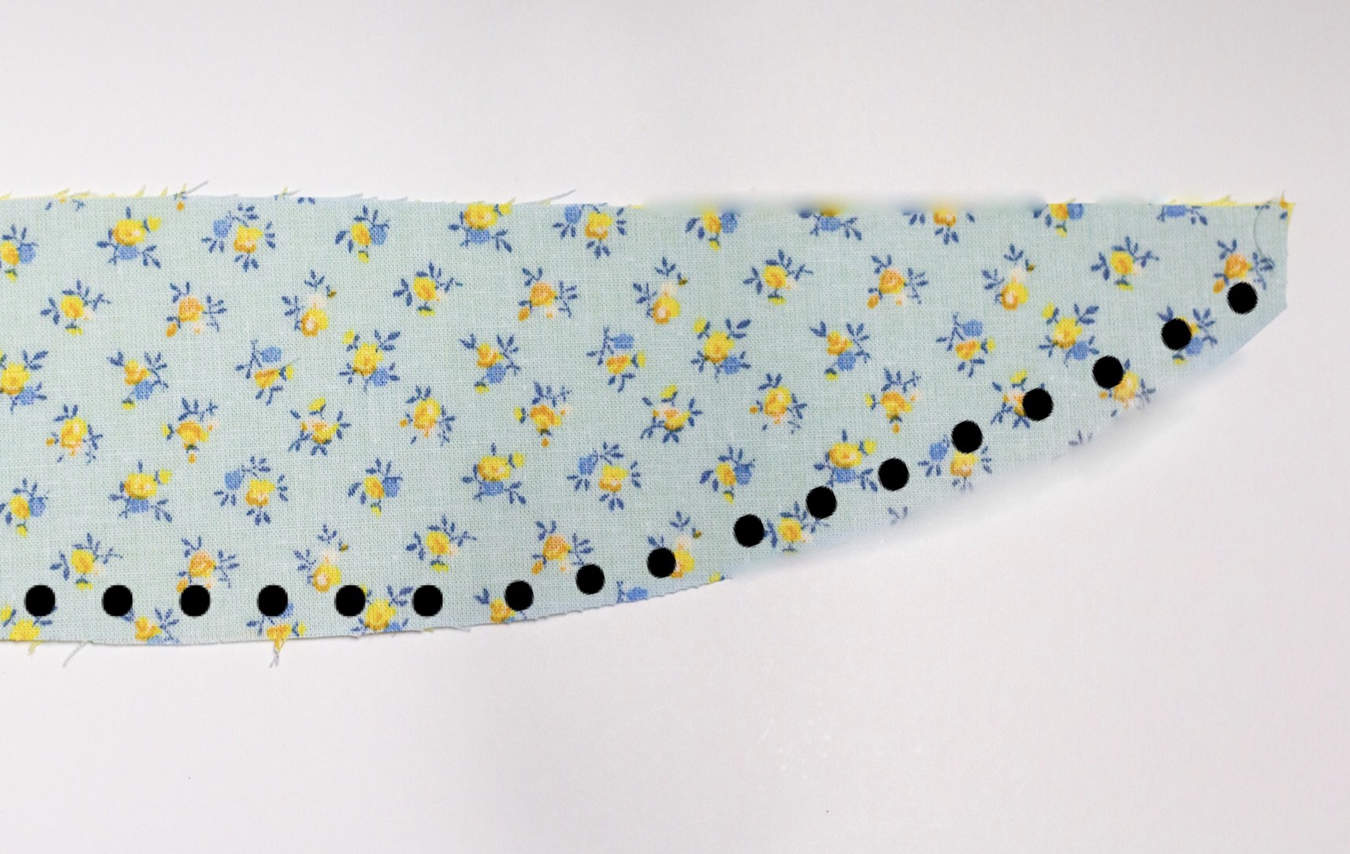
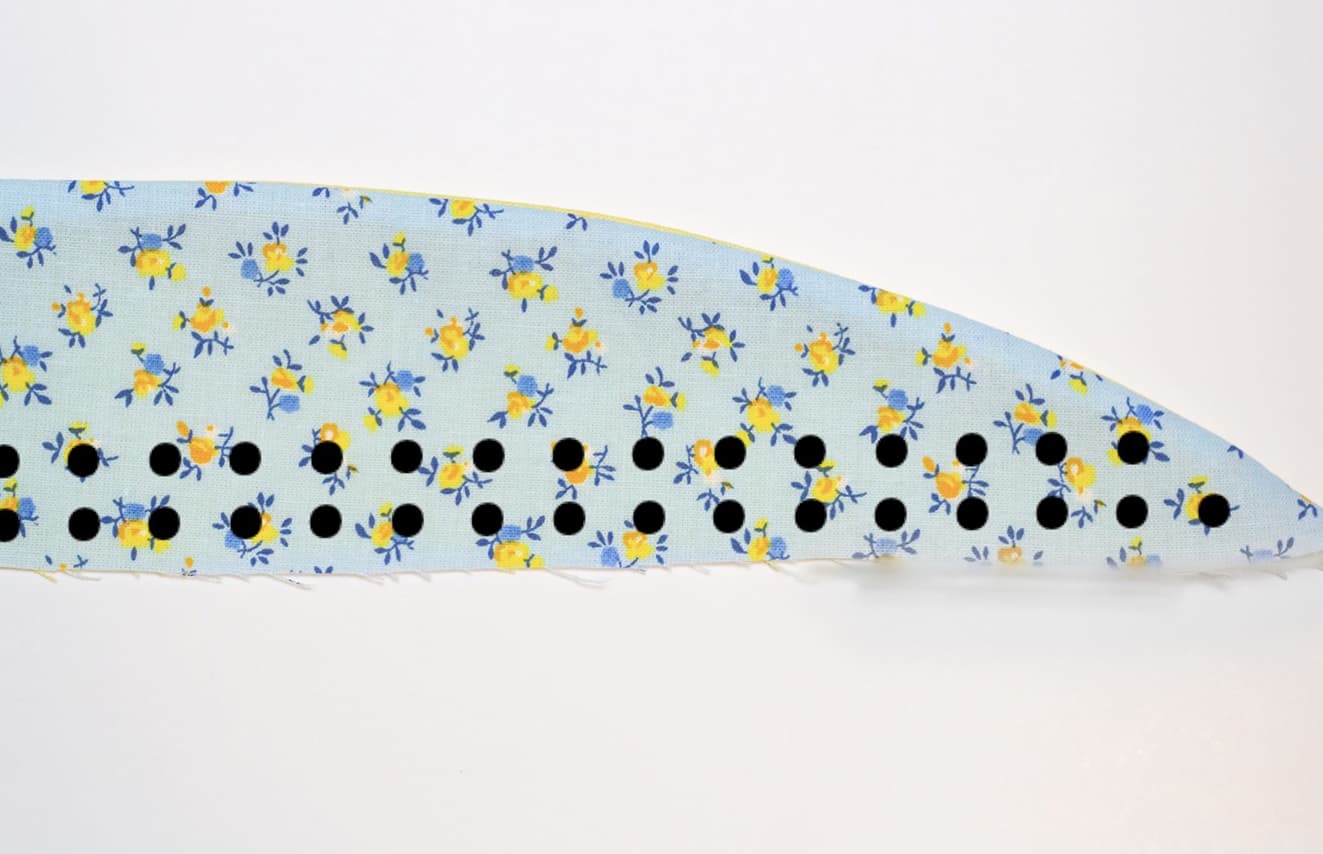
Sew two rows of gathering stitches along the entire length of the straight edge. Place one gathering stitch ¼” from the edge and one ½” .
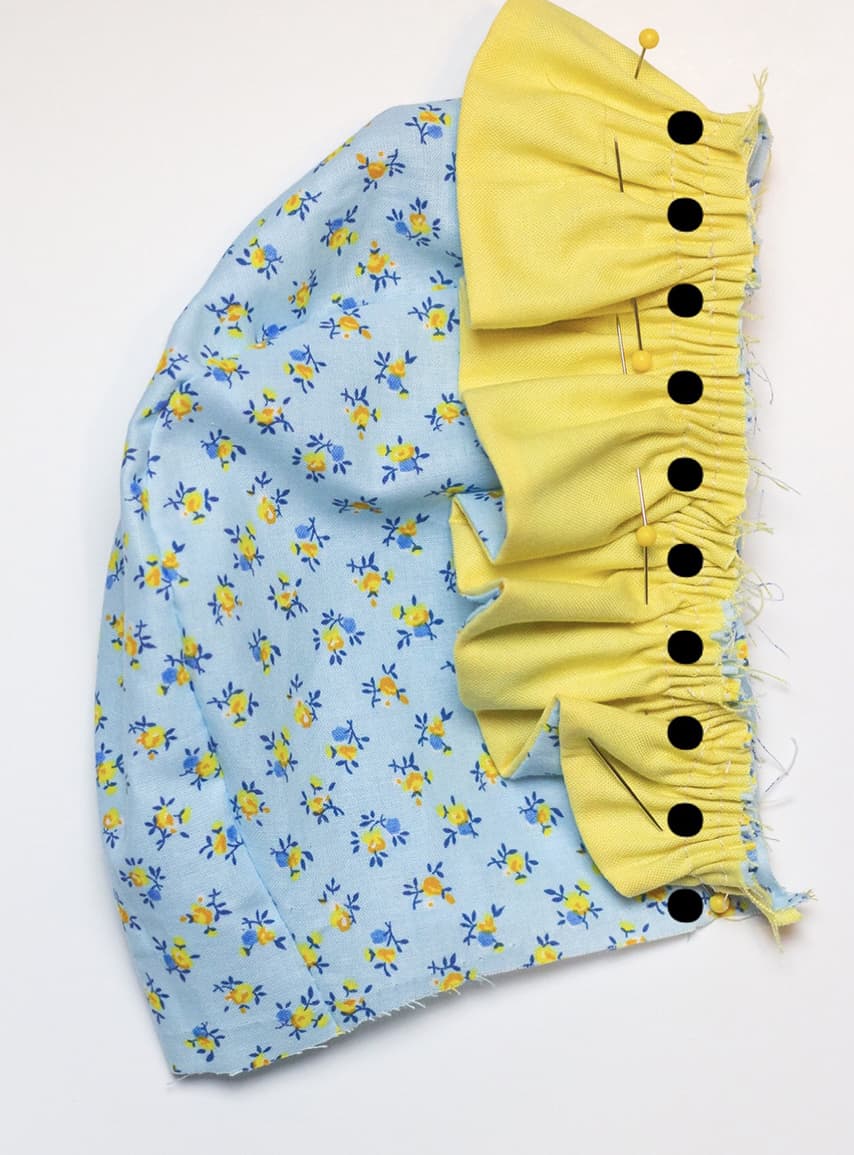
Fold your main bonnet in half and place a pin at the top center. Pin the center of the ruffled brim to the bonnet’s top center with the main RST.

Now, pin both ruffled brim edges to the edge of the bonnet. Pull your gathers to match the width of the bonnet. Make sure that your gathers are even. Baste in place.
Follow pattern steps 5-16 found in the Daisy instructions.
Note for Step 6: Make sure your ruffles are laying flat and facing toward the back of the bonnet so that they do not get caught in your seam.
Once you have finished your bonnet, remove the exposed gathering stitch on your ruffled brim.
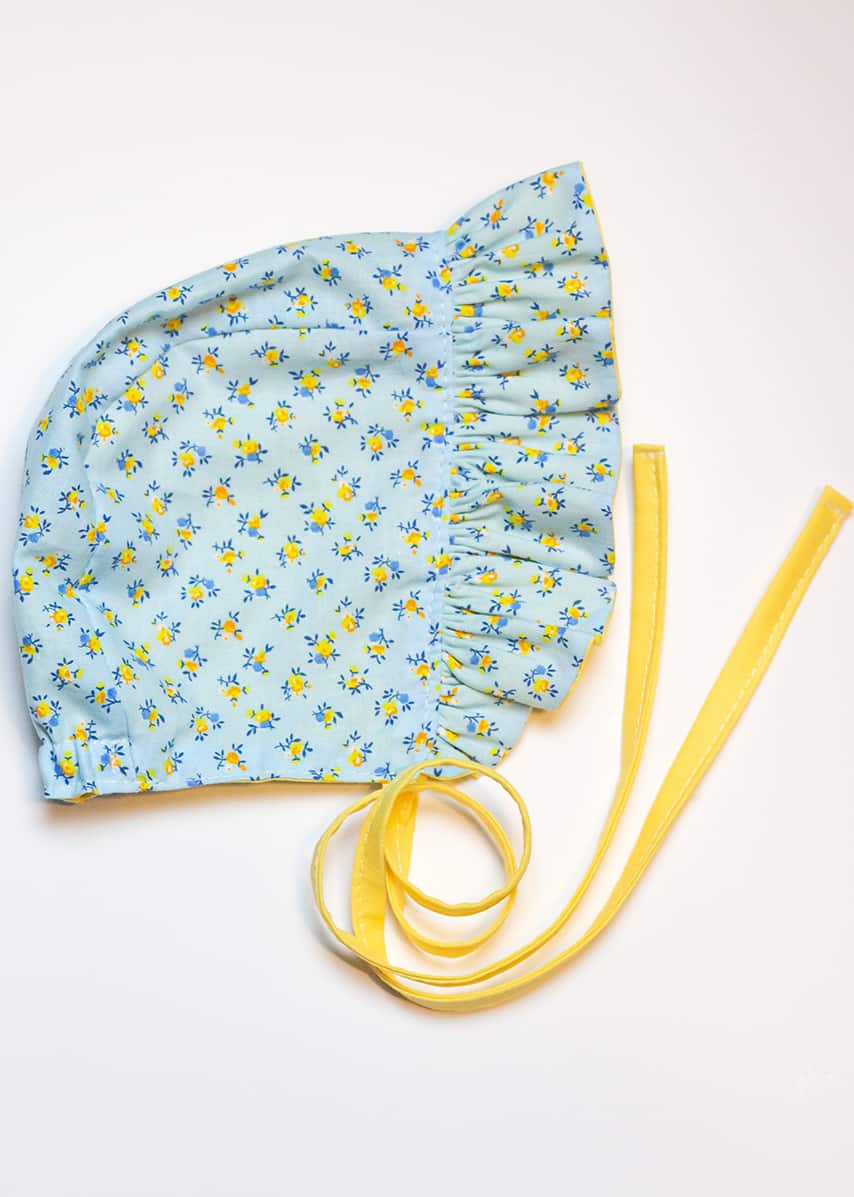
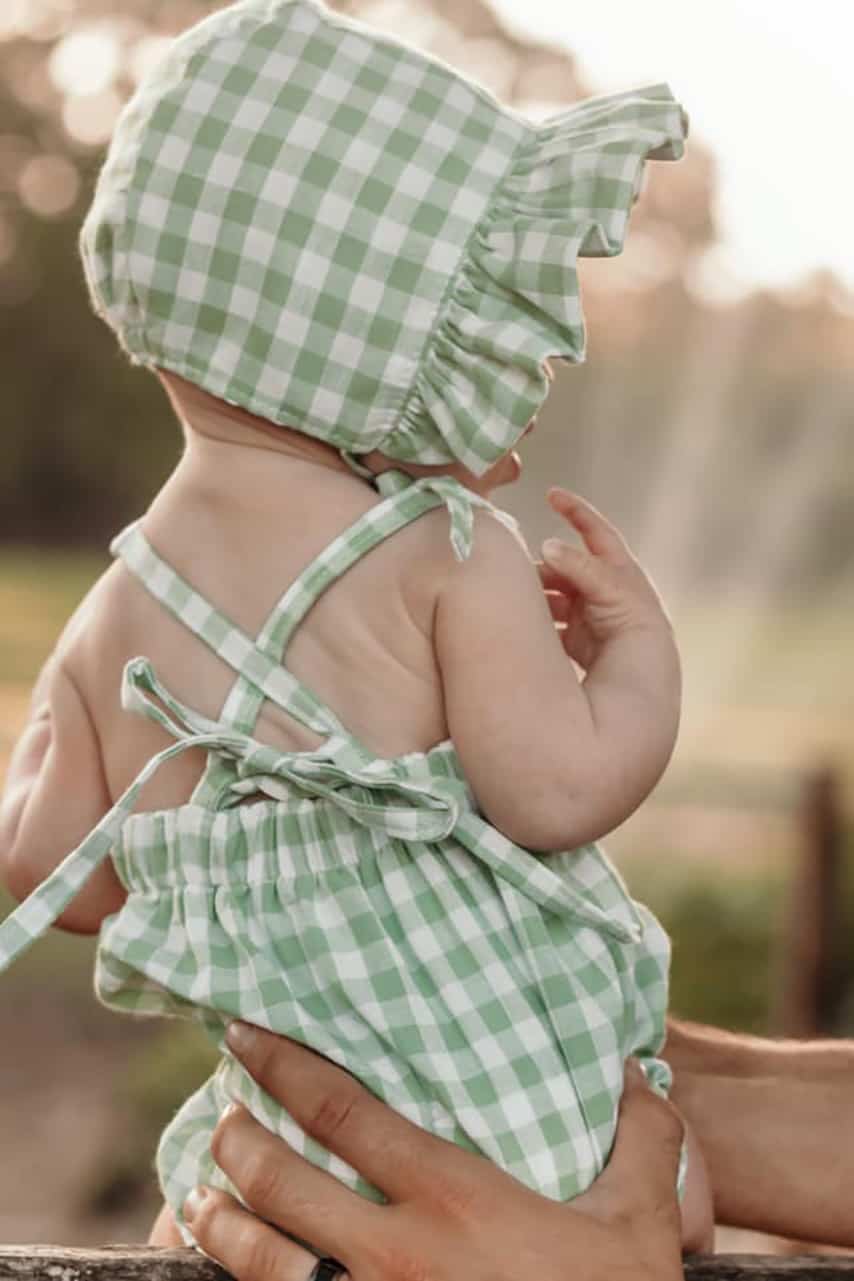
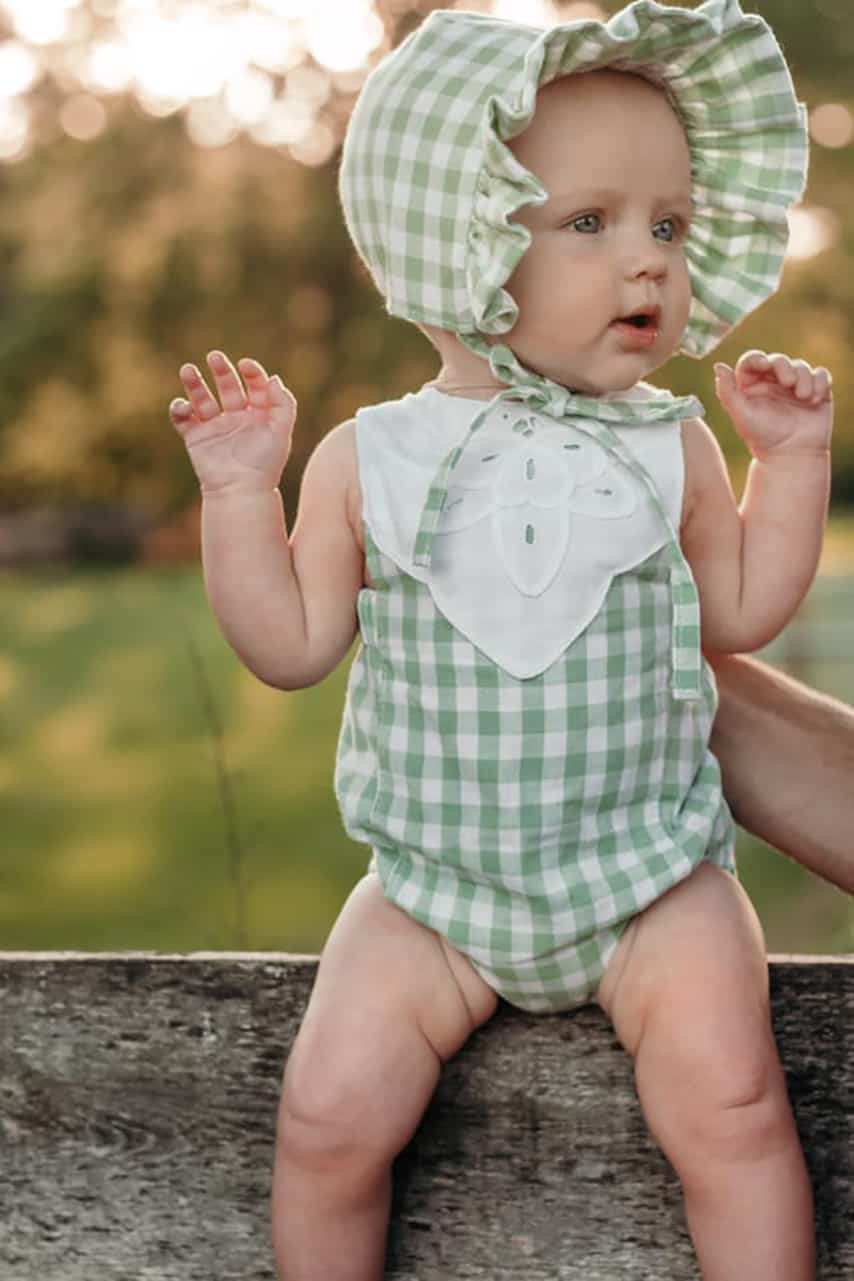
YAY!! You have just made a Daisy Bonnet with a ruffled brim! Now go try it on your model, snap some pictures, and post them in the Simple Life Pattern Company’s Facebook group. Be sure to use #slpcodaisy so I can show your creations some love!!!
Enjoy!
Kristen