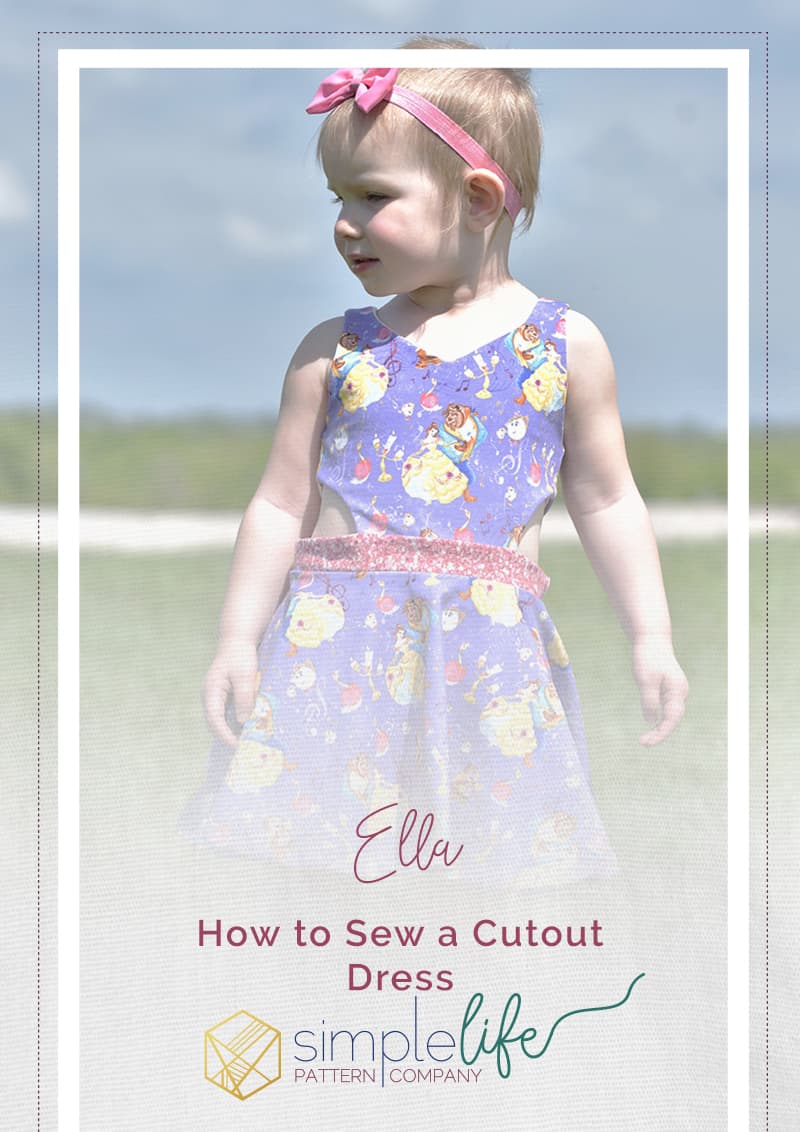
How to Sew a Cutout Ella Dress
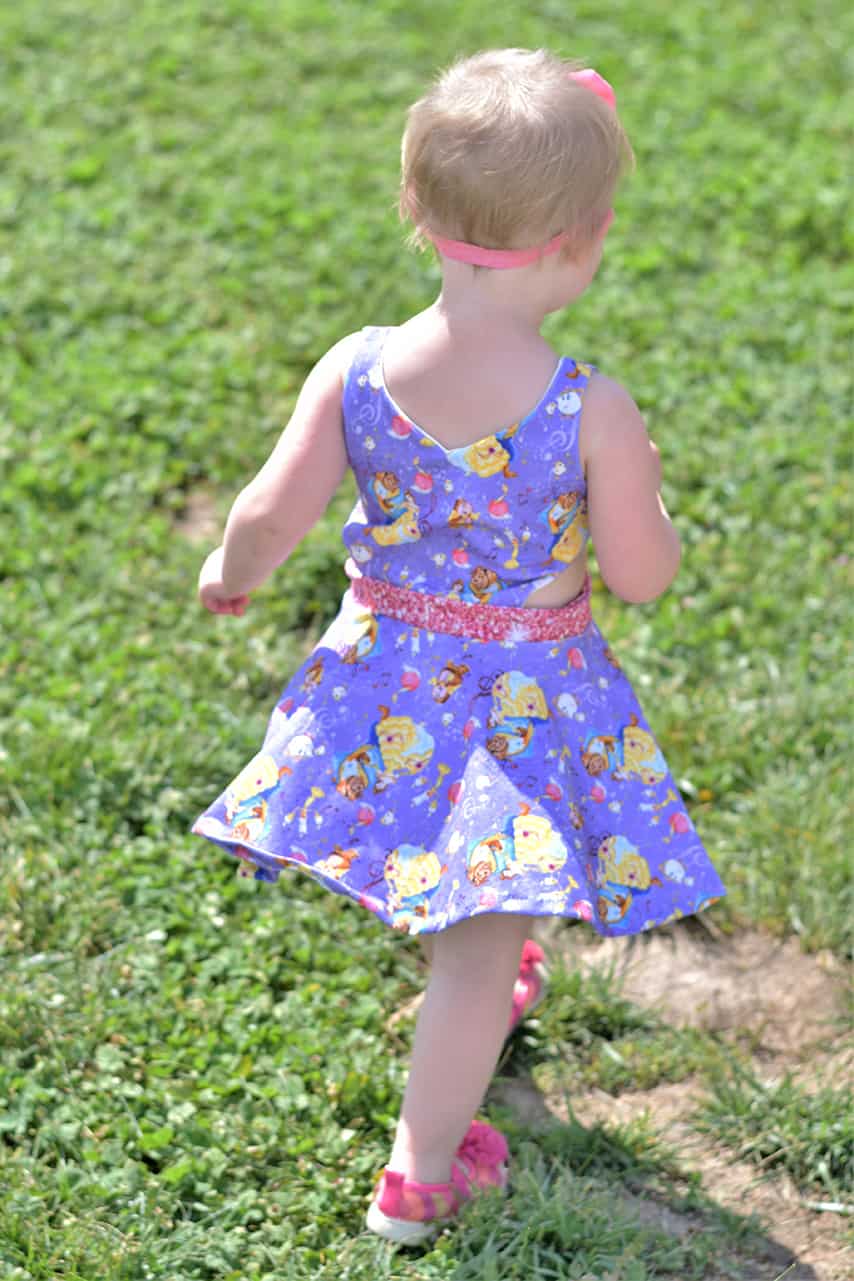
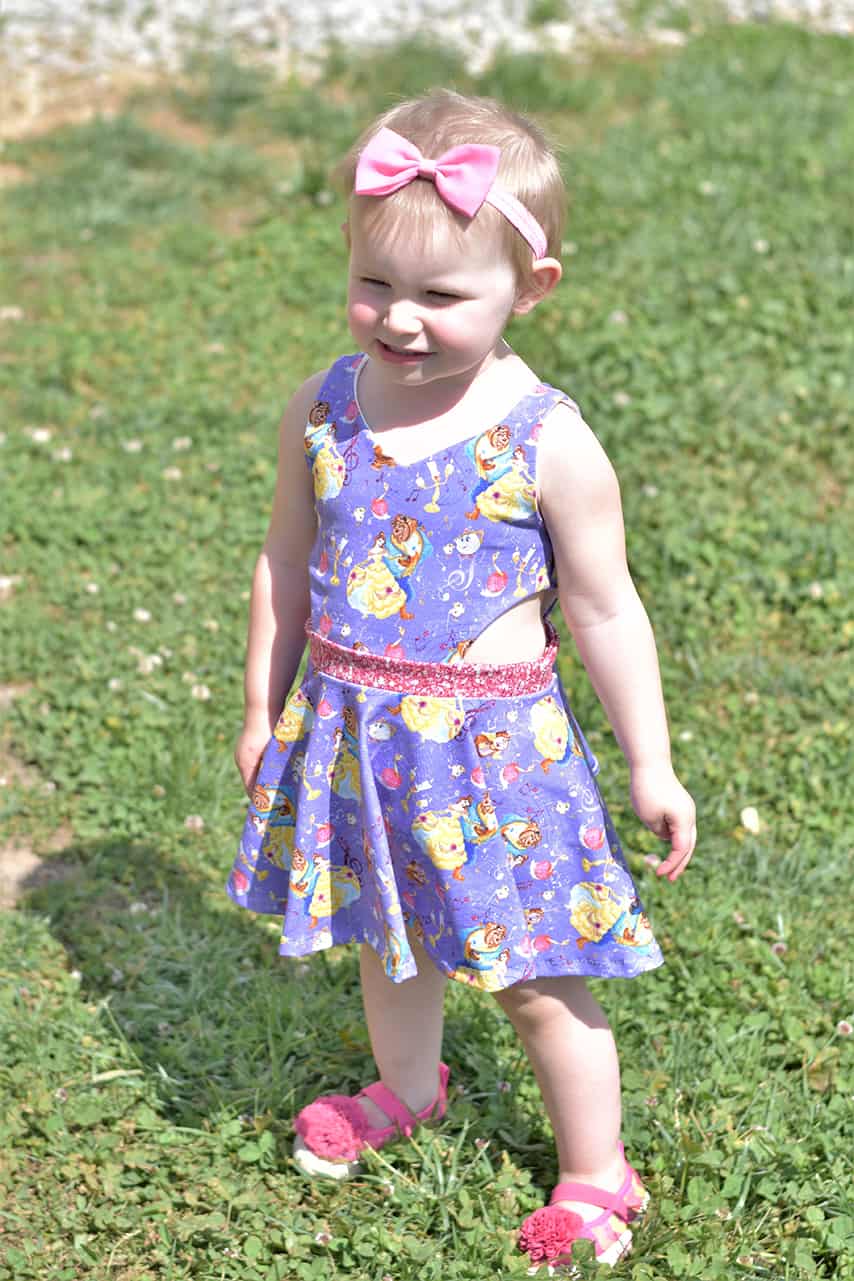
Hi SLPco fans!! Today we have a really fun pattern hack from our guest blogger, Tammie Schaefer, to share with you today! Tammie has made the cutest side cutout Ella and today she will be teaching you how to sew up this adorable outfit!
- First step is gathering all of your pieces. To recreate this look, you will need the Ella pattern for the bodice and skirt pieces. Cut the following:
-
- 2 front bodice pieces in main fabric
- 2 front bodice pieces in lining fabric
- 1 circle skirt
- 4 waistband pieces
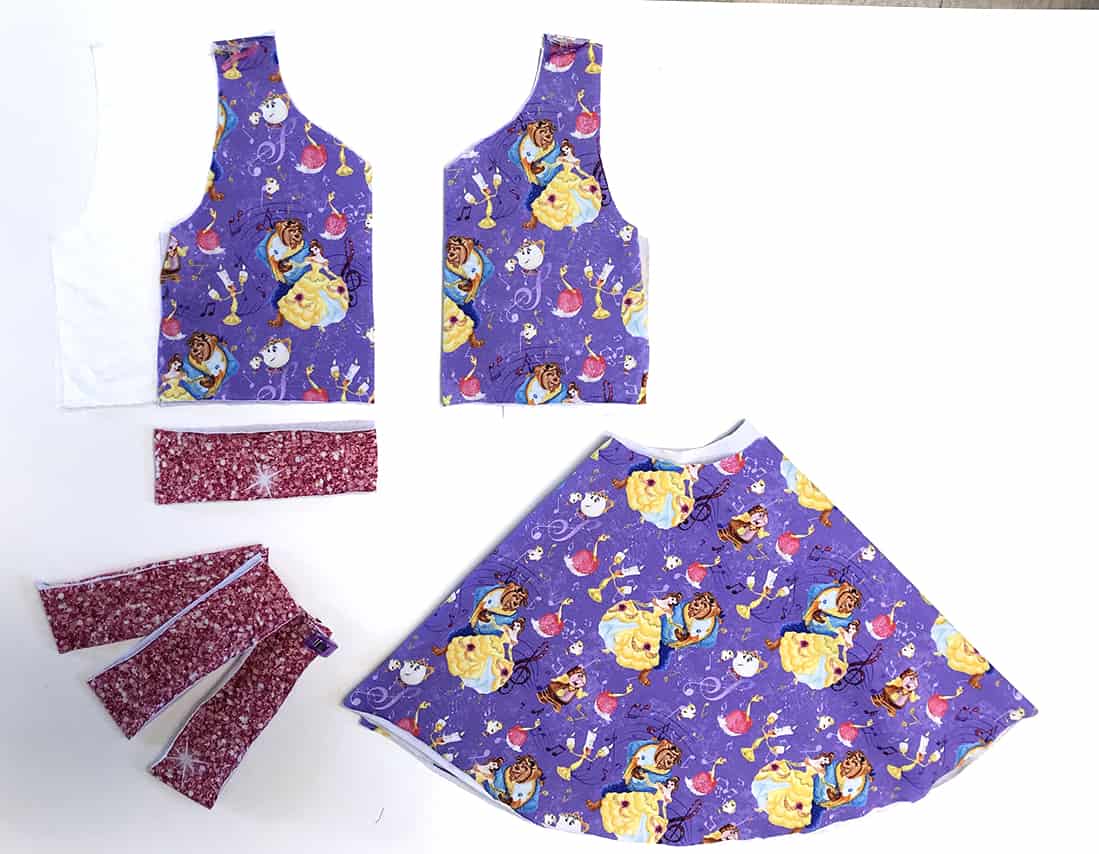
*My fabric came from Snowy Owl Fabrics. *
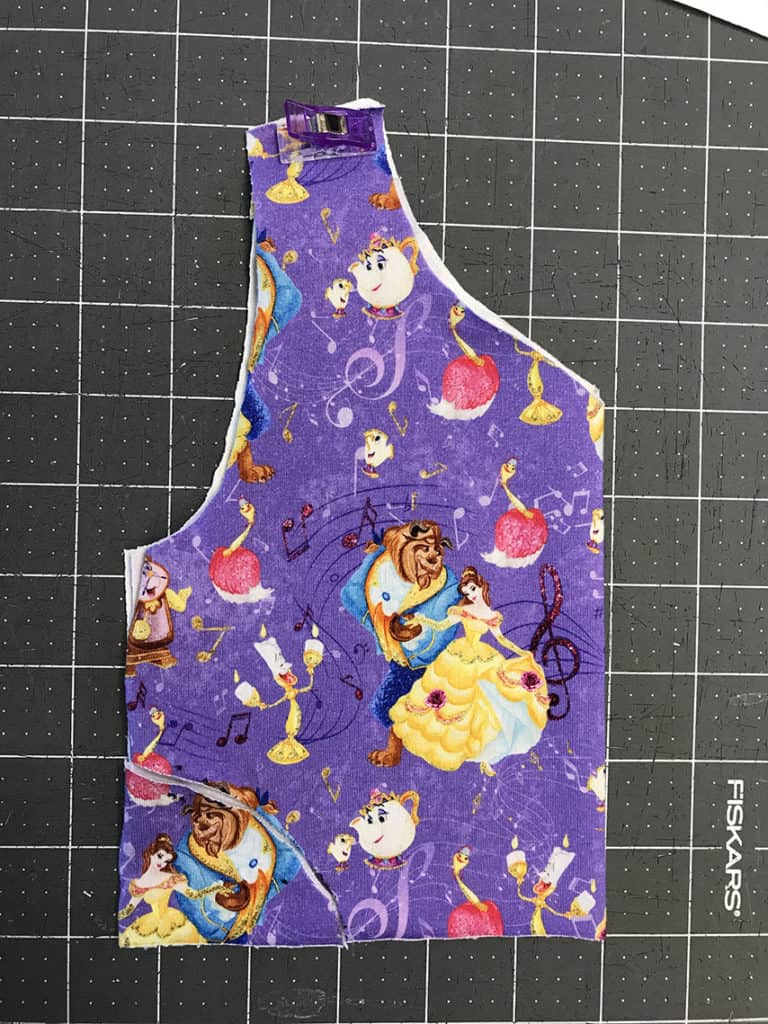
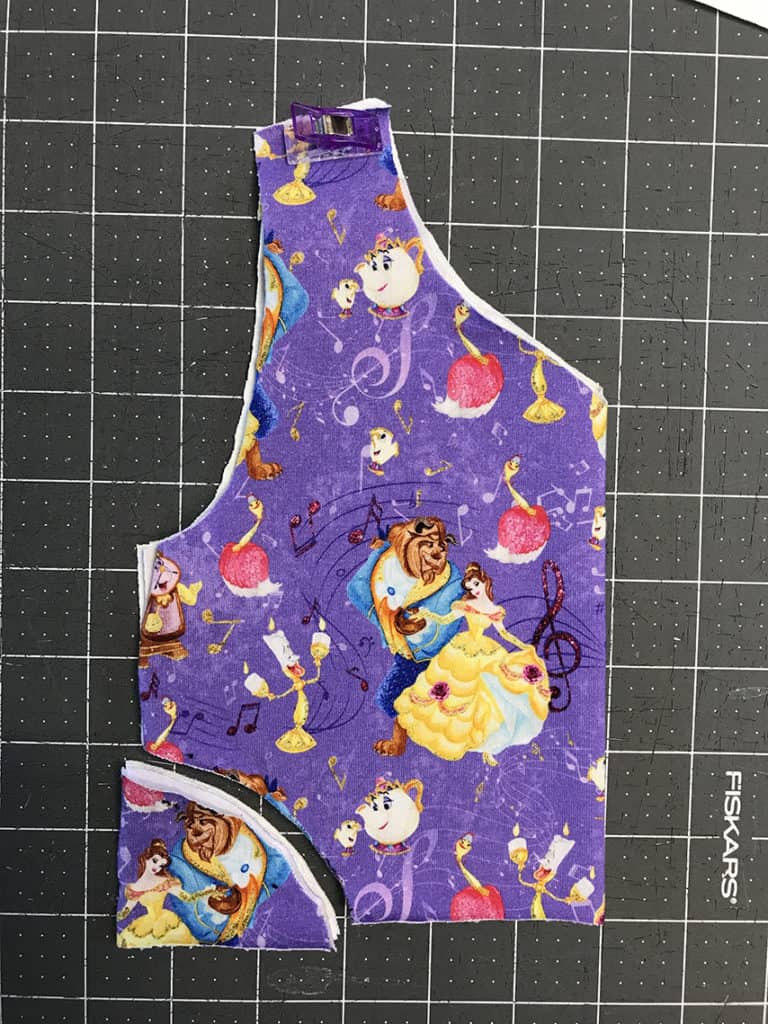
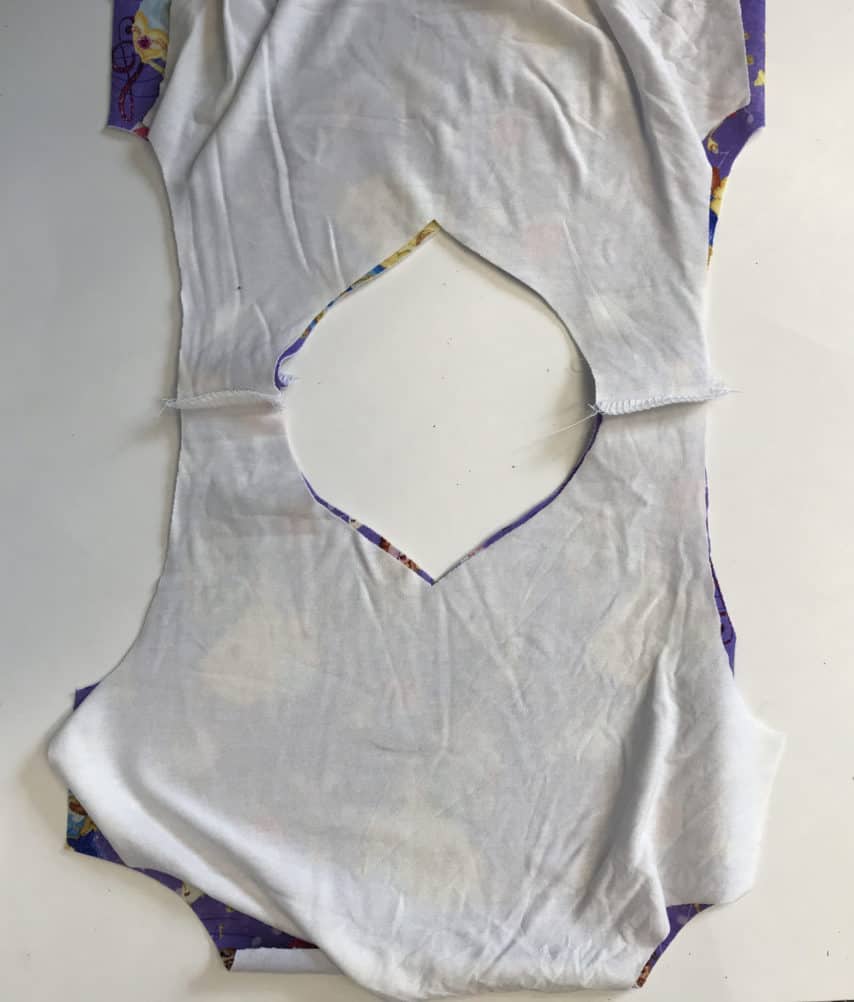
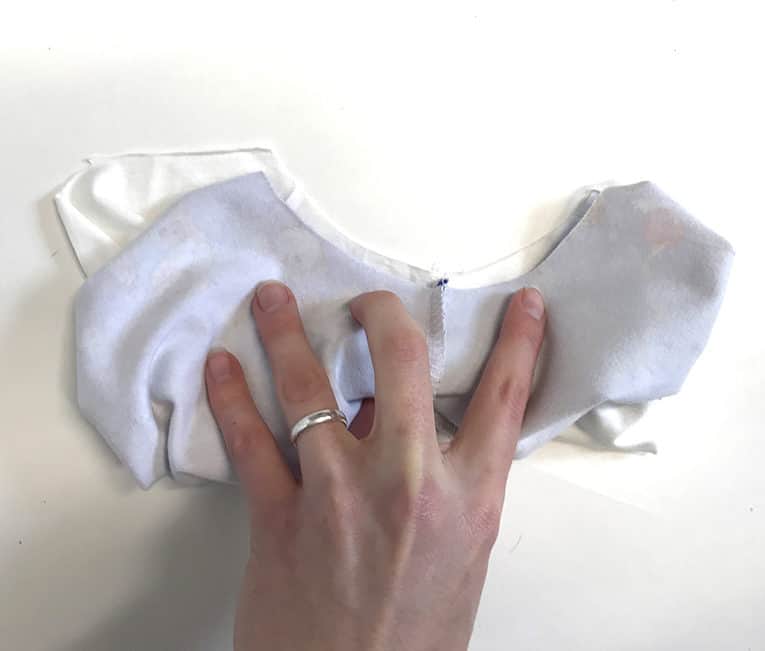
- Next comes the fun part! We’re going to create the cutout! Fold all 4 bodice pieces in half. You’re going to be cutting the side that is not folded (the side seam side). You can decide how dramatic you want the cut to be, but for the 2T I made, I cut about 2” up and 2.5” over. Make the same cut on all 4 bodice pieces. I found it easiest to cut both a main and lining at the same time and then use the piece I cut out as a pattern for the other 2 bodice pieces.
-
- Place the bodice main pieces right sides together and sew the shoulder seams. Repeat with the lining bodice pieces.
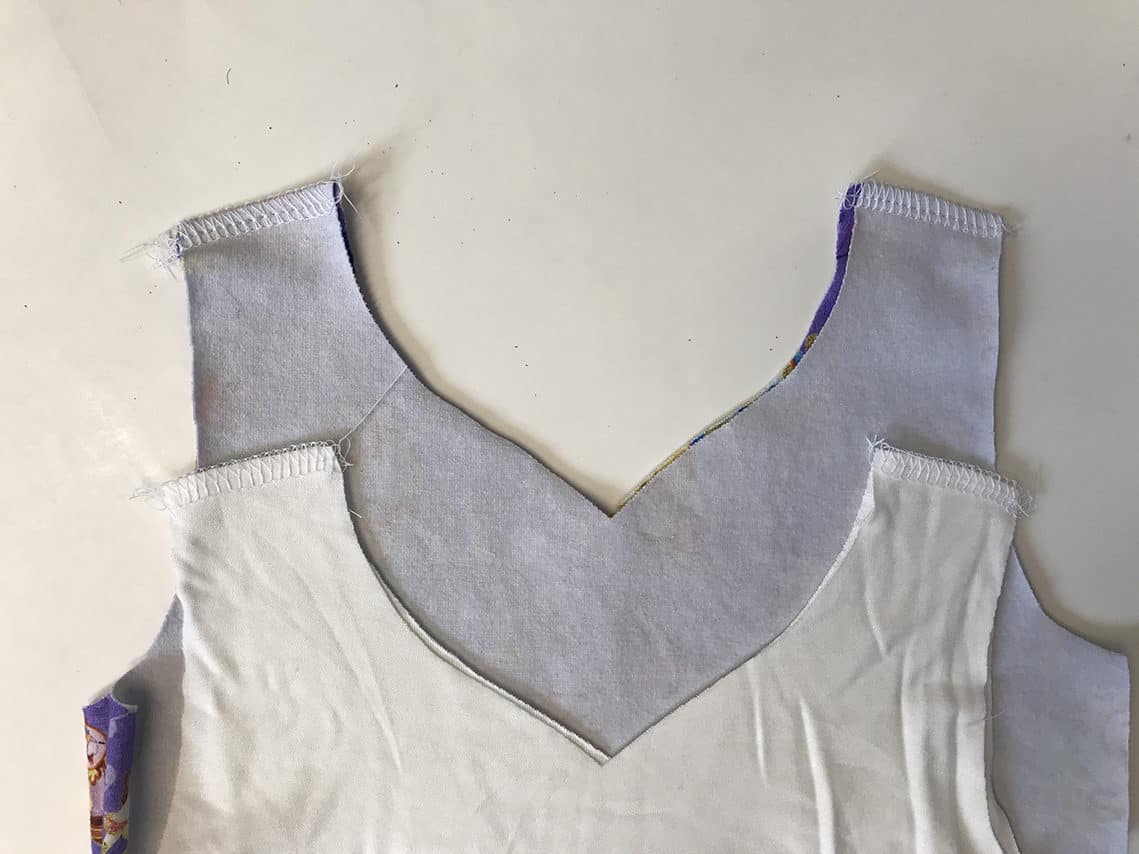
- Now place your main bodice pieces right sides together with your lining pieces and sew around the entire neckline. Use pinking shears to clip the seam allowance, flip the lining inside the main, and then give it a good press!
-
- Use the burrito method to finish the arm holes and then sew the side seams together (matching the main fabric together and lining together).
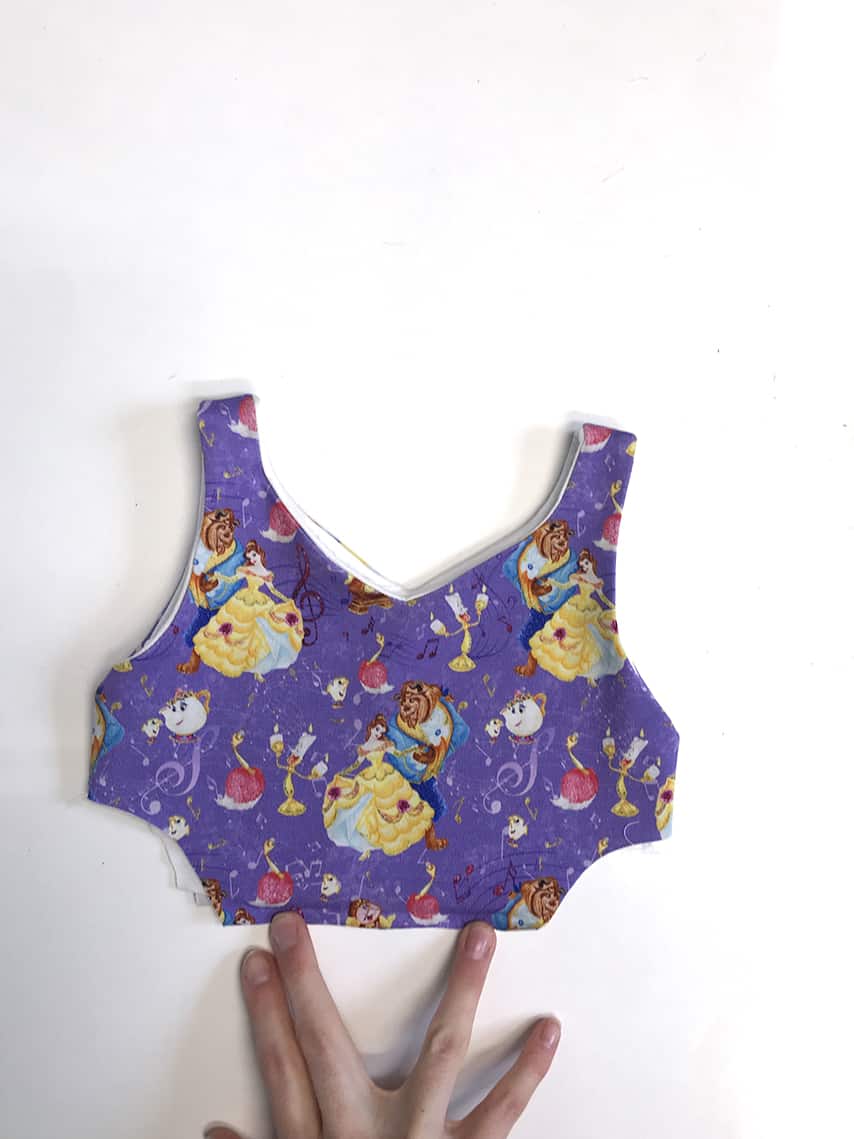
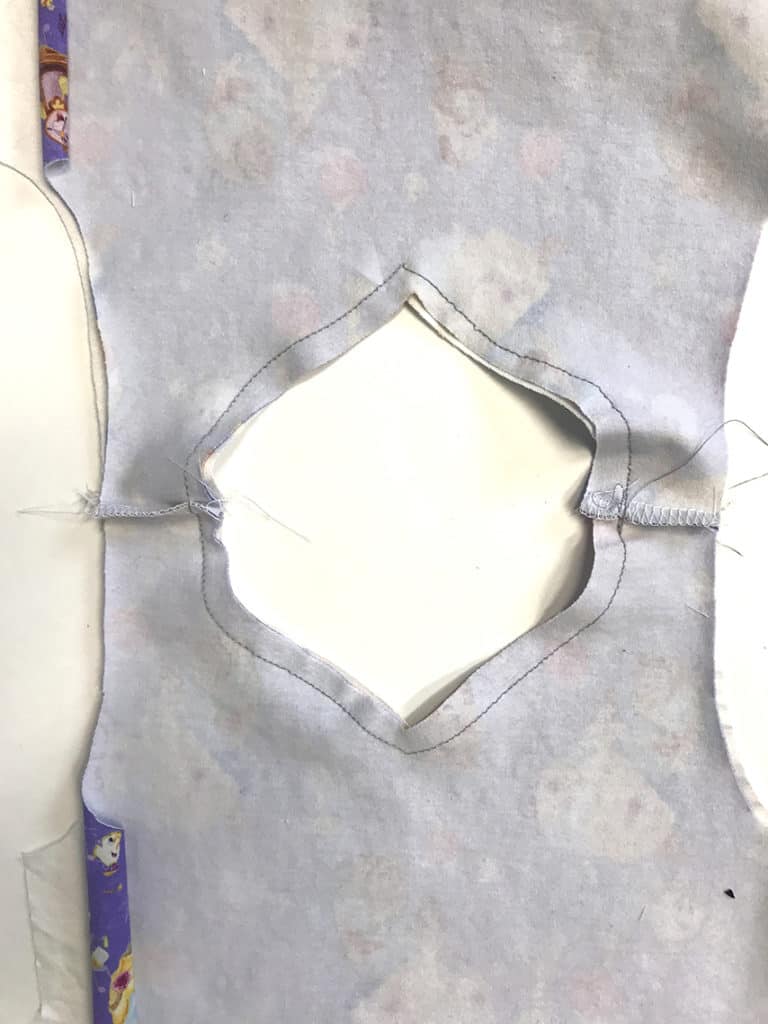
- You are going to use this same method (the burrito method) to finish the cutout as you did the arm holes. For anyone who hasn’t done this method before, you match the right side of the main fabric to the right side of the lining fabric, with the other side sandwiched in between. Then you sew the seam (in this case the cutout) and flip everything right side out. Then repeat for the other side.
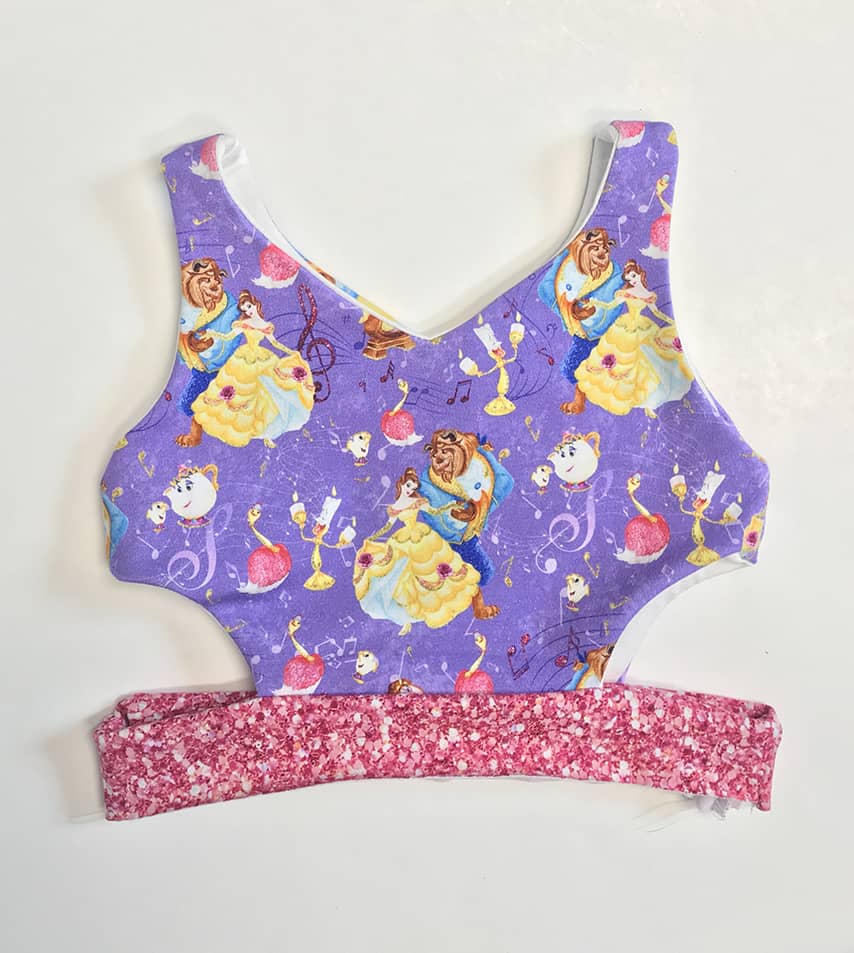
- And voila! Your bodice is finished!

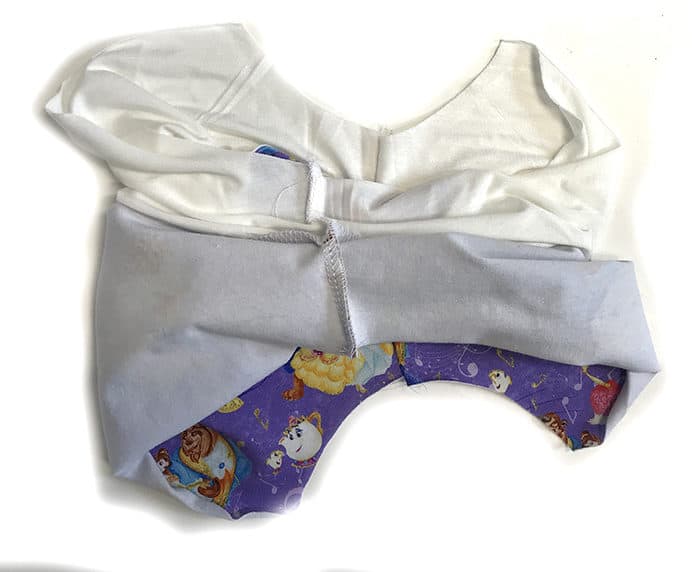
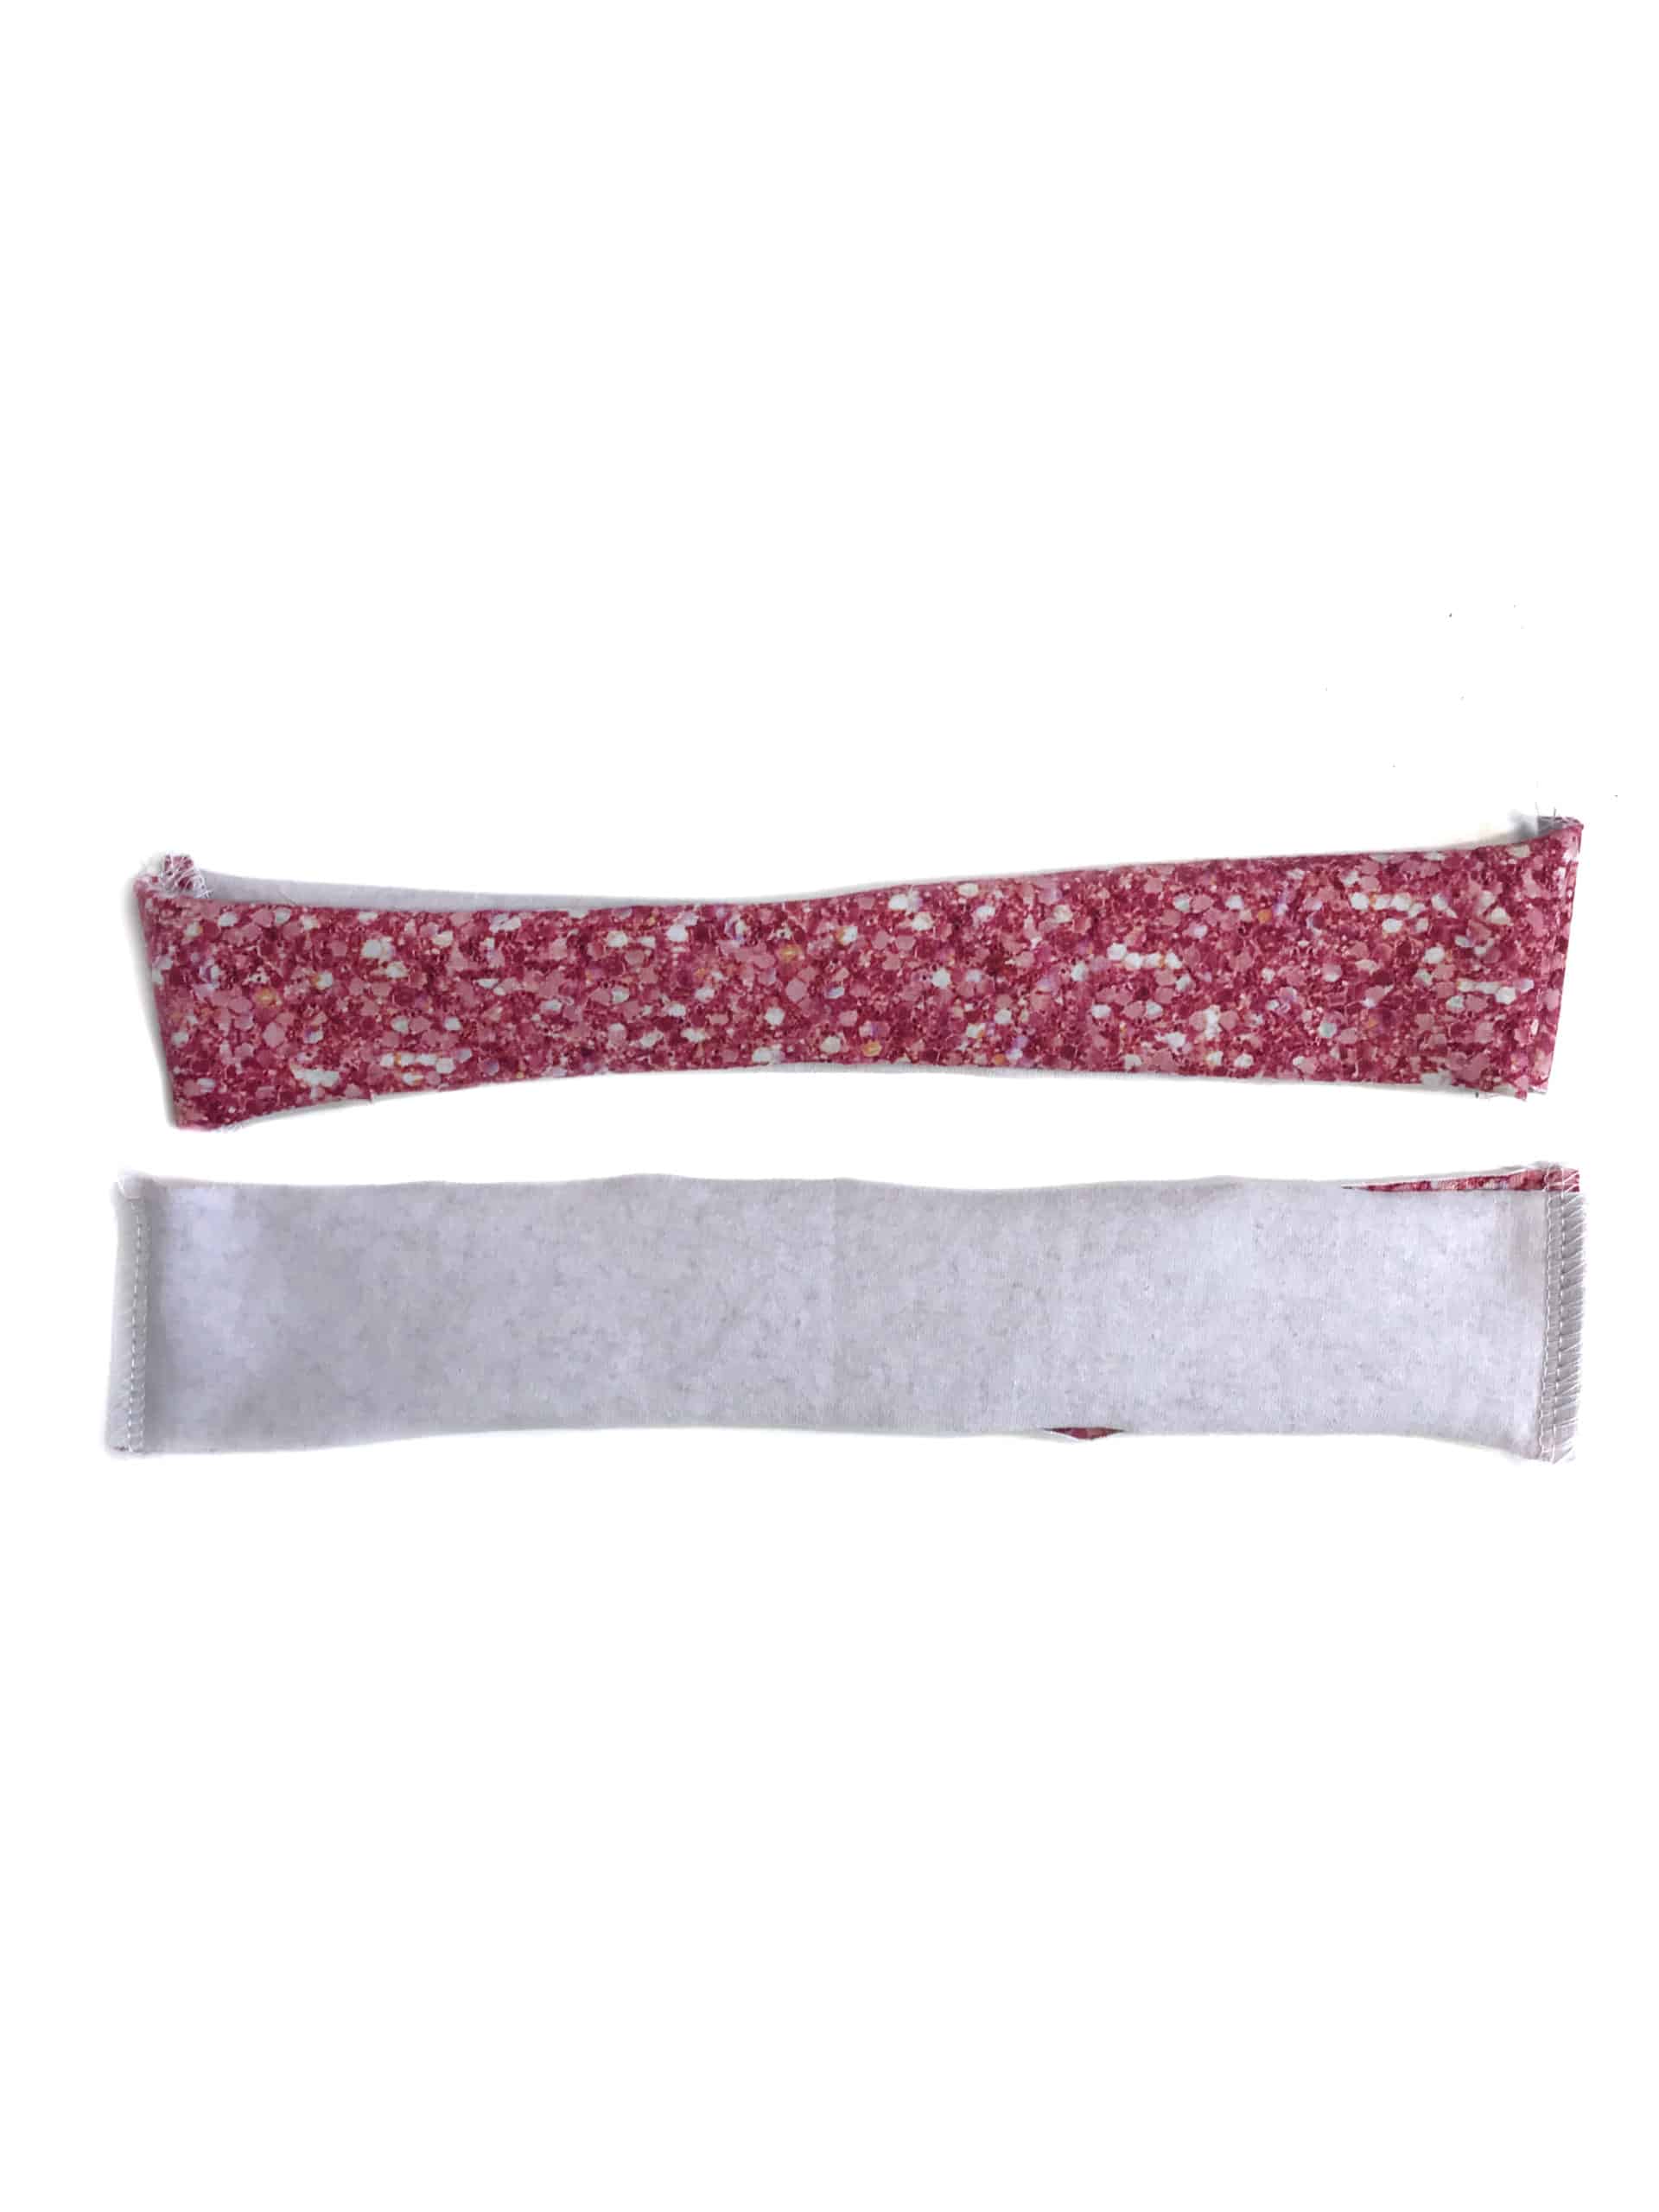
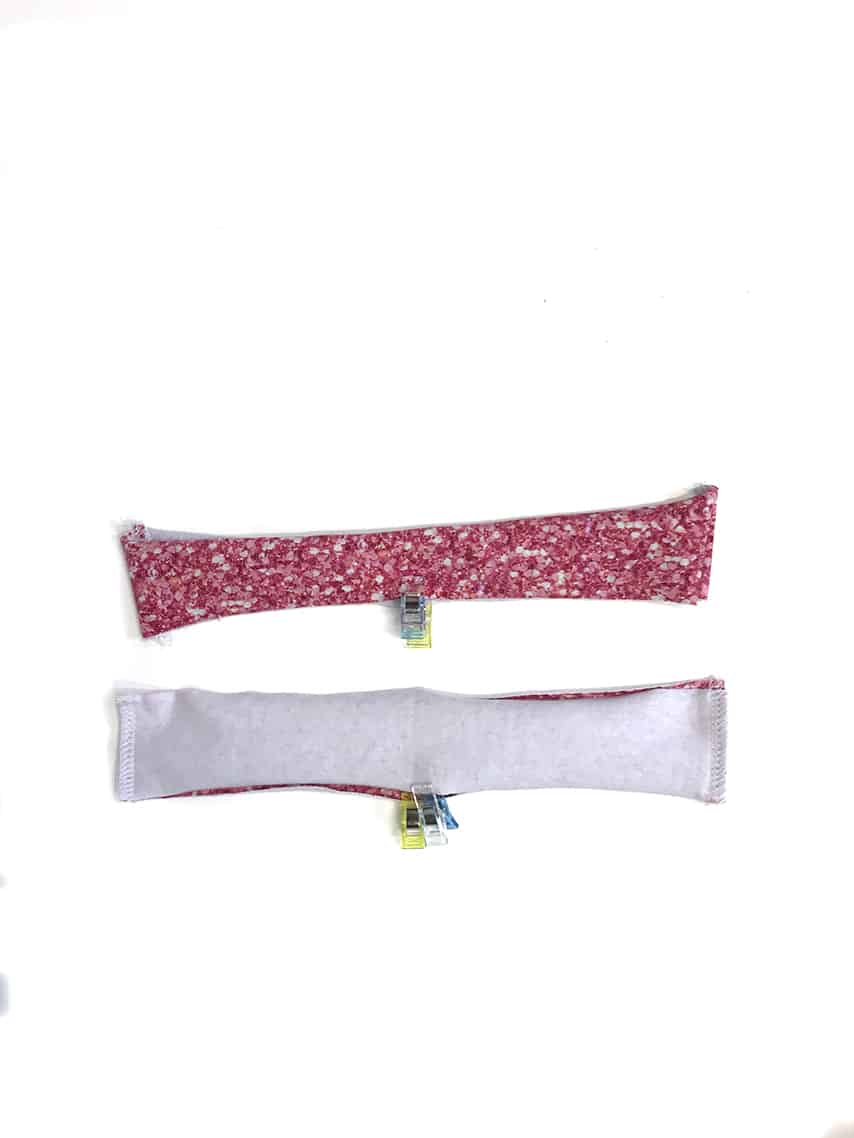
- To do the waistband, you want to place two of your waistband pieces with right sides together and sew the short sides together at both ends. Repeat for the other two waistband pieces.
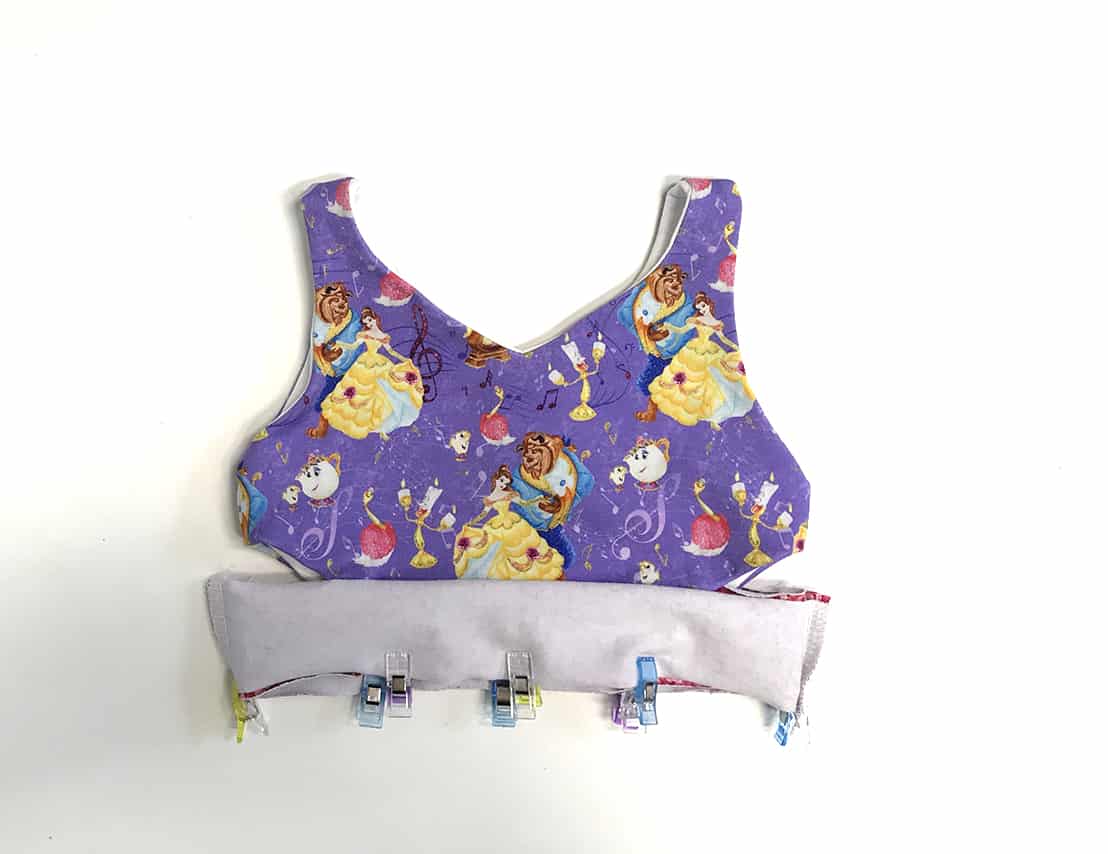
- Mark each waistband piece in quarters. Take one waistband and pin the quarter marks that are not seams to the center of the front bodice and the center of the back bodice, right sides together. Place the other waistband piece inside the bodice, with right sides facing the lining of the bodice. Match the quarter points on that waistband to the quarter points of the first waistband. Because of the cutouts, this means that you will have only the waistband pieces pinned together at the side seams, but whether the front and back bodices are you will have 4 layers pinned together – on top will be one waistband, then the main front bodice, lining front bodice, then the second waistband (the right sides of the waistbands will be facing one another). Sew around the waist opening!
- Flip it down, and we’re ready to attach the skirt! (*Note if you want extra stability in the waist, you can add elastic here, either to the seam allowance using clear elastic or ¼” or using the waistband as a casing for 1”)
- Flip the skirt inside out and place your bodice inside the skirt so that right sides are facing and the raw waist seam matches up with the skirt waist opening. Match the quarter points on the waistband to the quarter points of you circle skirt and sew together with right sides facing. If you haven’t hemmed your skirt, do that now!
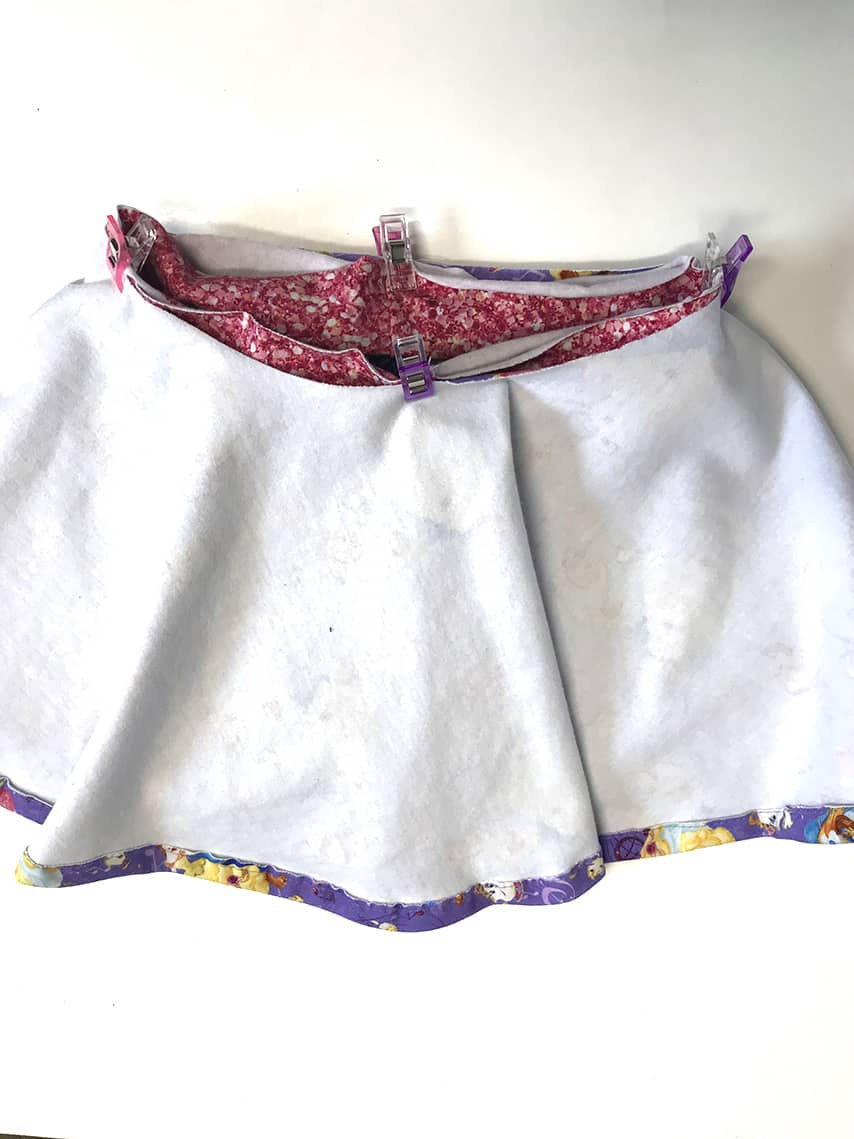
- Now enjoy those beautiful cutouts! ☺