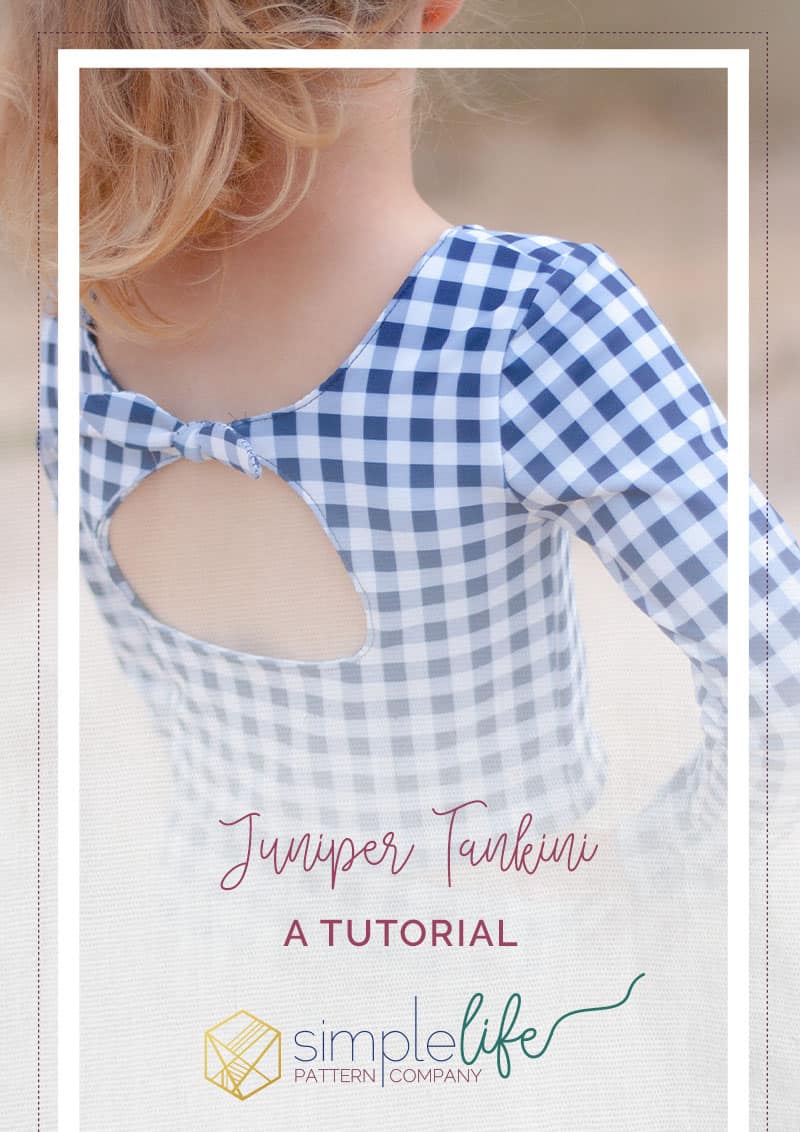
Juniper Tankini
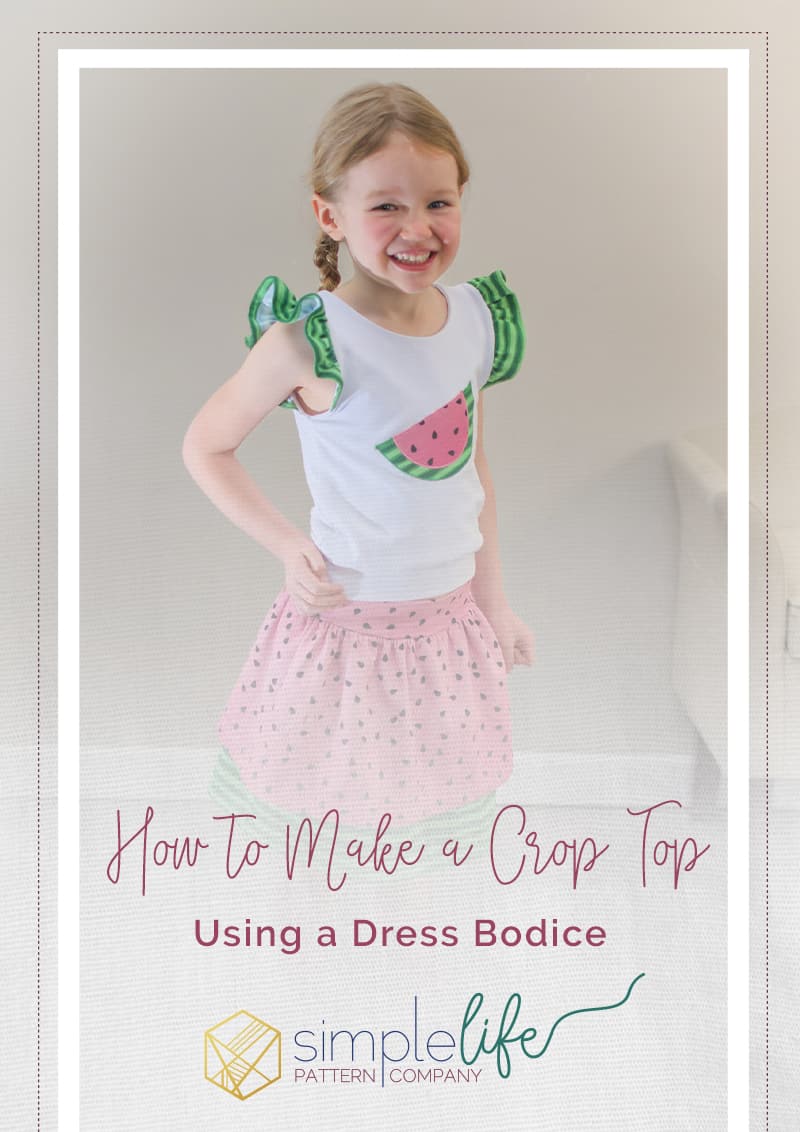
Hey ya’ll! It’s Lacey again, and I’m here to talk swimsuits! Does anyone else feel like they are constantly on the hunt for cute, modest suits for their girls? Ones that she will feel comfortable
doing cartwheels and cannonballs in without having to tug and pull at? Well, let me tell you, the search is over. With a few quick modifications, Juniper turned tankini and the Elise bottoms
makes the sweetest swimsuit that will last all summer long!
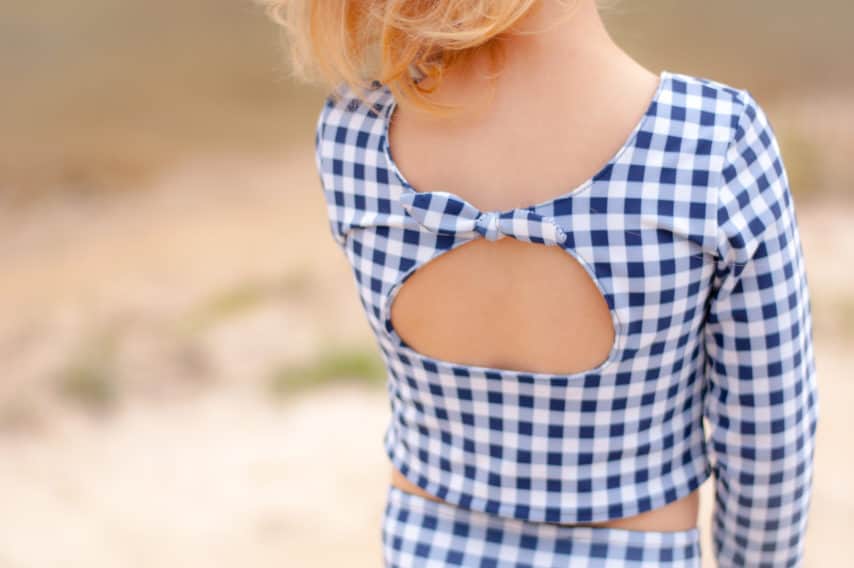
Alright, let’s get down to it. First off, I want you to know that you could make the Juniper bodice exactly as it is and just hem up the bottom to have the sweetest little tankini, but ya’ll know me! I can’t leave anything alone, so I decided to add a knot to the top of the back.
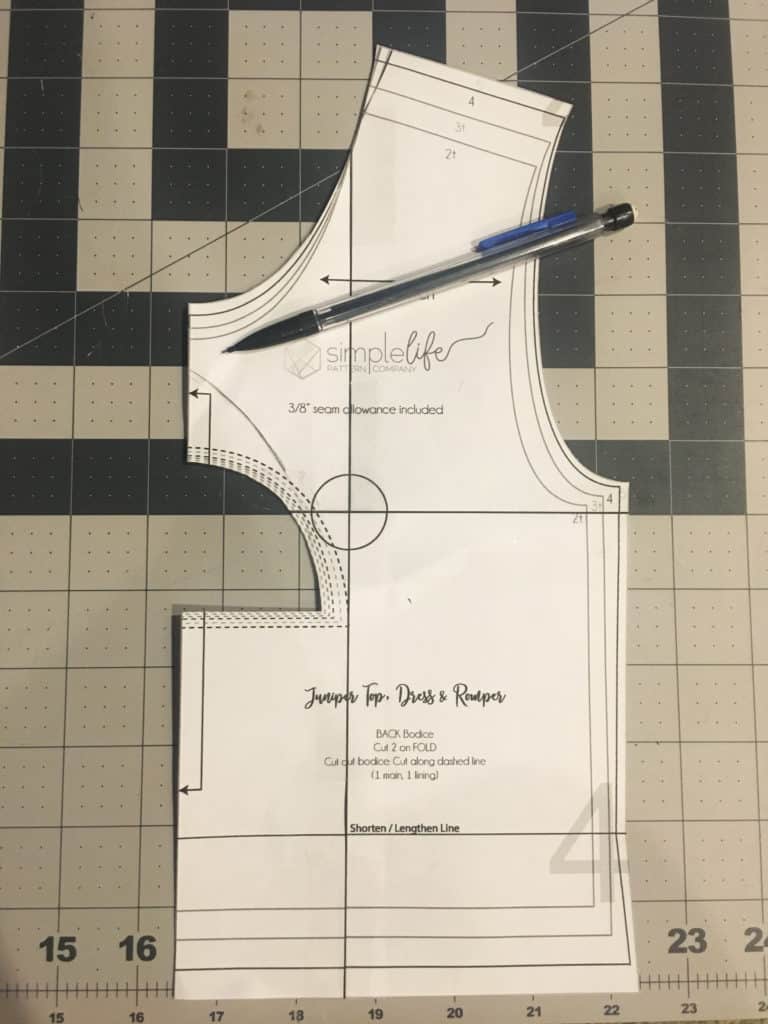
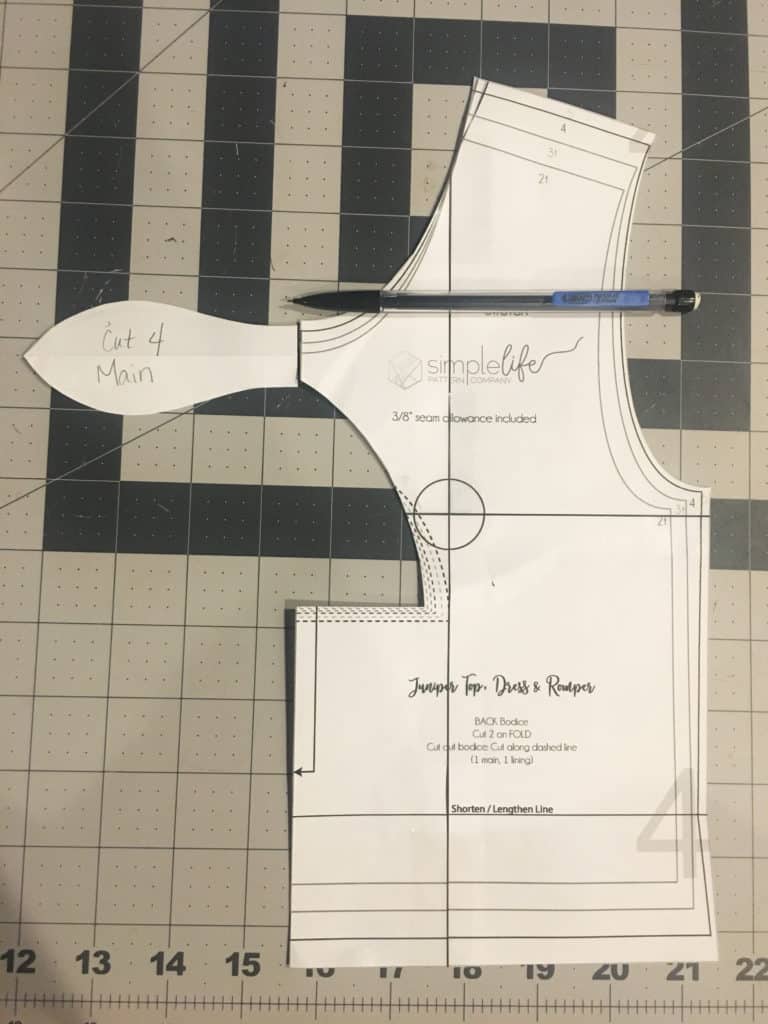
In order to do this, we are going to create the knot pattern piece to look like the one in the image above. You will then increase the amount of arch in the back bodice to match up with your knot. Cut 4 knot pieces out of the main fabric. When you cut the back bodice, you will cut on the fold, and then the TOP PART ONLY, cut down the center to where we can attach the
knot pieces.
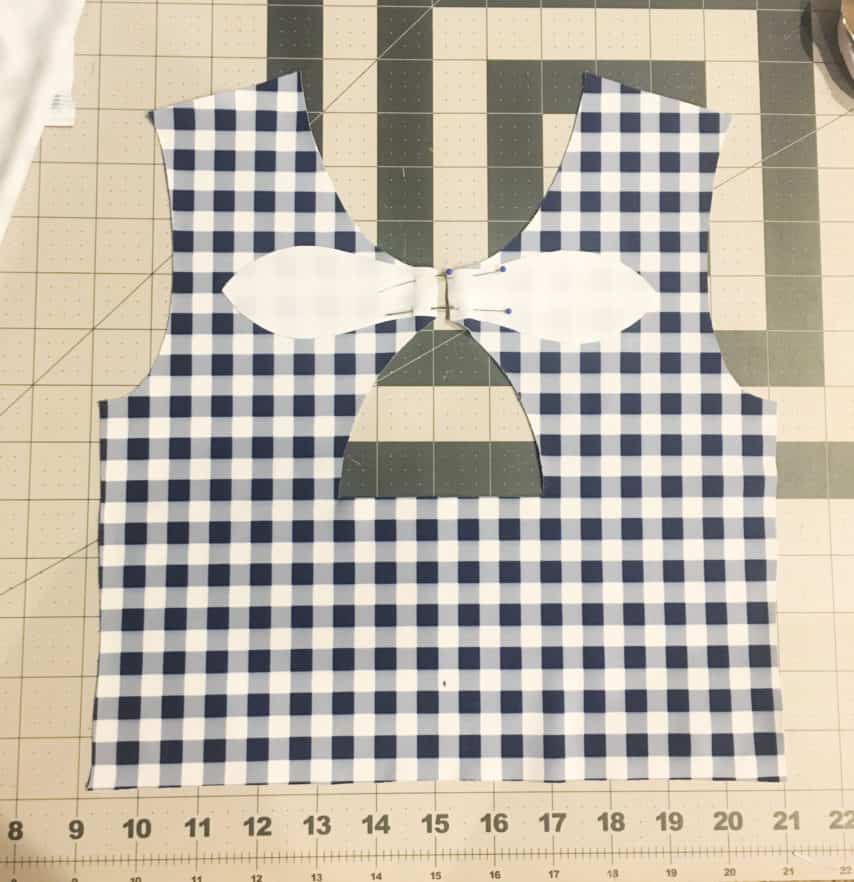
Attach the knots with right sides facing to the main and lining, then attach shoulders per the pattern. You should now have a full main and a full lining piece.
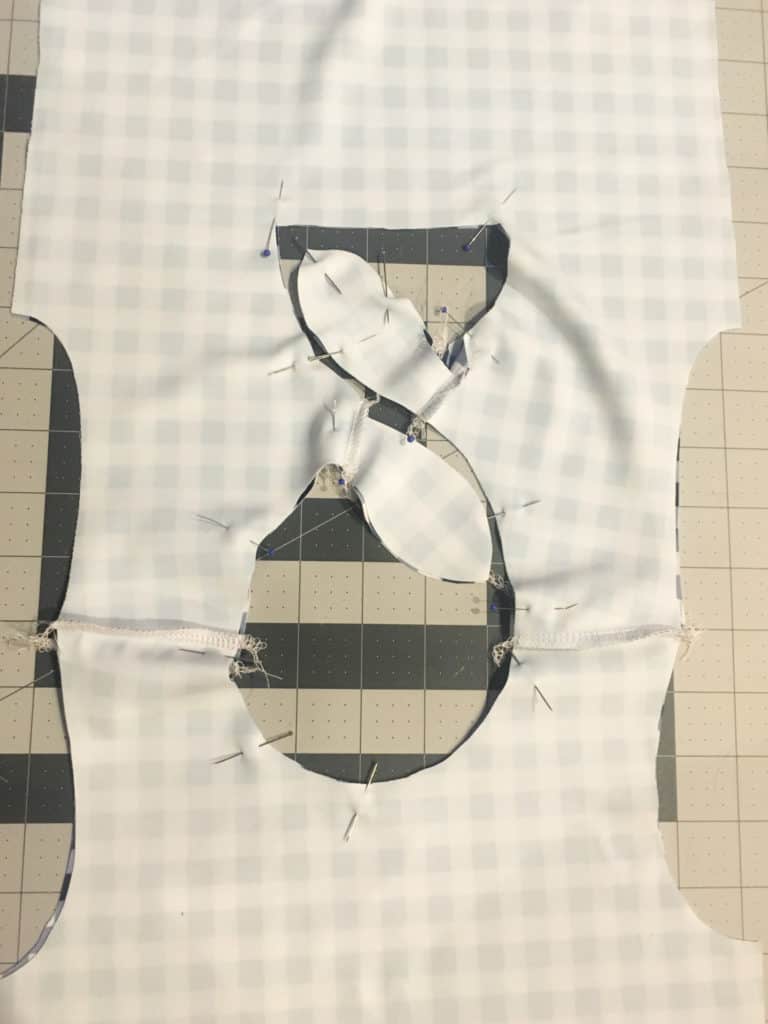
Line up the bodice main and bodice lining with right sides together and pin all the way around the neckline. Sew along the edge, and trim and clip corners.
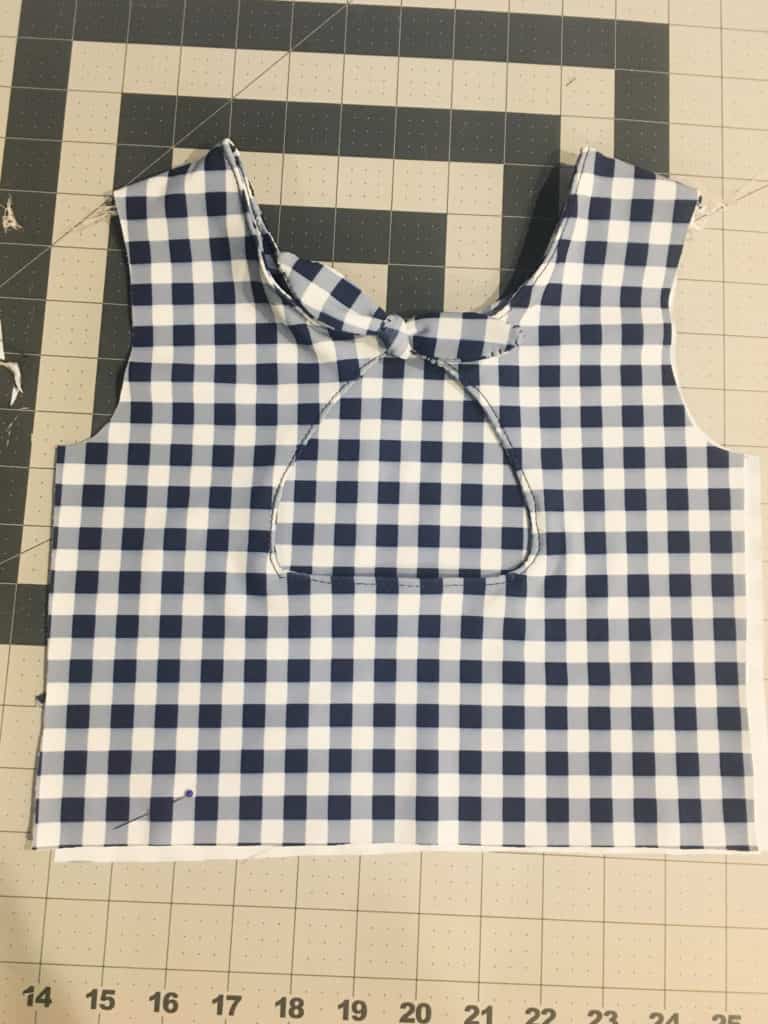
Turn inside out and top stitch along neckline. Knot your ties, and then add the sleeves per the pattern. Once sleeves are attached, serge main and bodice together along the bottom edge, turn up 1/2 inch and hem.
You’re tankini is done, and you are ready for summer! CANNONBAAAAAAALLLLL!
I can’t wait to see all your creations! Happy sewing!
-Lacey Lee