Topstitching {Tips & Techniques}
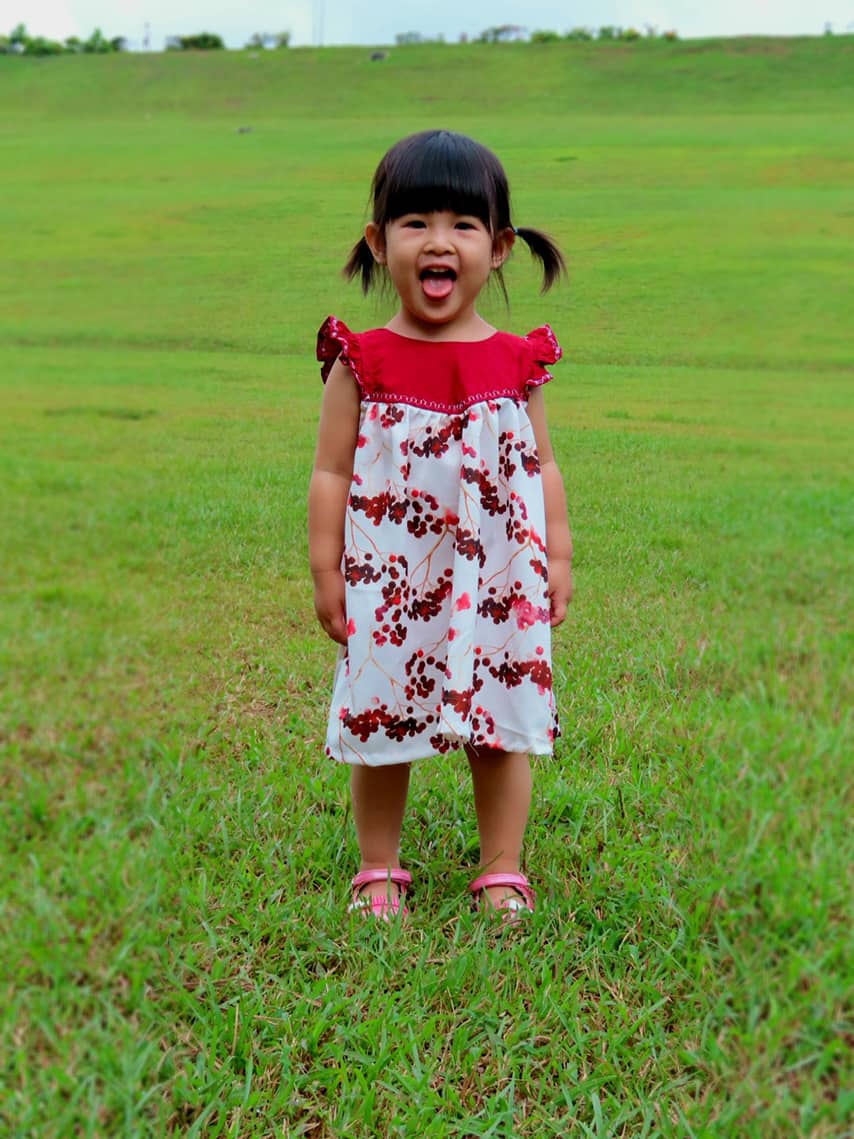
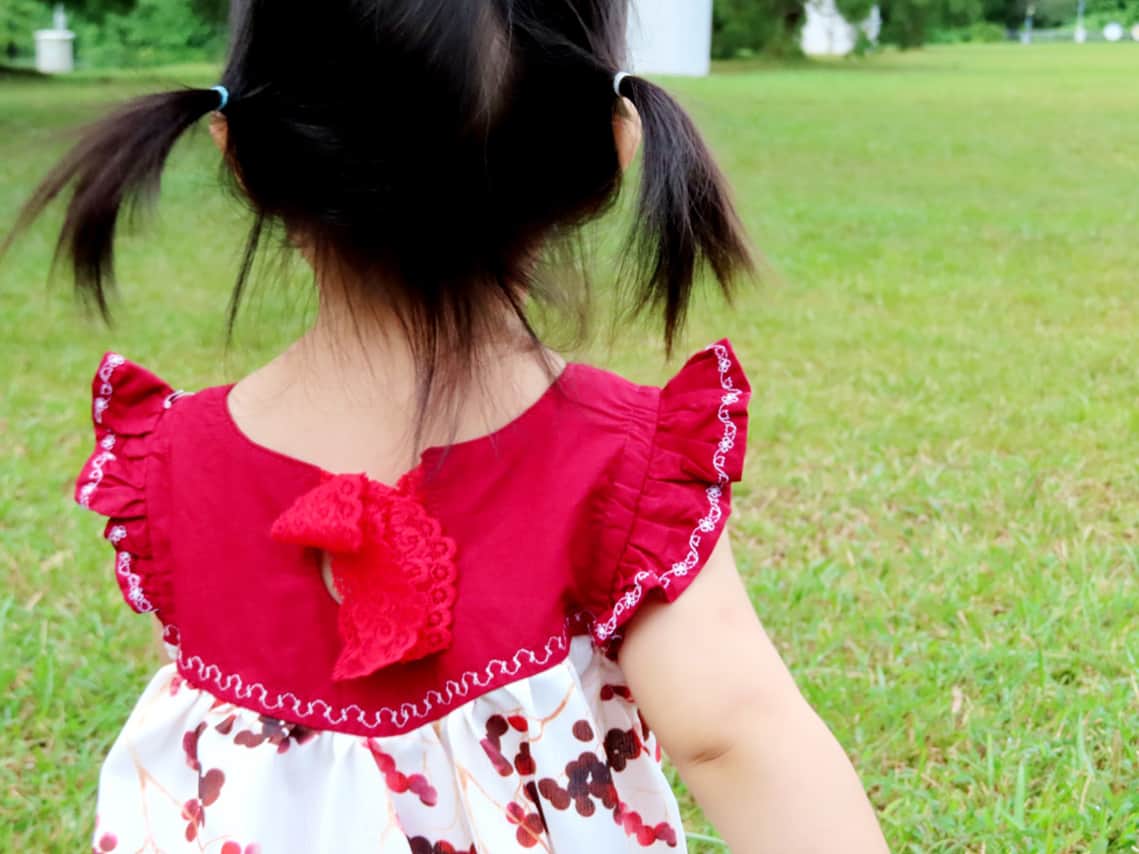
Hi Everyone! This is Hwee Ke and I’m here on the blog to talk about simple tips for topstitching with your sewing machine! For this post, I will be working on the beautiful Baby Aspen V Bodice Dress to showcase 2 fancy sewing machine stitches!
The sewing machine I will be using for this post is: Brother FS101 which has several fancy decorative stitches and also alphanumeric stitches for monogramming.
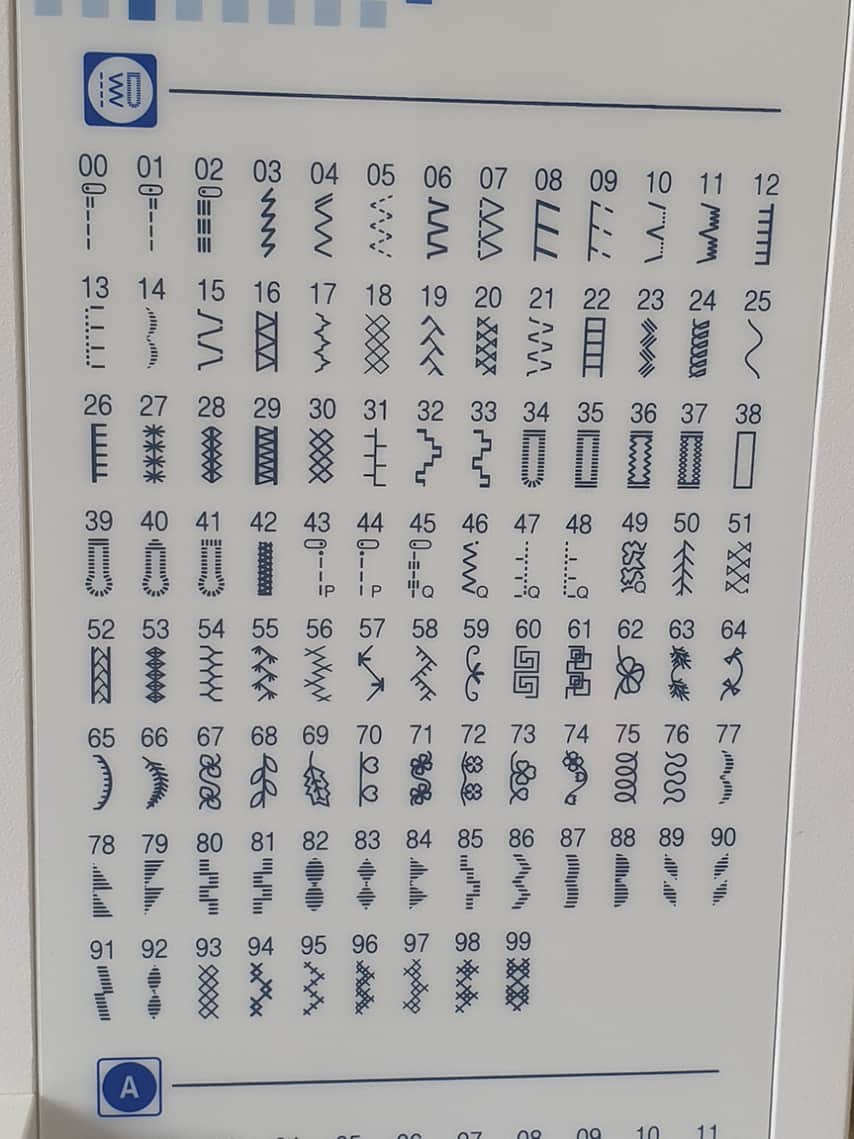
Many of us would own different machines and many of these machines would have decorative stitches too. It would be good to try various stitches on scraps of the actual fabric you are using to decide on which stitch to use for your bodice!
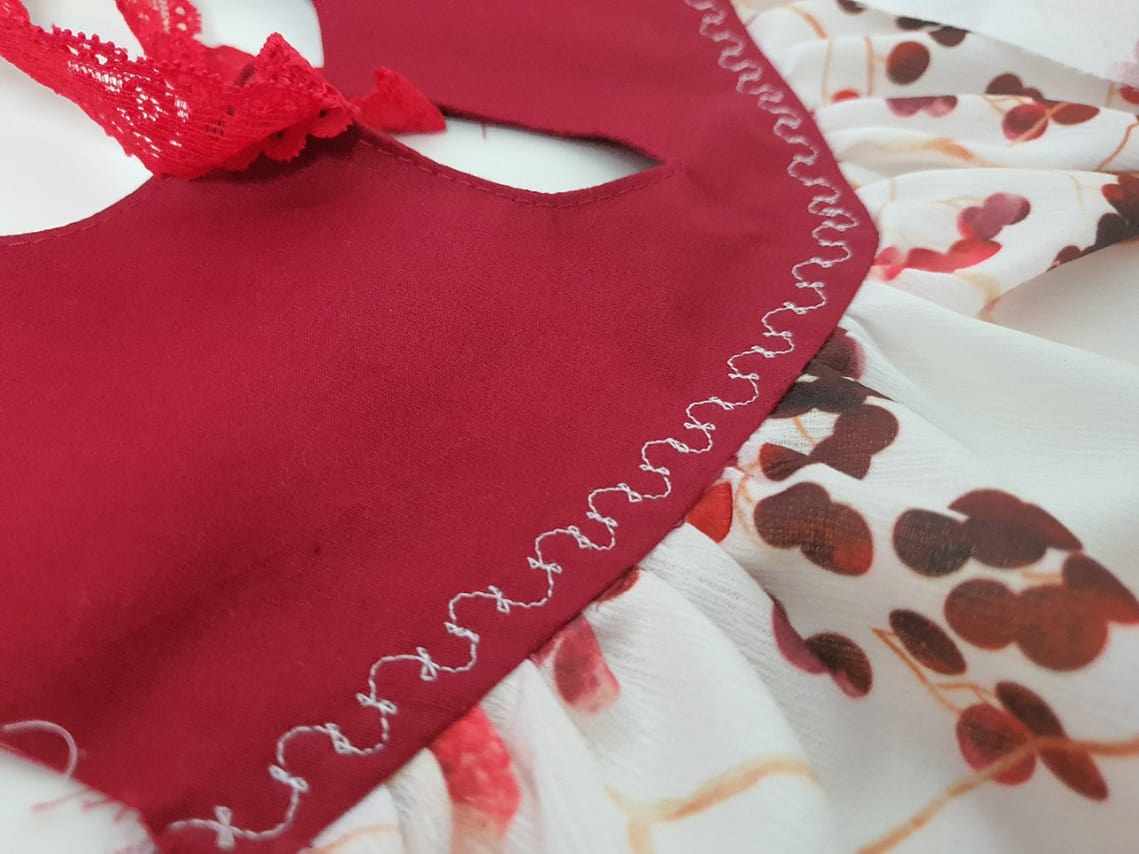
For my Aspen, I have selected stitches 64 and 74 for the topstitching of the part of the bodice that joins the skirt and the flutter sleeves respectively.
To start off, I chose a suitable needle for this project based on the fabric type and its weight. For a woven fabric, we would use a universal needle (knits will require the use of stretch/jersey needles). If you are able to find them, you can also consider topstitching needles, which will have a slightly bigger eye that is useful for threading thicker topstitching threads. For my bodice, which is a cotton quilting weight woven, I had selected a universal needle 90/14.
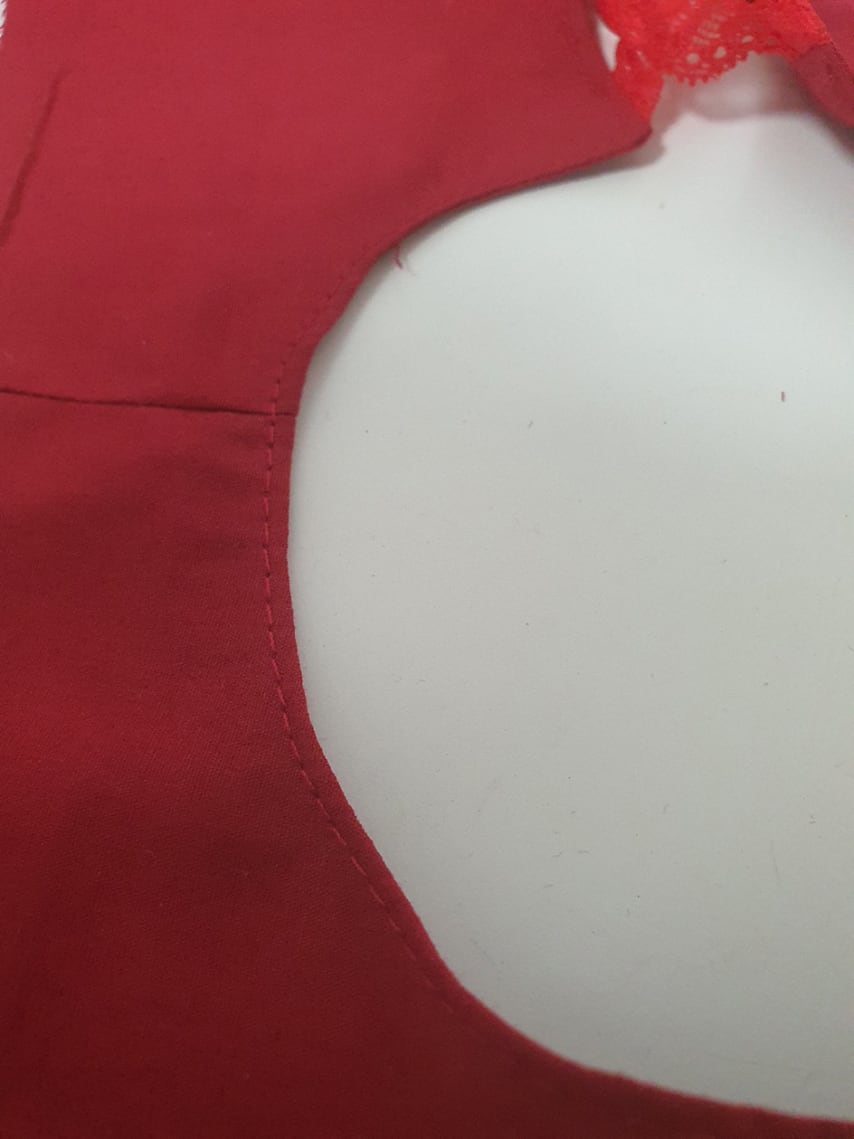
Because I will be using the fancy stitches, I want them to shine and that means selecting contrasting thread colors. Since my skirt was going to be red and white, I have chosen a white thread for my topstitch.
First, I practice! I adjust the stitch length settings till I am happy with what I have! (I usually choose a longer stitch length for straight stitching)

Before I topstitch on my bodice, I need to choose a suitable foot. This is an edgestitch foot.
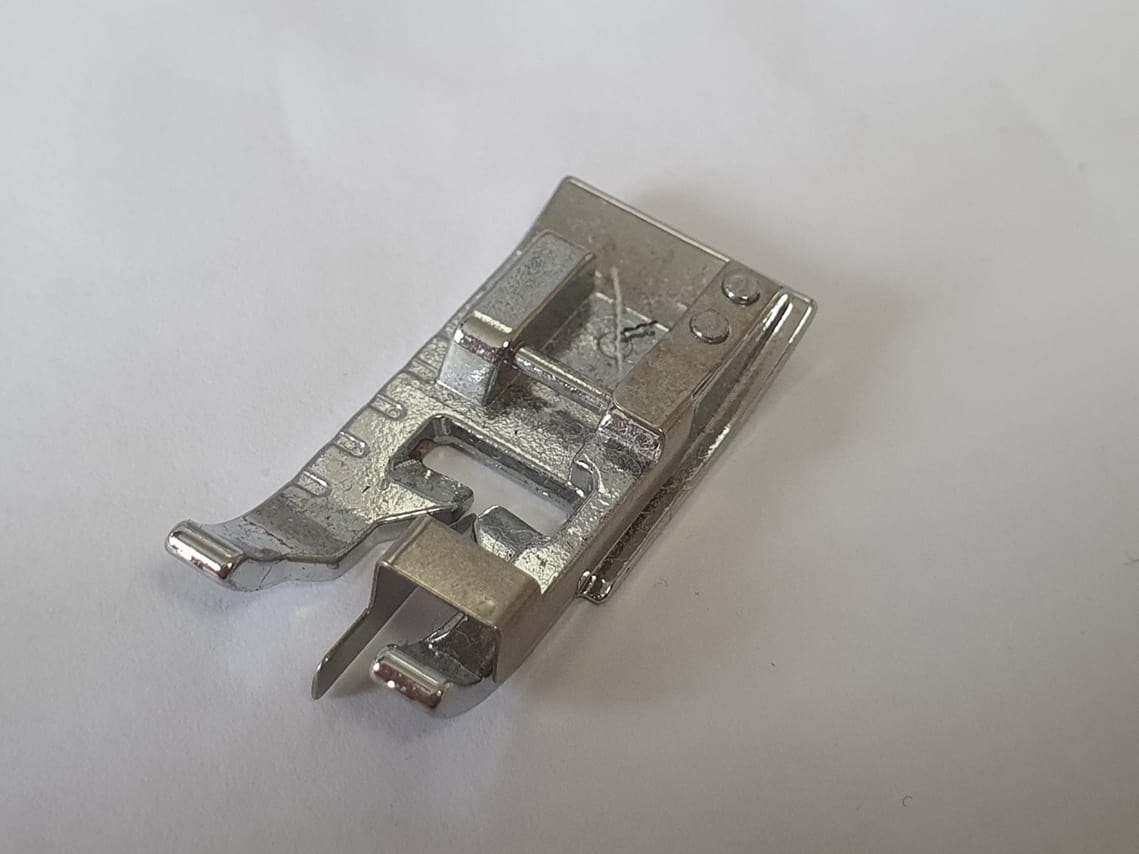
You identify it by the blade that is usually in the centre of the foot.
The centre guide is very useful when doing stitch in the ditch or edge-stitching straight lines or even edge joining. By aligning the blade to the edge of your fabric or the seam of your fabric before you sew, you can achieve lovely straight lines and you can adjust the distance your stitches are from the edge by adjusting your needle position.
I like using this foot for straight edge topstitching.
For fancy stitching, I prefer the blind stitch foot.
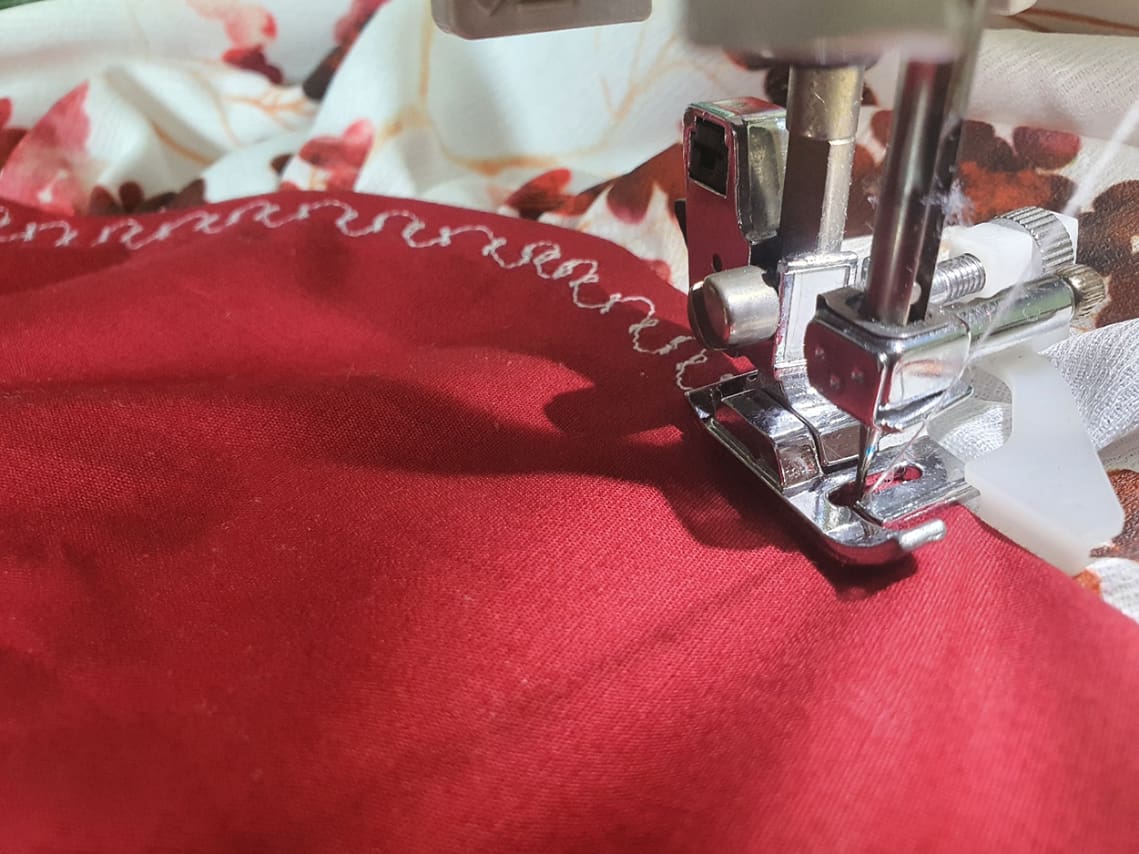
This foot comes with an adjustable guide that I found very useful for fancy topstitching because I can adjust the guide so that it can be placed right at the edge of the fabric and there is still sufficient space for the fancy stitching that I want to do.
And that’s it! A quick and easy guide to have perfect topstitching everytime! =)
Thank you for having me and I hope this post was helpful~