
How To Add Piping
Hey friends! I’m excited to share with you a quick tutorial on how to create your own custom piping and how to add it to your Simple Life Pattern creations. You can also use pre-made piping and we’ll go over that too. For this tutorial I’ve chosen Wendy as my pattern. However, I also love to add piping to Molly. No matter what pattern you select, the results are sure to be stunning.

Pre-Made Piping
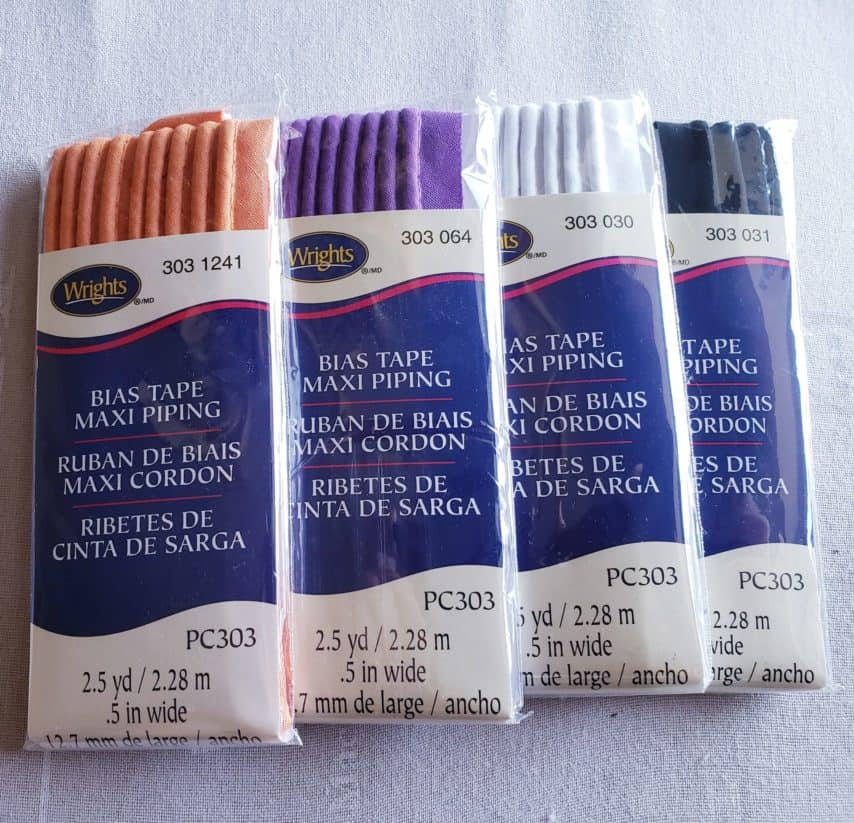
If you are short on time then you can easily add pre-made piping to your project. You can find this at any major craft store like Jo-Ann’s or Hobby Lobby. I typically buy Wrights brand. You will find that it comes in a variety of solid colors. If you are lucky enough to inherit a stash from your grandmother you may even find patterned piping. When purchasing pre-made piping it is important to look at the size. You want to buy 1/2″ piping for any SLPco projects. This size works perfectly for the 3/8″ seam allowance that SLPco uses.
Custom Piping
If you choose to create your own custom piping then you will need to have 1/8″ cotton cording on hand. I have not been able to find this size at a craft store. Usually, I buy in bulk from Amazon. This is what I use. Other than cotton cording you will just need fabric to create your own custom piping. It is best to cut your fabric on the bias. However, if you are using a directional print, like the stripes used in this tutorial, you can cut parallel to the selvage.

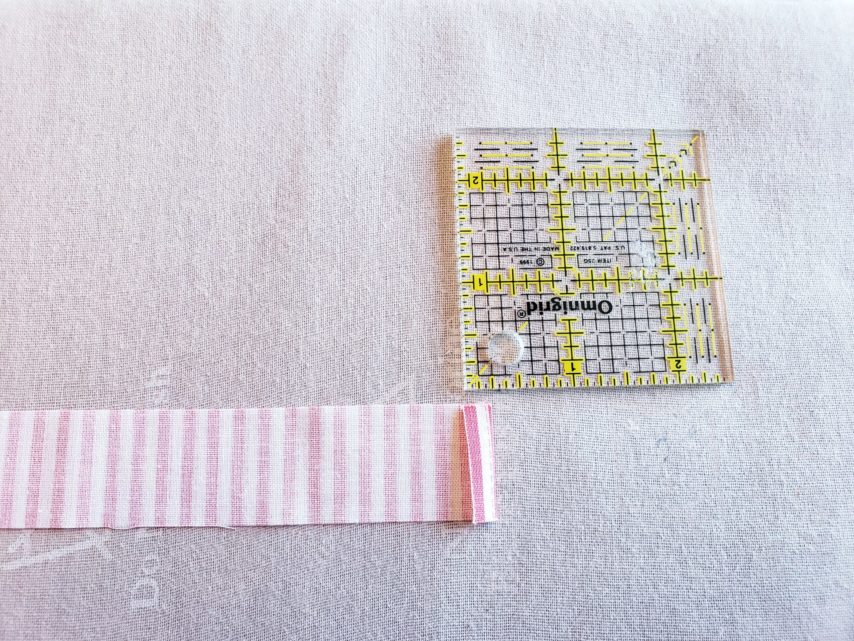
I began by cutting a 1 inch x width of fabric (WOF) strip from my coordinating print. Once you have your strip cut, fold one short edge in 1/4″ so that wrong sides are touching and press.
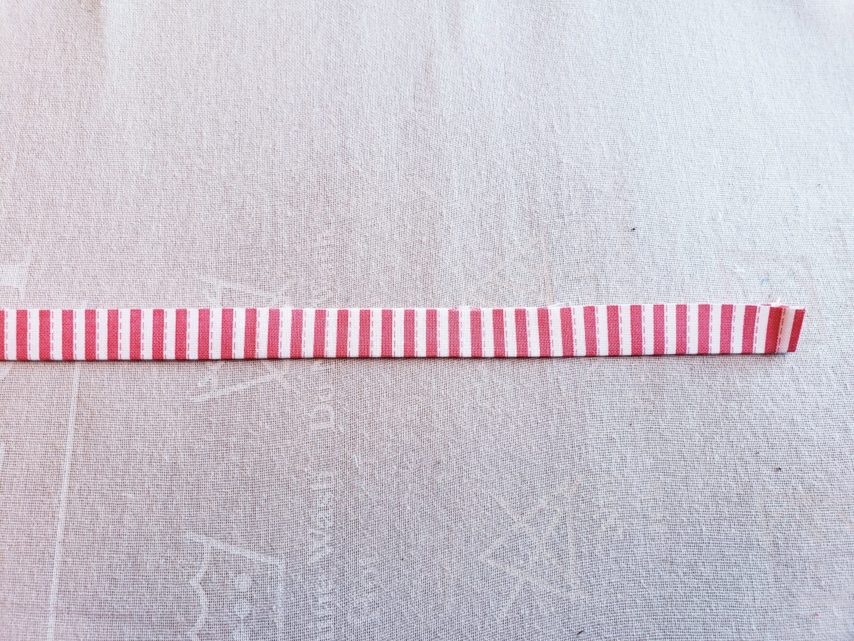
Next, fold your fabric strip in half lengthwise so that wrong sides are together and press.
Now, open the fabric strip and lay your cotton cording along the crease. Make sure the edge of the cotton cording goes under the folded short edge as well. This will give you a nice clean edge on your finished garment.
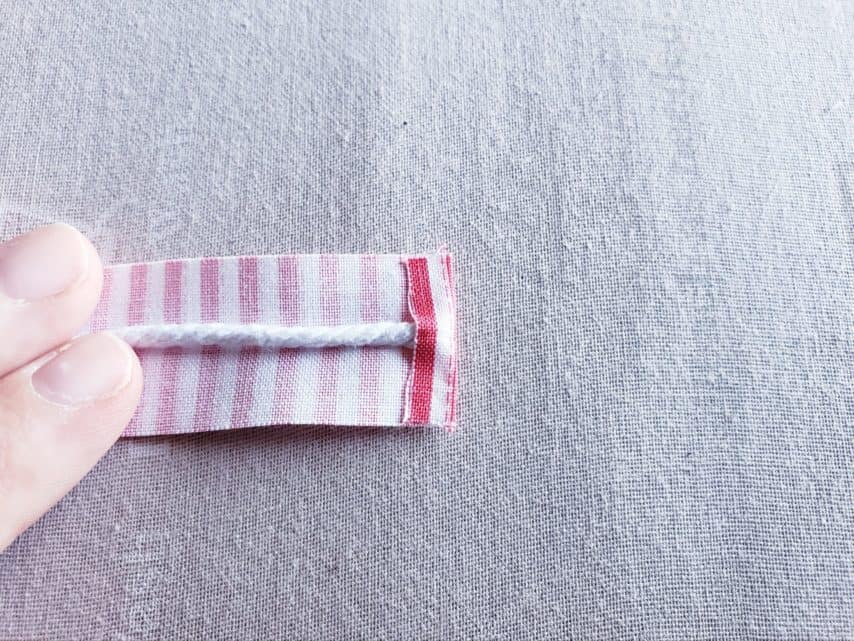
Flip the fabric strip closed so that the cotton cording is caught in the center crease and align the raw edges. Once I have my cotton cording sandwiched in between my fabric strip I then move to the sewing machine to baste it to my top. I always make the custom piping longer than the top I’m working with and cut to length while stitching to my bodice.
Adding Piping To Your Bodice
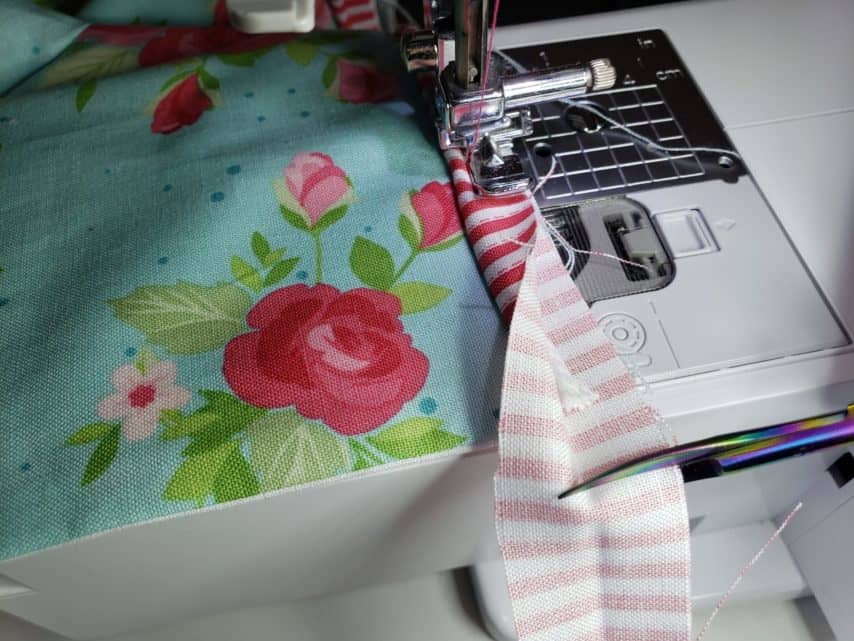
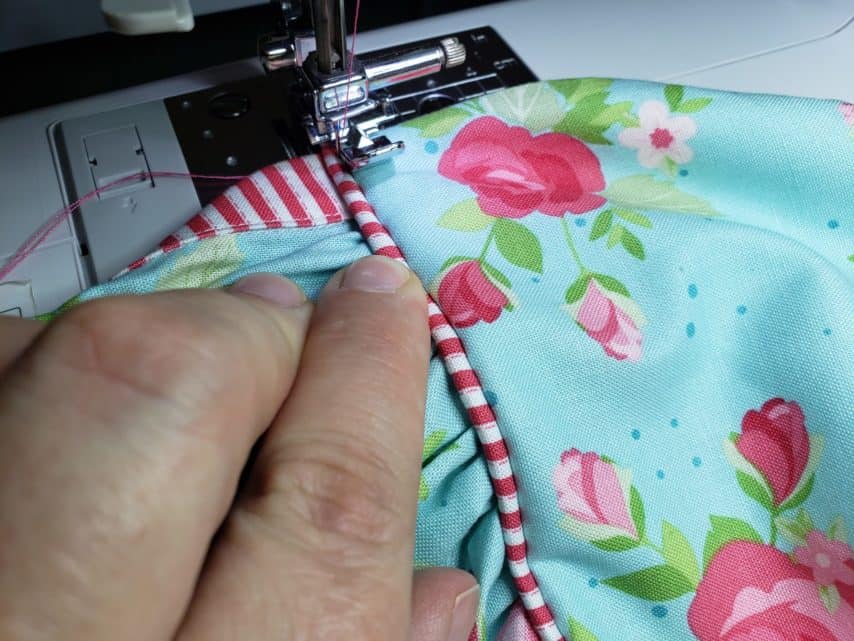
With your finished bodice and piping in hand, you can now move to the sewing machine to baste it to your bodice. Whenever I add piping to a bodice I use a zipper foot. This allows the cotton cording to run underneath the zipper foot groove without getting stuck. I also know that from the needle entry point to the far right edge of my zipper foot is exactly 3/8″, which is the seam allowance used by SLPco. This seam allowance is very important. When you go to attach your skirt to your bodice, the 3/8″ seam allowance will allow your skirt seam to sit right next to the cotton cording.
Start by aligning the folded edge of your piping so that it is flush with the finished edge of your bodice. The raw edge of your piping will be flush with the bottom raw edge of your bodice.
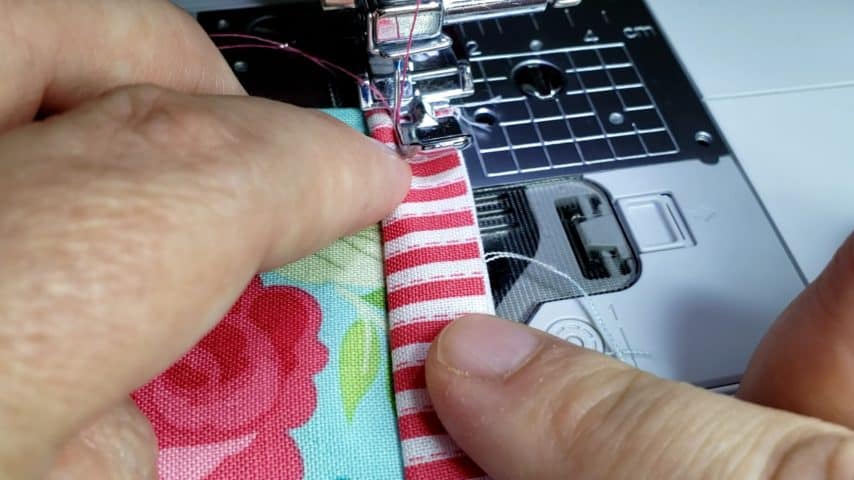
Begin stitching using a basting stitch length. You will stitch right next to the cotton cording. Make certain that you do not catch the cotton cording under your needle. Also, make sure the raw edges of your piping remain matched up with the raw edge of your bodice.
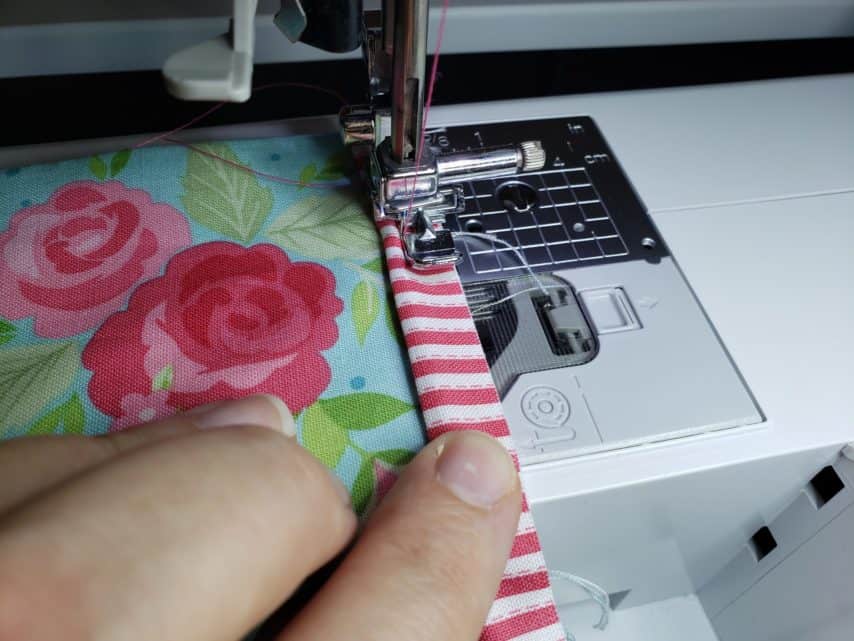
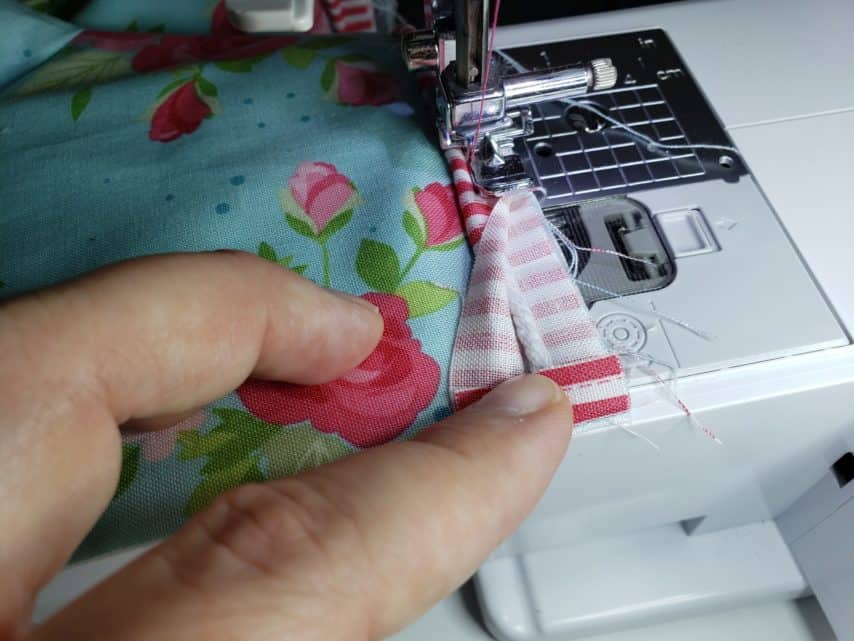
Continue stitching until you are a few inches from the opposite finished edge of your bodice. Stop, with needle in the down position. At this point I trim my piping length.
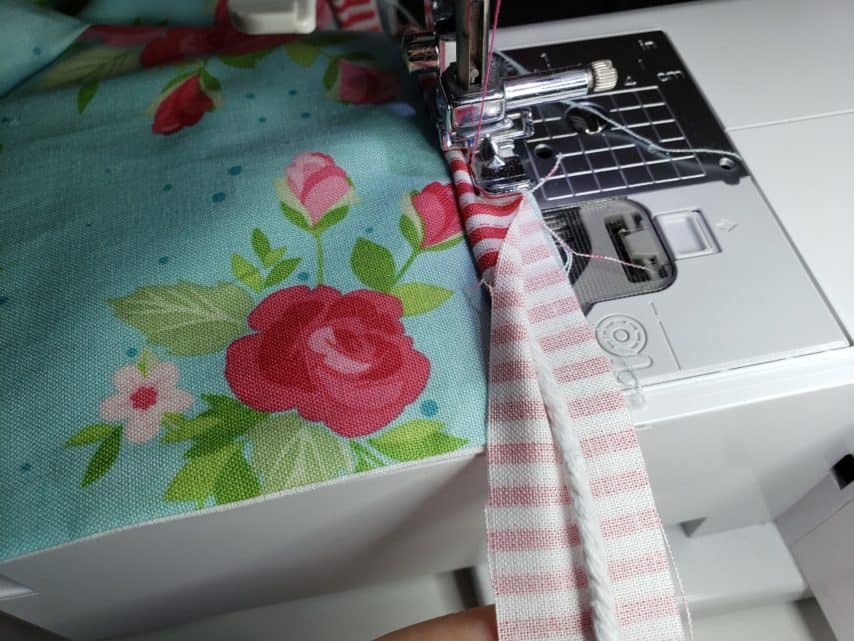
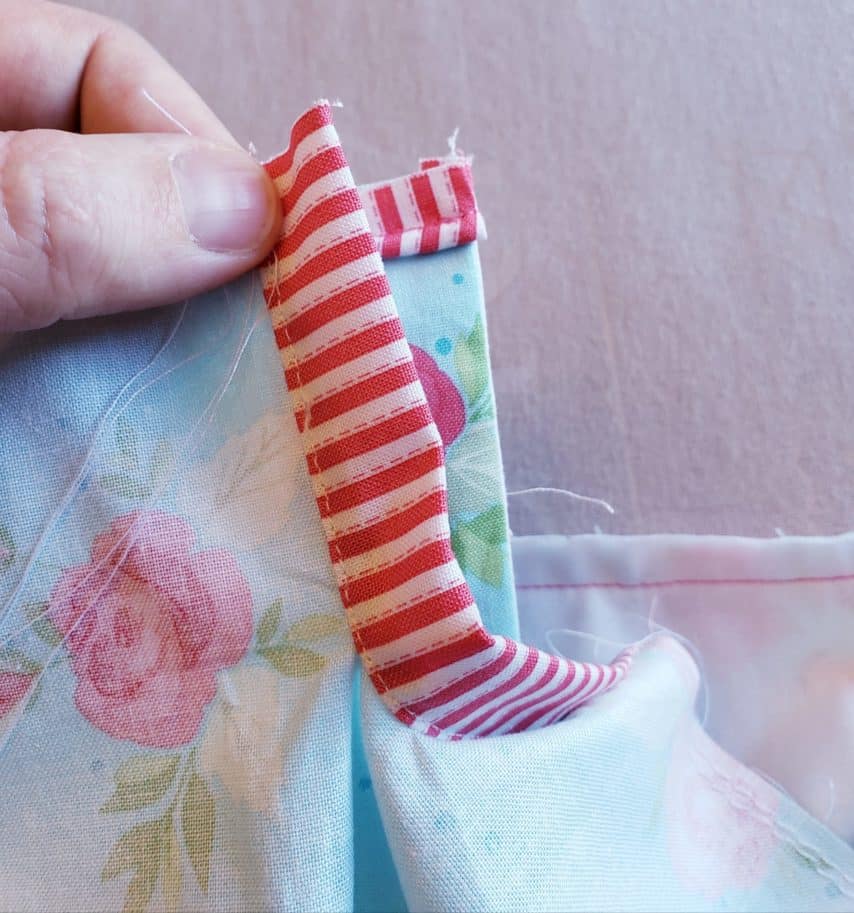
First cut the cotton cording only so that it is flush with the finished edge of your bodice.
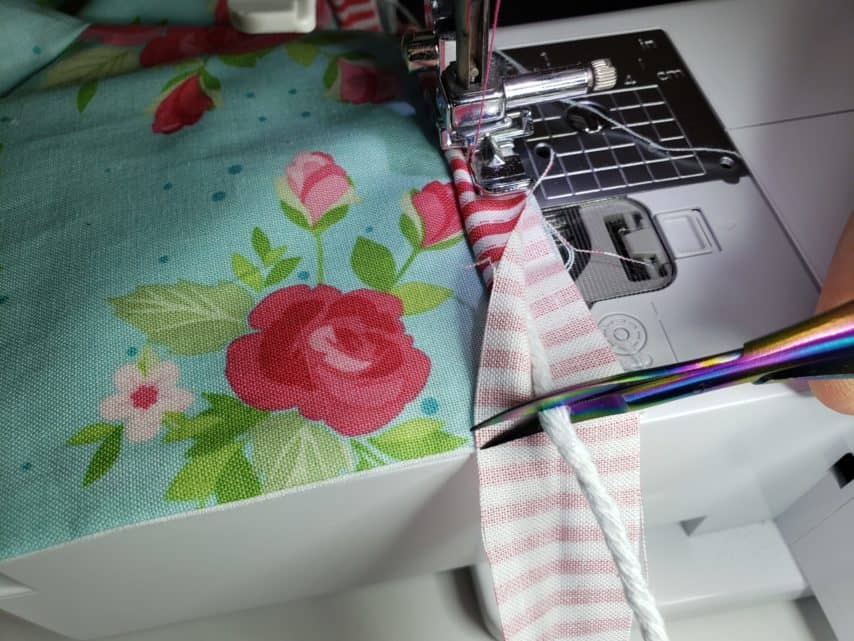
Then cut your fabric strip so that you have approximately 1/2″ overhang.
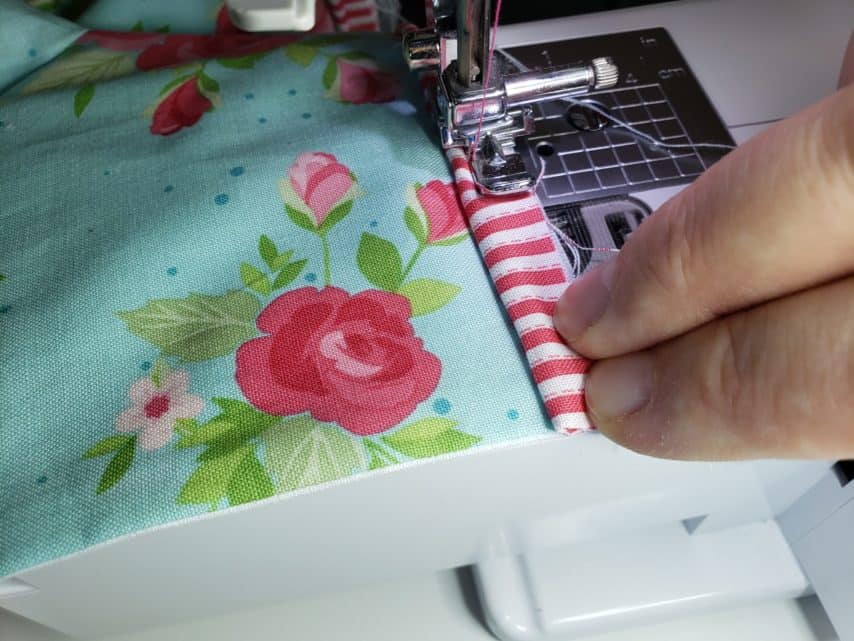
Flip the excess fabric of your fabric strip over so that it covers the cotton cording. This will give you a clean finished edge. Your piping should now be the same length as your bodice and flush with the finished edge.
Fold the fabric strip down so that wrong sides are touching and continue basting your piping to your bodice until you reach the edge.
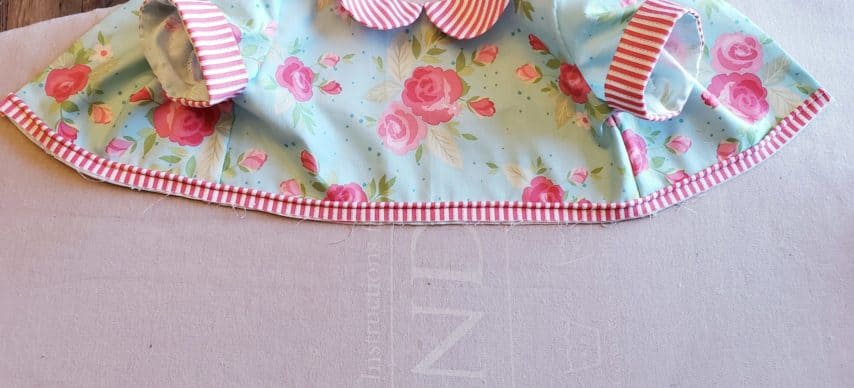
When finished, your basted piping will look like this.
Finishing Your Garment
After you have your piping basted to your finished bodice, you can add your skirt. Simple attach your skirt like you normally would. You will just be adding the skirt over the piping.
When I go to attach my skirt to my bodice I also use my zipper foot. This allows the cotton cording to run underneath my zipper foot without getting stuck. Just make sure you are using a 3/8″ seam allowance and be careful not to catch the cotton cording of your piping in the waist seam.
Once you have your skirt attached to your bodice you need to topstitch the waist seam. With the waist seam pushed up toward the bodice, stitch in the ditch along the seam from your piping. You can see I used my zipper foot for this step too. This will give you a nice finished look to your bodice.

After topstitching your waist seam your garment should be complete. You can see in the above photo that I also used the coordinating fabric to add fabric covered snaps to the back of my bodice. You can find a tutorial on how to do that here.
Special Thanks
I would like to thank Riley Blake Designs for graciously sponsoring this tutorial. All fabric used in this tutorial is from the Winifred Rose collection. The Winifred Rose collection features large and small floral prints, stripes, and bunnies in gorgeous blue, green, and pink hues.
Happy sewing,
Chauncey