How a SLPco Sewing Pattern is Made
Hi SLPco family!!
Have you ever wondered how a sewing pattern comes to life? What happens behind the scenes before we release our newest pattern to the public? Or where we get our inspiration from? Today I am here to share the quick and dirty of our design process.
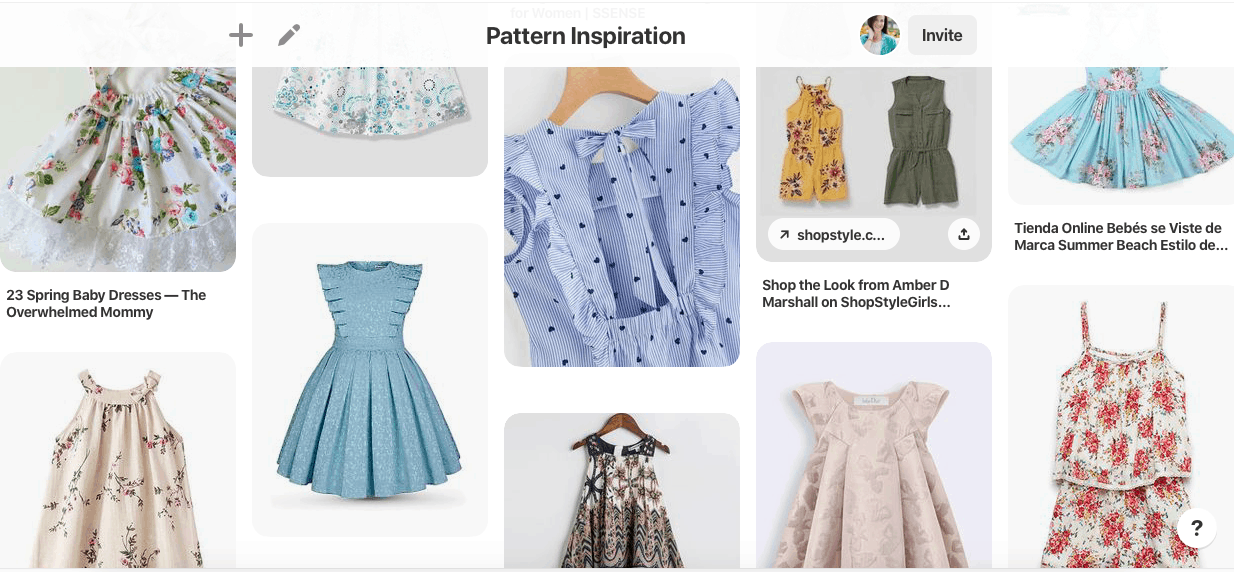
Step 1: Inspiration
The first thing we do for every pattern is decide what type of garment we’re going to design.
So many factors go into this stage of designing…types of things our customers have requested, what we need more of in the collection, trending styles, what style our own children are currently into, the season, fabric choices, and the difficulty level.
During this stage we all spend absurd amount of time perusing Pinterest to find designs that catch our eye. Each of us have a design board and we spend tons of time throwing design ideas back and forth.
Step 2: Sketches and Line Drawing
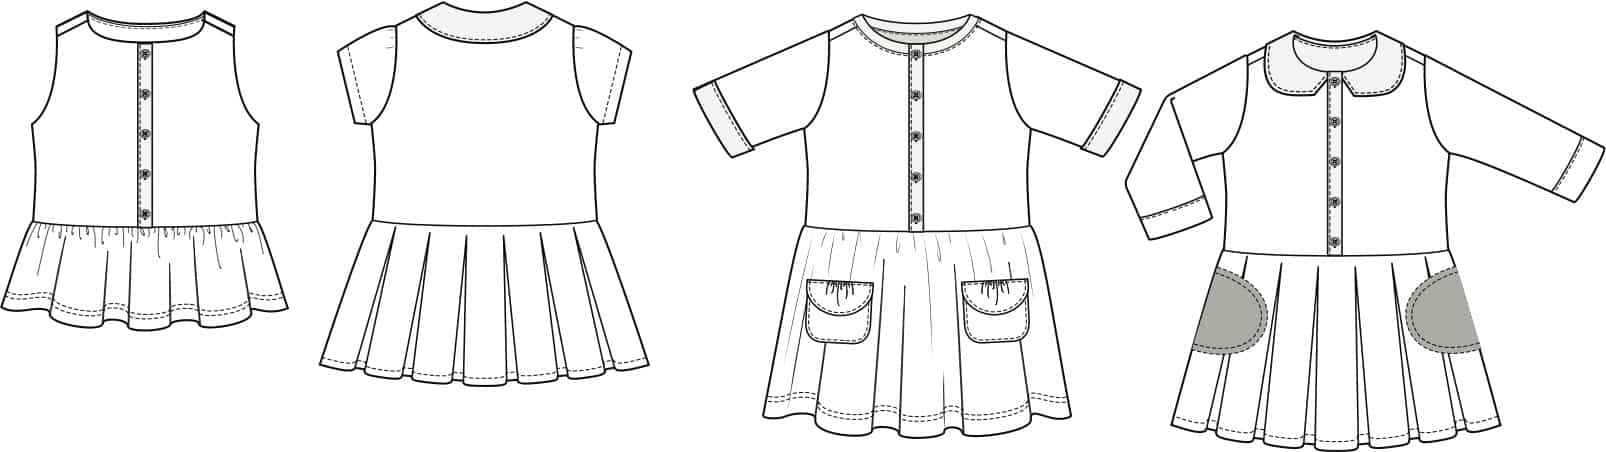
Next, we might do some sketching to work through ideas and decide on the details we’d like to provide.
For some of us the line drawings are drawn during finalizing the pattern, however I like to have these done before I begin drafting so I can have a visual throughout the process. The line drawings are the illustrations you see at the beginning of the pattern. They show the style lines of the final garment, including the placement of details, closures, seams, etc.
Step 3: Drafting and Fitting
These step are usually the most time consuming parts of the process. We each draft our own designs and make fit samples. Each variation of the pattern is sewn in our model’s size to work out as many kinks as we can before bringing the design to our tester group.
This is also the time where we take photos of each step. Once the pattern is ready to go, we work on writing the pattern and adding the step pics to their coordinating step.
Step 4: Testing


Our next step is to have our tester group test the pattern for us. We provide the pattern and the instructions for each tester. We ask them to sew up a fit sample in their assigned size and provide us with detailed feedback. When they are finished and we have made any corrections that the pattern needed we then ask for the testers to make a final version and take styled photos. This is usually a 1-2 week timeline.
Step 5: Editing and Finalizing
We are now in the final editing stages. We check and recheck measurements, fabric requirements, look for typos, etc. Once we are ready to go, Gail and I send it over to Katie for final review and formatting.
Step 6: Photoshoot
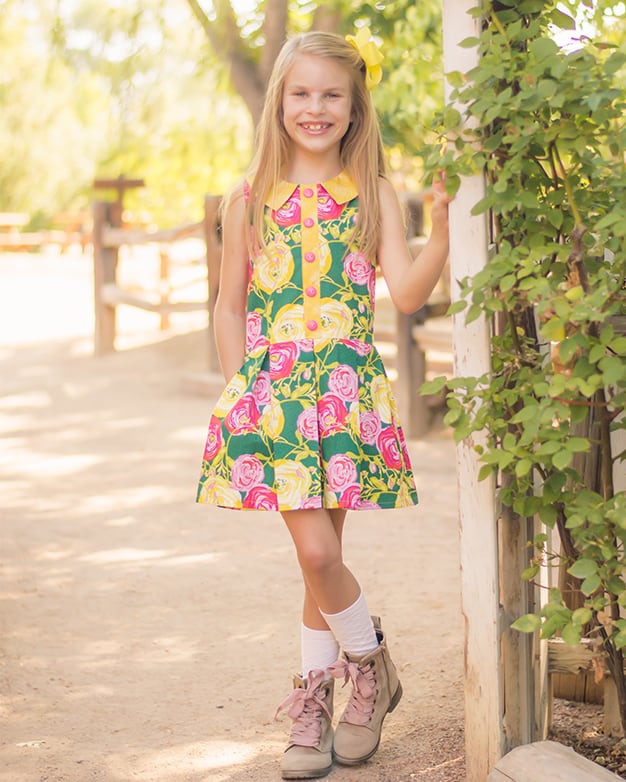
Now it’s time for the fun part! Once the pattern is nearly ready for release, it’s time to start planning the release photos. So much work goes into these release photos, from sewing every sample, finding coordinating shoes, matching bows, the mood of our models (we all know how kids can be), the perfect location, the perfect lighting, the list goes on and on.
Each of our designers does every step a little differently based on what works best for us, but this is the general flow of how a Simple Life Pattern is made. The entire process usually takes about 1-2 months and we are often working on different patterns simultaneously.
Happy Sewing!
xoxo-Becca