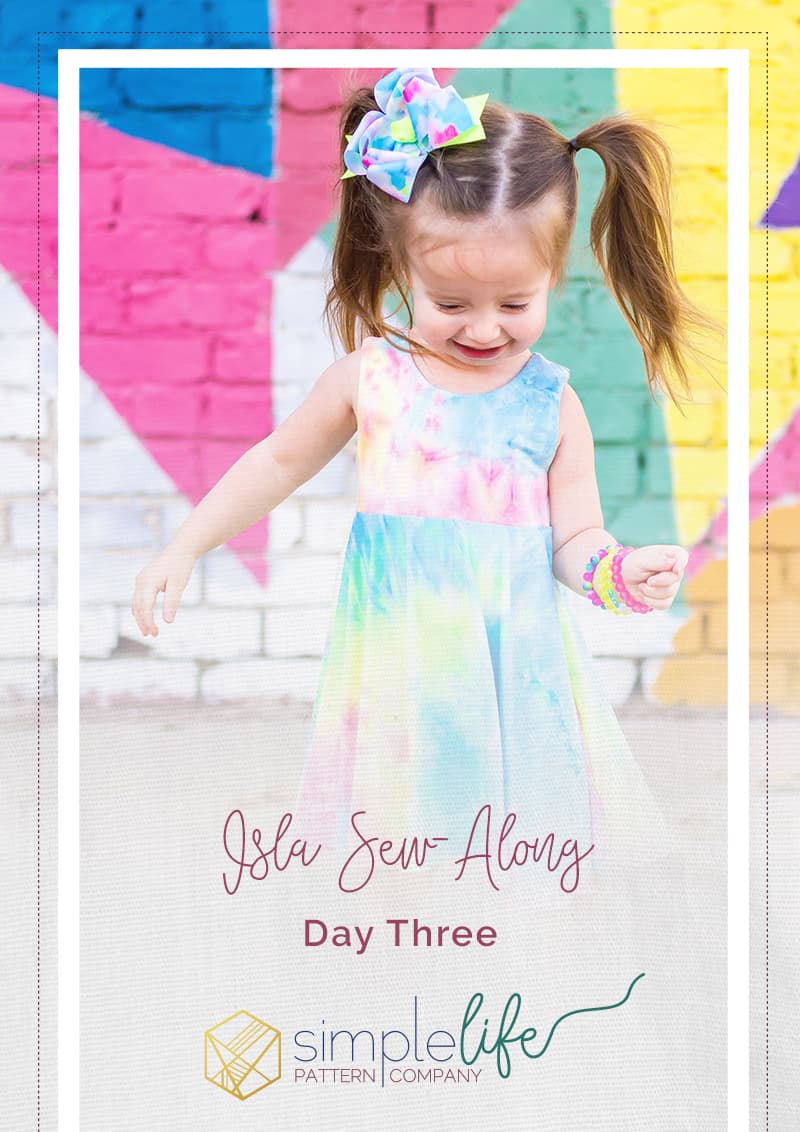
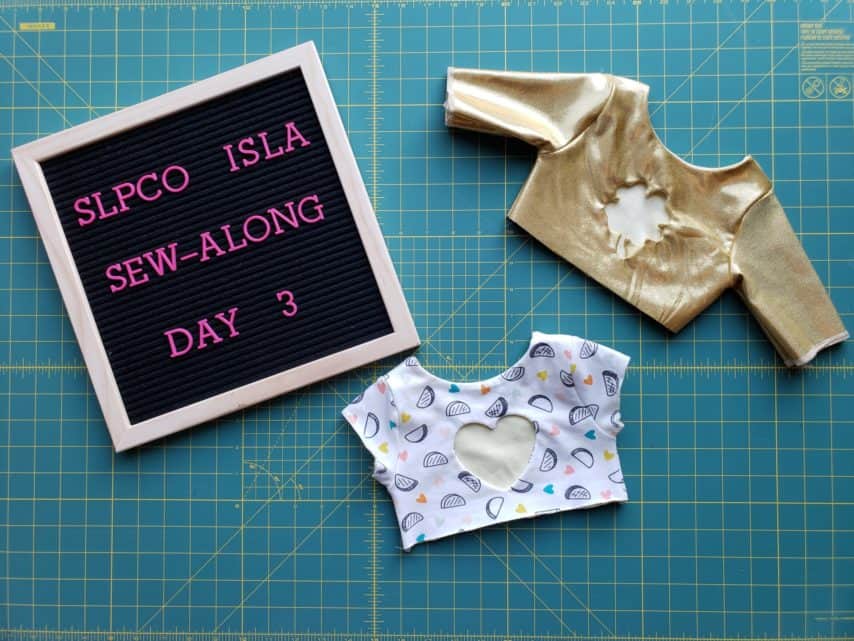
Isla Sew Along Day 3
You’ve made it to day 3! How did you do sewing the back bodice cutouts? If you still need help with the cutouts please let me know. If you are just now joining us, welcome! Be sure to check out day 1 and day 2 to get caught up. Today we will finally be finishing our bodices.

Burrito Roll Method
A bodice with a back cutout requires a different method for finishing the neckline. The burrito roll method can be a little tricky if you’ve never done it before but I’ve prepared a video to show you exactly how to do it. You can find the video in the fan group.
Start by separating the main and lining of your back bodice at the shoulder and flipping the lining down toward the bottom. Starting from the bottom, roll up the bottom main and lining pieces together until the fabric is just above the top of your cutout seams.
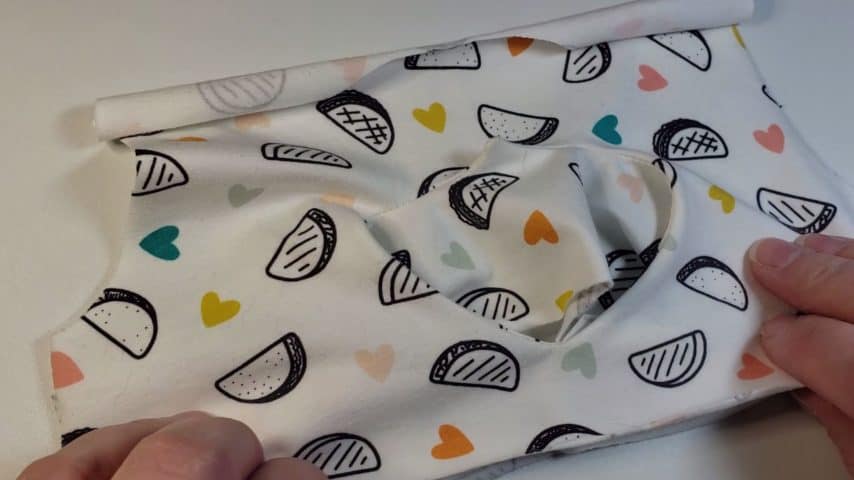

Next you will flip your lining piece over the rolled fabric onto your main fabric, with right sides together. Align and clip the the shoulder and neckline pieces together making sure that none of the rolled fabric is within your seam allowance.
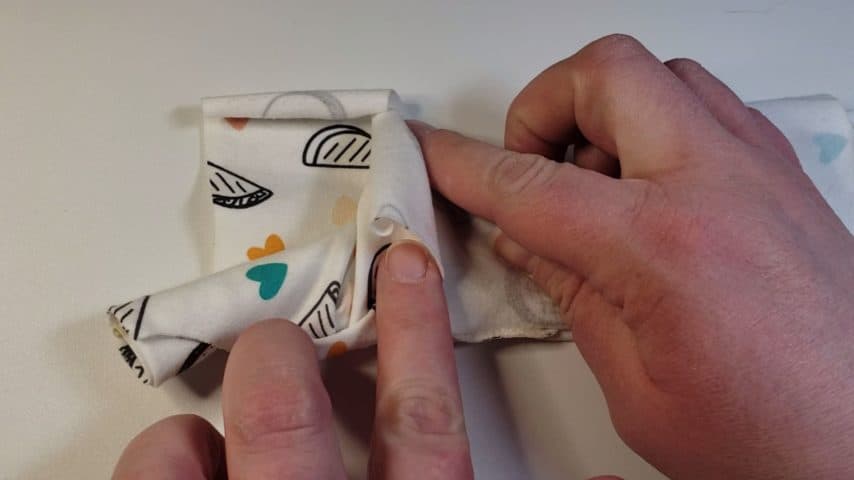
Sew/serge along the neckline, making sure not to catch any of the rolled bodice into your seam. Gently pull the rolled fabric toward the side of your bodice and through the tunnel of fabric to flip your bodice right sides out.

Lay your front bodice on your work space with right side up. Flip the left and right front bodice lining at the shoulders in toward the center of the neck hole.
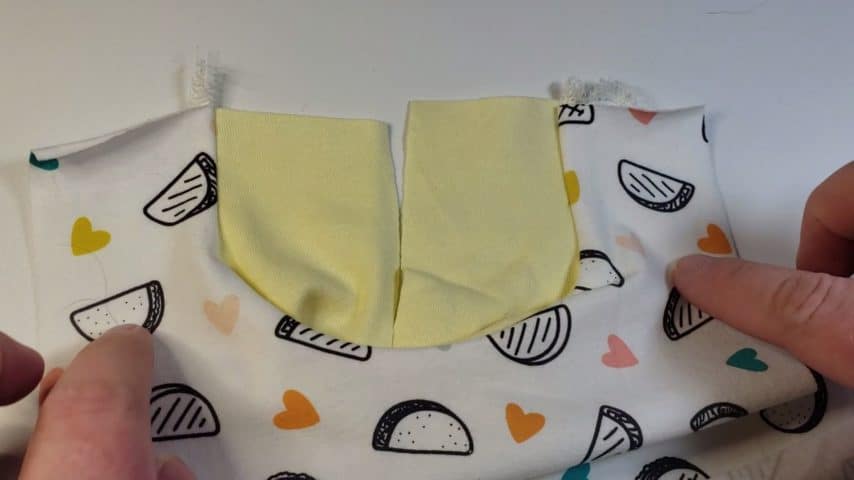
Next lay the back bodice on top of the front bodice with right sides touching. Flip the back bodice lining in toward the center just like you did with the front bodice. Clip/pin the main and lining pieces together at the shoulder.
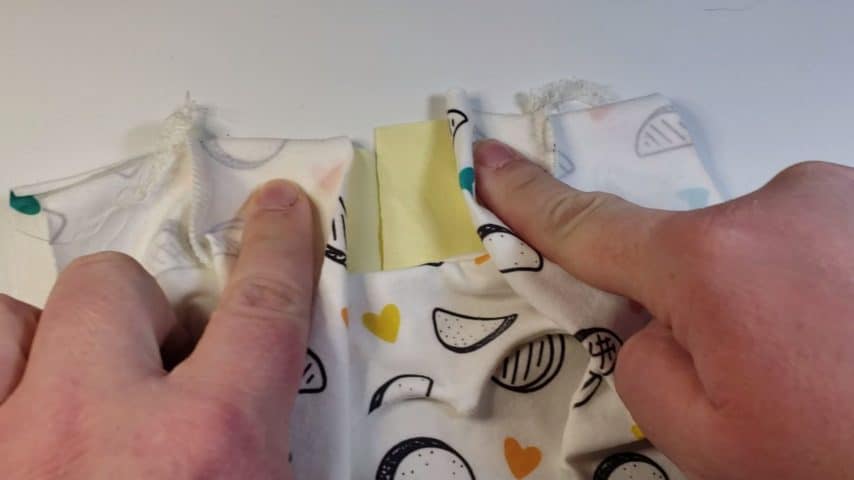
Sew across. Flip the lining to the inside. Now we can attach the sleeves. If you are are doing the sleeveless version, you will use the burrito roll method to enclose your armscye seams.
Sleeves
The Isla sleeves are rather easy to sew in place. Fold your sleeve in half and find the center point along the cap and make a crease. Align this center crease with the shoulder seams on your bodice, matching the right sides of the fabric together. Continue pinning the sleeve along the armscye. Take care not to stretch your fabric. Sew/serge the sleeve to the bodice.

So, now we will pin our bodice sides together. Lay your front bodice on top of your back bodice with right sides together and align the side and shoulder seams. Pin in place. Sew/serge the sleeve and side seam in place. Repeat with the other side of your bodice. Lastly, turn your bodice right side out.
Whew! That was a lot of flipping, pinning, and sewing,
Day 3 Progress
After all that work, don’t forget to upload your daily progress photo into the Facebook Isla Sew Along album. If you miss a day, don’t give up! You will have time to catch up at the end of the week.
Happy bodice sewing and burrito rolling,
Chauncey