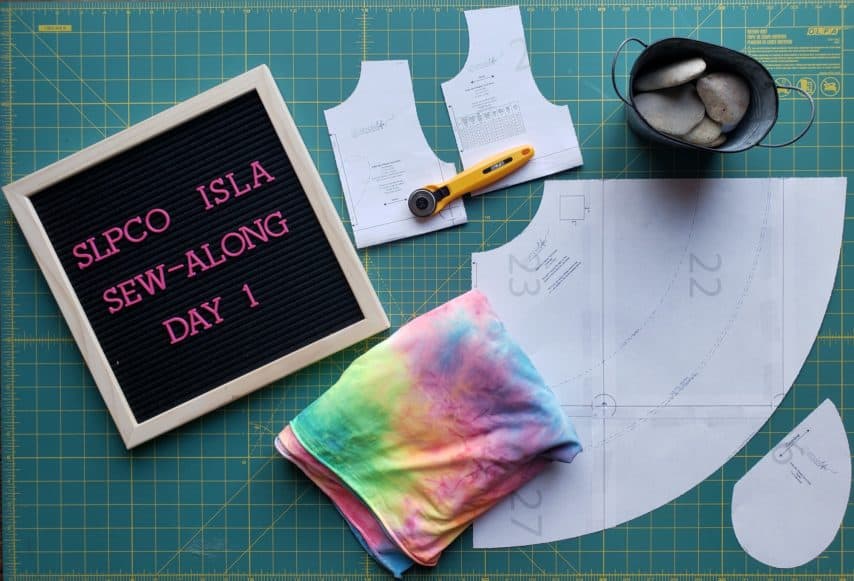
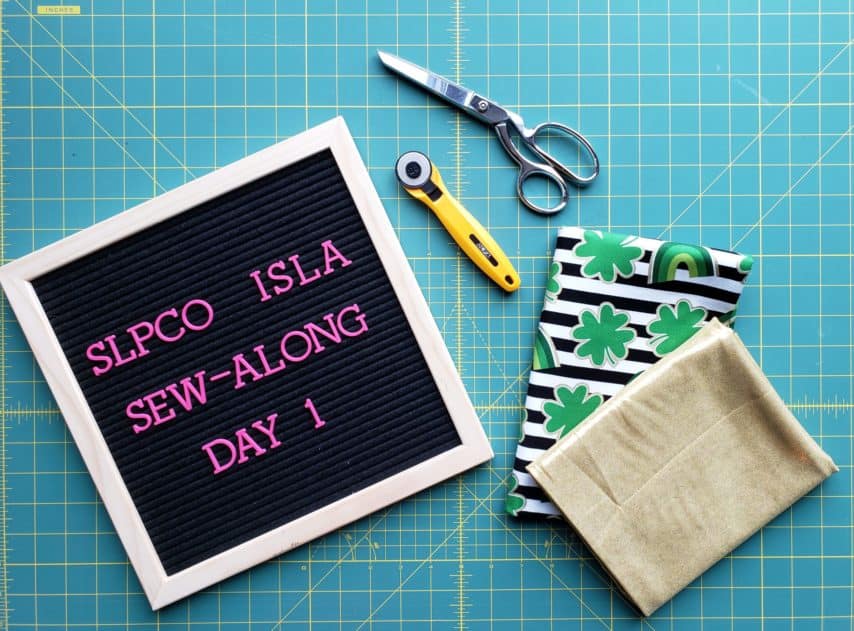
Isla Sew Along Day 1
Hey friends! Welcome to day one of the Isla sew along. I’m so excited to be hosting the SAL this month! I just sewed my first Isla in November of last year for the 25 Days of Christmas series and I’m beyond ready to make some more. With so many variations possible, I cannot wait to see what you all create. For day 1 we are going to choose which pattern options we’ll be sewing, select fabric, and print and prepare our pattern pieces. So let’s get creative!
Pattern Options
First we need to decide which options we’ll be sewing. Let’s start with the bodice. The bodice has three different length options: curved (for a high-low), straight, and drop waist. I’ll be sewing the straight bodice for the SAL. Next, choose whether you want to add a gathered ruffle embellishment to the bodice. You can use knit or woven fabric for the bodice ruffle embellishment.
Now let’s take a moment to go over all the options for the back bodice. The Isla pattern comes with an optional heart cutout. Did you know there is a FREE file in the Facebook fan group with SEVEN additional shape options? Don’t be afraid to let your imagination run wild with the possible shape cutouts. I will show you how to add a four-leaf clover cutout. Not into exposed skin, but still want to add a fun cutout? No problem. We’ve got you covered. Check out the modesty panel hack that Gail has created. Once you’ve decided on your bodice options, it is time for the sleeves. You have five options: tank, flutter sleeves, short, 3/4, or long sleeves. I’ll show how to do a tank version and long sleeves.
To finalize our options we need to look at the skirt. Choose between the peplum top or dress versions. You can do a gathered skirt or use the pattern pieces to cut a circle skirt. There is also an option to add pockets. If you are sewing up baby Isla, you may want to use the Romper Add-on pieces instead of adding a skirt. I’ll be making a romper for one of my versions.
Fabric
Isla is a knit based pattern. As you read through the pattern instructions you will find several recommendations for choosing the right kind of knit fabric for your project. First, you want to make sure you are choosing a knit with 4-way stretch. As far as fabric composition, I prefer sewing with knits that are 95% cotton, 5% spandex. They aren’t as slinky as other knits and tend to be more stable. Make sure you check the top of the bolt to see what your fabrics are made of. Once you have your fabrics chosen you need to wash them before cutting since they tend to shrink some during the first wash.
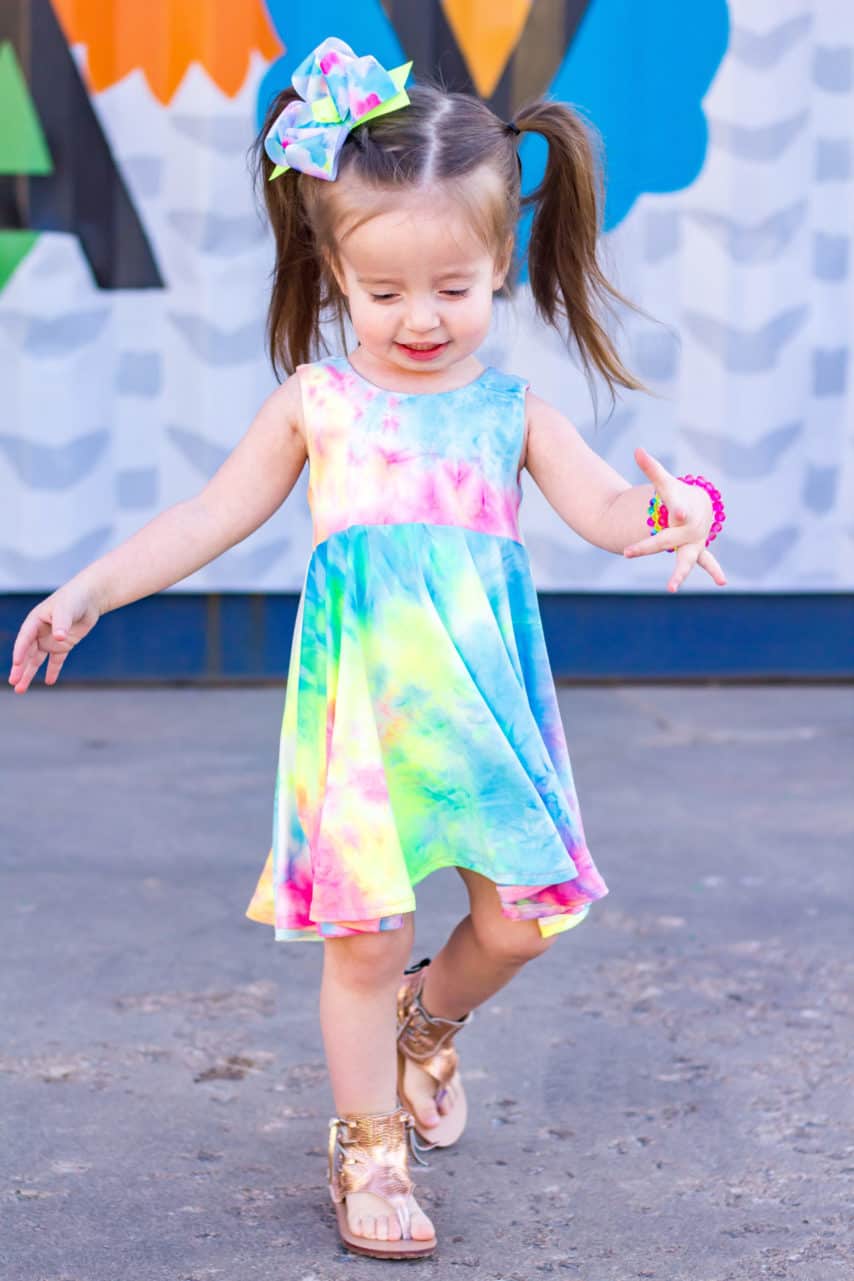
Art Gallery Fabrics has great knit fabrics that are buttery soft with great recovery. The taco fabric I’m using is from AGF and is one of my favorite fabrics ever. However, AGF knit fabrics do tend to roll when cut so I always have to starch them flat before sewing. I also think Hobby Lobby has decent knit fabrics if you have access to one of their stores. The tie dye knit fabric I’m using is from Hobby Lobby. It is pretty slinky and was a little tough to work with but made an amazing summer dress.
Supplies
Make sure you are using a new needle when sewing with knits. I prefer to use a ballpoint needle, but a stretch needle will also work. Refer to your machine manual to see what it suggests as far as needle brand. A walking foot can be really helpful when sewing with knit fabrics if you choose not to use a serger. I personally do not use a walking foot but they may be a great tool if you are new to sewing knits. Stevey has a great video in the fan group on how to use a walking foot.
No matter what you are sewing, an iron is a must have. Some knits tend to curl up on the edges when cut. To keep your fabric nice and flat, you can use spray starch and iron the pieces flat. I like to use Niagara brand spray starch because it is biodegradable and smells heavenly. If you plan to add a cutout to the back bodice you will need to have a turning tool. Also, iron-on stabilizer can be very helpful for keeping any points from rolling during wear; Heat n Bond lite is my favorite to use and I typically buy it by the bolt to have on hand.
Pattern Pieces
Measure, measure, measure. It is very important that you measure your model before selecting size. Use the size charts to determine the size you need based on the measurements you took. One of my favorite things about SLPco patterns is that the sizes are layered. This means you can print only the size(s) you need. If you are unsure how to use the layers, check out this tutorial from Gail about how to print patterns with layers. Once you have all your pieces printed it’s time to tape them all together. I’ve posted a video in the fan group with a quick tip on how to tape all your pattern pieces together.
Now, let’s get started!
For day one snap a quick picture of your pattern pieces and fabric and share it in the fan group Isla SAL album for a chance to win shop credit! I’ll see you back here tomorrow when we’ll cut all of our fabric pieces out and prepare them for sewing!
Happy printing, taping, and fabric shopping!
Chauncey