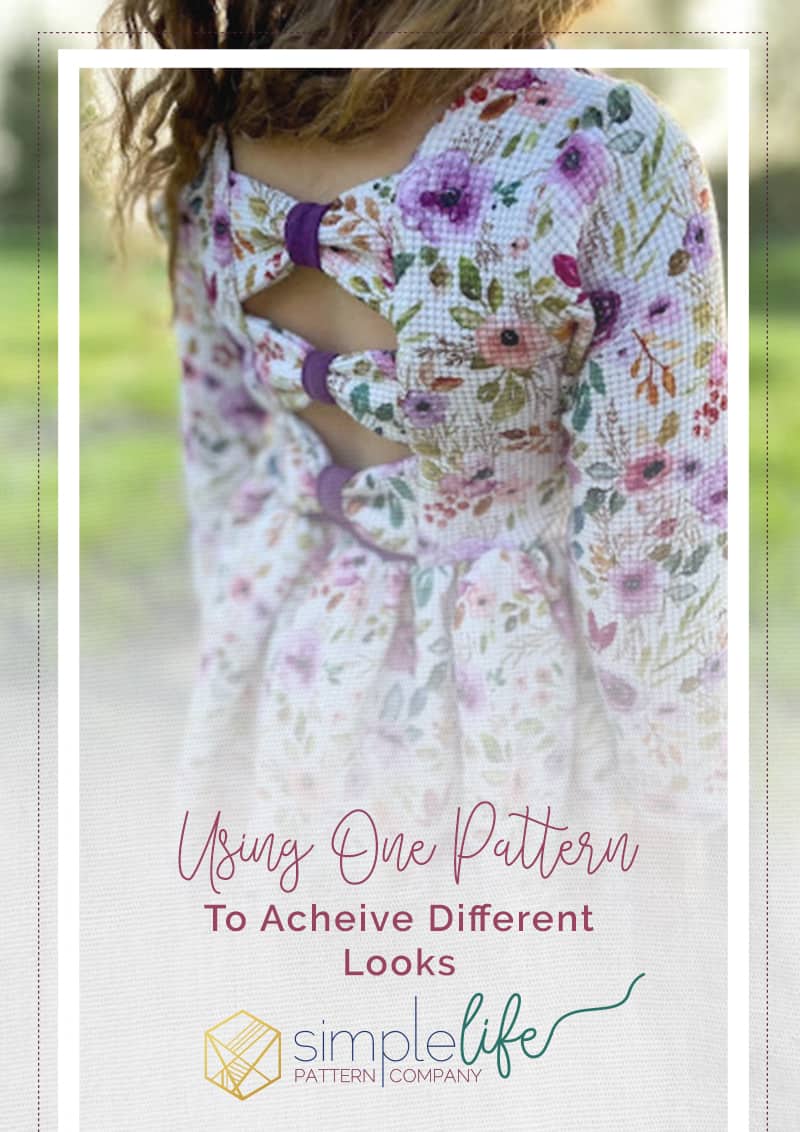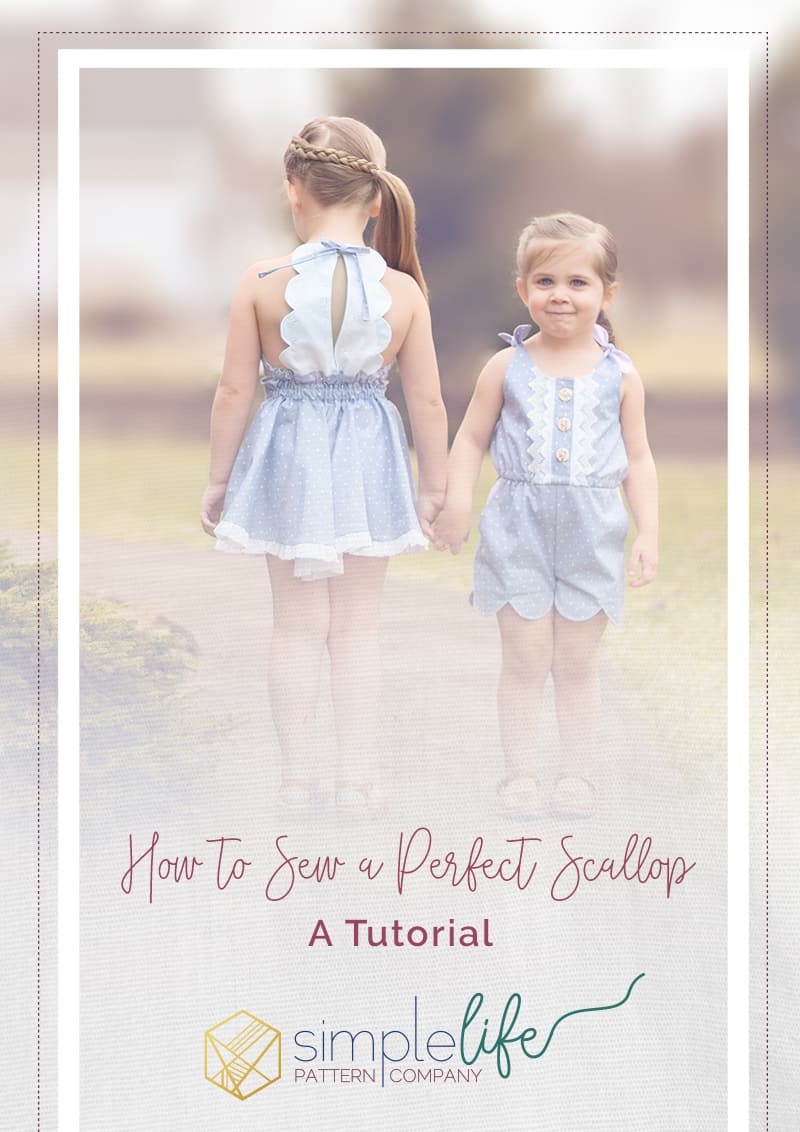
How to Sew a Perfect Scallop
Our two newest patterns, Pippa and Tinsley, may have you wondering: “How do I sew scallops?” You might be intimidated if you’ve never sewn them before. But, I’m here to tell you, it’s not as hard as it may seem! And we’ve made it as easy as possible for you with our special templates. So, are you ready to learn how to sew a perfect scallop?
The photos I’ll be using are demonstrating how to sew the Pippa’s Scalloped Romper & Dress, however, these same tips can be used interchangeably with Tinsley’s Scalloped Top, Romper, & Dress.
How to sew a perfect scallop
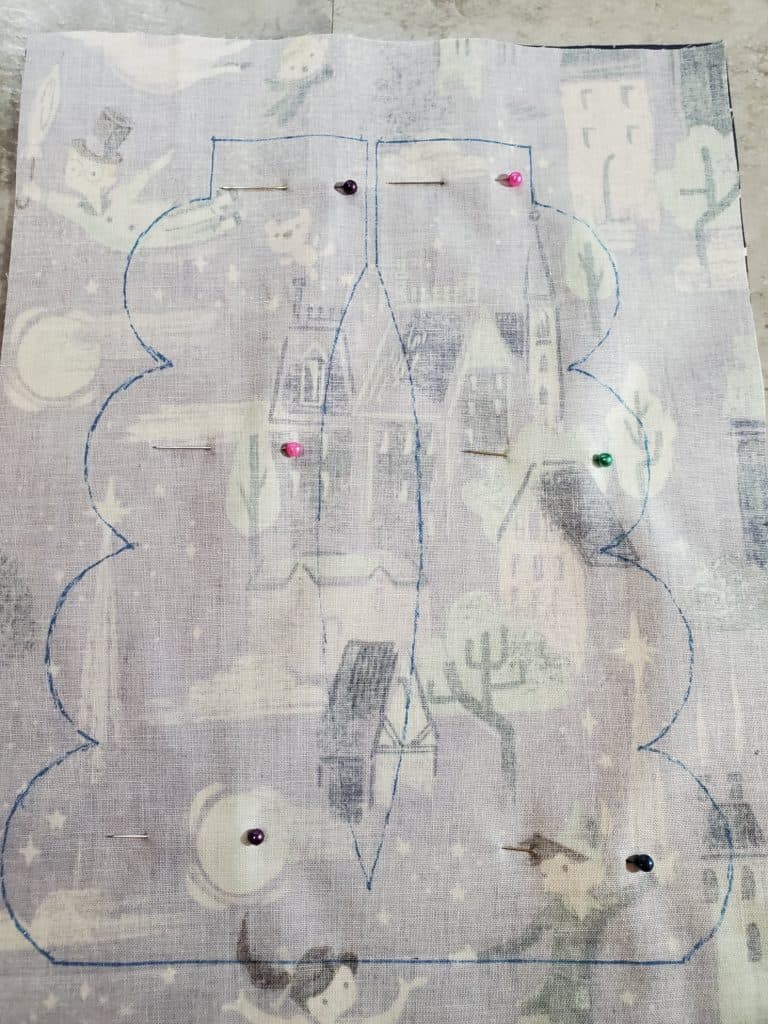
Both the Pippa and Tinsley patterns come with a scallop template. Pippa includes a back bodice template, whereas Tinsley includes a template that you’ll trace onto the hem of your folded romper shorts. If you are sewing Pippa, you will end up with something like this.
Tip #1
Pin, Pin, Pin. No matter which pattern you are using, I highly recommend that you pin your fabrics WELL. In the example above you can see that I’ve pinned in multiple spots so that my bodice main and bodice lining stay put. You don’t want anything shifting and causing puckers after you’ve spent all that time sewing.
![]()
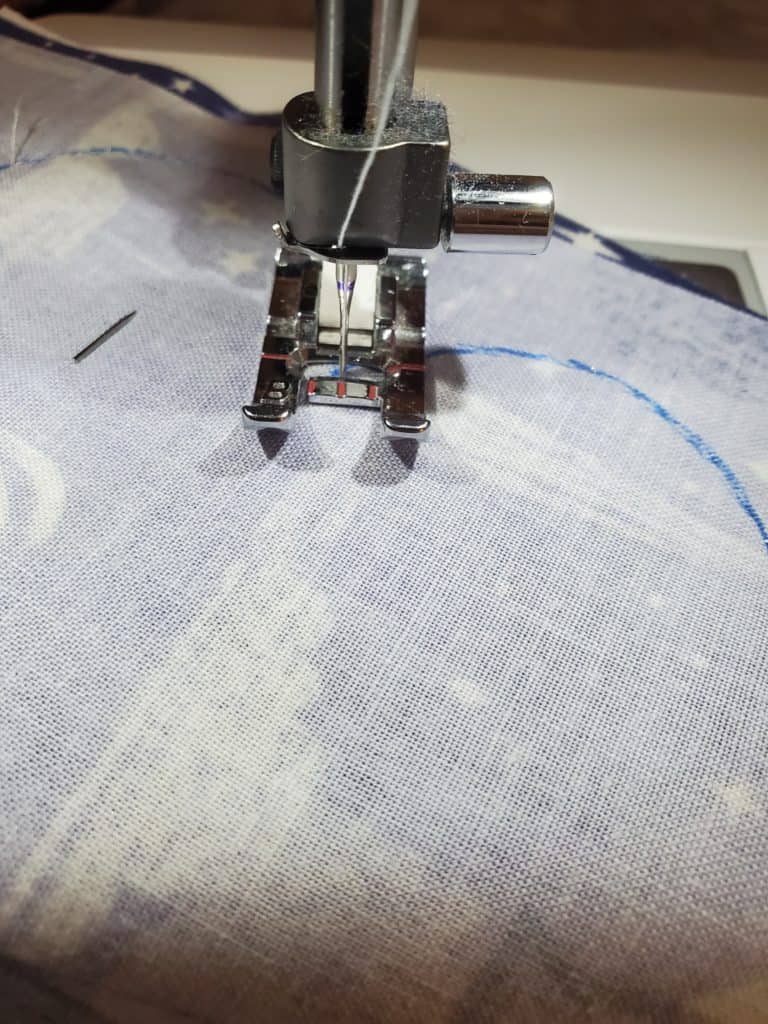
Tip #2
Both patterns recommend that you sew your scallops with a smaller stitch length. 1.8 is recommended. Sew SLOWLY around each curve. Having the lines to guide you makes this part so much easier than it looks. When you reach the peak of your scallop you will leave your needle in the DOWN position, as shown above, lift your presser foot, and PIVOT your fabric so that you can sew the next scallop.
![]()
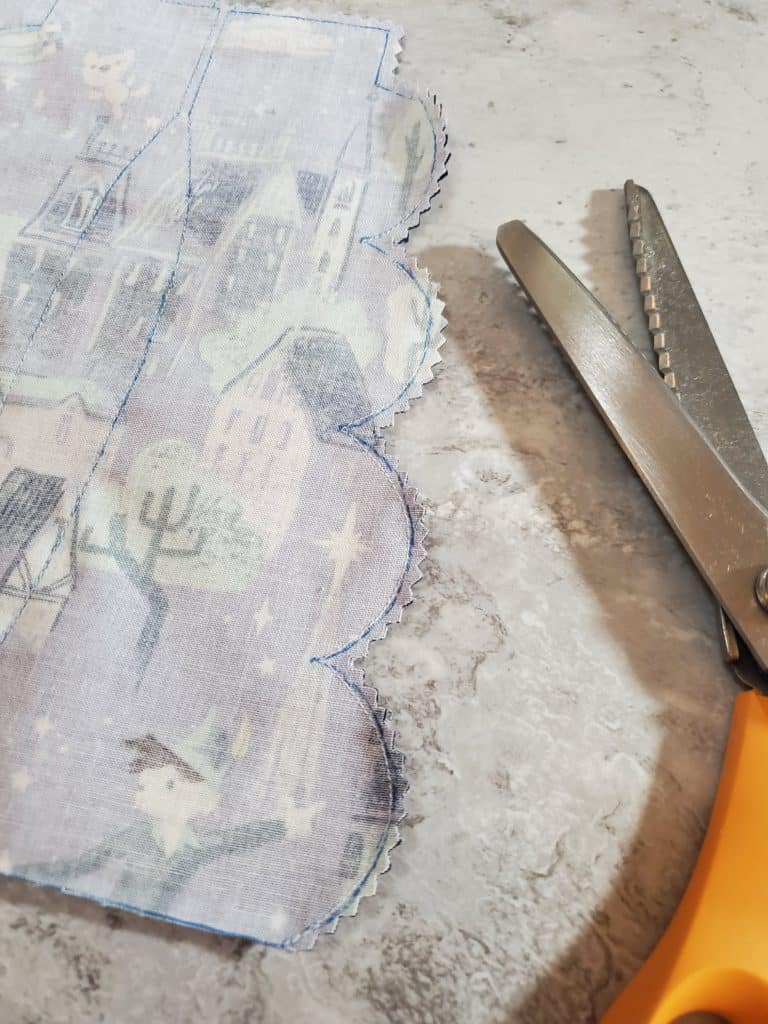
Tip #3
Trim your seam allowance with pinking shears. This makes cutting notches super quick and easy. If you do not have pinking shears, you will want to cut notches around the curves of each scallop. This helps ensure that your curves press out nicely and you don’t end up with any puckering.
![]()
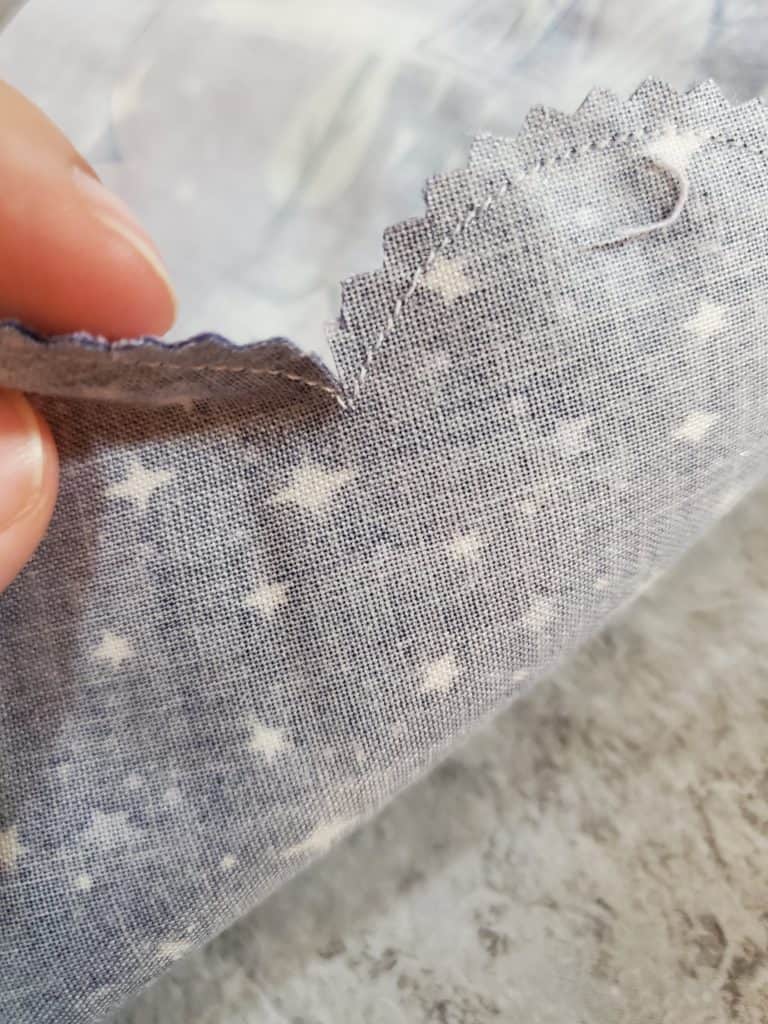
Tip #4
In the peak of each scallop, and in each corner (at the top of the Pippa bodice), clip as close as you can to the stitches without actually clipping your stitches. This (as well as tip #3) is probably the MOST important tip that I can give you. If you skip this step you will be very sad when you turn your garment right side out.
![]()
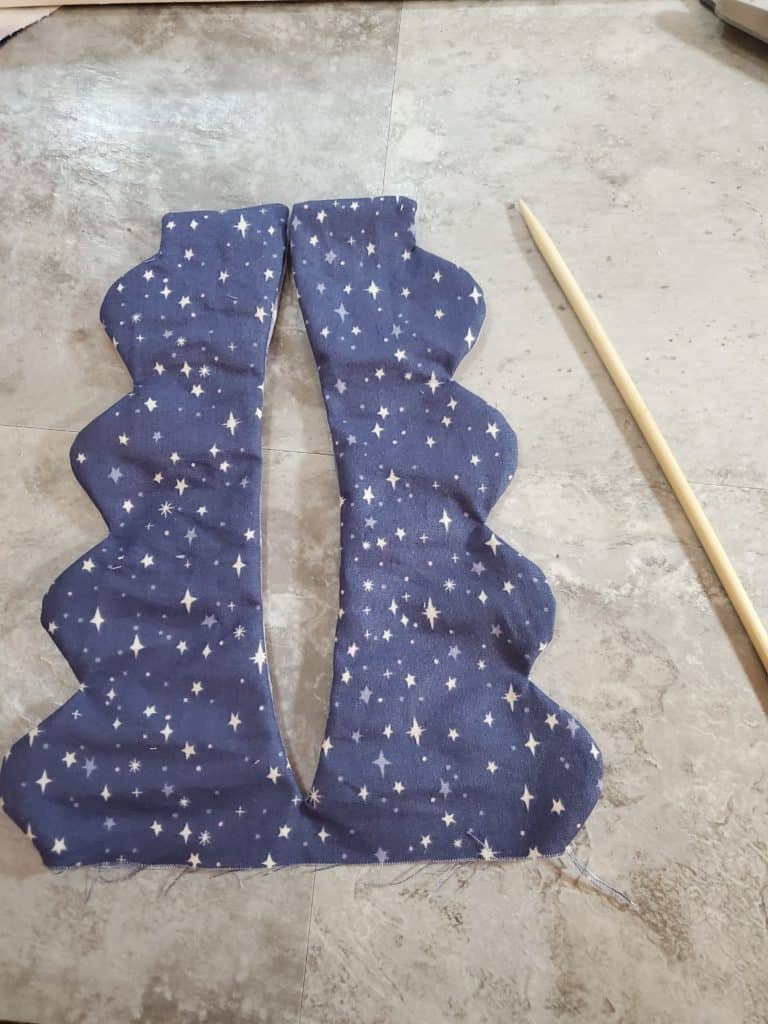
Tip #5
Use something with a rounded end to help push out all your curves. A chopstick works well, I use the stick that came with my tube turner. In a pinch I’ve even used the blunt end of a pen. Just be careful not to push through your stitches.
![]()
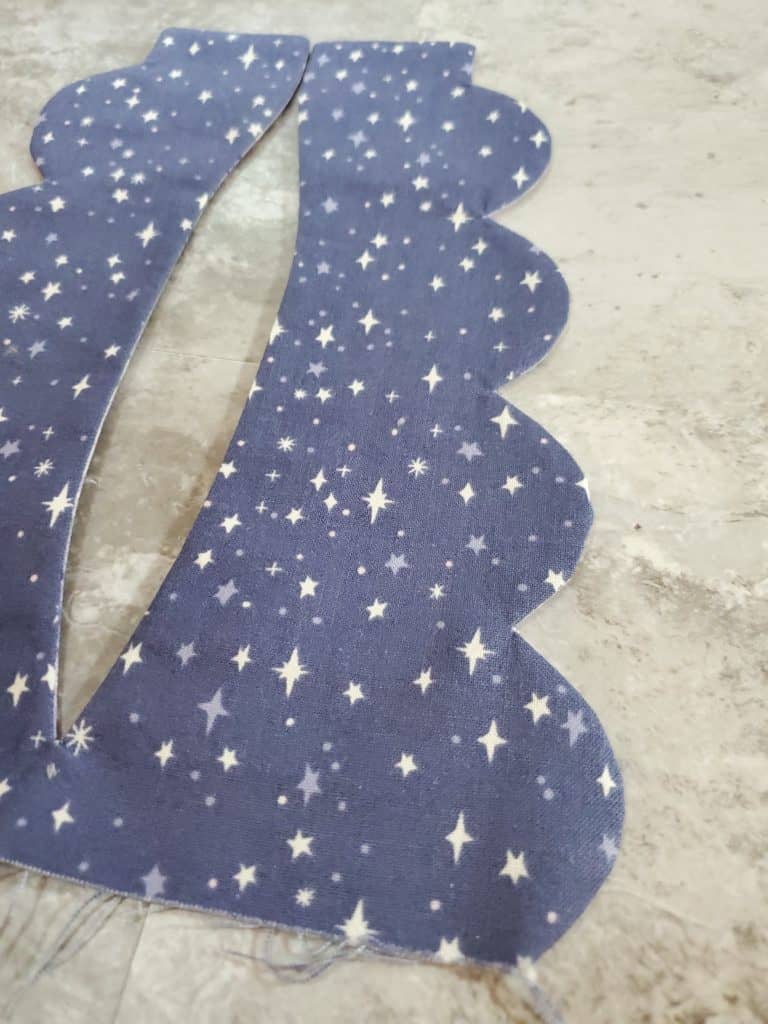
Tip #6
STEAM! The second most important part of this whole process is ironing with steam. You MUST iron your scallops if you want them to look nicely. I continue to use my tool from the previous step to help push out the scallops as I iron. It may seem tedious, but just look at these scallops! So worth it!
At this point you can topstitch along the scalloped edge to keep them in place and looking nicely.
![]()
You now know how to sew a perfect scallop!


If you haven’t yet grabbed our Pippa and Tinsley patterns you can grab Pippa here and Tinsley here.
Make sure you join us over in our Facebook Fan Group so you can share your creations or ask questions.
Until next time,