Saylor Sew Along-Day 5
Finishing Touches
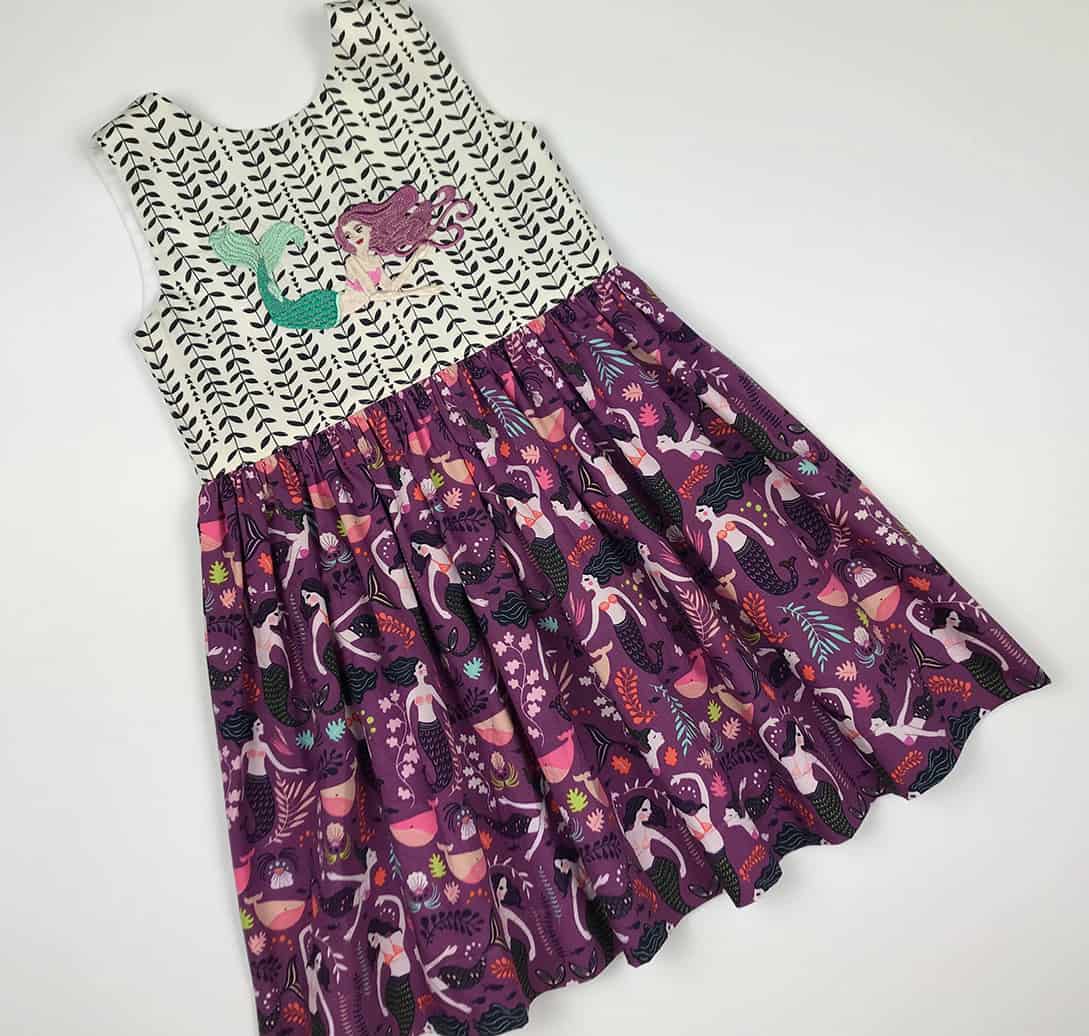
~Press and Topstitch
~Attach buttons or snaps
~Sew and Attach optional small bows
We are in the home stretch of the Saylor Sew Along and I am loving all of the variations you have posted in the fan group. Be sure to check out Day 1, Day 2, Day 3, or Day 4 for any days you may have missed.
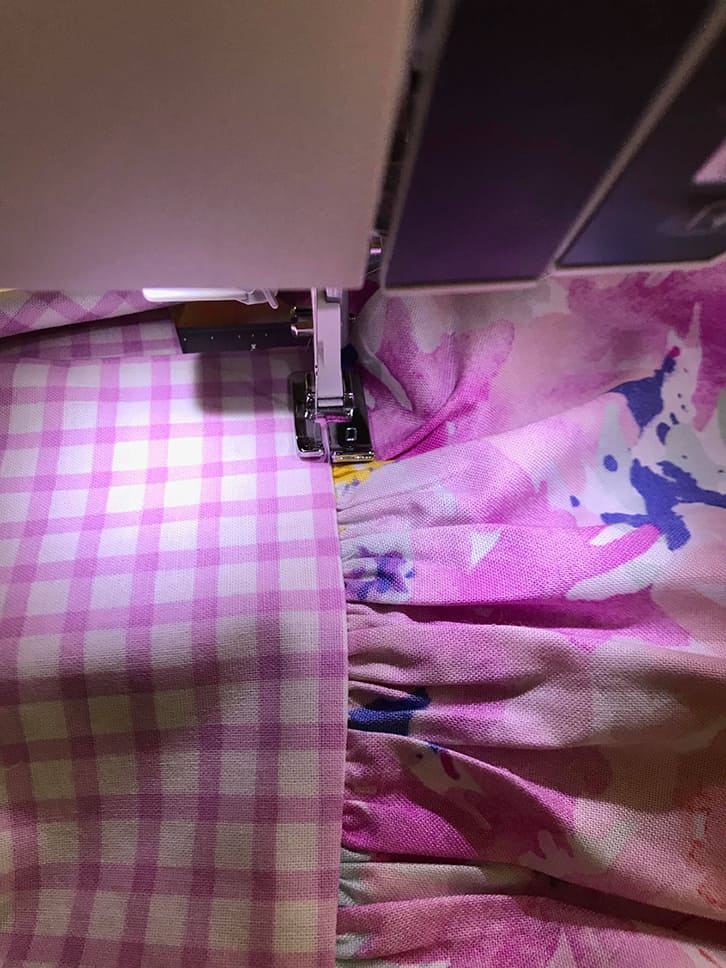
So first we need to press our ruffle and skirt and topstitch to create a nice and neat finish. I like to use a 3 stitch length when topstitching. I have a secret weapon for topstitching my waistline and ruffles. My sewing machine came with a blind hem foot and I discovered it is just perfect for keeping my topstitching nice and straight but still close to the edge. Check out the video I made of my blind hem foot in use. I love finding fun ways to use what I have. I have also used a piping/zipper foot to achieve close and straight topstitching.
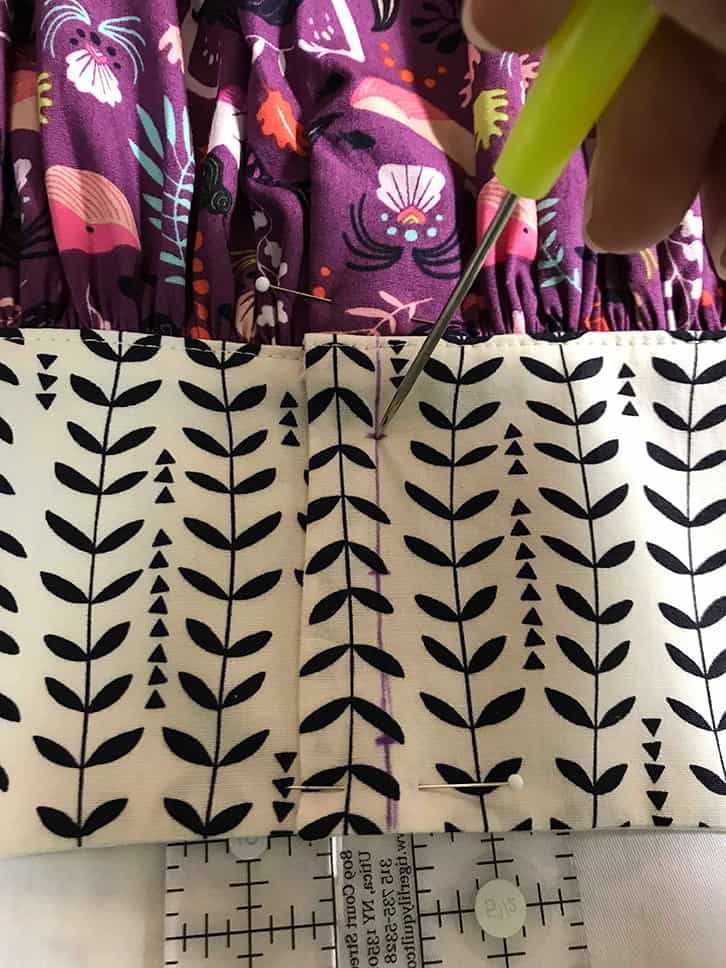
I like to wait until my dress is assembled and topstitched before adding my buttons and snaps, otherwise, I find they get in the way of my pressure foot when sewing. Now go ahead and line up your buttons and buttholes or your snaps. It’s important to make sure your placket lays flat and your bodice overlaps evenly. I pin my placket closed and then draw a line ½” in from the edge so my snaps line up. I start at ½” down and ¾” up from the waist to avoid catching the excess fabric from my seam between my snaps.
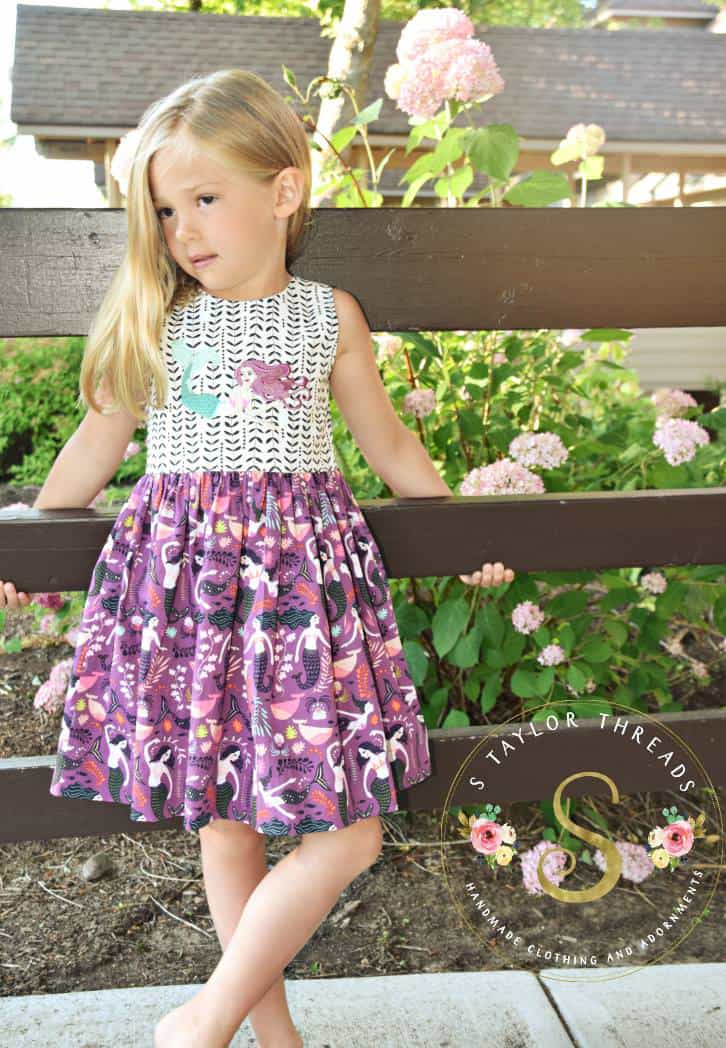
If you are using the side bows you can sew those up now. Be sure to clip the corners and angles and poke them out for a crisp finish. I use whatever I have on hand to do this – chopsticks work great 😉 You’ll need to press and topstitch to close the bows. I like to hand stitch my bow centers on so no stitching shows on the outside. I leave a long tail once the center is sewn shut and then continue with the same thread to hand sew my bows in place.

Voila! Admire your finished product because those little side bows are the crowning jewels! You’re all done! The weekend will be used for catching up and of course we would love to see some modeled photos so be sure to post them in the fan group when you’re done!! We will be choosing the winner of the sew along on Monday!