Adding A Tulle Skirt To A Dress Bodice
Hello sewists, and welcome back! My name is Victoria Strong, and today I have written a blog post to teach you my favourite way to add a tulle skirt to a dress bodice!
Determining how much tulle you need is easy if you’re good at math. For this tutorial, I am assuming you are doing 8 layers to get the look of the featured photo.
To calculate your tulle yardage, use this simple equation: 16 x (skirt length in inches or cm). Convert answer to meters or yards. Be sure to round up when buying your tulle. For my size 6 length, it was about 7 meters, for reference. My favourite places to buy tulle is Tulletastic (US) or Black Rabbit Fabrics (Canada).

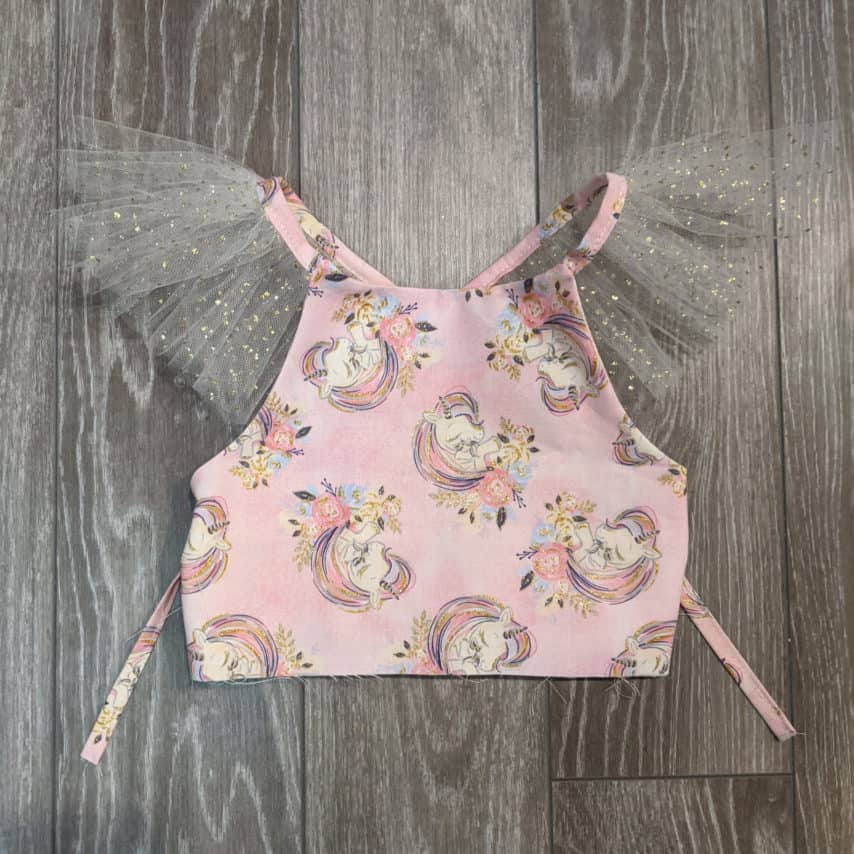
Step 1 – Completing a dress bodice
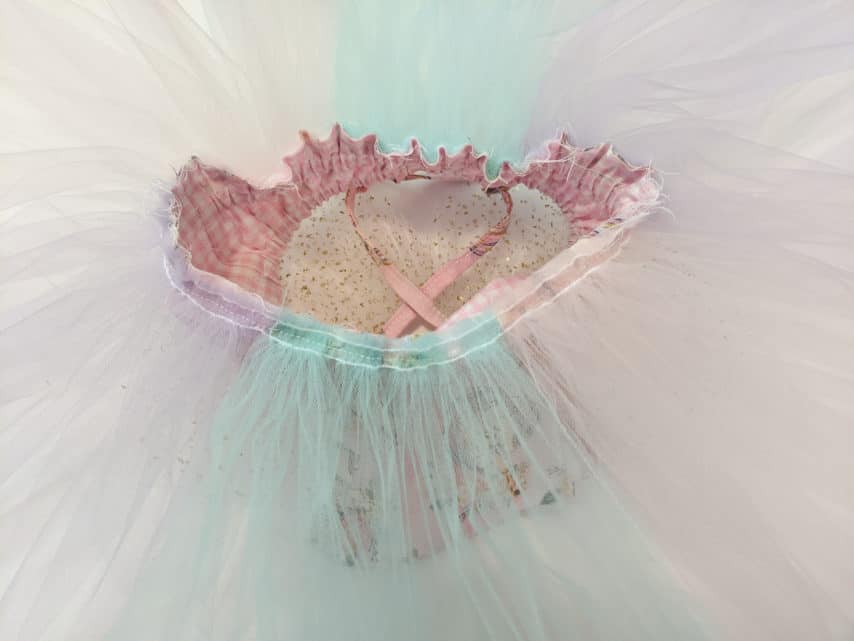
First thing first – you need a completed dress bodice. I chose Cora for the unicorn look I was going for. If you would like to use a woven (non-stretch) fabric, be sure to use a bodice that has an elasticized back, since it’s not easy to add a button placket or zipper to a tulle skirt. Some of my favourites are Cora, Bella, and even Catalina (FREE with the code found in our Facebook group)! You can also use a knit (fabric with stretch) bodice if you prefer. Some of my favourites include Ella, Isla, and Hampton!
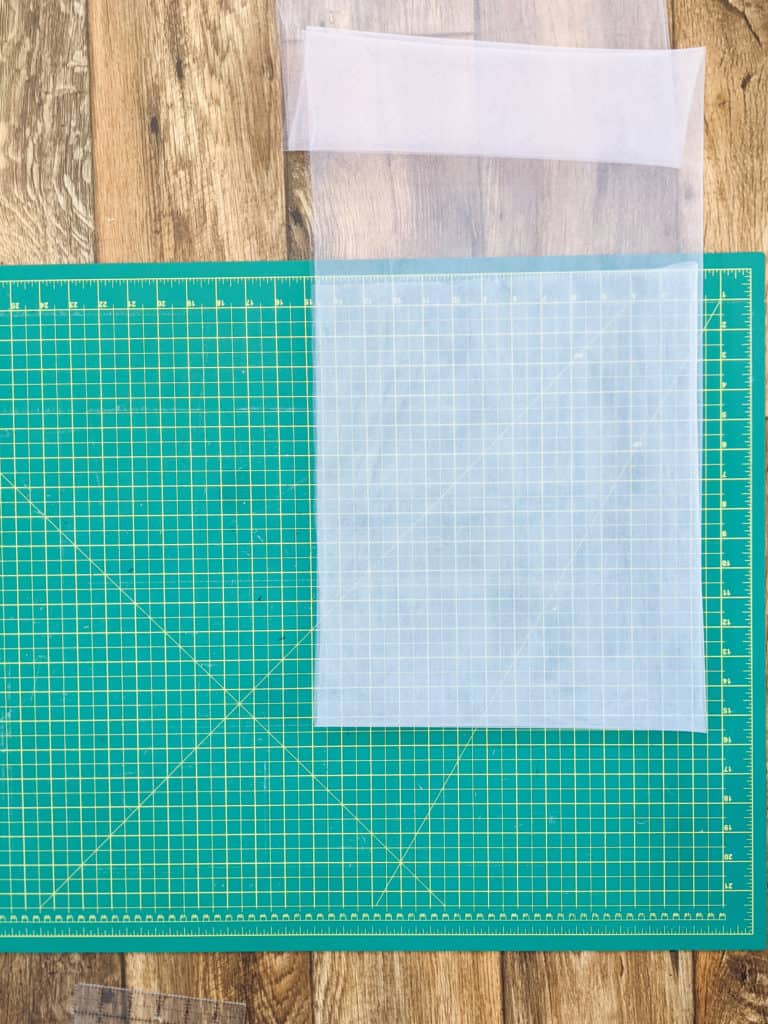
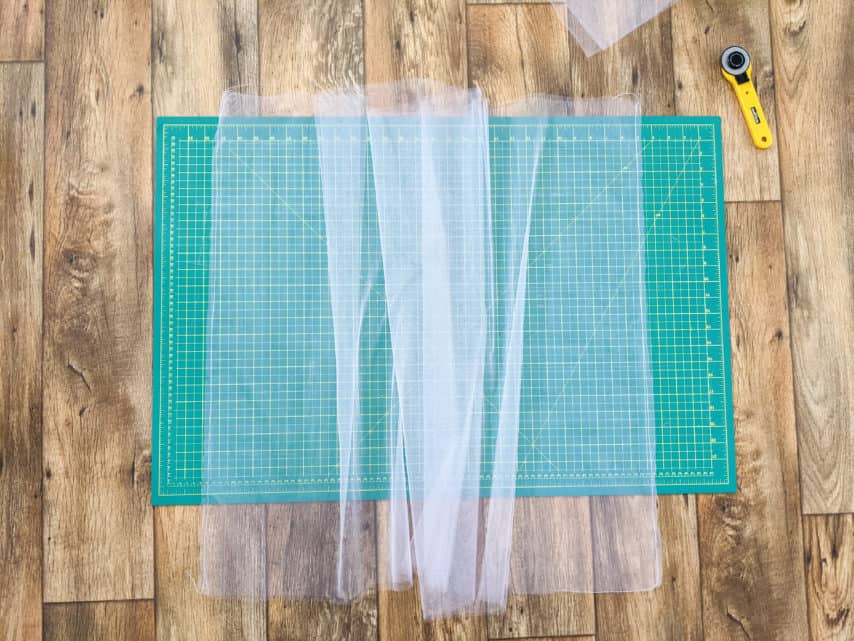
Step 2 – Cutting the tulle
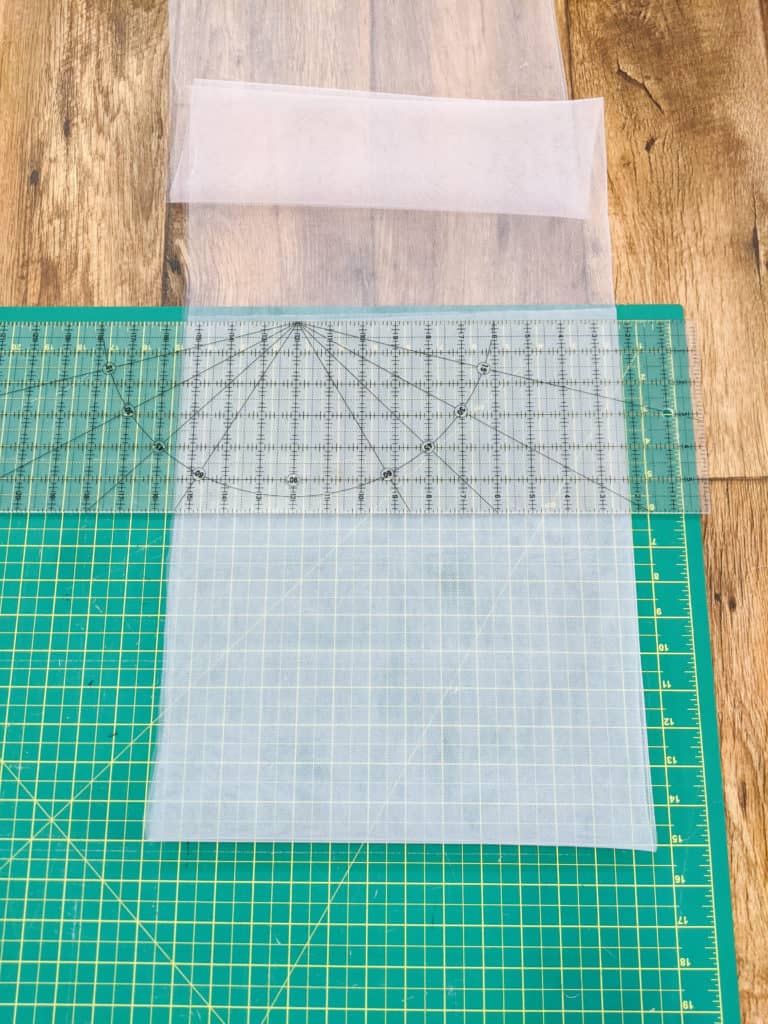
The next step is to cut the tulle! Since you want to cut the full width of the tulle, the best way to cut it is to first fold your tulle with selvage edges (longest sides) together twice – meaning you will be cutting through 4 layers of tulle. Before you cut, I like to double the length of my skirt (usually found in the cut chart of your dress pattern). To do this easily, I fold up the raw short edge, and line it up with the 0” mark on my cutting mat, making sure that the fold is at my skirt length (in this case 15.5).
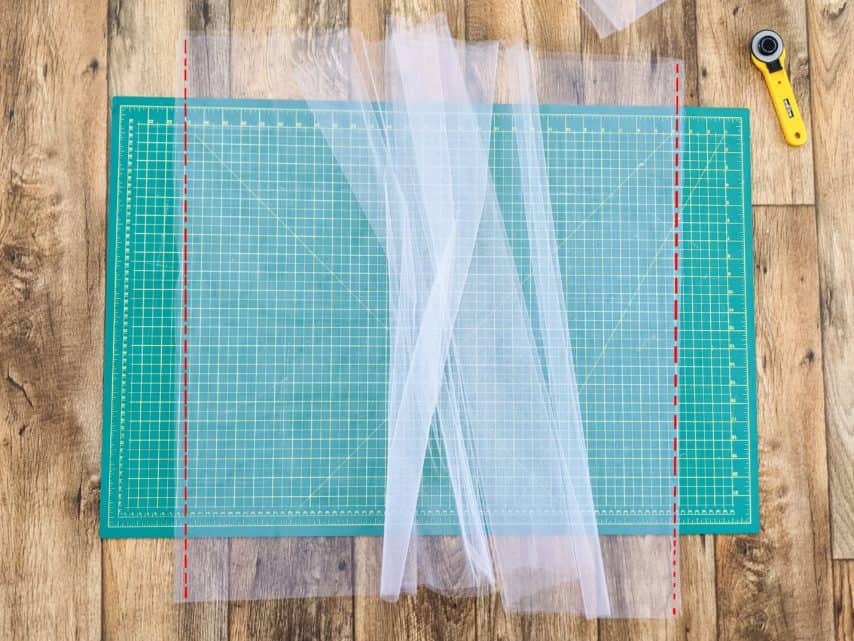
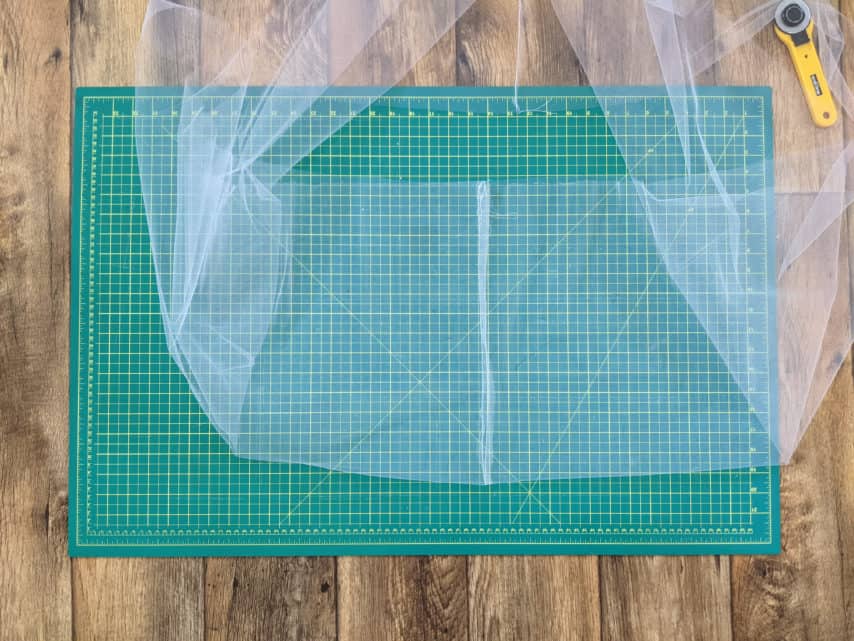
Then I cut along the 0” line.
You now have the first layer of your front skirt! Repeat this step until you have about 8 pieces (4 front and 4 back).
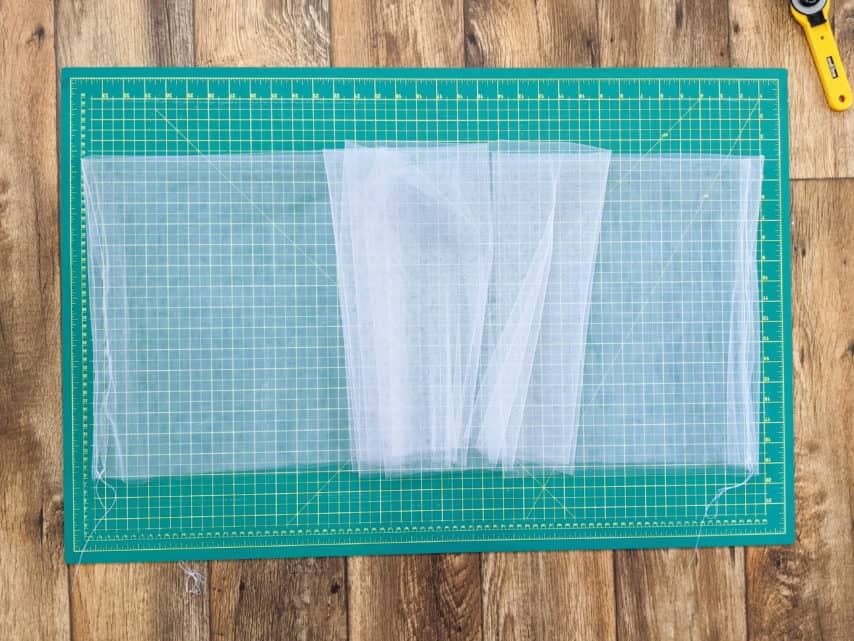
Step 3 – Sewing front and back skirts together
Now it’s time to sew our skirt fronts to our skirt backs. Take two of the pieces you have cut, and line them up right sides together. Sew them together at the short ends only to make a big tulle loop. Continue with all 8 skirt pieces until you have 4 tulle loops.
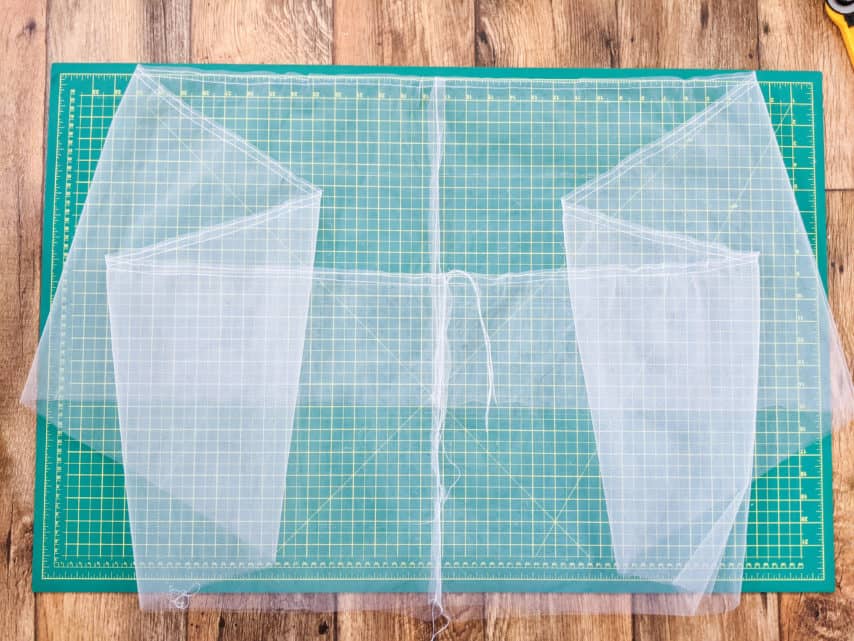
Step 4 – pressing the tulle
Once you have your 4 tulle loops complete, take each side seam and fold them in half with the wrong sides together. With your iron on the wool, or low, setting, press the tulle so that it is folded in half all the way around the loop. Repeat with each of the 4 tulle loops.
Step 5 – Gathering
Starting at one side seam, sew two rows of gathering stitches (length 4, tension 3) along the edge of the fold. Sew one with a seam allowance of 1/8”, and the other at 1/2”. Do not back stitch! You now have your first (and second) layer of your tulle skirt ready to gather.
One tulle loop at a time, pin the side seams to the side seams of your dress, and pull the bobbin threads to gather.
Step 6 – Attaching to the bodice
Adjust the gathers so they are even and pin to the bodice. If you used a bodice with an elasticized back, be sure to stretch before pinning. Using a 3/8” seam allowance, sew the tulle loop to the bodice, stretching the back elastic (if applicable) as you sew. Flipping the dress right-side-out, you will notice that one of the gathering stitches is showing. To take it out, pull the bobbin thread until it comes out completely. Repeat this step until all skirt layers are sewn to the bodice.
Once all the skirt layers are sewn on, I like to serge along the raw waist seam. If you find your skirt to be too sheer, you can add a skirt lining as well!

Thanks for reading! Feel free to share any of your creations using Simple Life Patterns in our Facebook group. I can’t wait to see what you make!
All love,
Victoria Strong