Autumn Sew Along – Day 3
We are now on day three of the Autumn sew-along. I’m loving everyone’s fabric choices so far! Great job on completing day 1 and 2 as well. For today we will complete steps 8 through 17 of the tutorial. If you chose to add the optional lining then today will be a very short day for you.
Optional Lining
For those of you that are adding the lining to your Autumn creation, this will be the only step you complete for today. Start with your main bodice laying so that right sides are facing up. Next, lay your lining on top so that right sides are together. Match up the shoulder seams and neckline hole. Sew around your neckline making sure that you use a stretch stitch to attach the main and lining pieces. Clip your curves with pinking shears and turn right side out. Press well. You are now done for the day.
Neck Binding
To add the neckline binding, start by sewing the short ends of your neck binding piece together so that right sides are together. This will form a loop. Press the seam allowance open.
Next, fold the binding in half so that the raw edges align and wrong sides are together. Find the center of your neck binding by folding it in half at the seam and mark with a pin.
Now, starting with your bodice flipped wrong side out, align the top raw edges of your neck binding with your neckline. Pin the seam of your neck binding to the back center of your dress. Similarly, pin the center of your neck binding to the front center of your dress. Continue pinning the neck binding to the neckline, stretching the neck binding slightly to fit around the neck hole. Sew around the neckline to secure the neck binding to your dress.
Finally, flip the neck binding completely to the right side of the dress and pin in place. make sure to sandwich the seam allowance between your dress and binding. Topstitch the binding to the dress 1/8″ from the edge. Press well.
If you are adding sleeves to your dress or top, you are done for the day. Only continue to add arm binding if you are creating a sleeveless version without the lining.
Arm Binding
You will add the arm binding much like you added the neckline binding.
First you will need to sew the side of your dress closed. With your dress laying flat, flip the front dress pieces down onto the back dress pieces so that right sides are together. Match up the side seams and pin in place. Sew/serge along the side seam. Repeat for the other side.
Next, sew the short ends of your arm binding together so that right sides are together. This will form a loop. Press the seam open. Fold the binding in half so that wrong sides are together and align the raw edges. Press well. Find the center of your arm binding by folding it in half at the seam. Mark the center with a pin.
With your dress flipped wrong side out, align the top raw edge of your arm binding to your armscye. Pin the seam of your arm binding to the center back of your dress and the center of the arm binding to the front of your dress. Continue to pin the arm binding to the armscye, stretching slightly to fit. Sew around the armscye.
Finally, flip the binding completely to the right side of your dress and pin in place. Make sure to sandwich the seam allowance between the dress and arm binding. Topstitch the binding to the dress 1/8″ from the edge. Press well. Repeat for the opposite arm.
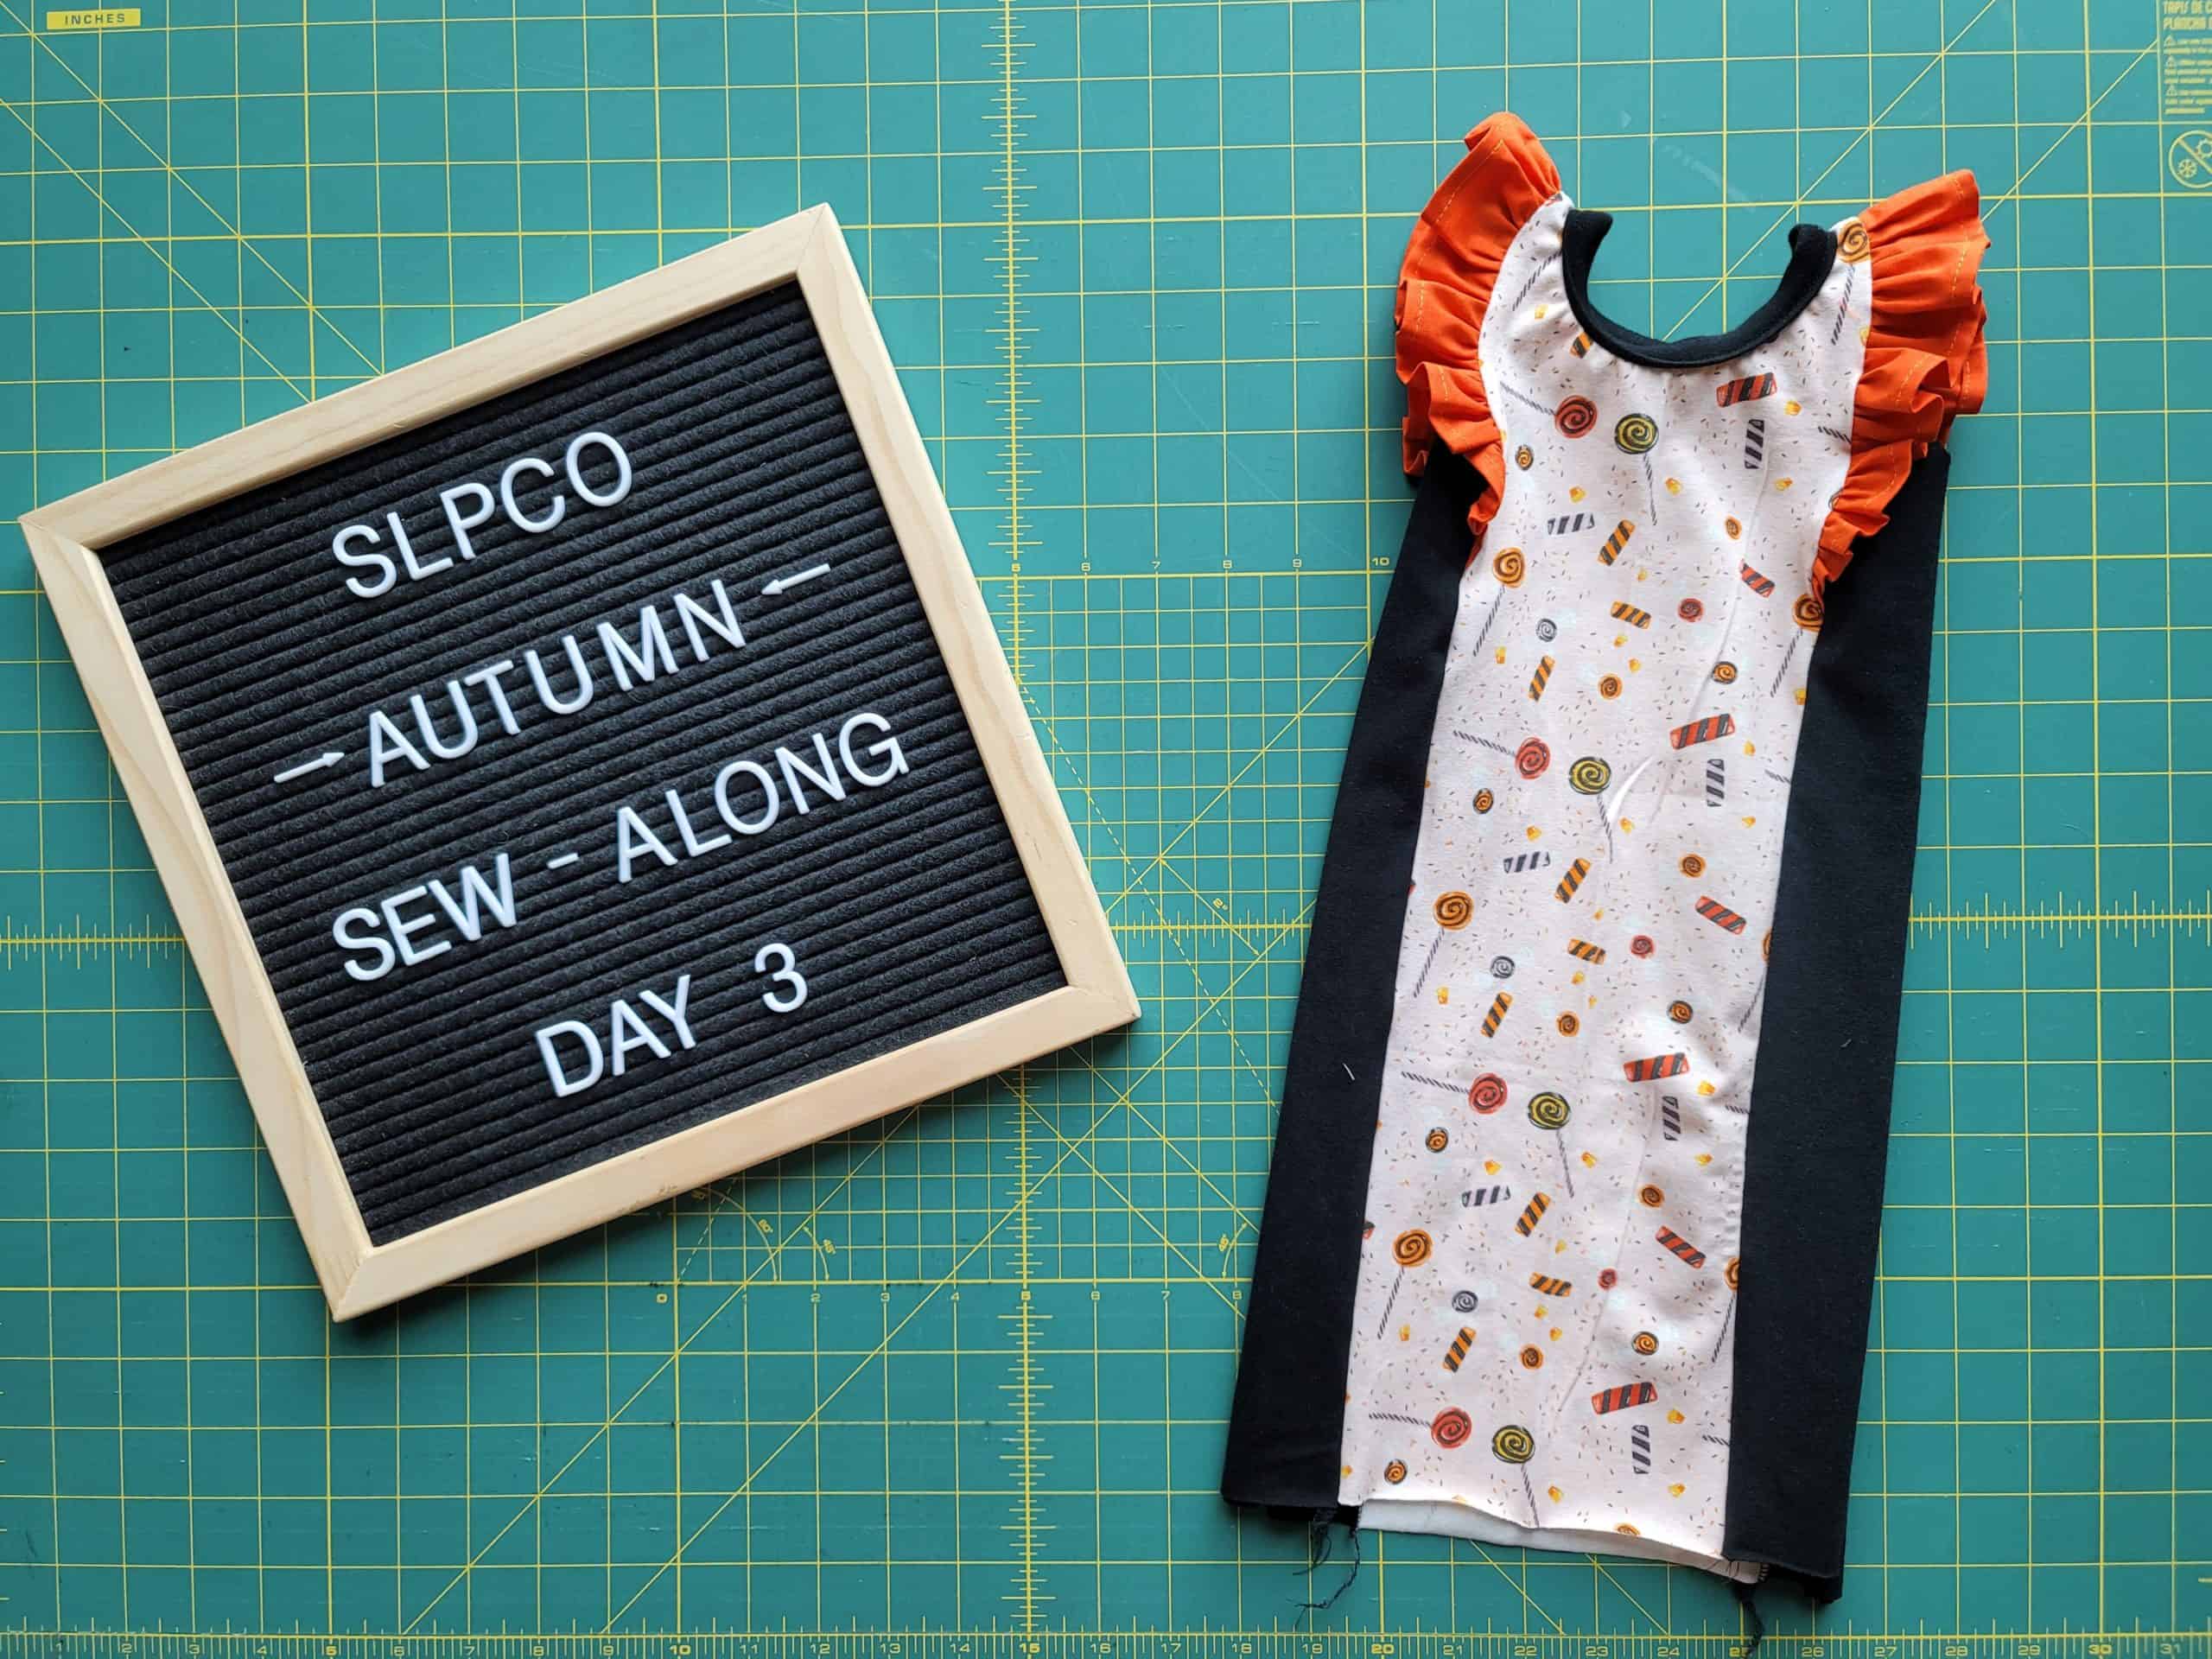
Day 3 Progress
That’s all for day 3. Make sure you upload a photo of your progress into the Autumn sew-along album for your daily entry to win shop credit. I’ll see you all back here tomorrow when we will go over the burrito roll method for the optional lining and add sleeves to our creations.
Happy sewing,
Chauncey