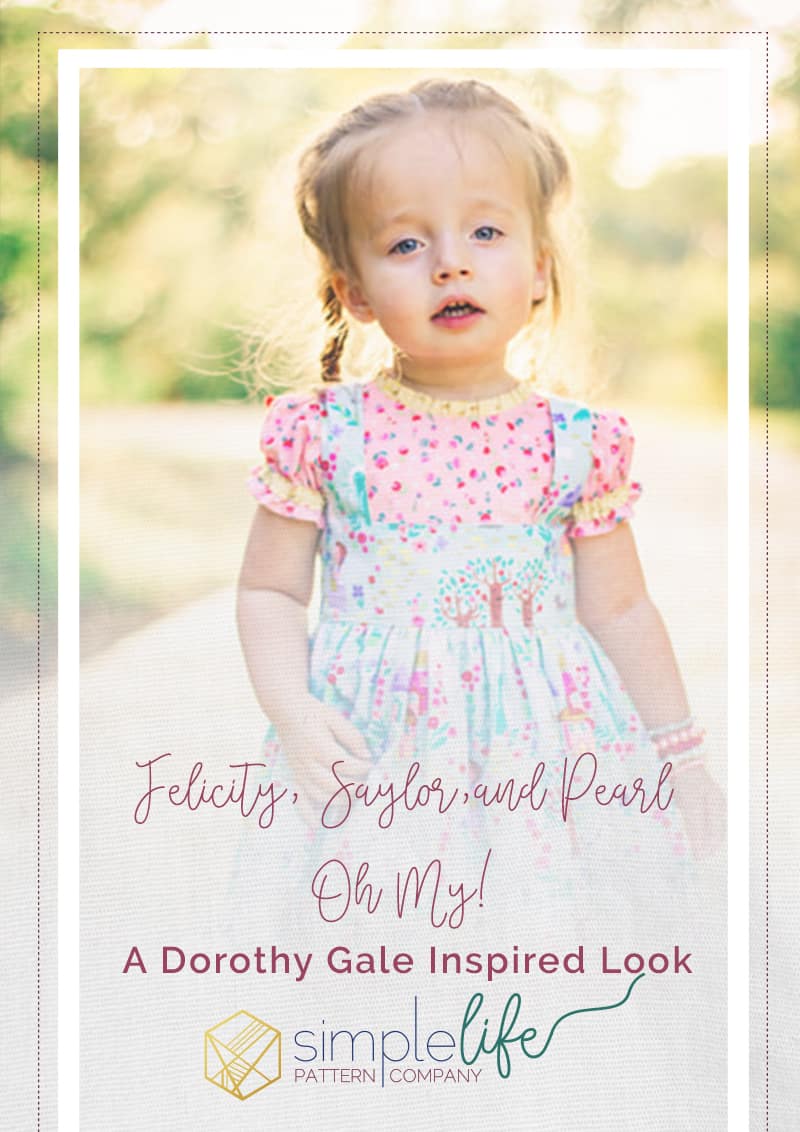
Felicity, Saylor,and Pearl Oh My!
I grew up watching the Wizard of Oz. So, when I saw the “Dorothy’s Journey” collection from Riley Blake Designs I knew I had to make my little Kansas girl something! I wanted a classic Dorothy inspired look and started combing the Simple Life Pattern Company website for pattern ideas.
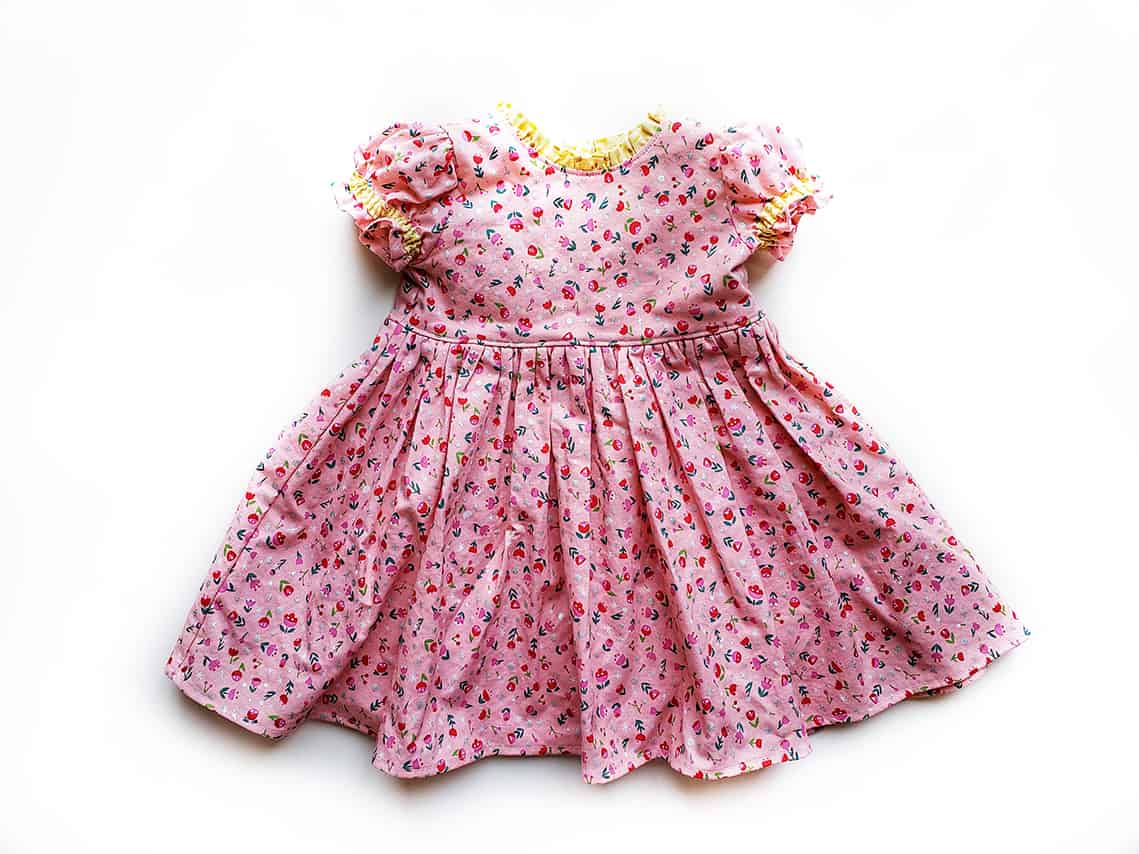
The first pattern that jumped out at me was Felicity. The ruffled neck on the bodice reminded me of the ruffled bodice on the iconic blue gingham dress. I chose this as my base pattern. Next I selected Pearl for the puffy sleeves. As I browsed I was drawn to Saylor. I absolutely adore the square back on this pattern. Then I wondered… what if I used the back of Saylor as a template for a pinafore to complete my Dorothy inspired look?

With a little courage and some brain power I set out to make this work of heart. Here’s how you can get the look too!
First you’ll need to purchase these patterns:
Cut and sew the Felicity bodice with neck ruffle as instructed. Stop when you get to attaching the sleeves.
For the sleeve I cut the Pearl short sleeve version. Instead of creating the shirring using elastic thread, I cut a 1 inch strip of fabric just slightly wider than my sleeve at the first shirring line. I created a small half-inch wide casing to run ⅛” elastic through. I stitched the casing to the sleeve starting at the first shirring mark according to the pattern instructions. This gave the sleeve a contrast to match the ruffled neckline. Attach the sleeve to your bodice according to Pearl pattern directions.

You will also need to cut the skirt from the Felicity cutting chart and attach to the bodice per pattern instruction. At this point you will have created the first piece of this ensemble.
Next I printed and cut out the front and back bodice pieces for Saylor.
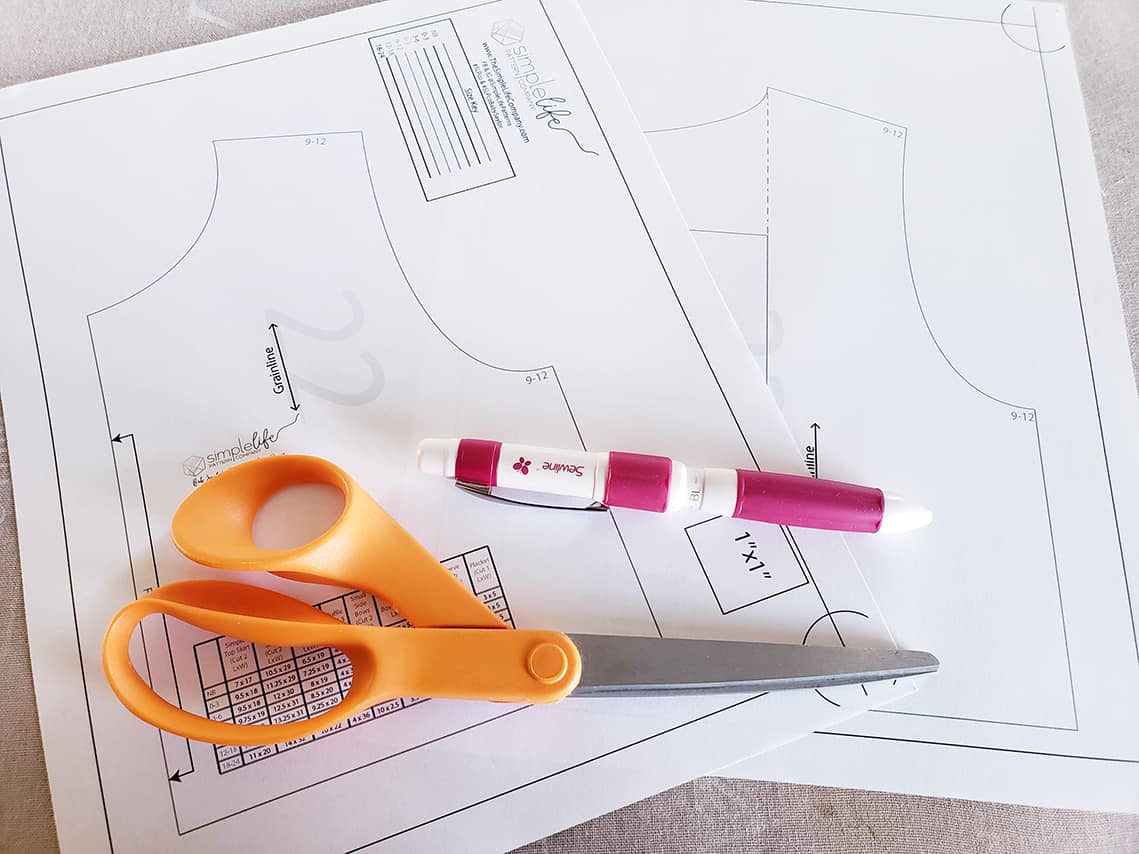
Lay the back bodice piece on top of the front bodice, making sure to align the shoulder and arm curves. Trace the square design from the back piece onto your front piece.

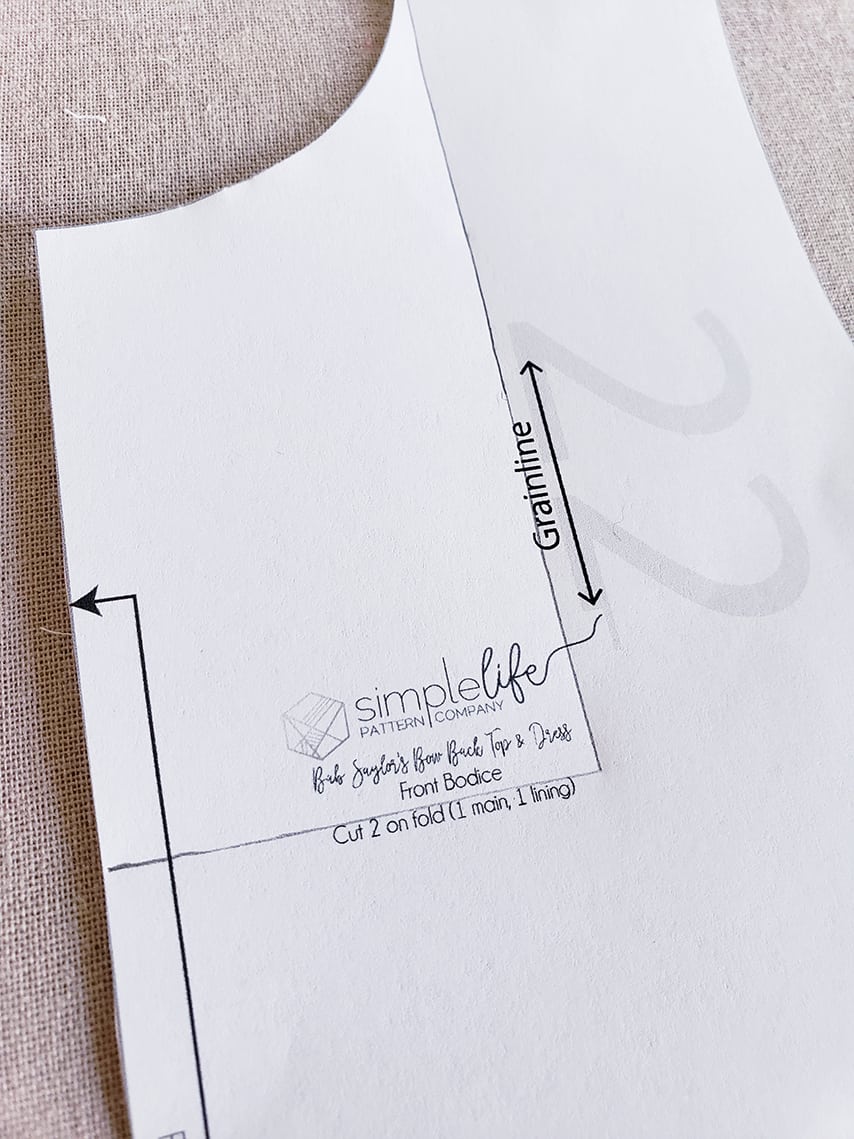
Cut along the lines you just drew. Now you have a Saylor pinafore template! Complete the garment by following pattern instructions.


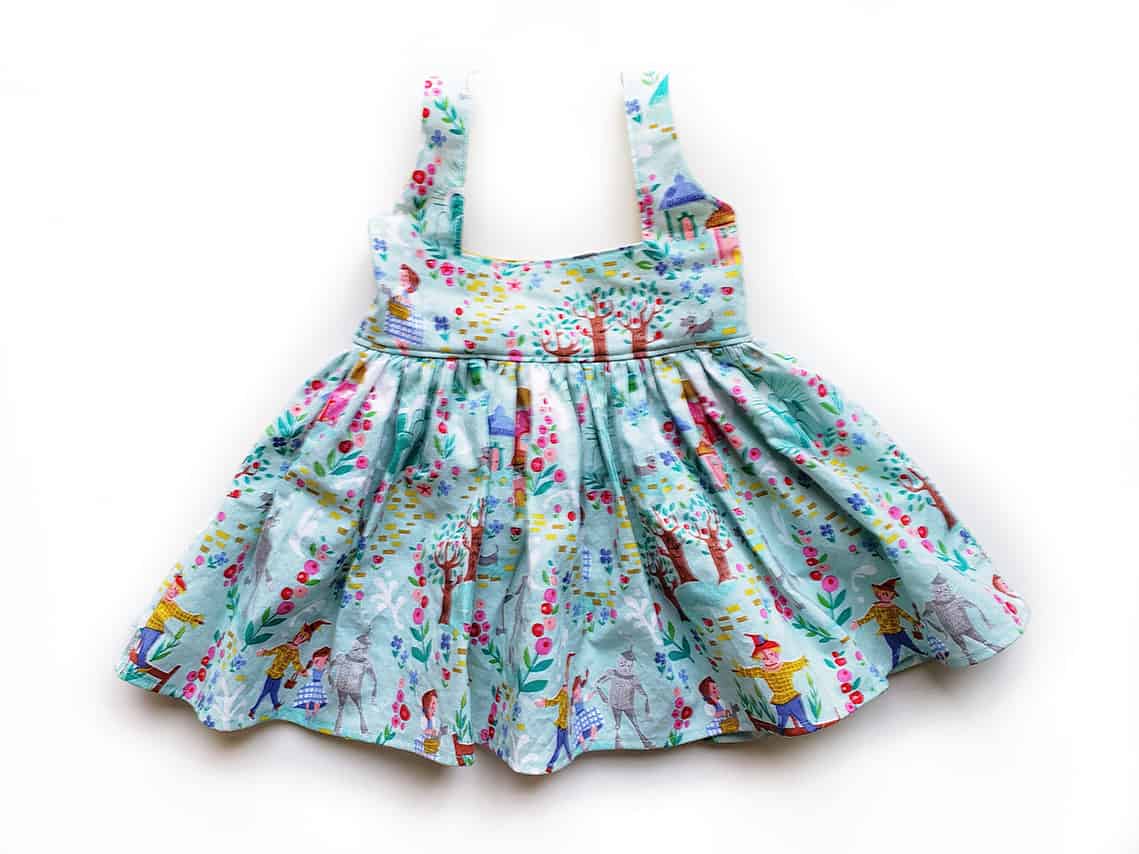
When cutting the skirt for Saylor, I cut it 2 inches shorter than the chart required for my daughter’s size because I wanted the underskirt to peep out.
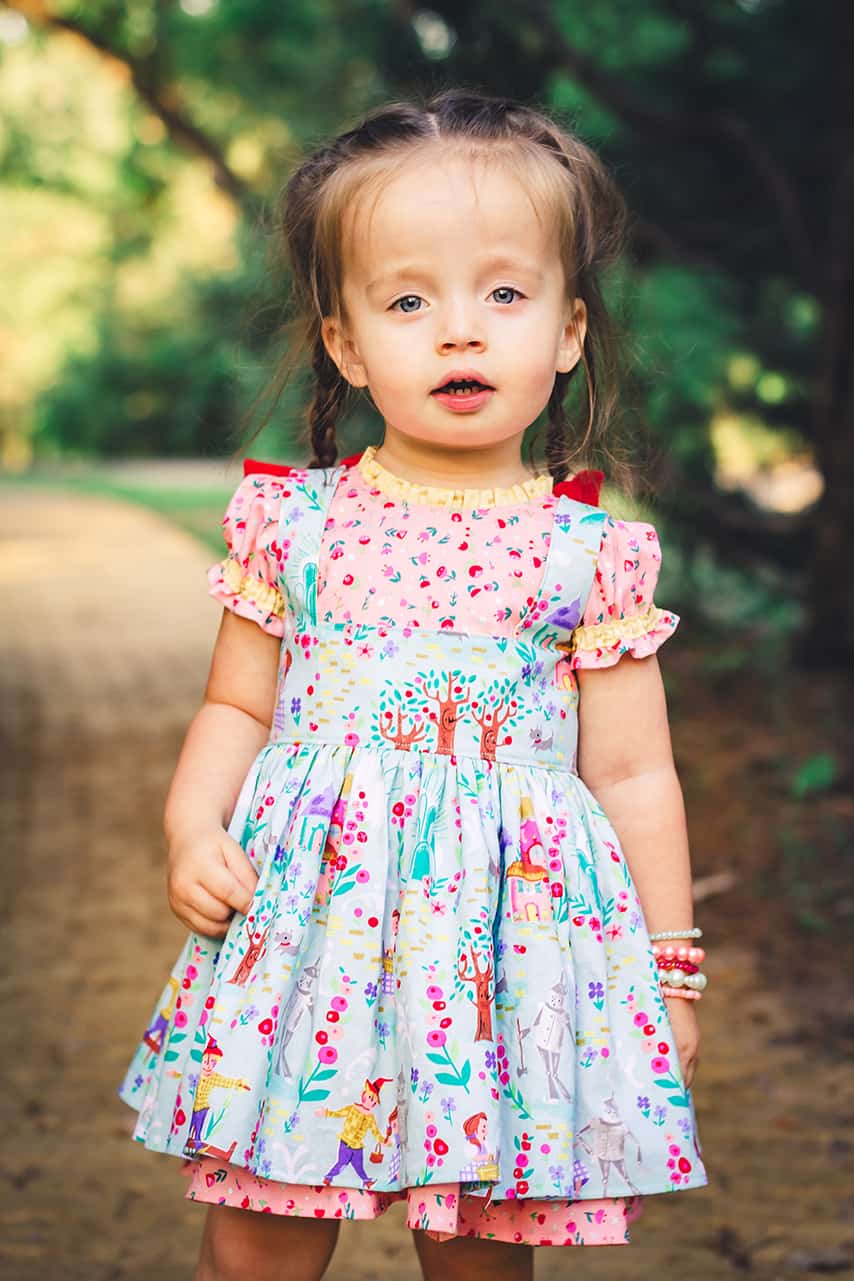
And there you have it! Two adorable pieces you can layer together for the perfect Dorothy inspired look or wear separately! Thanks for checking out my Frankenpattern design! I can’t wait to see what you sew up!
Sew much love,
Chauncey