
FREE Grow With Me Romper – Adding a Snap Placket
Hi! My name is Victoria Strong, and today I’m going to show you a tried and true way I add snap plackets to the inseam of my Grow With Me Rompers. Now, if you haven’t already found this pattern, it is a FREE romper pattern by Simple Life Pattern Co. for Bernina’s We All Sew, found here. If you have a projector, you can find the projector file in our Facebook group here.
Step 1 – Putting the Romper Together
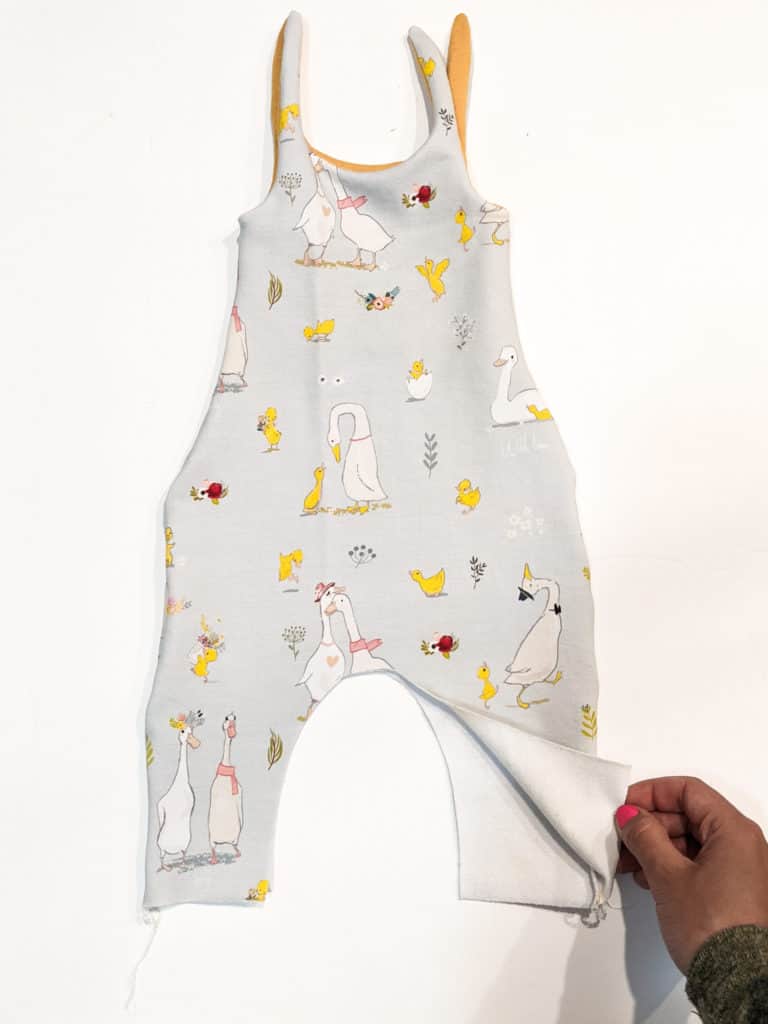
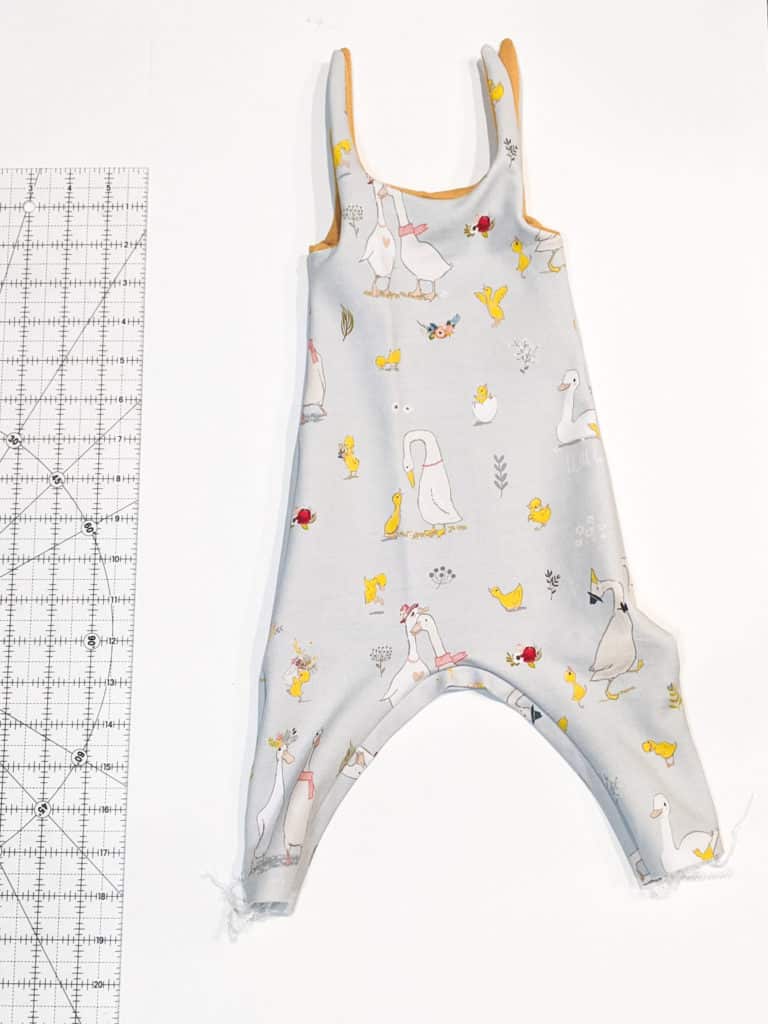
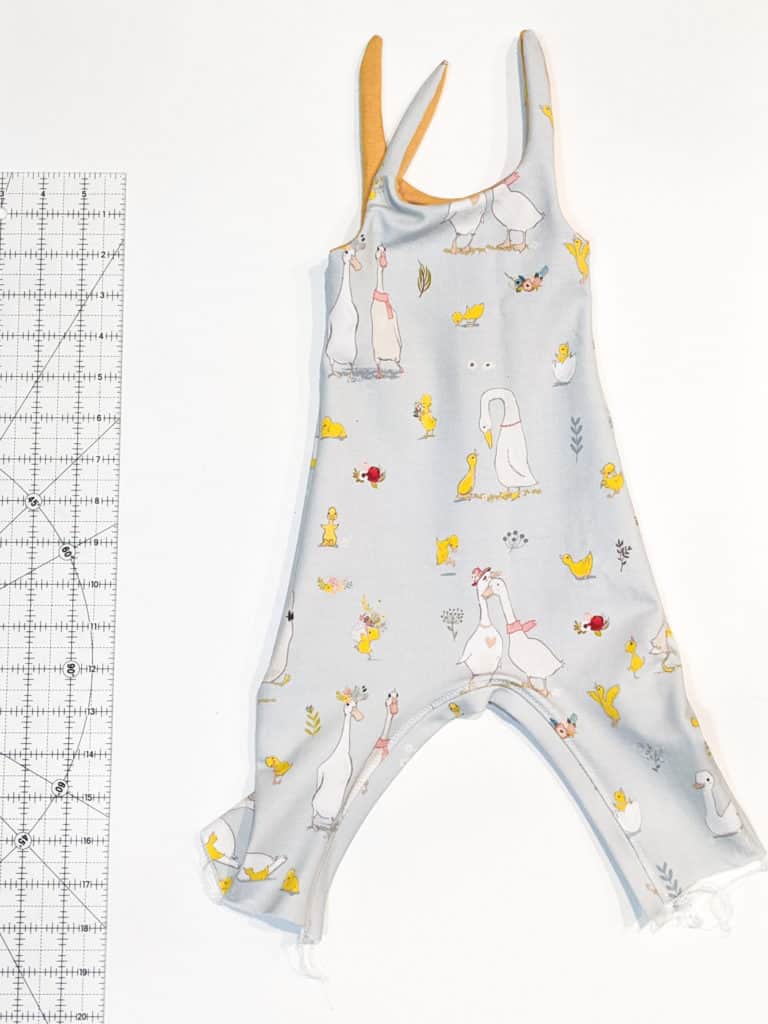
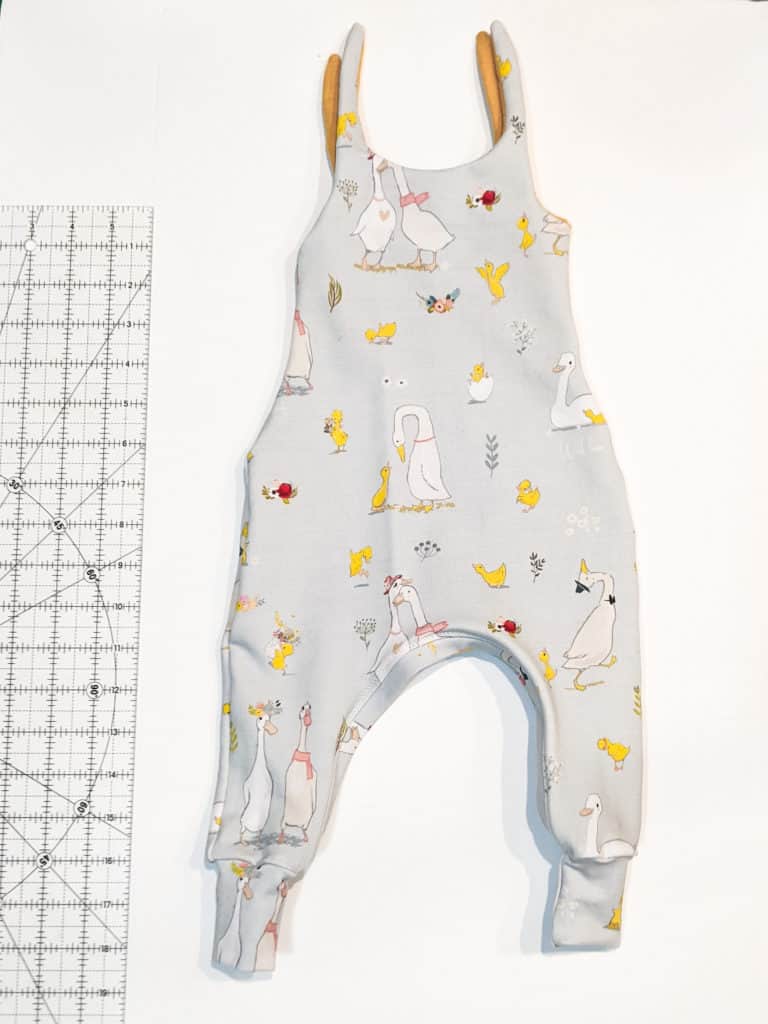
The first step is to sew your romper as per the pattern instructions, and stop before sewing the inseam. You will have a romper that looks something like the photo above.
For this one I used a French terry with excellent stretch from Salmon Valley Knits for the exterior, and a good quality Cotton Lycra for the lining from Black Rabbit Fabric.
Step 2 – Cutting Pieces For Your Placket
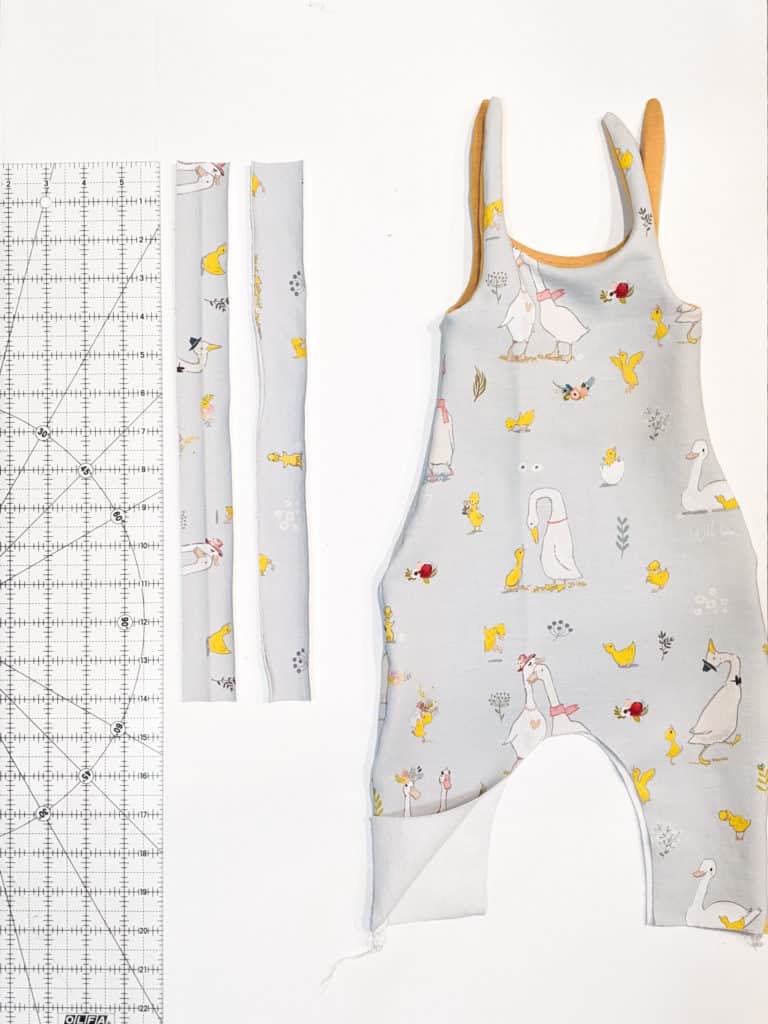
Next, you will want to measure your inseam. I am doing a size 3-6 month size, and my inseam measured 13”. Then, I cut two strips of fabric 1” in width, by 1” longer than my inseam measurement in length. My strips measured 1” by 14”, for example. I have 9mm snaps that I love to use, and it is perfect for these measurements. However, if you have larger snaps, you will want to increase the width of your strips accordingly. Be sure to cut your strips with the length going across the grain to have the most stretch.
After you have those cut, you’ll want to fold them wrong sides together lengthwise and press.
Step 3 – Positioning Your Placket Pieces
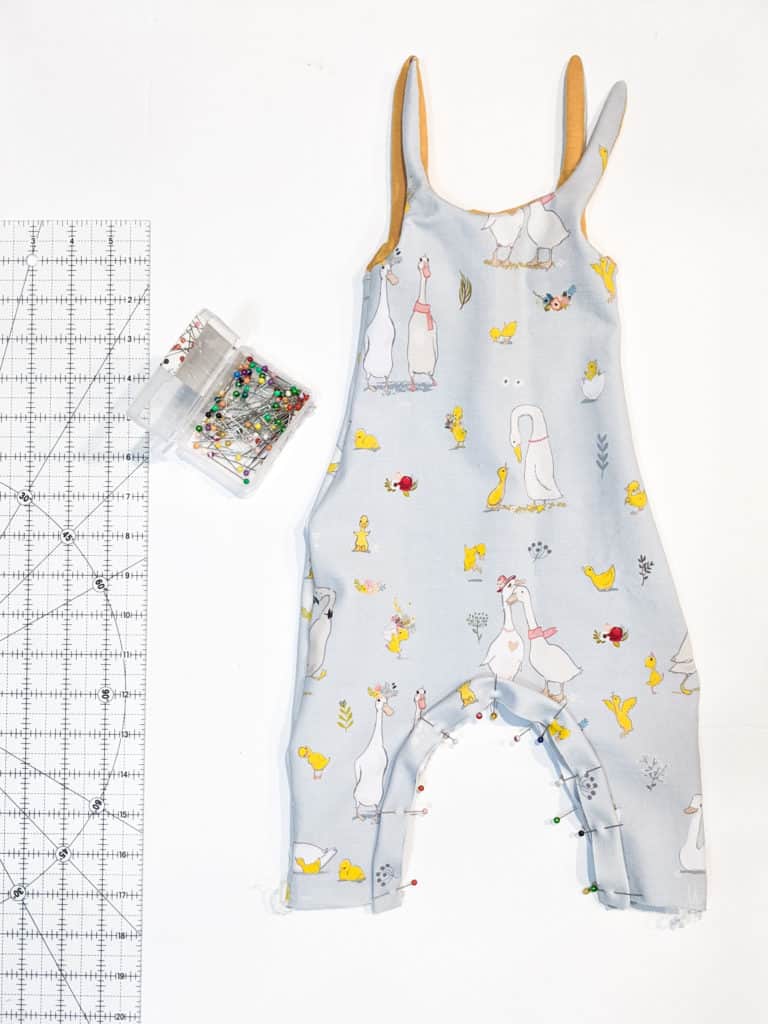
Now that your strips are pressed in half, pin them right sides together onto your front inseam and back inseam, lining up the raw edges. Try not to stretch the strips too much to avoid any waving in your seams.
Step 4 – Sewing Your Placket Pieces in Place
If you have a serger, I recommend using it for this step for maximum stretch, however it is entirely possible to attach your placket with a sewing machine. Using your serger or a stretch stitch at ¼” seam allowance, sew the strips onto your romper. Press allowances up toward your romper.
Step 5 – Top Stitching
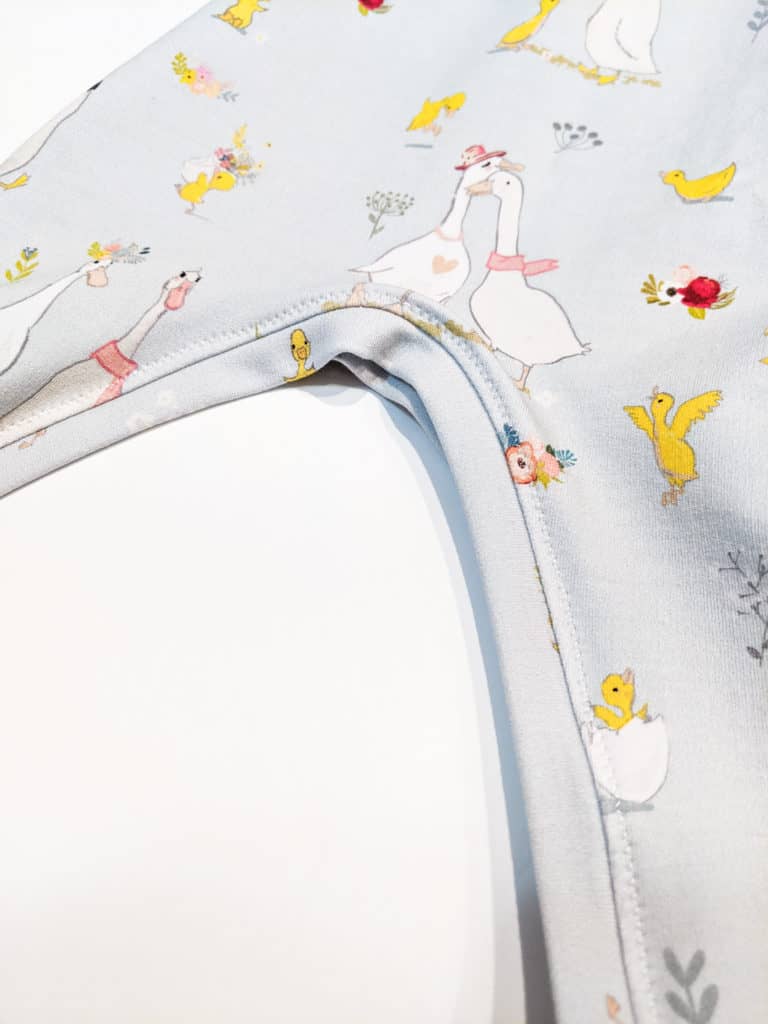
The next step is to top stitch. Using a zigzag stitch or coverstitch, top stitch your seam allowance with a ⅛” seam allowance as shown in the photo above.
Step 6 – Basting Placket Pieces Together
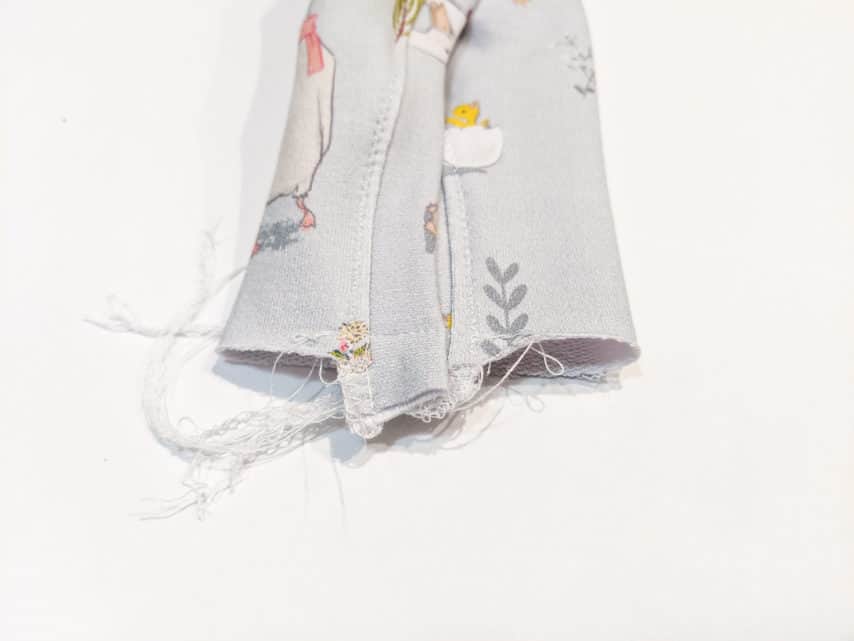
Now we will baste stitch our snap placket at the bottom of the pant. To do this, overlap the two strips you have just sewn on, and stitch them together as shown in the photo above. Do this on both sides.
Step 7 – Attaching Cuffs
Attach your cuffs as the tutorial suggests, and you’ll have a romper that looks like this!
Step 8 – Inserting Snaps
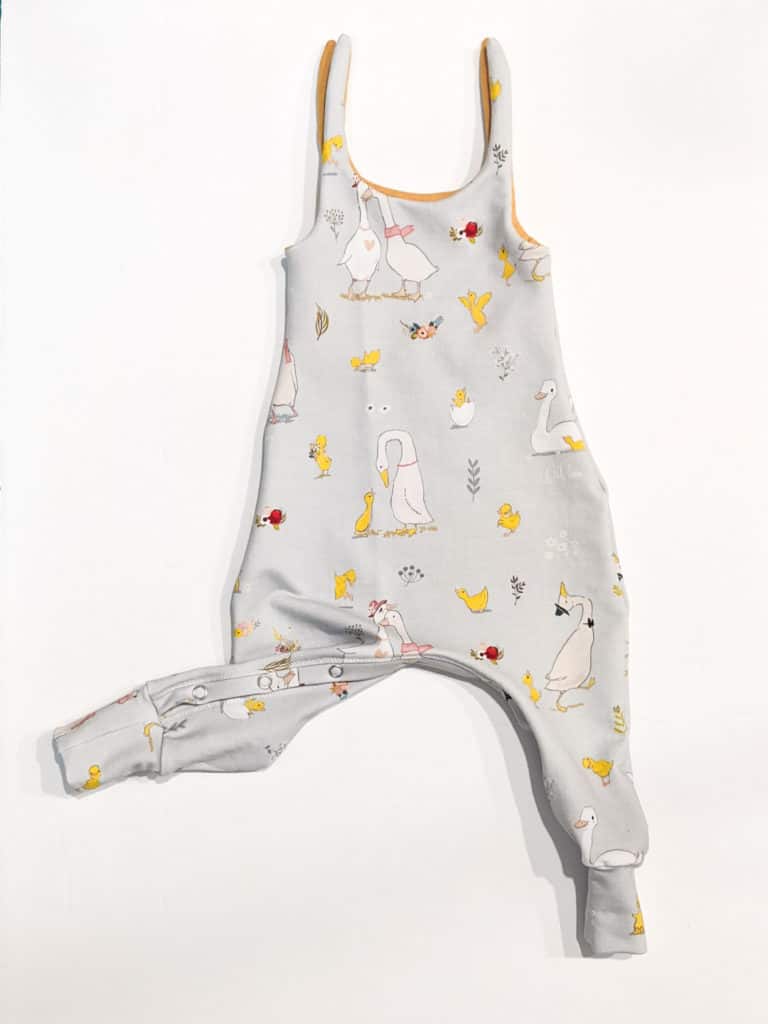

Now all you have left to do is apply your snaps to the placket, and you have a diaper change friendly romper! You can also check out this blog post if you are interested in using this pattern with one of our dress bodices, or fancy a shorter version.
Thanks fo reading!
Victoria.


Stephanie Mauger
Hi, I want to buy the grow with me romper but I can’t find it on the website. Does it still exist?
Thank you
Victoria Strong
Here is the link:
https://weallsew.com/wp-content/uploads/sites/4/2019/05/Simple-Life-Patterns-Grow-With-Me-Romper.pdf