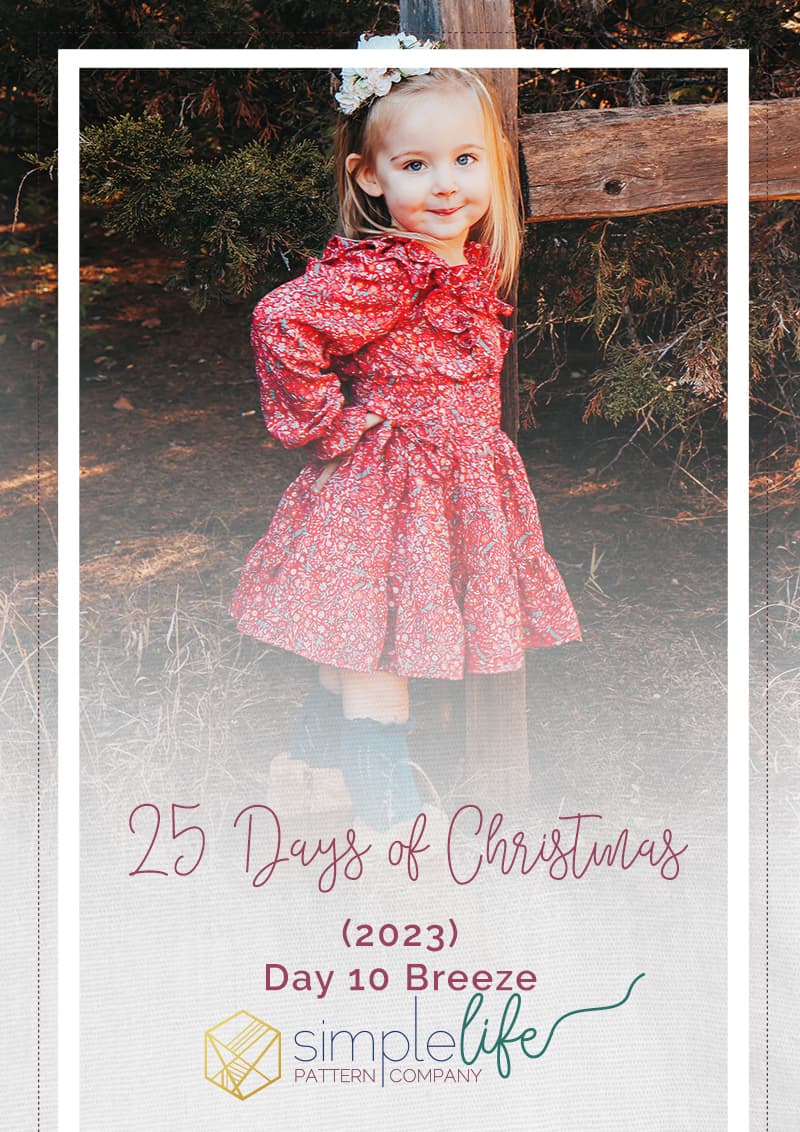
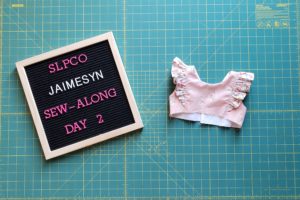
Jaimesyn Sew Along – Day 2
Welcome back! If you are just now joining there is certainly time to catch up. Just check out the day 1 blog post on how to get started. Today we are working on steps 1 through 12 to complete our bodice.
Getting Started
Starting with your main fabric pieces, lay your center front piece right side up. Next, take the front side pieces and lay them on each side of your center front piece. The arm holes of your front side pieces should be facing away from the bodice center. The reason that we start by laying our pieces out this way is to help keep everything oriented. This will make it easier to differentiate front and back pieces later on.
Now, lay your center back pieces on top of your center front with right sides touching. Align along the shoulder and pin in place. Take your back side pieces and lay them on top of your front side pieces so right sides are touching. Likewise, align along the shoulder and pin in place. Sew along the shoulder with a 3/8″ seam allowance. Repeat with the lining pieces.
Now we must hem our ruffle pieces. Press the long straight edge up 1/4″ with wrong sides touching. Fold up and additional 1/4″ and press. Topstitch the hem in place 1/8″ from the folded edge. Repeat with your additional ruffle pieces. Sew two rows of gathering stitches along the curved edge of your ruffle. Repeat with all ruffle pieces.
Note: if you are adding double ruffles I find it is easier to lay your top ruffle onto your bottom ruffle so right sides of both ruffles are facing up. Sew your gathering stitches through both layers at once. This makes it even easier to gather the ruffle pieces and attach them to your bodice.
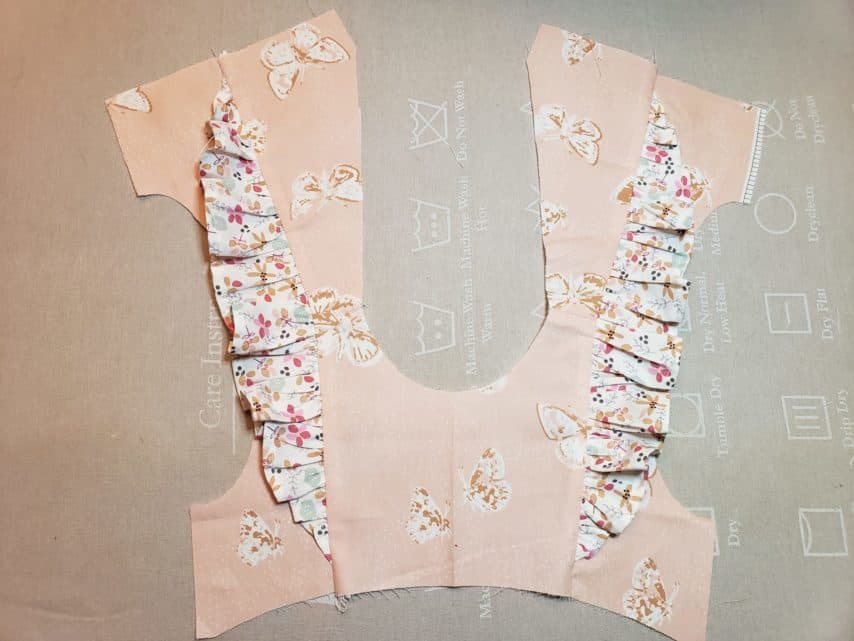
Adding Ruffles
Take your ruffle and fold it in half to find the center. Create a crease. Now, open the flutter and lay it along the raw edge of your bodice center pieces. Align the center crease of the ruffle over the shoulder seam of your center bodice pieces with right sides touching. Pin in place. Also pin the ends of your ruffle to the bottom of your bodice pieces. You will want about 1/2″ of your ruffle to hang over each side of the bodice. Finally, pull your gathering threads on the ruffle piece until it is the same length as your bodice pieces. Evenly distribute the gathers and pin in place. Repeat on the other side of your bodice center piece. Baste your ruffles to the bodice.

Since you’ve basted the ruffle in place we can move to adding the side pieces. Take a side piece and match it to the correct side on the bodice. Note: the front bodice is curved and will help with matching side pieces easily. Lay the side piece on top of the bodice with right side facing down. Align along the shoulder seams first and pin. Continue pinning down the raw edge. Sew the side piece to the bodice. Make sure you are sewing through the ruffle layers as well. Repeat with the remaining side piece.
Open up your bodice. With the ruffle seam pushed towards the center of the bodice, topstitch 1/8″ from the seam. Consequently, this will help your ruffle lay flat.
Adding the Lining
With your main bodice laying right side up, place your lining bodice piece on top, with right sides facing. I like to align the shoulder seams first and pin in place. Continue matching the raw edges along the back and around the neckline. Pin in place. Starting at center back bottom, sew up and around the neckline and back down. Clip your curves with pinking shears.
Continue here for the sleeveless version. If you are adding sleeves, you will work on adding them tomorrow. If you added ruffles, be sure to push them out of the way before sewing the arm curves. I like to roll the ruffles toward the neckline. Once they are out of the way, match up your armhole main and lining fabric and pin in place. Sew along the armhole curve. Clip your curves with pinking shears.
Finishing the Sleeveless Bodice
Don’t worry, you are almost done for the day! Start by turning the bodice right side out. At the front bottom of the bodice, gently pull the ruffles through. Press all seams flat. Furthermore, take your lining fabric and separate it from your main fabric on the front and back of your bodice pieces. Next, take your back bodice side seam and flip them over onto the front side seams, with right sides facing. Pin along the raw edge, making sure to match the center armhole seam. Sew along the seams. Finally, iron the seams open so your bodice side seams lay flat.
Day 2 Progress
Since you worked so hard on creating your bodice today make sure you upload your progress into the sew-along album. While you are there check out what your fellow seamstresses have created and leave them some feedback and encouragement. I certainly hope to see you all back tomorrow! Don’t forget to invite your friends to join.
Happy sewing,
Chauncey