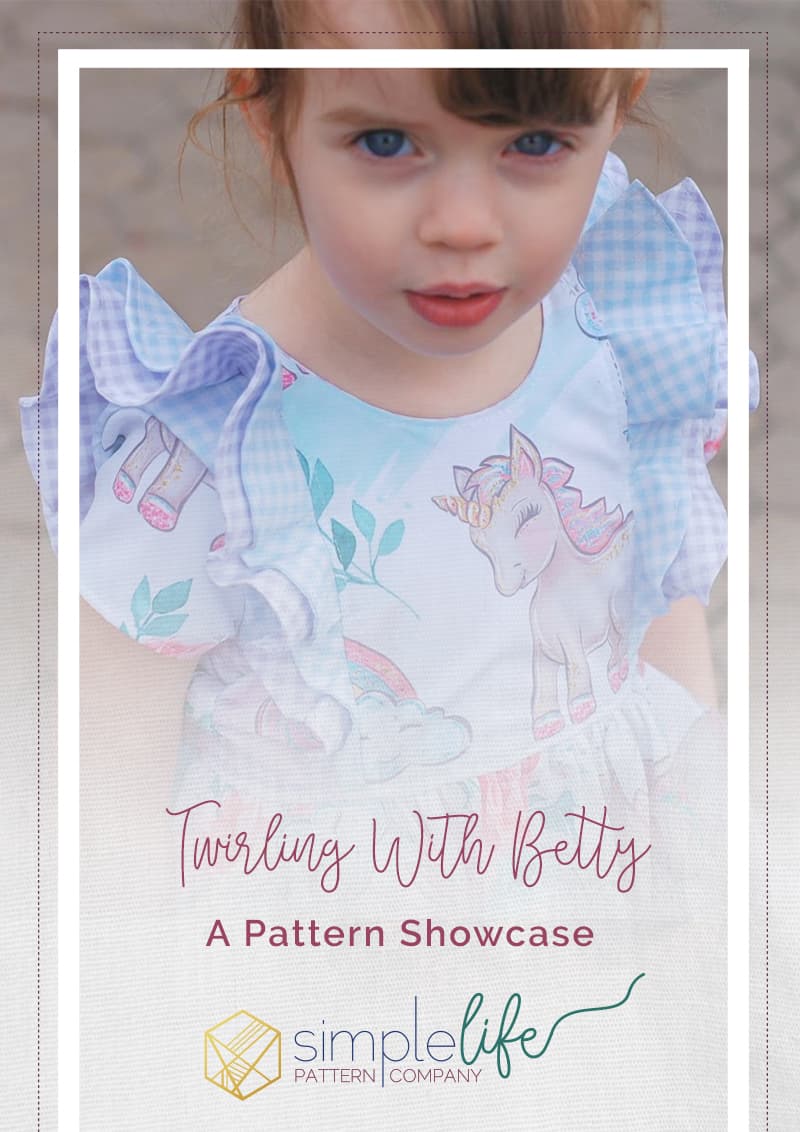
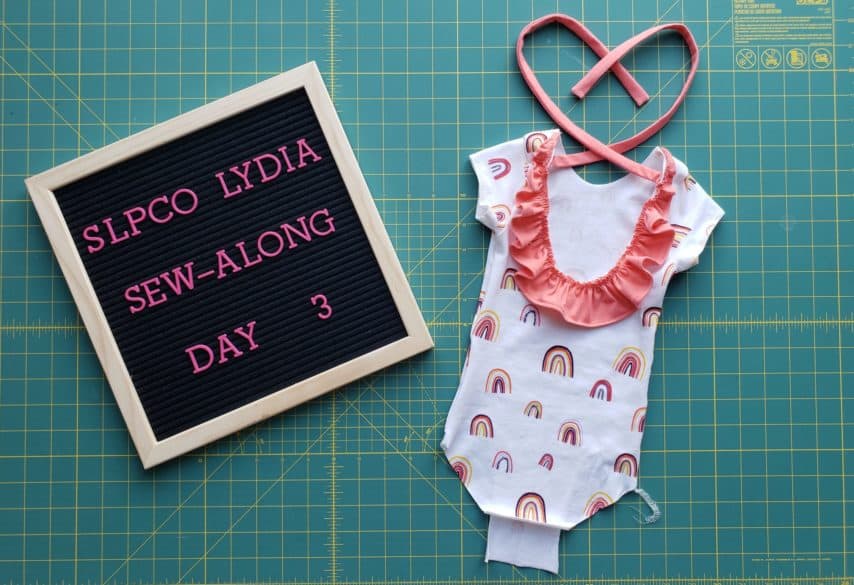
Lydia Sew-Along Day 3
You’ve made it to day 3 of the Lydia sew-along! Everyone is doing great thus far. Please reach out to me in the Facebook fan group if you are stuck or have questions. Today we are working on completing steps 4 through 16 of the pattern. This includes the back side ties, sleeves, and gathered skirt. Let’s get to sewing!
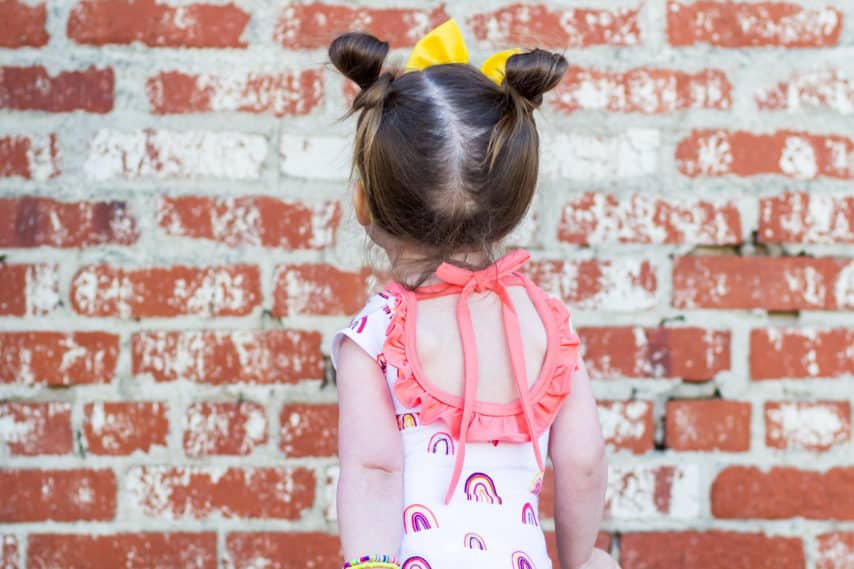
Back Bodice Ties
We will start by folding our back bodice tie pieces in half lengthwise with right sides together. Sew along the long straight edge and one of the short edges. I like to use my sewing machine for this. Then I serge the long straight edge. The reason I serge the raw edge is because I think it helps the tie to lay flat. If you are working with a knit fabric that has a tendency to roll I highly suggest you serge the raw edge. You can see in the below photo how nice and flat the tie on the right lays once turned and pressed. Be sure to clip the bottom corner before turning right-side out. This will give you a nice point at the end of your ties.

Pin your ties to the wrong side of your back bodice with the open raw edge even with the raw edge of your back bodice neckline. Baste in place. Be sure your seams are facing downward for a nicer looking finish.
Sleeves
First, you will need to attach your front bodice to your back bodice. Lay your front bodice piece on top of your back bodice piece with right sides together and pin along the shoulder. Sew/serge in place.
Next, place your sleeve on top of your bodice pieces with right sides together and pin along the armscye. I like to find the center of my sleeve and align it with the shoulder seam and pin. Also, if you serged your shoulder seams, make sure to fold the seam toward the back of the bodice before attaching your sleeve. Sew/serge your sleeve in place. If you are making a small size I recommend using your sewing machine for this step since it is difficult to serge such small curves with accuracy. You can then serge your raw edges. Take your time and use caution not to catch the ruffle in your seams.
Now we will sew the bodice and sleeves closed. Start by laying your back bodice flat with right side facing up. Lay your front bodice on top, with right sides touching. I recommend aligning the underarm seam first (where the sleeve is attached to the bodice). Then continue pinning the sleeve and bodice sides together. Sew/serge the entire arm and side seams. Repeat with the other side.
Finally, hem your sleeve. Take note that the hem widths differ for short and long sleeves. Refer to the pattern for further instructions.
One-Piece Leotard
If you are making a one-piece leotard and will not be adding a snap placket to the crotch, go ahead and complete step 10 of sewing the front and back pieces together at the crotch.
Circle Skirt
If you have have chosen to add the circle skirt continue by first sewing your skirt pieces together along the side seams. Hem your skirt. With your bodice right side out, flip your skirt inside out and place it over the bodice, aligning the side seams. If you are using a directional print, check to make sure that the front and back of your skirt match the front and back of your bodice. Pin your skirt to your bodice along the raw edge. Sew/serge your skirt to your Lydia bodice. You will finish your Lydia dress tomorrow when we work on bindings.
Skirted Bottom
For those of you adding the skirted bottom we will begin by sewing the sides of our bottom leotard pieces together. Lay the front piece on top of the back piece with right sides together and sew/serge along the side seams. Next, lay one of your skirt pieces on top of the other with right sides facing and align the short side seams. Sew/serge the pieces together on both sides.
Hem your skirt by folding the bottom edge up 1/4″ and press. Topstitch 1/8″ from the edge. Then sew two rows of gathering stitches. I like to sew one row at 1/8″ from the raw edge and the second row at 1/4″ from the raw edge. This allows me achieve more even gathers. Gather your skirt to the same width as your leotard bottom. Place your skirt over your leotard bottom with right sides facing up. Align the side seams of your skirt with your leotard bottom and pin in place. Continue pinning your skirt to the top edge of your leotard bottom. Adjust your gathers so that they are even. Baste the skirt in place.
Lastly, with your bodice inside out, slide the leotard bottom/skirt inside of the bodice so that right sides are facing. Match up the side seams and pin in place. Double check that your fronts and backs match up. Sew/serge the two pieces of your leotard together.
Day 3 Progress
Whew! You did it! I promise this is the most labor intensive day of this sew along. If you aren’t able to complete all of these steps today, don’t give up! You will have several makeup days over the weekend. Also, don’t forget to snap a photo your Lydia project with the above steps completed. Upload your photo into the Lydia Sew-Along Album in the fan group for a chance at a daily prize! While you are there check out the progress of your sew-along mates and feel free to leave some positive feedback.
Happy sewing,
Chauncey