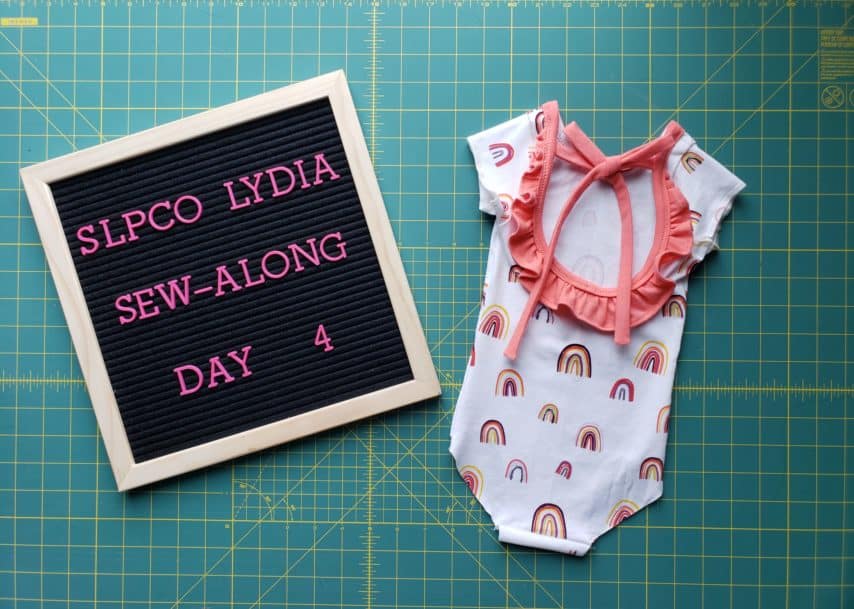
Lydia Sew-Along Day 4
Day 4 of the Lydia sew-along has arrived. Since we worked so hard yesterday we will slow things down today and focus on binding. Today we are working on steps 17 through 24, the arm and neck binding. If you are just now seeing this please join us! You have until Sunday night to get caught up and submit your daily progress photos. Now, let’s get started.

Arm Binding
To finish the armscye of the sleeveless Lydia leotard you will need to attach binding to cover the raw edges. Start by sewing the short ends of your arm binding together with right sides touching. Press your seam allowance open to reduce bulk. Fold the binding in half with wrong sides together. Find the center and mark with a pin. Working on the wrong side of your leotard, begin by aligning the binding seam with the shoulder seam. Next, pin the center of the binding to the side seam. Continue to pin your binding to your armscye by slightly stretching the binding as you go. Make sure not to stretch the leotard. Sew the binding to the armscye using a 3/8″ seam allowance.
Finally, flip your leotard right side out. Fold the binding to the right side of the leotard, making sure to sandwich the seam allowance in between the leotard and binding. Topstitch the binding to the leotard 1/8″ from the edge. I like to use a zigzag stitch with a stitch length of 3.0 and tension of 4. Go slow for best results. Repeat with the other arm.
Neck Binding
First of all, if you had trouble navigating through the arm binding I’ve created a video of how to attach the neck binding that will help. You can find the video by searching my name in the Facebook fan group.
Now, to finish your neckline you will first sew the short ends of your neckline binding with right sides together. This will create a loop. Press the seams open to reduce bulk. Find the center of your neckline binding and mark with a pin. With your leotard turned wrong side out, align the neckline binding seam with the center of your leotard back bodice. Pin in place. Likewise, find the center of your neckline binding and align it with the center of your leotard front bodice. Begin to slightly stretch your binding and pin/clip it along the leotard neckline. Take care not to stretch your leotard bodice, only the binding. Sew the binding in place using a 3/8″ seam allowance.
Flip your leotard right side out. Fold the binding to the right side of the leotard, sandwiching the seam allowance between the leotard and binding. Pin the binding in place. Topstitch the binding to the leotard 1/8″ from the edge. As stated above, I prefer to use a zigzag stitch for this step. If you have a coverstitch machine or a machine with twin-needle capabilities, you can choose to topstitch your binding using them instead.
Day 4 Progress
That’s it! You made it through day 4. If you are making the dress version then you are done and have a free day tomorrow or an extra day to play catch-up. Don’t forget to snap a quick photo of your daily progress. Be sure to upload it into the Lydia Sew-Along album in the fan group. While you are there check out the amazing progress of your sew-along mates! I’ll see you all back here tomorrow. We will finish our leotards by adding the leg binding and optional snap panel.
Happy binding,
Chauncey