Norah & Shelby Sew Along – Day 3
Welcome back friends! If you are just now joining us, there is plenty of time to catch up on the Norah and Shelby sew-along. Since we worked so hard yesterday we only have a few steps left to finish our bodices. For today we will work through steps 13 through 21.

Burrito Roll Method
To encase the seams of the armscye, we must use the burrito roll method. Start by laying your bodice with the main side up. Separate the main from the lining on one side at the shoulder seams. Starting on the opposide side, begin rolling the other bodice piece toward the opened shoulder seam. With the roll centered along the shoulder seam between the opened main and lining, flip the lining over the roll and onto the main fabric, with right sides touching. Make sure to align the arm hole edges and pin in place. Next, sew along the arm hole. Clip the curves.
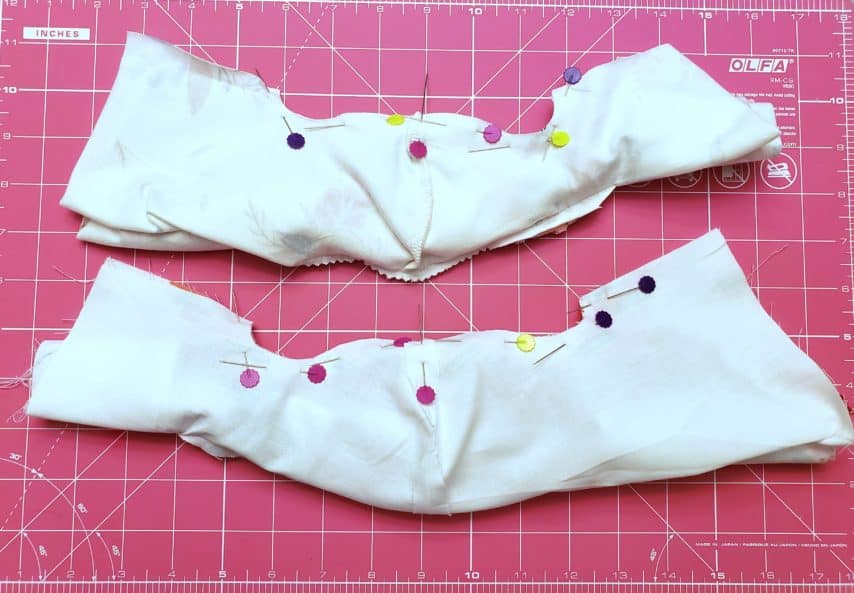
Now, separate the front and main lining pieces and begin to pull the previously rolled fabric out. Continue pulling the fabric until the bodice is right side out. Finally, repeat for the other arm hole. If you have trouble working through the burrito roll method you can find find a video here from the Isla sew-along.
Side Seams
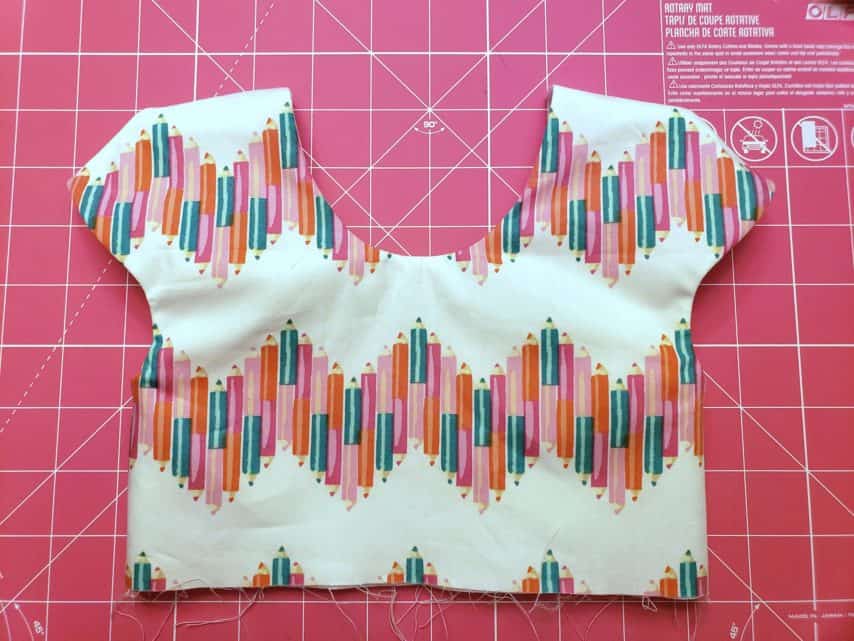
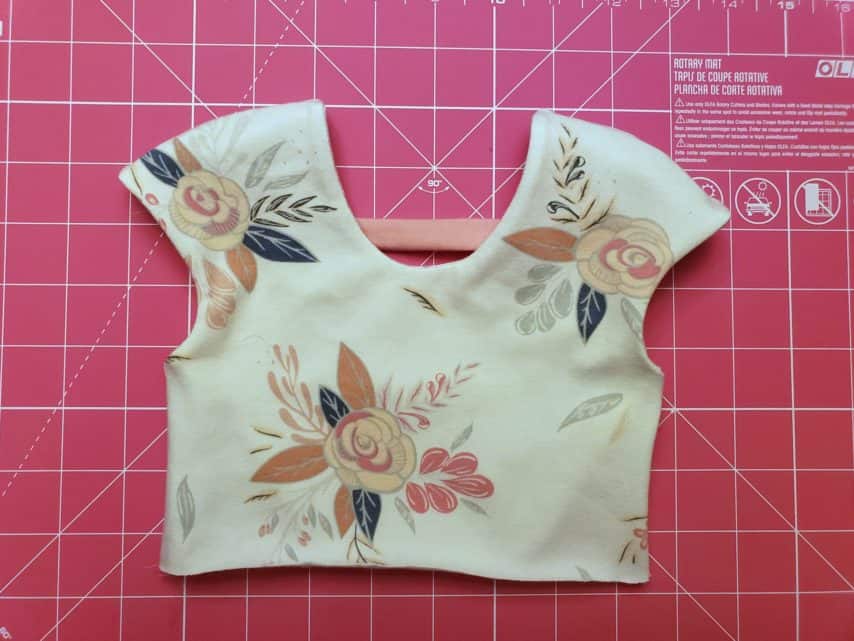
To finish the bodice we need to sew the side seams closed. Again, lay your bodice flat with main fabric facing up. Separate the main and lining fabrics by flipping the lining up towards the center. Next, flip the back bodice over onto the front bodice with right sides together. Make certain that the main fabrics are facing each other and the lining fabrics are facing each other. Match the side seams and pin together. Sew along each side seam.
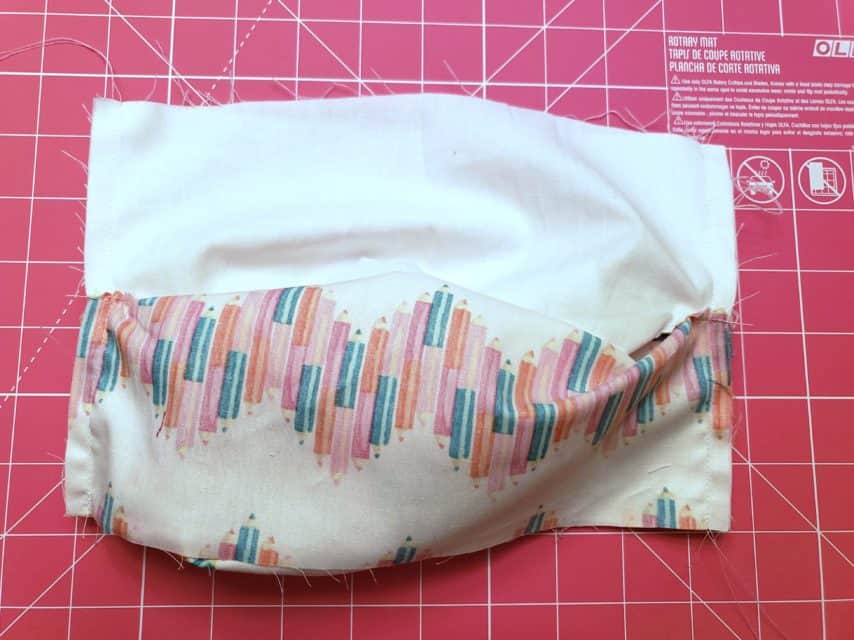
Iron the side seams open and flip the bodice right side out. Finally, topstitch around the neckline and arm holes 1/8″ from the edge.
Daily Progress
That’s it for today! Don’t forget to upload your daily progress photos into the sew-along album in the fan group. Also, if you fall behind a day, don’t quit! You have until Sunday evening to finish and upload all of your daily progress photos.

Happy sewing,
Chauncey