Creating Separates Using a SLPco Pattern {A Tutorial}
Hello, Courtenay here again with a new hack. Sophie was the first ever Simple Life Pattern Company dress that I bought and sewed and I feel like it deserves some love and attention.
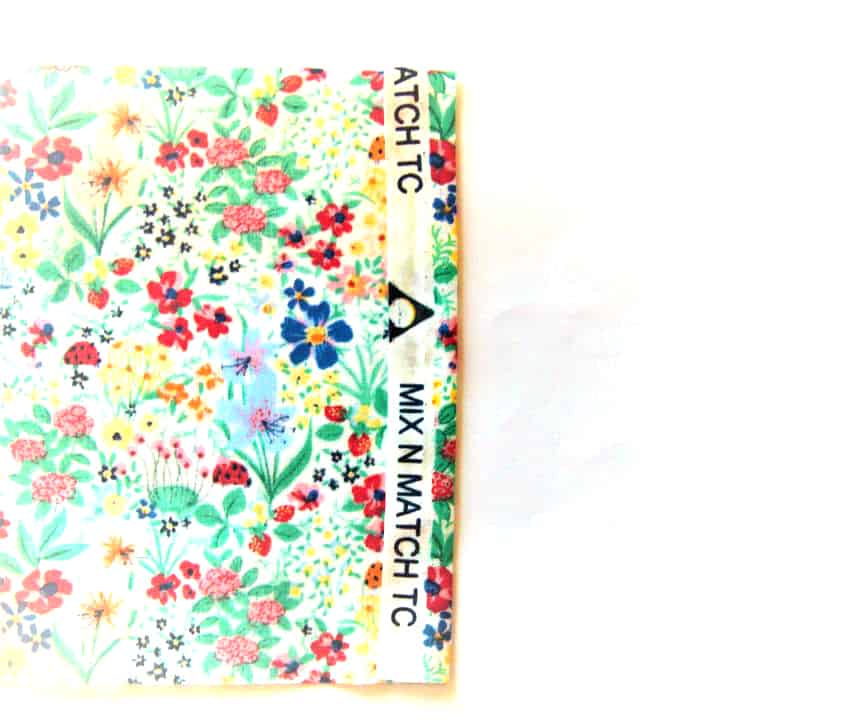
Now I must confess I have a serious love for a coordinating separates outfit, and couldn’t resist turning Sophie into an adorable peplum top and skirt. First things first, if you don’t already have the beautiful pattern, click HERE to purchase Sophie.
I have created this look without the simple short-sleeved version of the dress, so no neck or skirt ruffles however you can replicate this hack with any extra options you like so its as busy or as simple as you would like. My mini-model and (fashion stylist boss) is Miss Daisy and I have used size 2 as the base for her dress.
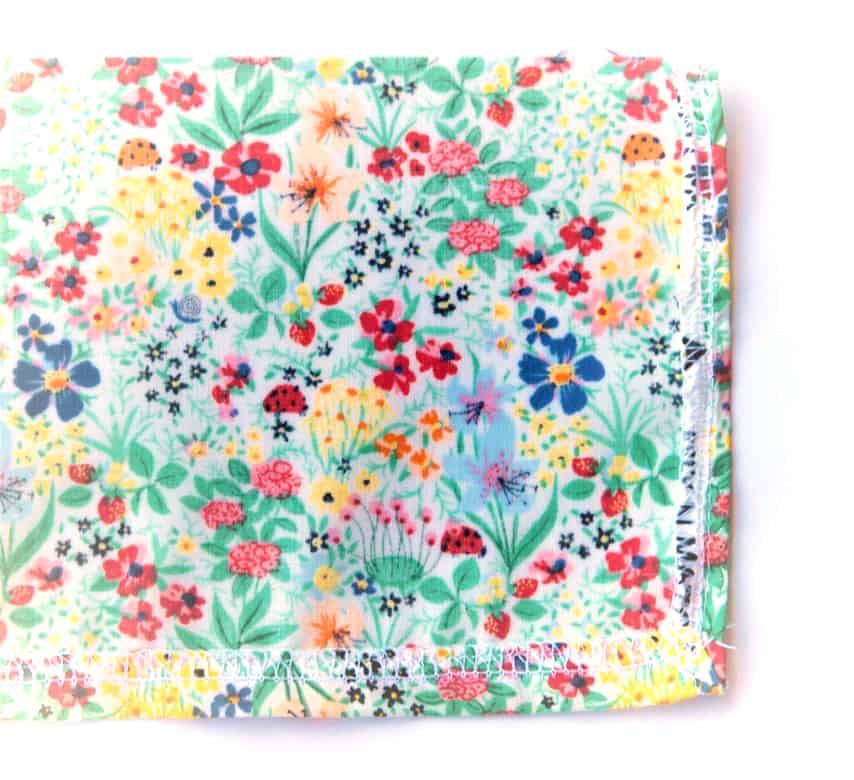
Firstly you construct the top portion of your dress as per the pattern instructions from step 1 through to step 22. Here you have a good opportunity to try the top on your child to check for fit and make a measurement for the next step. When your child is wearing the top grab a tape measure and decide how long you want your peplum ruffle to be. For Daisy I decided on 5 inches. To this I add ¾” to account for the hem and seam allowance. This gives me 5¾ inches for the length of my peplum piece. To determine the width of your ruffle piece, take your child’s waist measurement and double it. Daisy’s waist measures 19” so the width of the ruffle is 38” so I cut out one piece, 5¾” * 38”. Depending on your child’s waist measurement you may need to cut more than one piece to get the right width for the ruffle.
The first thing you want to do is fold over one of the short ends ½” and press in place.
Then secure this seam with a ⅜” seam allowance. Repeat with the other end. For the hem of the peplum piece there are 2 options:
- Serge the hem without removing any of the fabric. Fold up ⅜” and sew with a ¼” seam allowance
OR
- Fold the hem up ¼” and press in place. Fold up another ¼”, press in place and stitch with a ⅛” seam allowance.
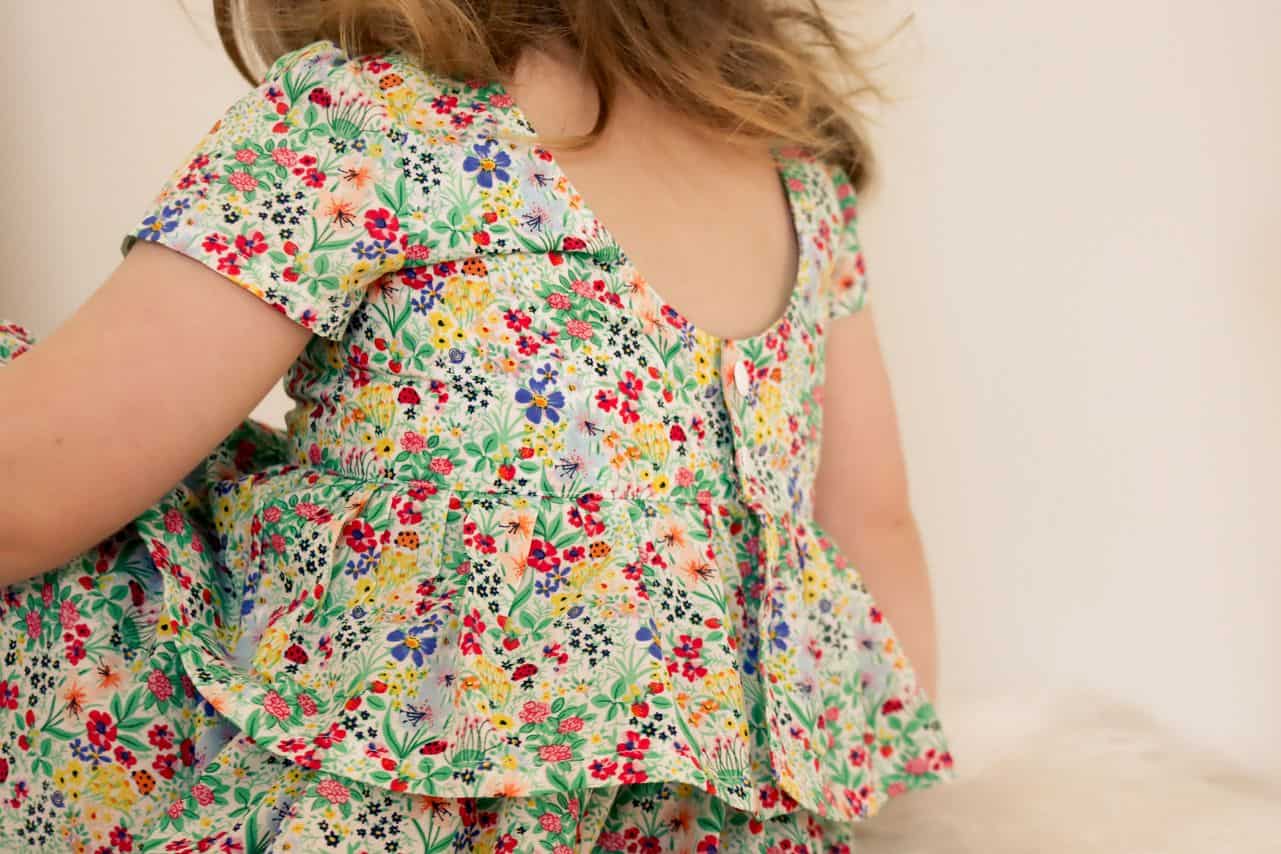
Gather your peplum ruffle using your preferred method – using a serger, gathering foot or by sewing 2 rows of basting stitch. Adjust the gathers to the ruffle is the same width as the top you have created, ensuring the gathers are equally distributed. Ensuring the ends of the ruffle are lined up with the ends of the top, pin the ruffle to the top, right sides facing together. Stitch in place. You can finish this hem with a zigzag stitch or serger if you wish. Make sure you have attached your buttons or snaps.

You now have a beautiful little peplum top! You can stop now and have a great piece that you can mix and match in your child’s wardrobe.
Onto the skirt. Again, you need to cut your skirt pieces out according to the pattern and your preferences. Complete step 23 through to step 28 using the pattern instructions. DO NOT do the placket. If you have reached the placket you have gone too far.
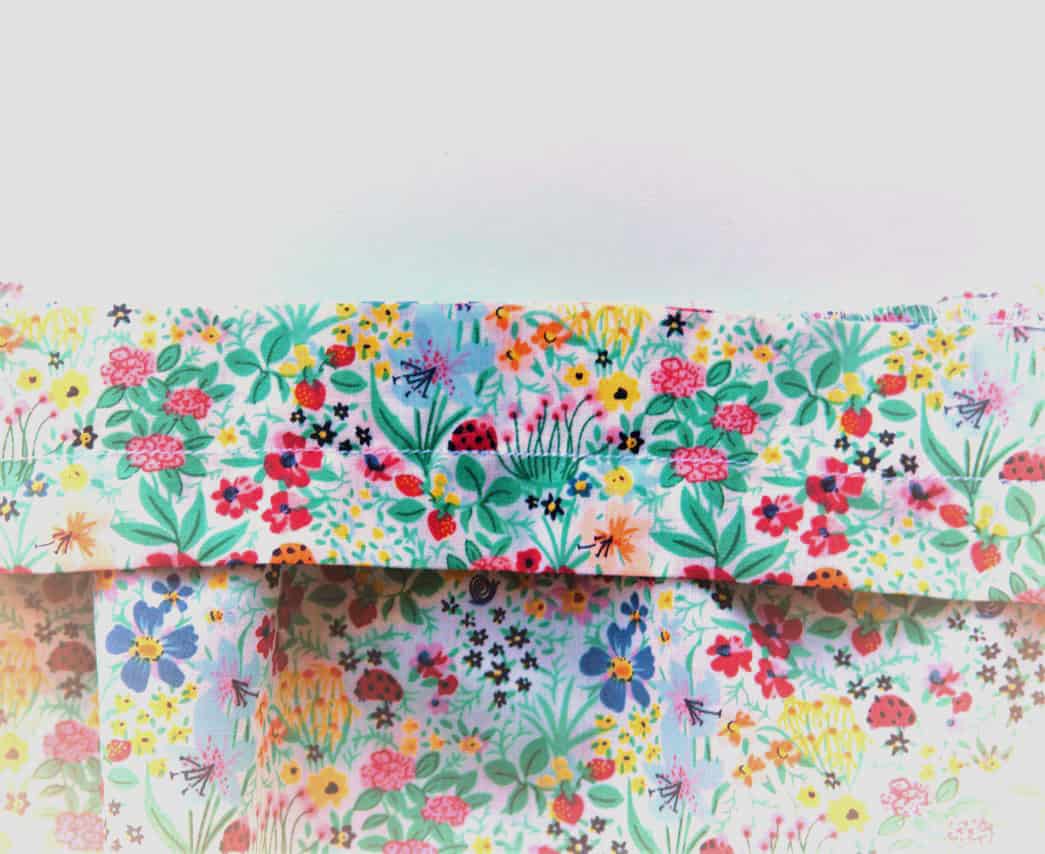
Apologies everyone, time for a bit more math! To create the waistband you will again double your child’s waist measurement. So again, Daisy’s waist measures 19 inches so the waistband piece will be 38” plus ¾” for seam allowance. The length for all sizes is 3¾”. For Daisy’s waistband I cut one piece, 38¾” * 3¾” . Again, depending on your child’s waist measurement and fabric width you may need to split this into 2 pieces and stitch them together.
Fold your waistband in half, right sides facing. Stitch the short ends together.

Next, with wrong sides facing, fold your piece in half and press in place.

Create an elastic casing by sewing ¾” from the folded edge, leaving a 2 inch gap for threading elastic at a later point.
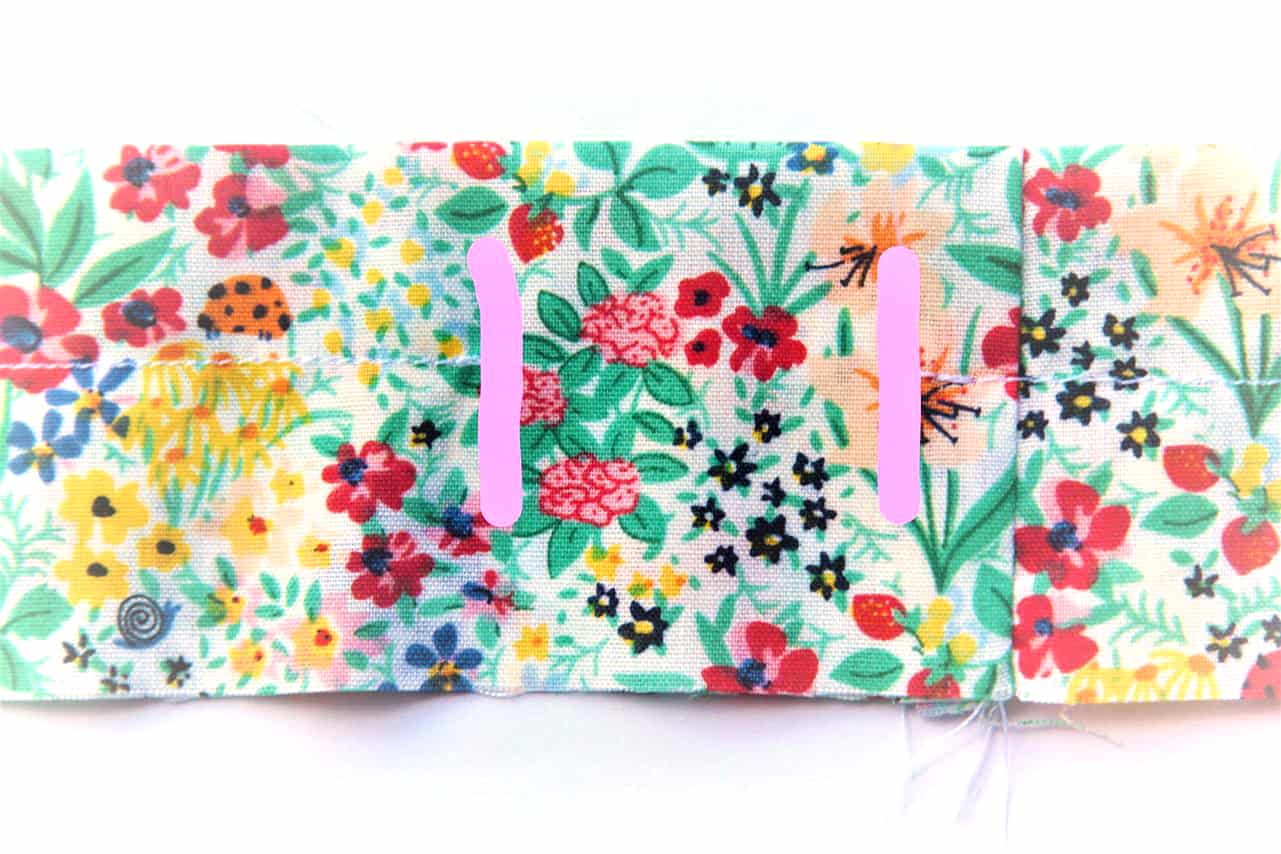
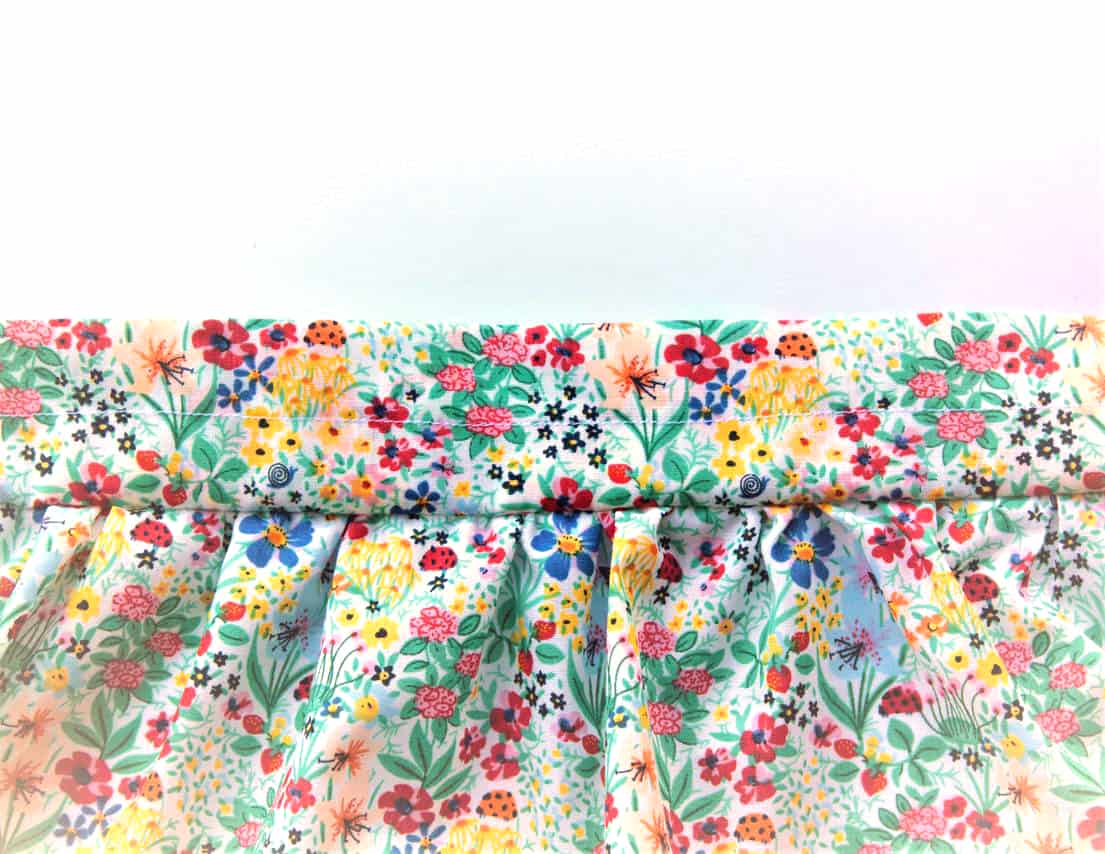
Returning to the skirt you created earlier, you will now gather this using your preferred method. Adjust your gathers so the skirt is the same width as the waistband. With the skirt wrong side out, place the waistband inside the skirt, pinning in place and ensuring gathers are evenly distributed. Locate the 2” gap you left in the waistband when creating your initial casing. Begin sewing at the same spot and, again, leave a 2” gap to insert the elastic.
The length of the elastic should be 1” less than the child’s waist measurement. For Daisy’s skirt I used 2 18 inch lengths of ¼” elastic. Using a safety pin, thread the first piece of elastic through the upper casing. Overlap the ends by 1”, pin and stitch together very well. You can now stitch closed the gap you left in the upper casing. Repeat with the 2nd piece of elastic in the lower casing, again closing the gap you left. You can now finish the waistband seam using a serger or zig-zag stitch.
Now you have a super cute little skirt which I am sure will get plenty of wear.
My favourite part! Put your pretty peplum top and sassy skirt together to make the PERFECT coordinating outfit. I love that you can make a 2nd set in a complementary fabric and suddenly you have 4 different outfit options!

So there you have it! A simple hack to turn your beautiful Sophie dress pattern into separates. Happy sewing!