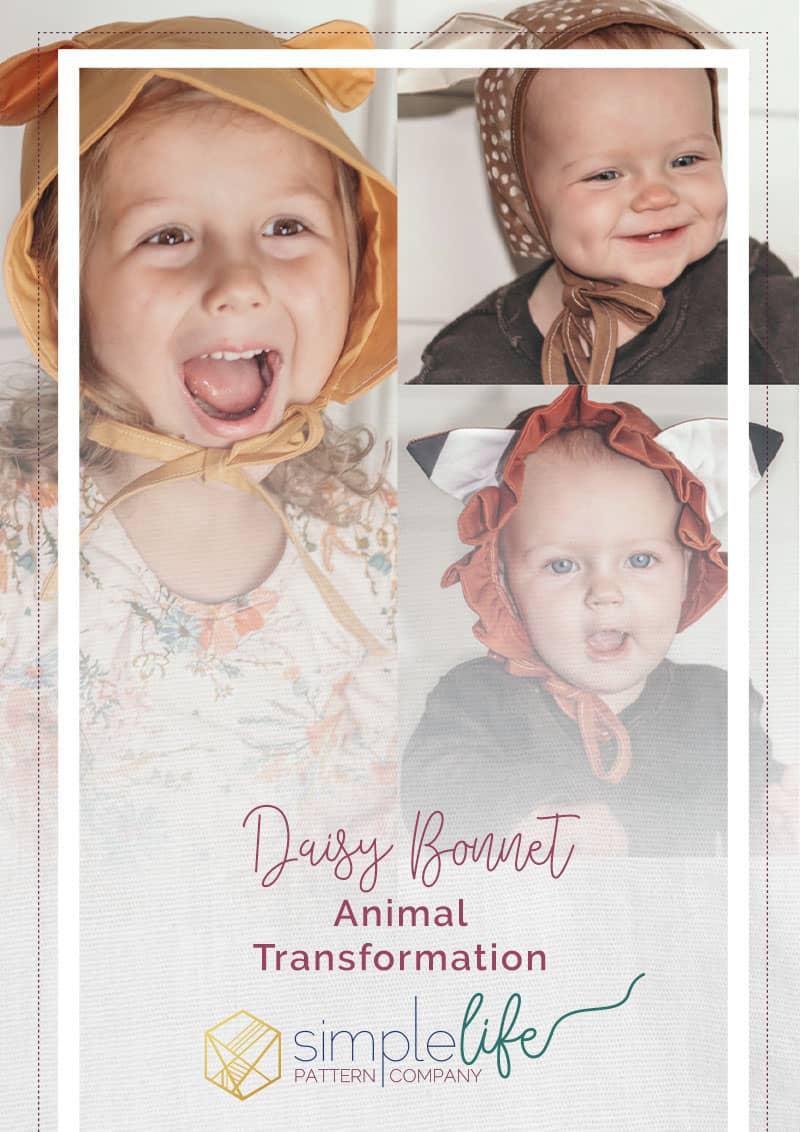
Daisy Bonnet: Animal Transformation
Heyyyy everyone!! I am seriously over the moon excited to be on the blog today to bring you all my newest modifications to the Daisy Bonnet: ANIMAL EARS!!!!
It is no surprise that the Daisy Bonnet is one of my favorite accessories to sew. It is seriously one of the best ways to complete any outfit and as a bonus, it is FREE! You can find your copy of the bonnet HERE and you can find the ruffled brim modification HERE.
In this blog I will walk you all through how to make your Daisy Bonnet look like a Fox, Fawn, or Bear (OH MY)! I am stoked to get started and hopefully you are too!
What you will need:
- Daisy Bonnet Pattern
- All Materials Listed in the Daisy Bonnet Pattern
- Daisy Bonnet Animal Ears Pattern
Fox:
1. Follow steps 1-3 of the Daisy Bonnet Tutorial
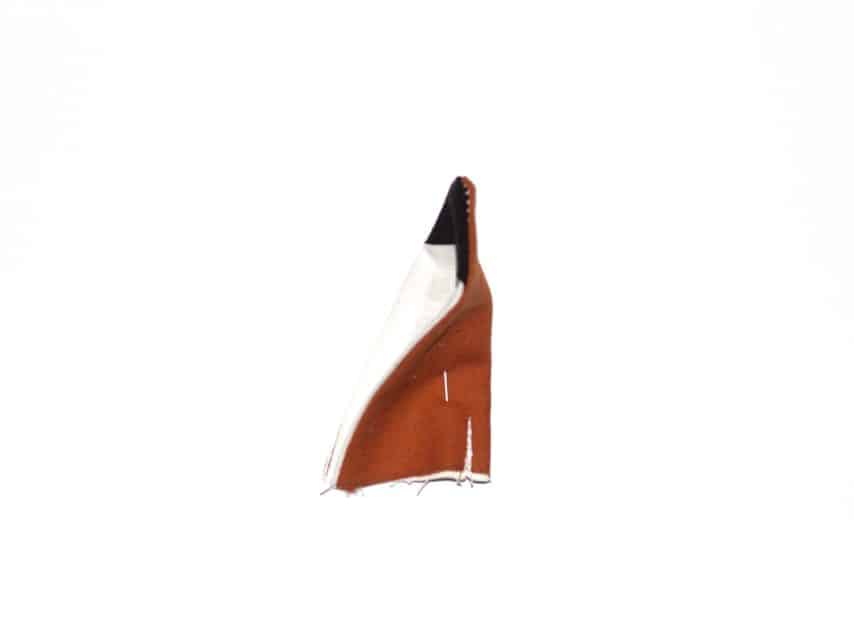
2. Take your main and lining Fox ear pieces and lay them together right sides touching. Sew around the sides of the ear (using ¼” seam allowance) turning it at the ear point. Do not sew the bottom of the ear. Repeat for the second ear.
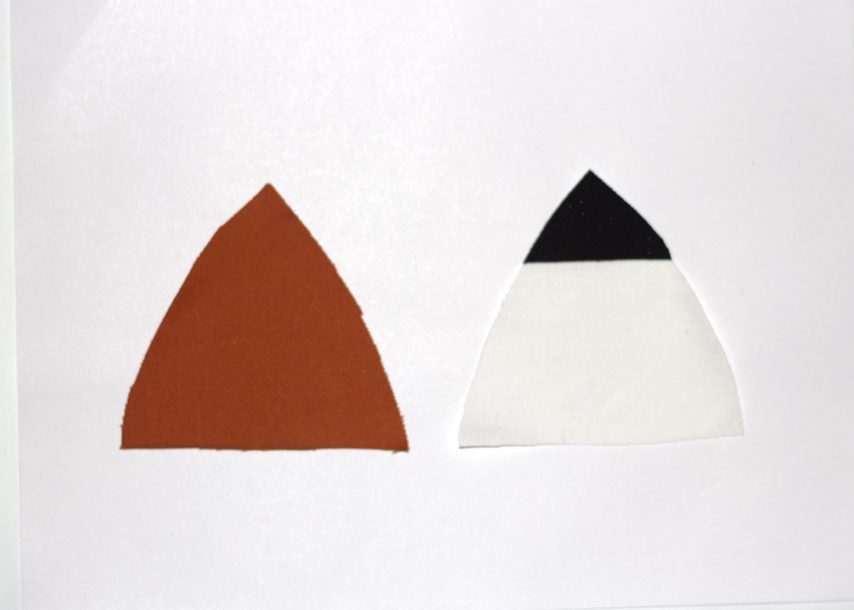
DESIGN TIP: I put a little black triangle on the tip of the front of my ear to give it more of a foxy look! I accomplished this by using Heat-n-Bond that the pattern uses for the brim.
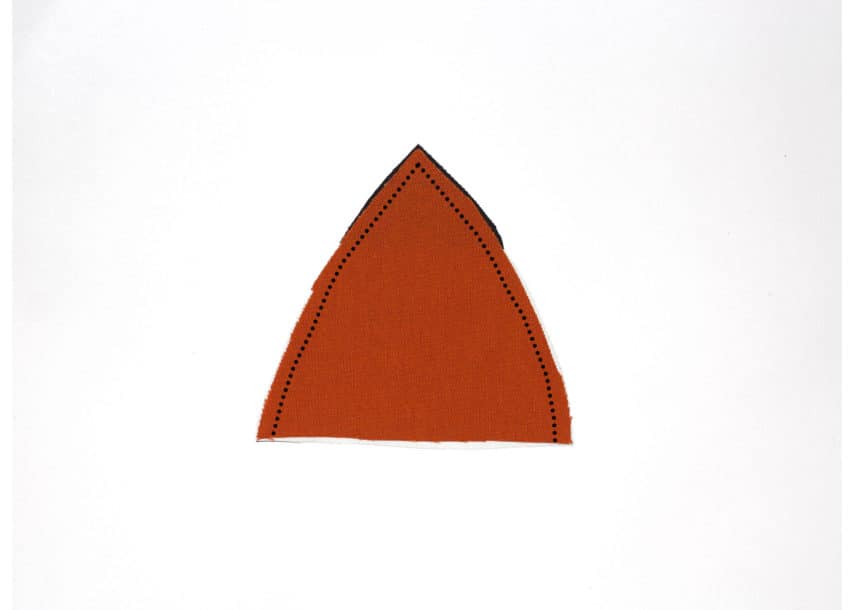
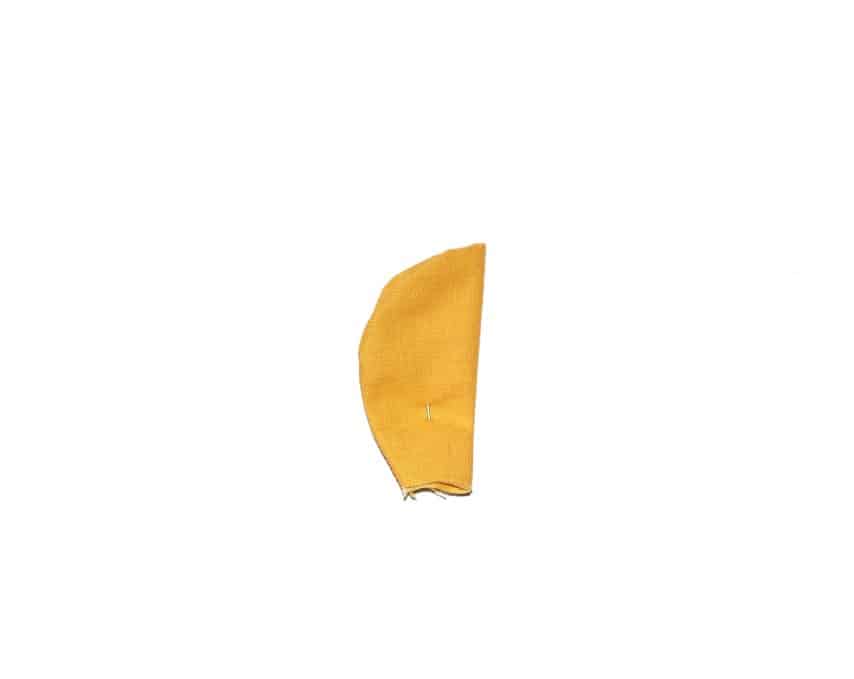
3.Clip notches in your seam allowance. Turn it inside out and press well. Next, take one of your ears and fold it in half lengthwise with the front of the ear sides touching.
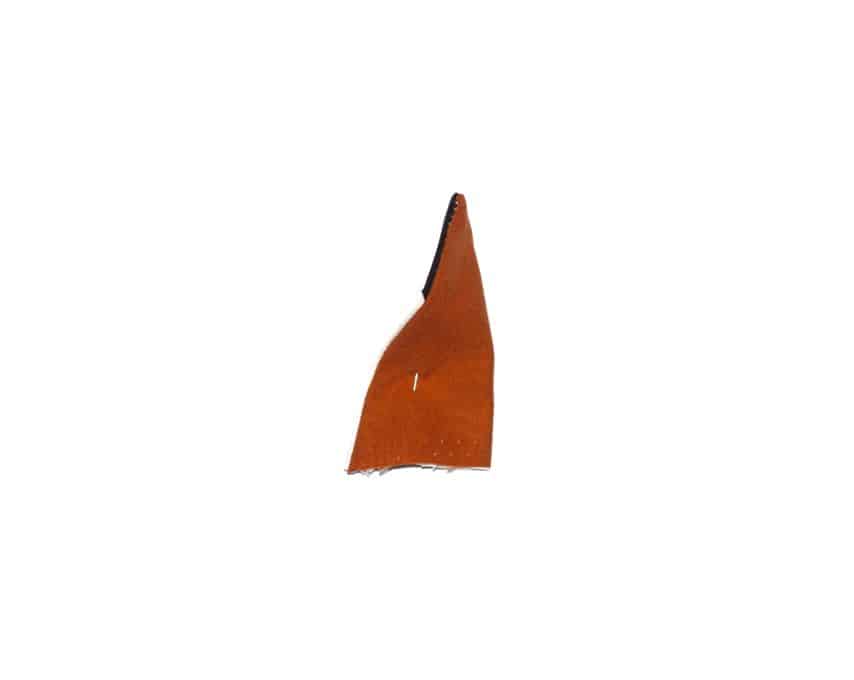
4. Now you will measure ¼” over from the fold. Draw a line parallel to the fold along the ¼” measurement that is ½” long. Sew along that line.
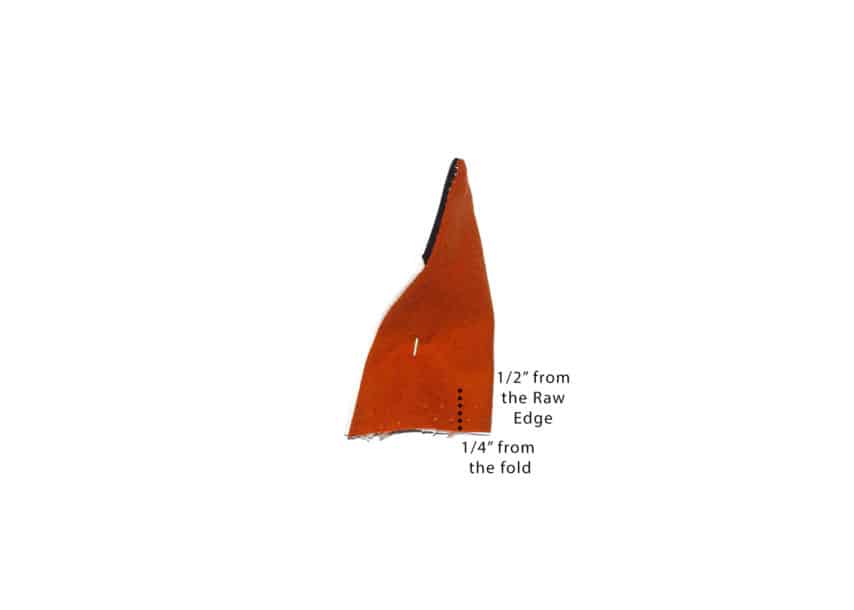
5. Open your ear up and press your fold down to either side.
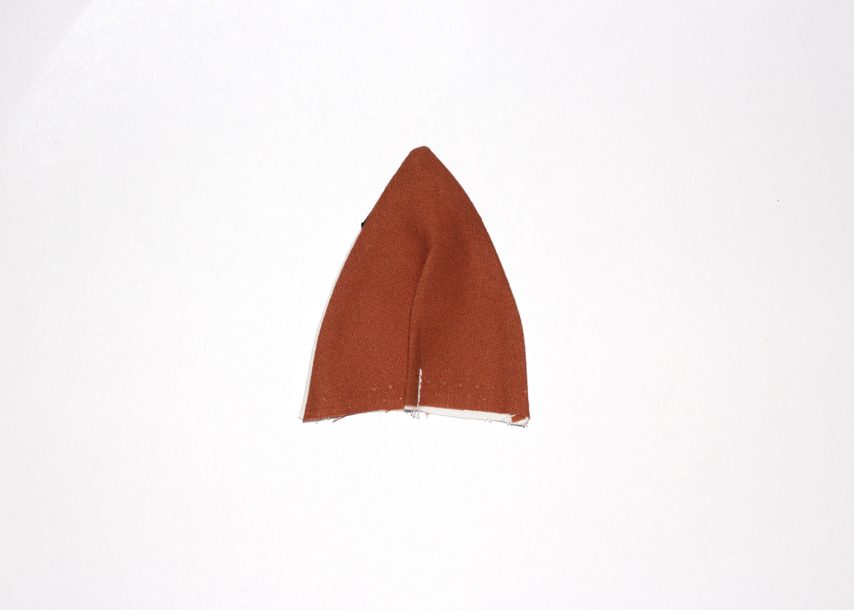
6. Repeat steps 3-6 for the second ear.
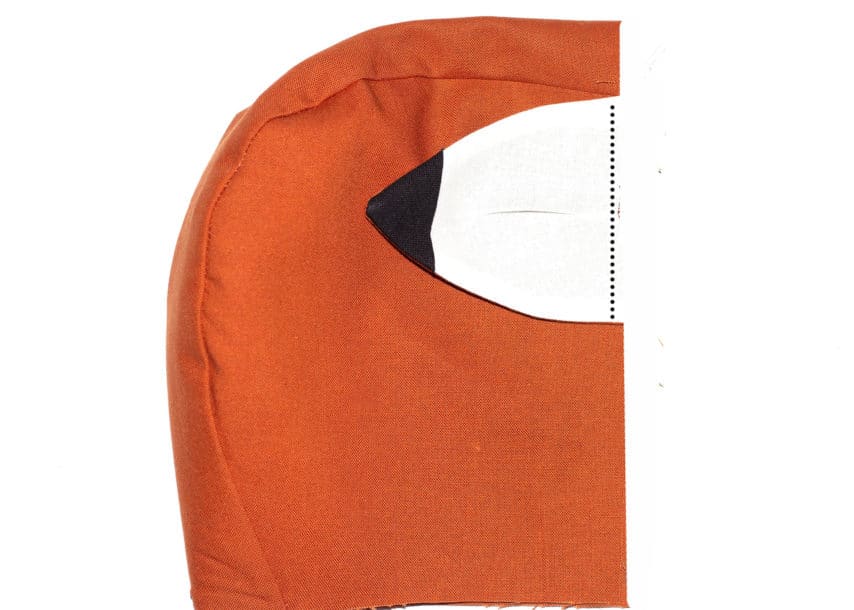
7. Now lay your main bonnet piece down with the right side facing up and the front of the bonnet showing. Take your ear and lay it on the bonnet side pieces. You will want to line up the raw edge of the Fox ear with the raw edge of the front of the bonnet side pieces, Make sure the corner of the Fox ear sits at the seam of the Side and Center Bonnet pieces. Baste in place. Repeat for the second ear.
8. Continue to Step 4 found in the Daisy Bonnet tutorial and finish your bonnet per the instructions.
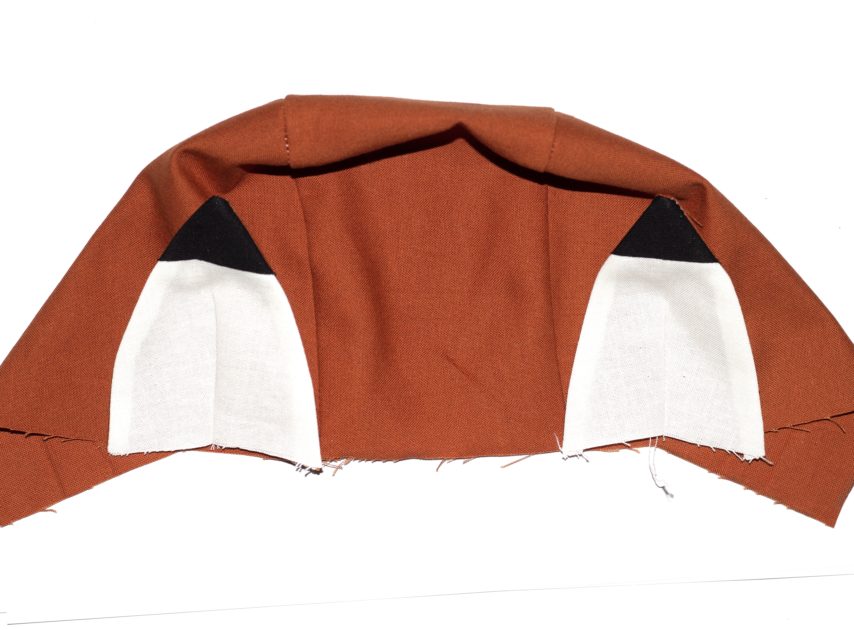
![]()
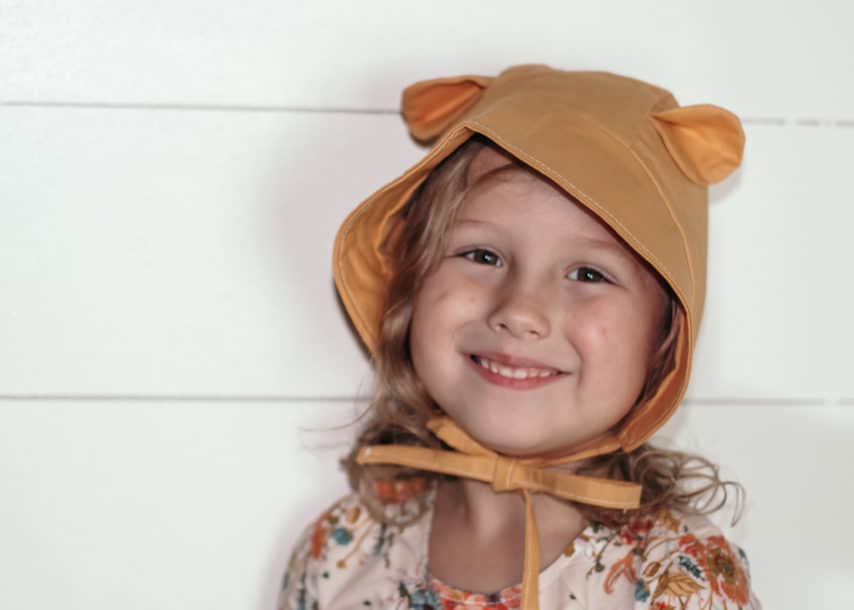
Fawn and Bear:
Note: Only the Bear assembly is pictured, but the process is the same for the Fawn.
1. Complete Step One found in the Daisy Bonnet tutorial.
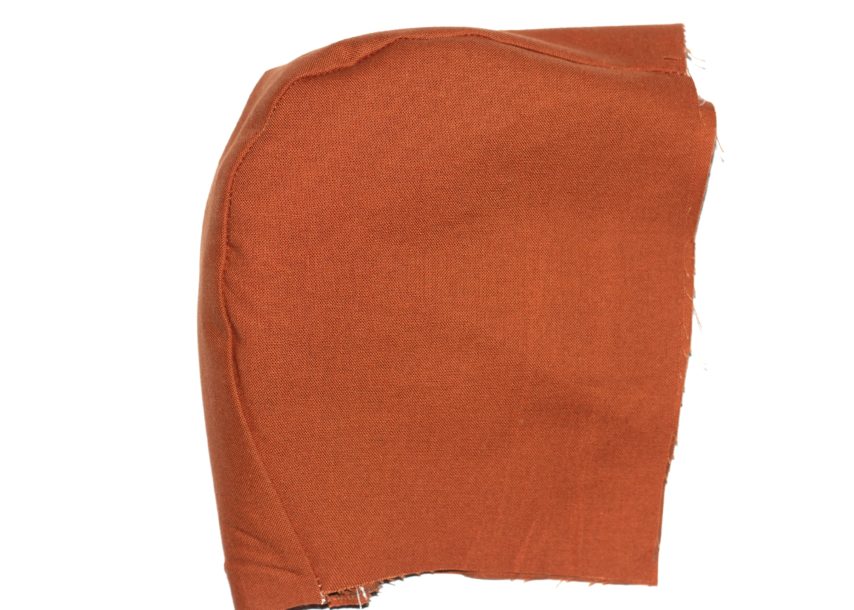
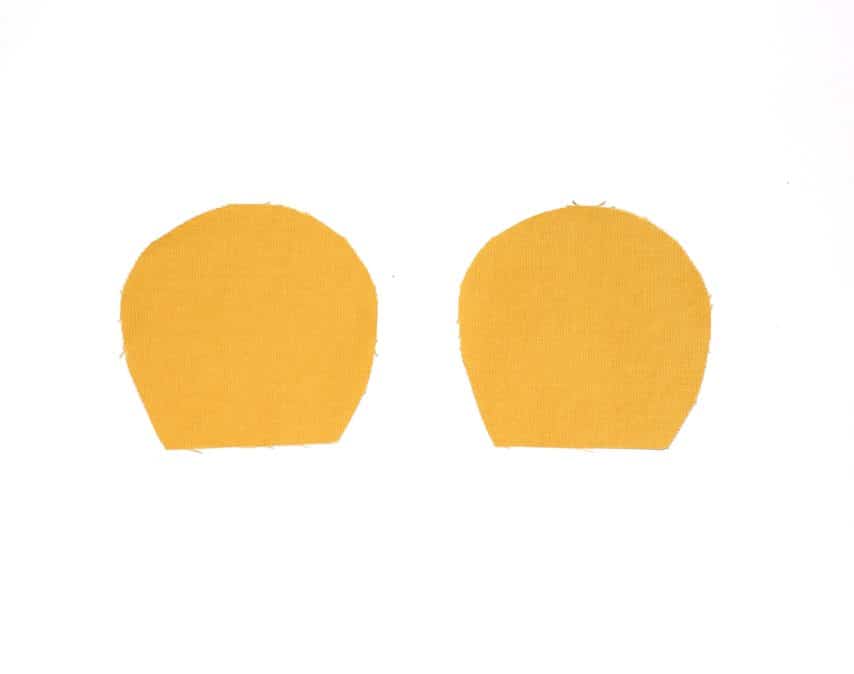
2. Take your main and lining Fawn or Bear ear pieces and lay them together right sides touching. Sew around the sides of the ear (using ¼” seam allowance). Do not sew the bottom of the ear. Repeat for the second ear.
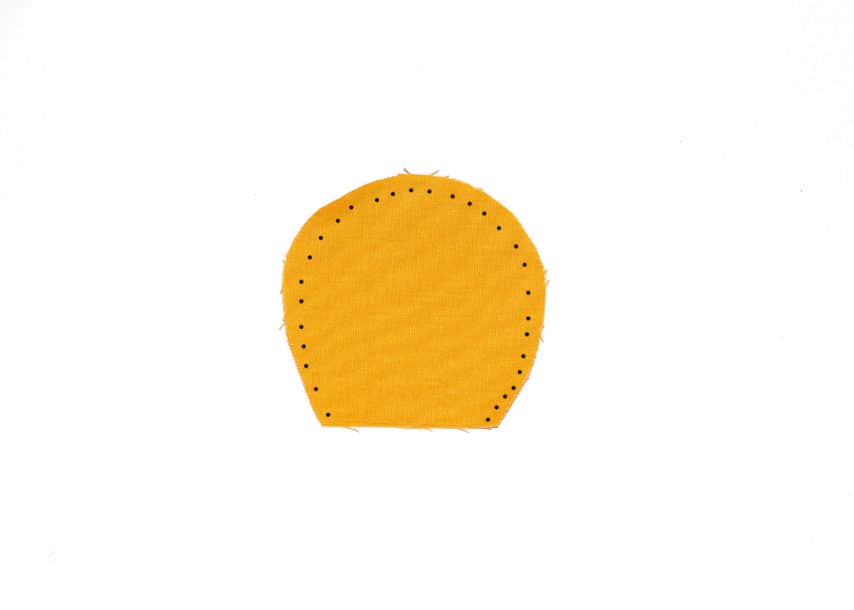
3. Clip notches in your seam allowance. Turn it inside out and press well.
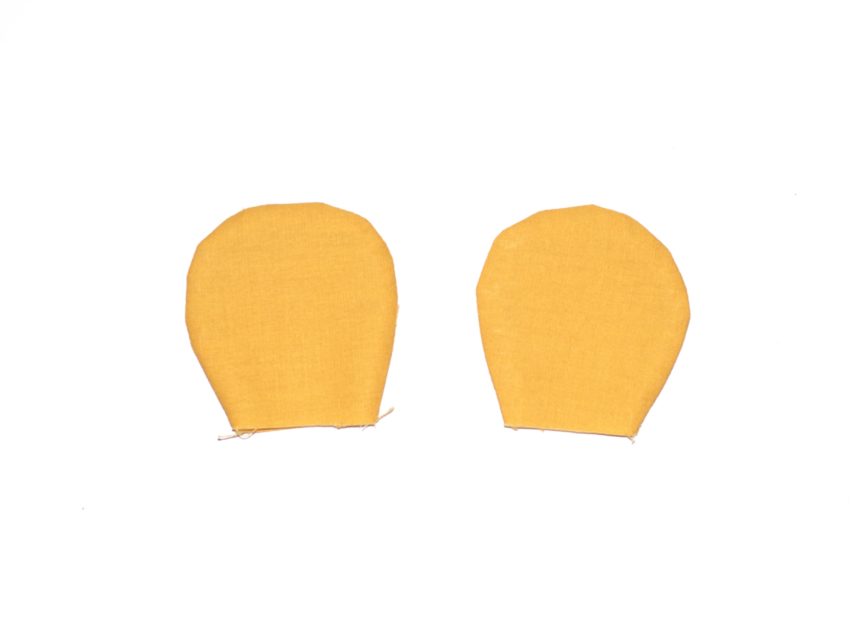
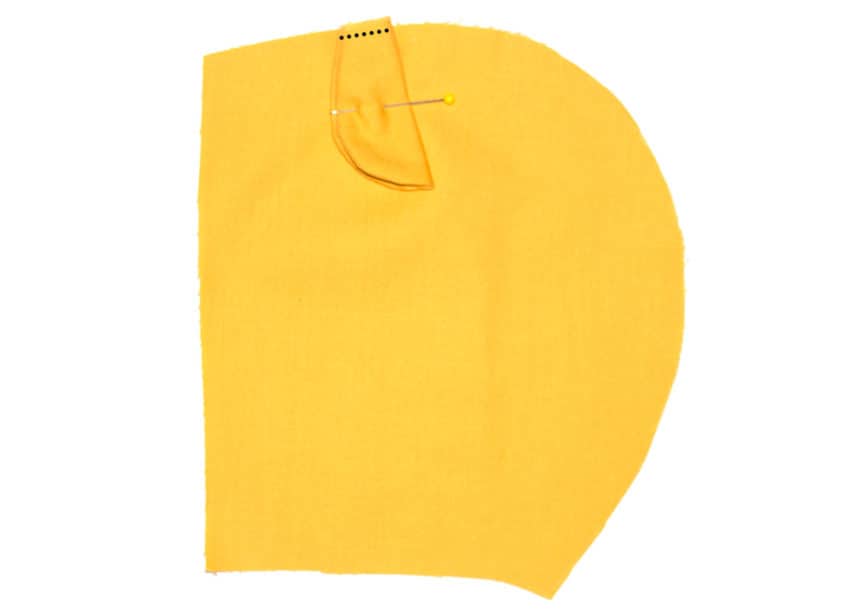
4. Next, take one of your ears and fold it in half lengthwise with the front of the ear sides touching.
5. Take one of your main Bonnet Side pieces with the right side facing up. At the top of the Bonnet Side Piece, measure 2” from the front of the bonnet. Pin your folded ear at the 2” mark lining the raw edge of the ear and the raw edge of the top of the bonnet up. Baste in place.
6. Continue to Step 2 found in the Daisy Bonnet tutorial and finish your bonnet per the instructions.
DESIGN TIP: Once your Bonnet is assembled iron your ears open to help them stand out more!
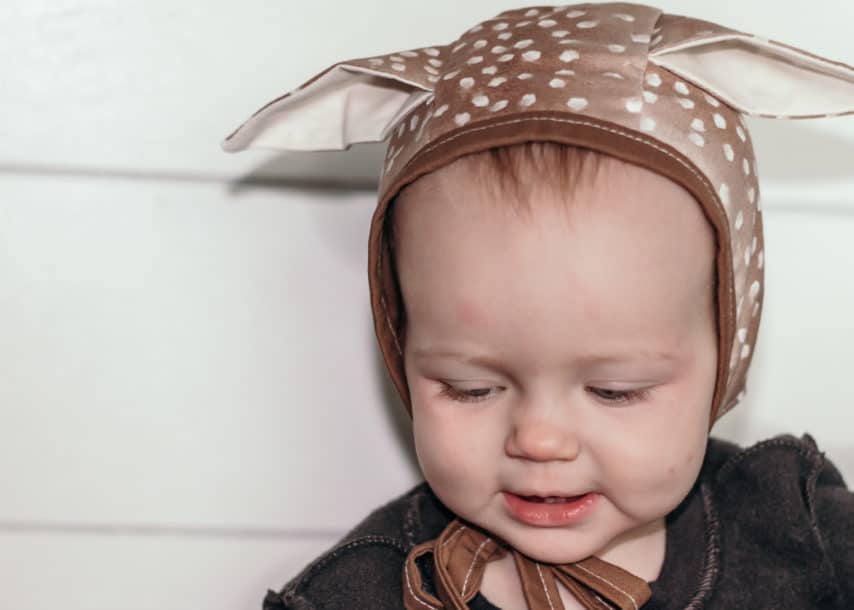
NOW YOU ARE DONE!! Be sure to snap some pictures of your model wearing his or her bonnet and post them in the Simple Life Pattern Company’s Facebook group. Be sure to use #slpcodaisy so I can show your creations some love!!!
Enjoy!
Kristen